As you may have read in my other posts, I use A6 notebooks that I make myself and call them “Everyday notebooks.” I thought I’d share my process with you, so you can learn how to make your own Everyday Notebook. It’s a simple project that’s perfect for anyone new to bookbinding!
What You'll Need
Materials

For this project, you’ll need the following materials:
- 15 sheets of A5 paper for the internal pages. This will create a 60-page notebook.
- Tip: If you only have A4 paper, simply fold it in half on the short side and cut along the fold to get two sheets of A5. The paper I use is A5 from Paper Mill Direct with a short grain, which is ideal for bookbinding.
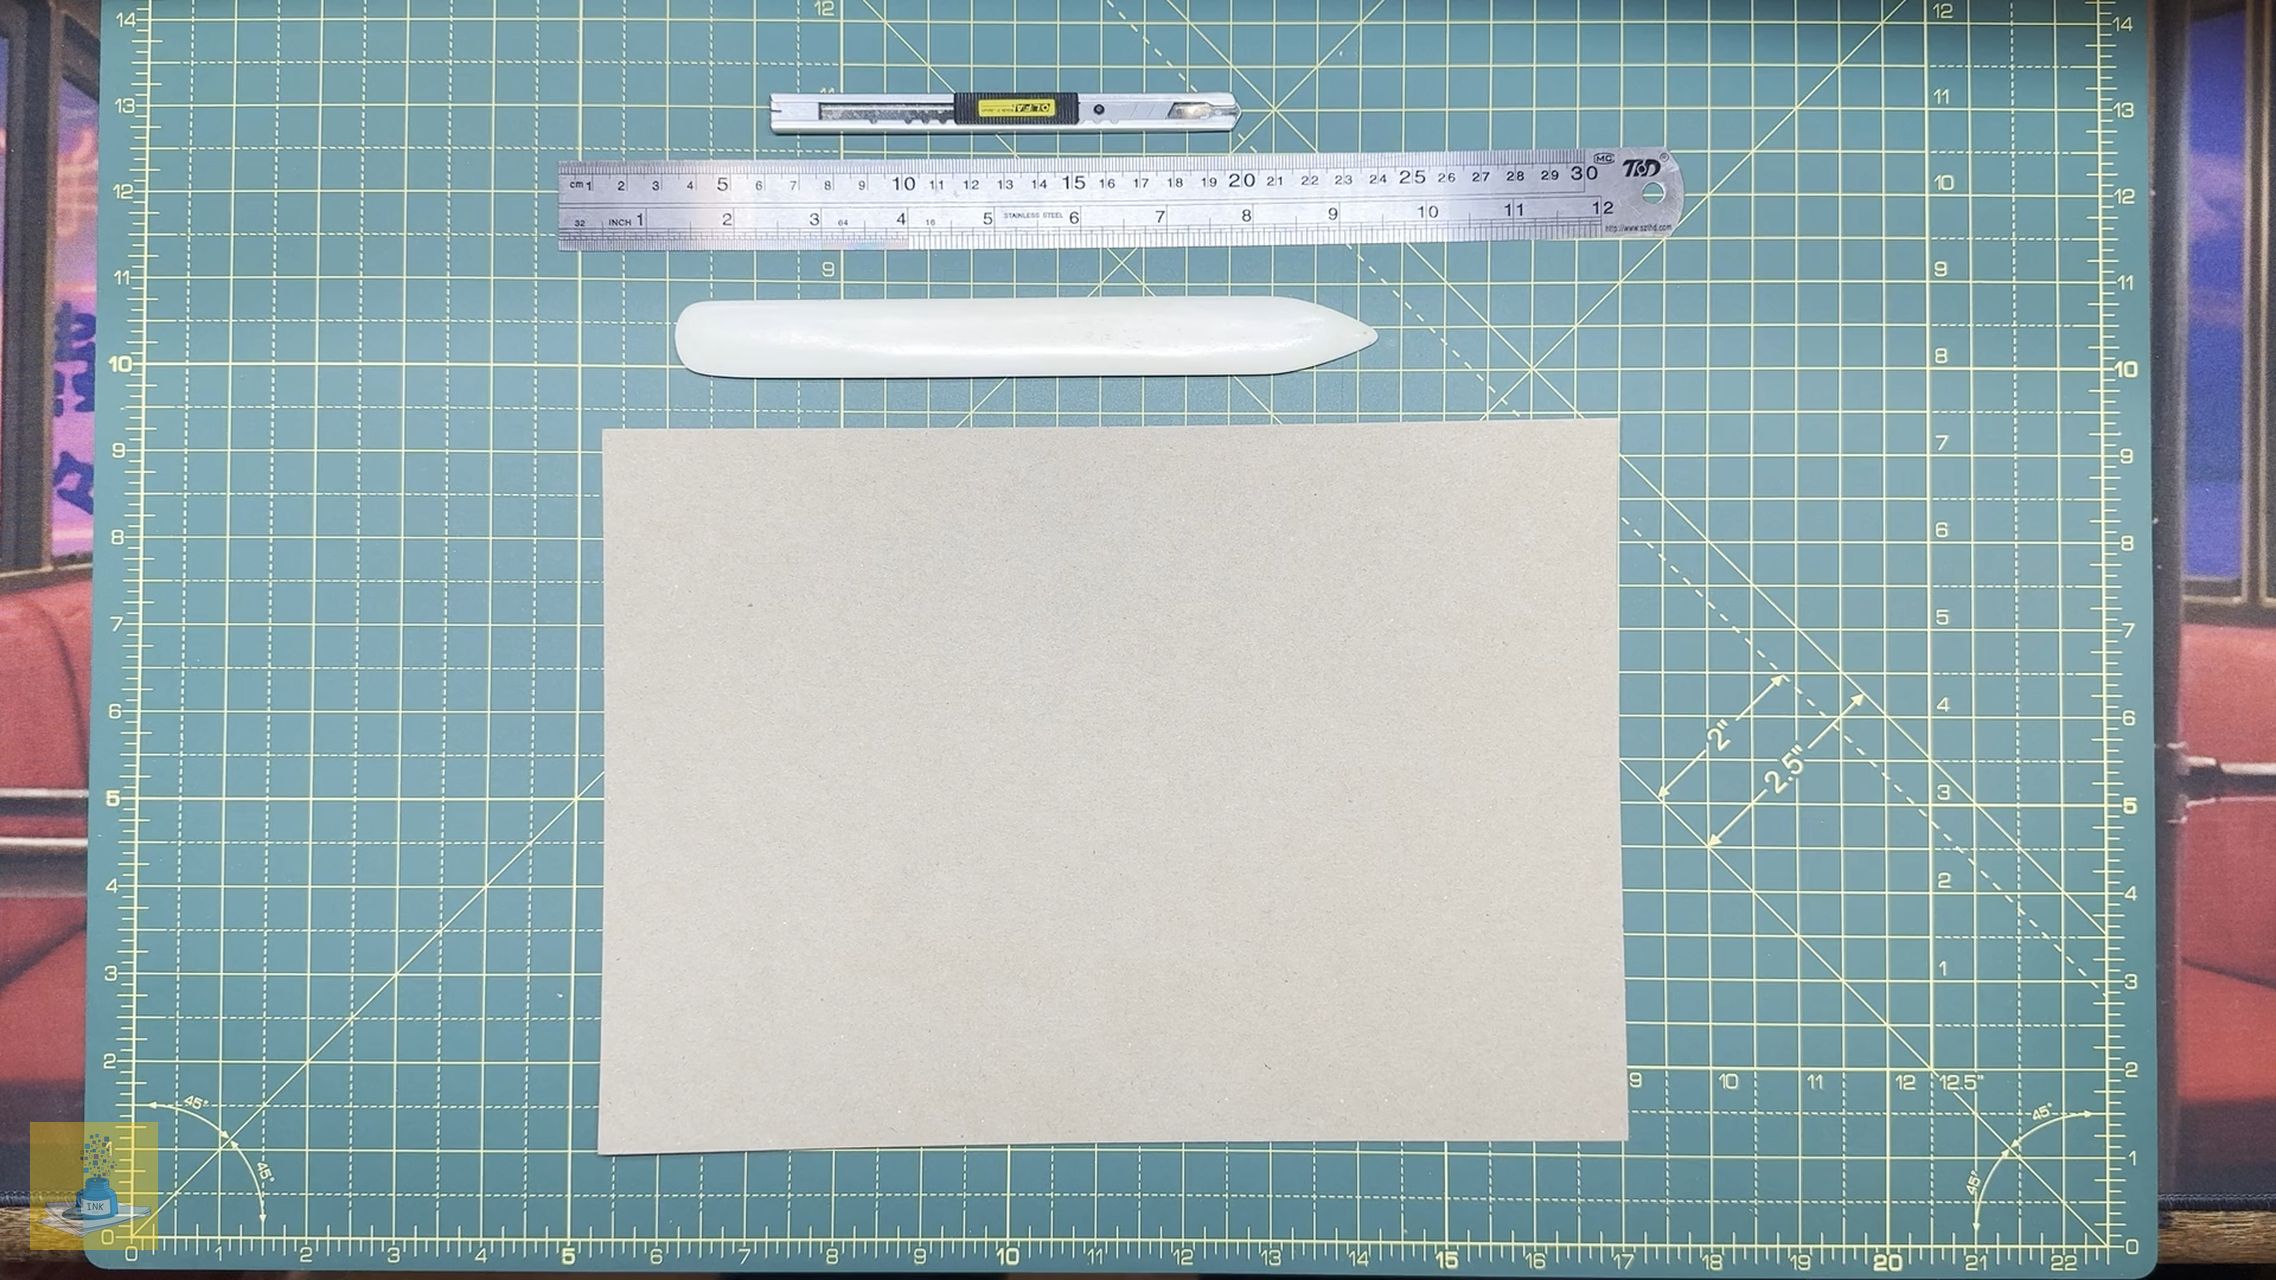
- 1 A5 piece of cardstock for the cover.
- I personally love the look of Kraft card. If you only have A4 Kraft card, you can fold it in half on the long side and cut it to get two A5-sized cards.
- Optional: Patterned paper to cover the notebook.
- I enjoy adding patterned paper, like the old ordnance maps from the 1950s that I have, to the outside of the cover. This step is completely optional, though!
Lined Paper: If you like lined paper, you can download a copy of the lined paper I use in my Everyday notebooks for free…
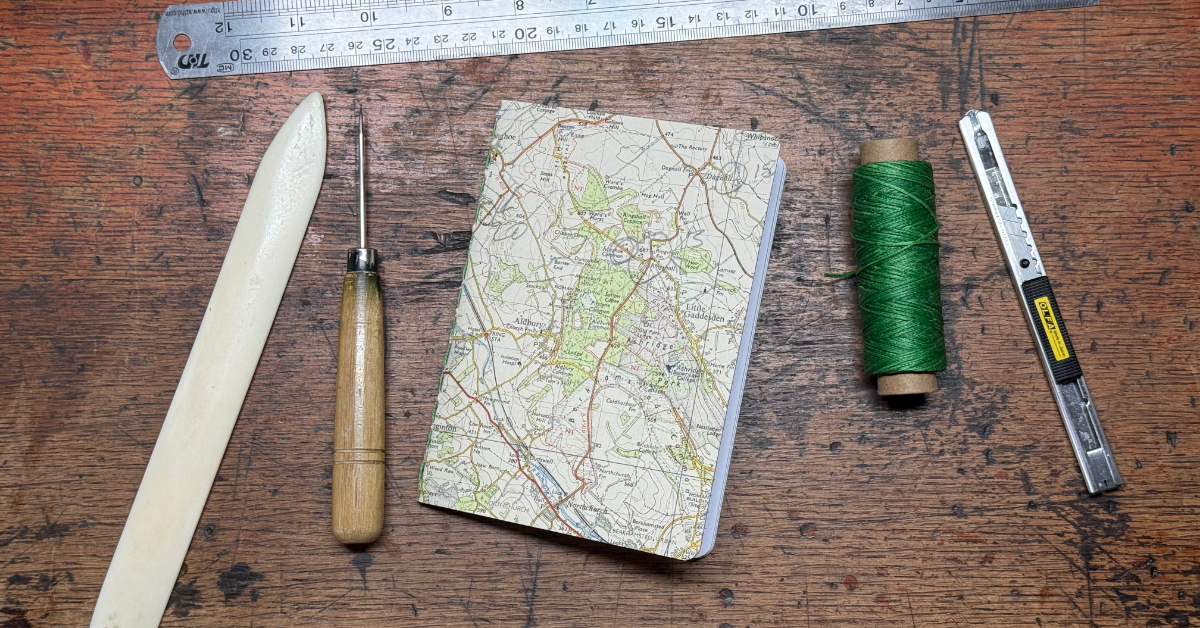
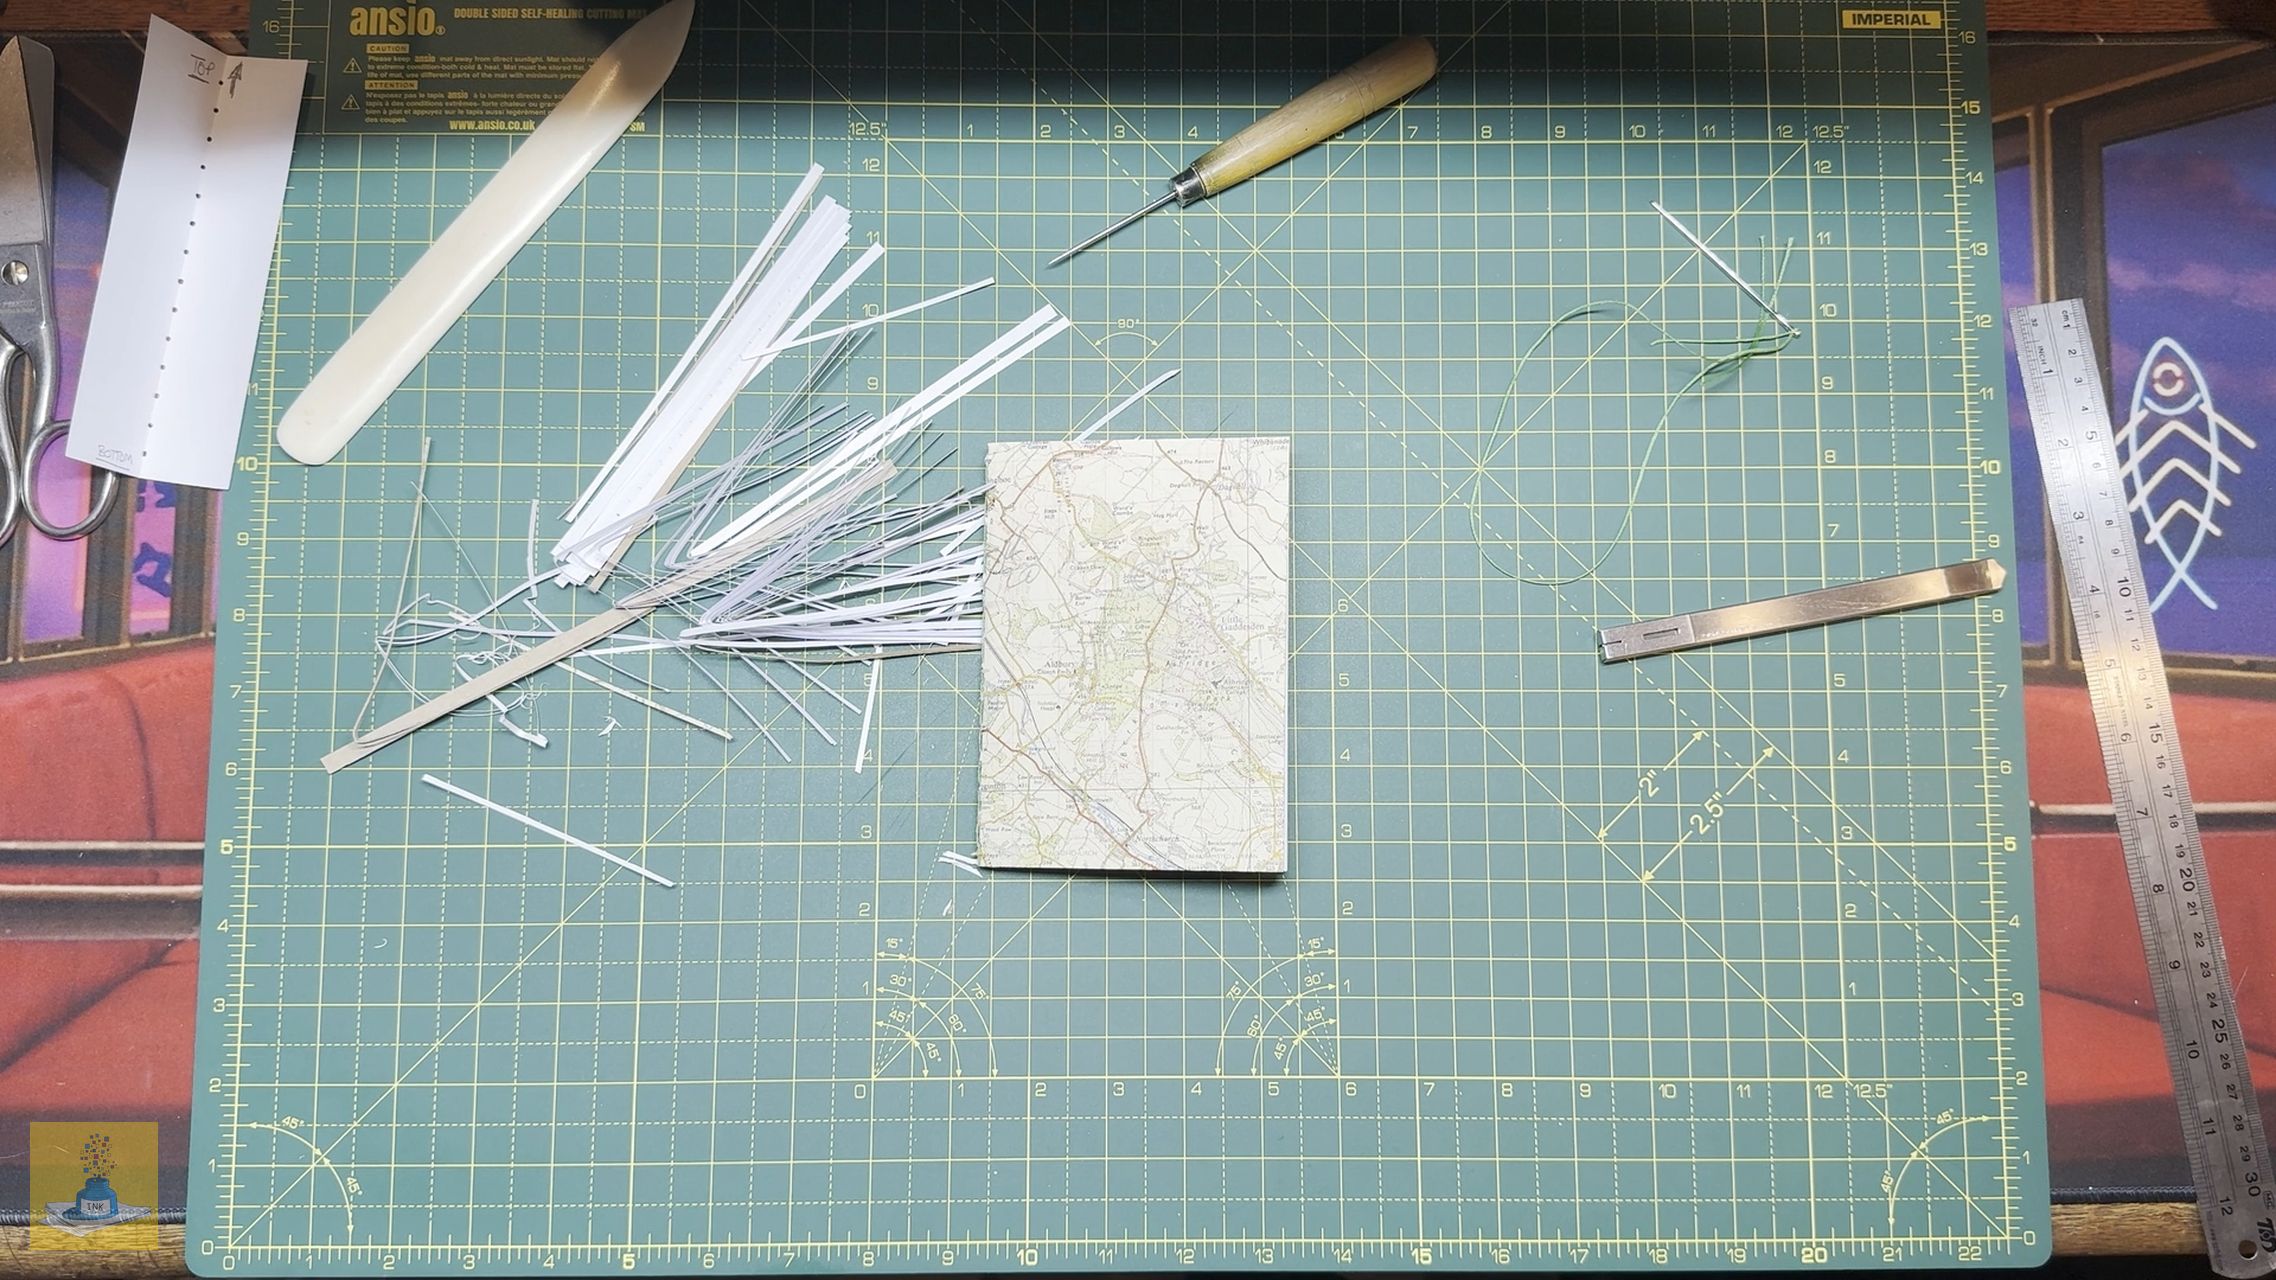
Tools

You don’t need any special tools to make this type of notebook. Here is a list of the tools I use, with alternatives listed for each where possible:
- Craft knife and metal ruler: These are the two essential tools for this project. A craft knife makes a clean cut, and a metal ruler prevents the blade from cutting into it.
- PVA/EVA glue: You’ll only need this if you plan to add patterned paper to the cover.
- Bookbinding press: This isn’t a necessity. I use mine to apply pressure while the glue dries, but you can use a couple of heavy books or bricks instead.
- Needle: I use a bookbinding needle, but any needle will work.
- Thread to sew the cover and pages together. I use a thicker thread for these notebooks, similar to what’s used for leatherwork. If you don’t have this, you can use thinner cotton thread—just go over the stitching a couple of times to make it strong enough.
- Beeswax to wax the thread for easier sewing. If you don’t have beeswax, you can use candle wax instead. The thread I’m using is already pre-waxed.
- Scissors: For cutting the thread.
- Awl: Used to punch holes in the paper for sewing. You can use any sharp, pointy object, like a needle, to make the holes.
- Hole punching cradle: This tool makes it easier to punch holes consistently. If you don’t have a punching cradle, you can download a template below…
Making Your Everyday Notebook
The Cover
I always start with the cover first, especially if I’m going to cover it with a nice patterned paper (gluing time).
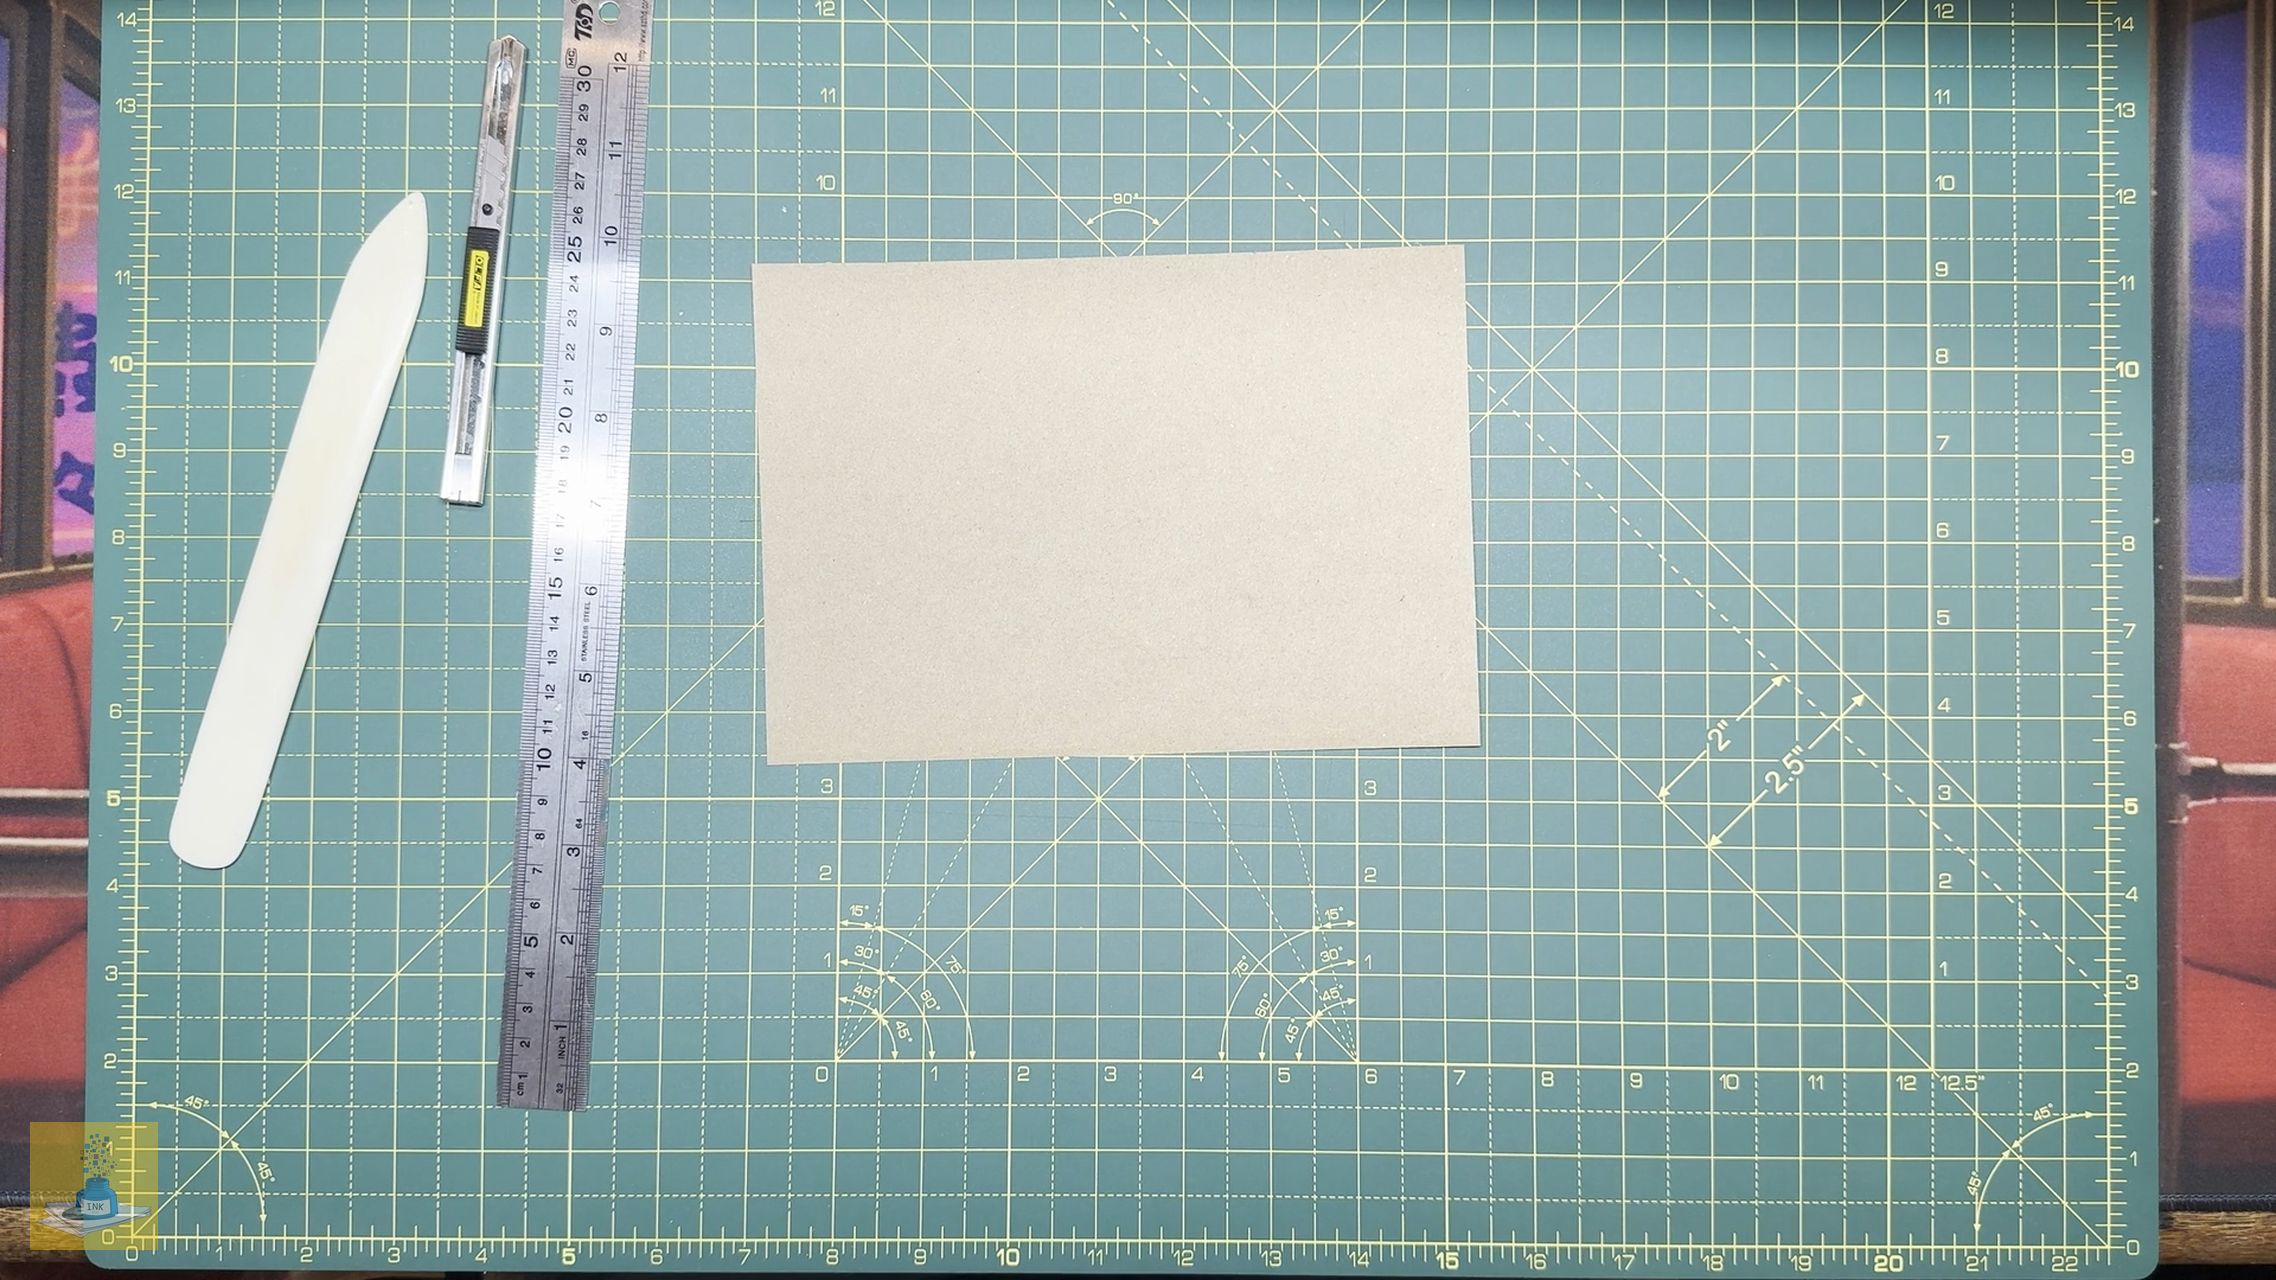
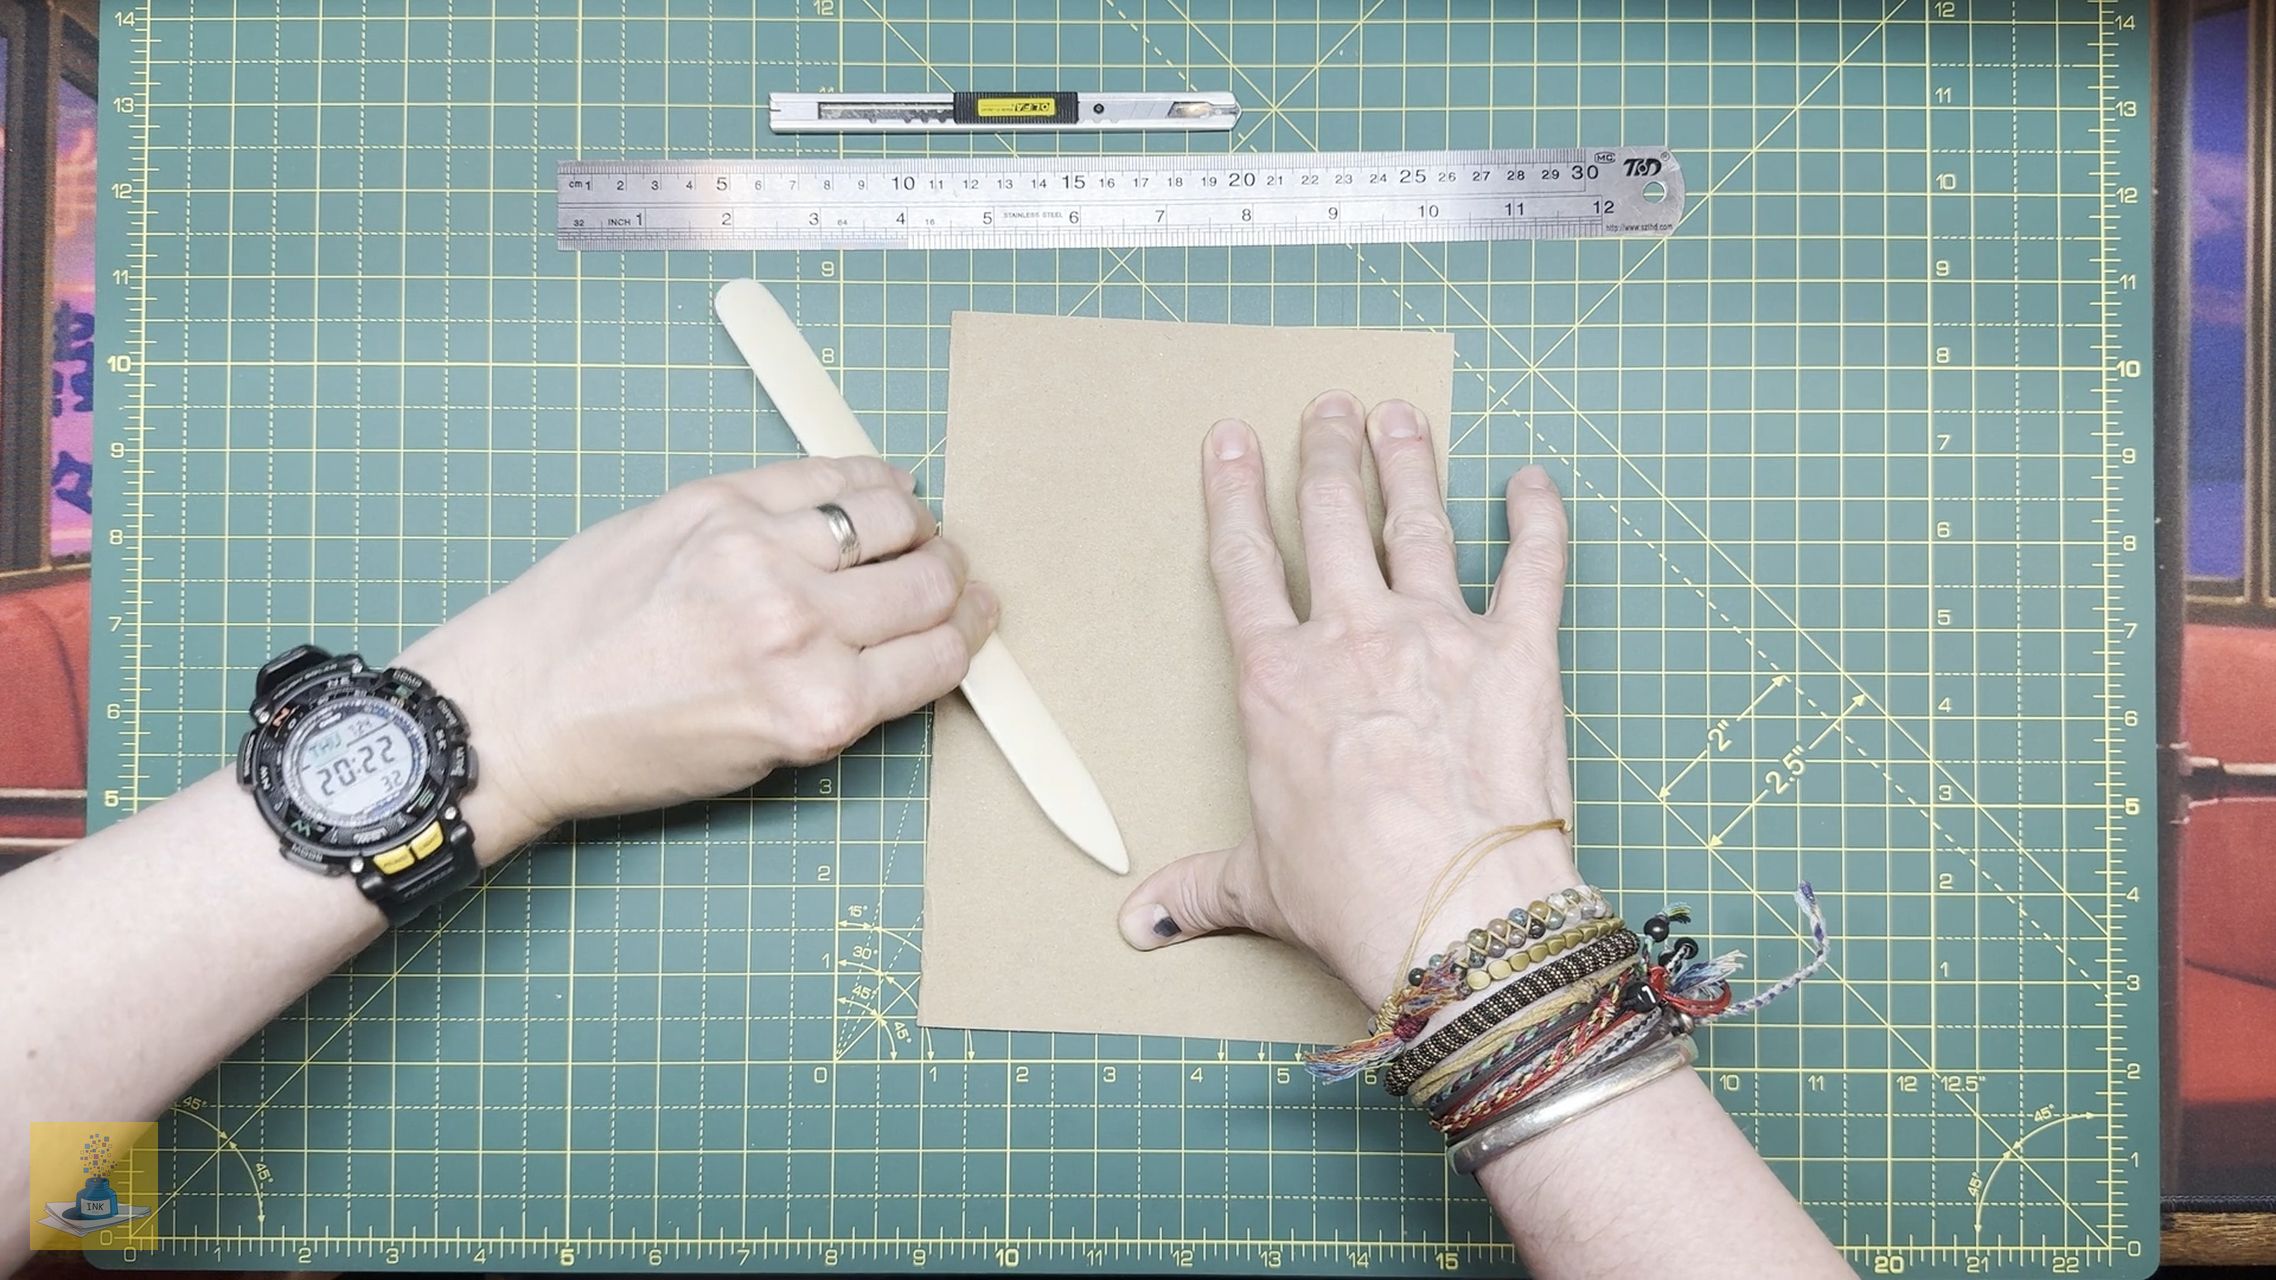
- Take a sheet of A4 Kraft card and fold it in half along the long side. Use a bone folder to get a nice, crisp fold.


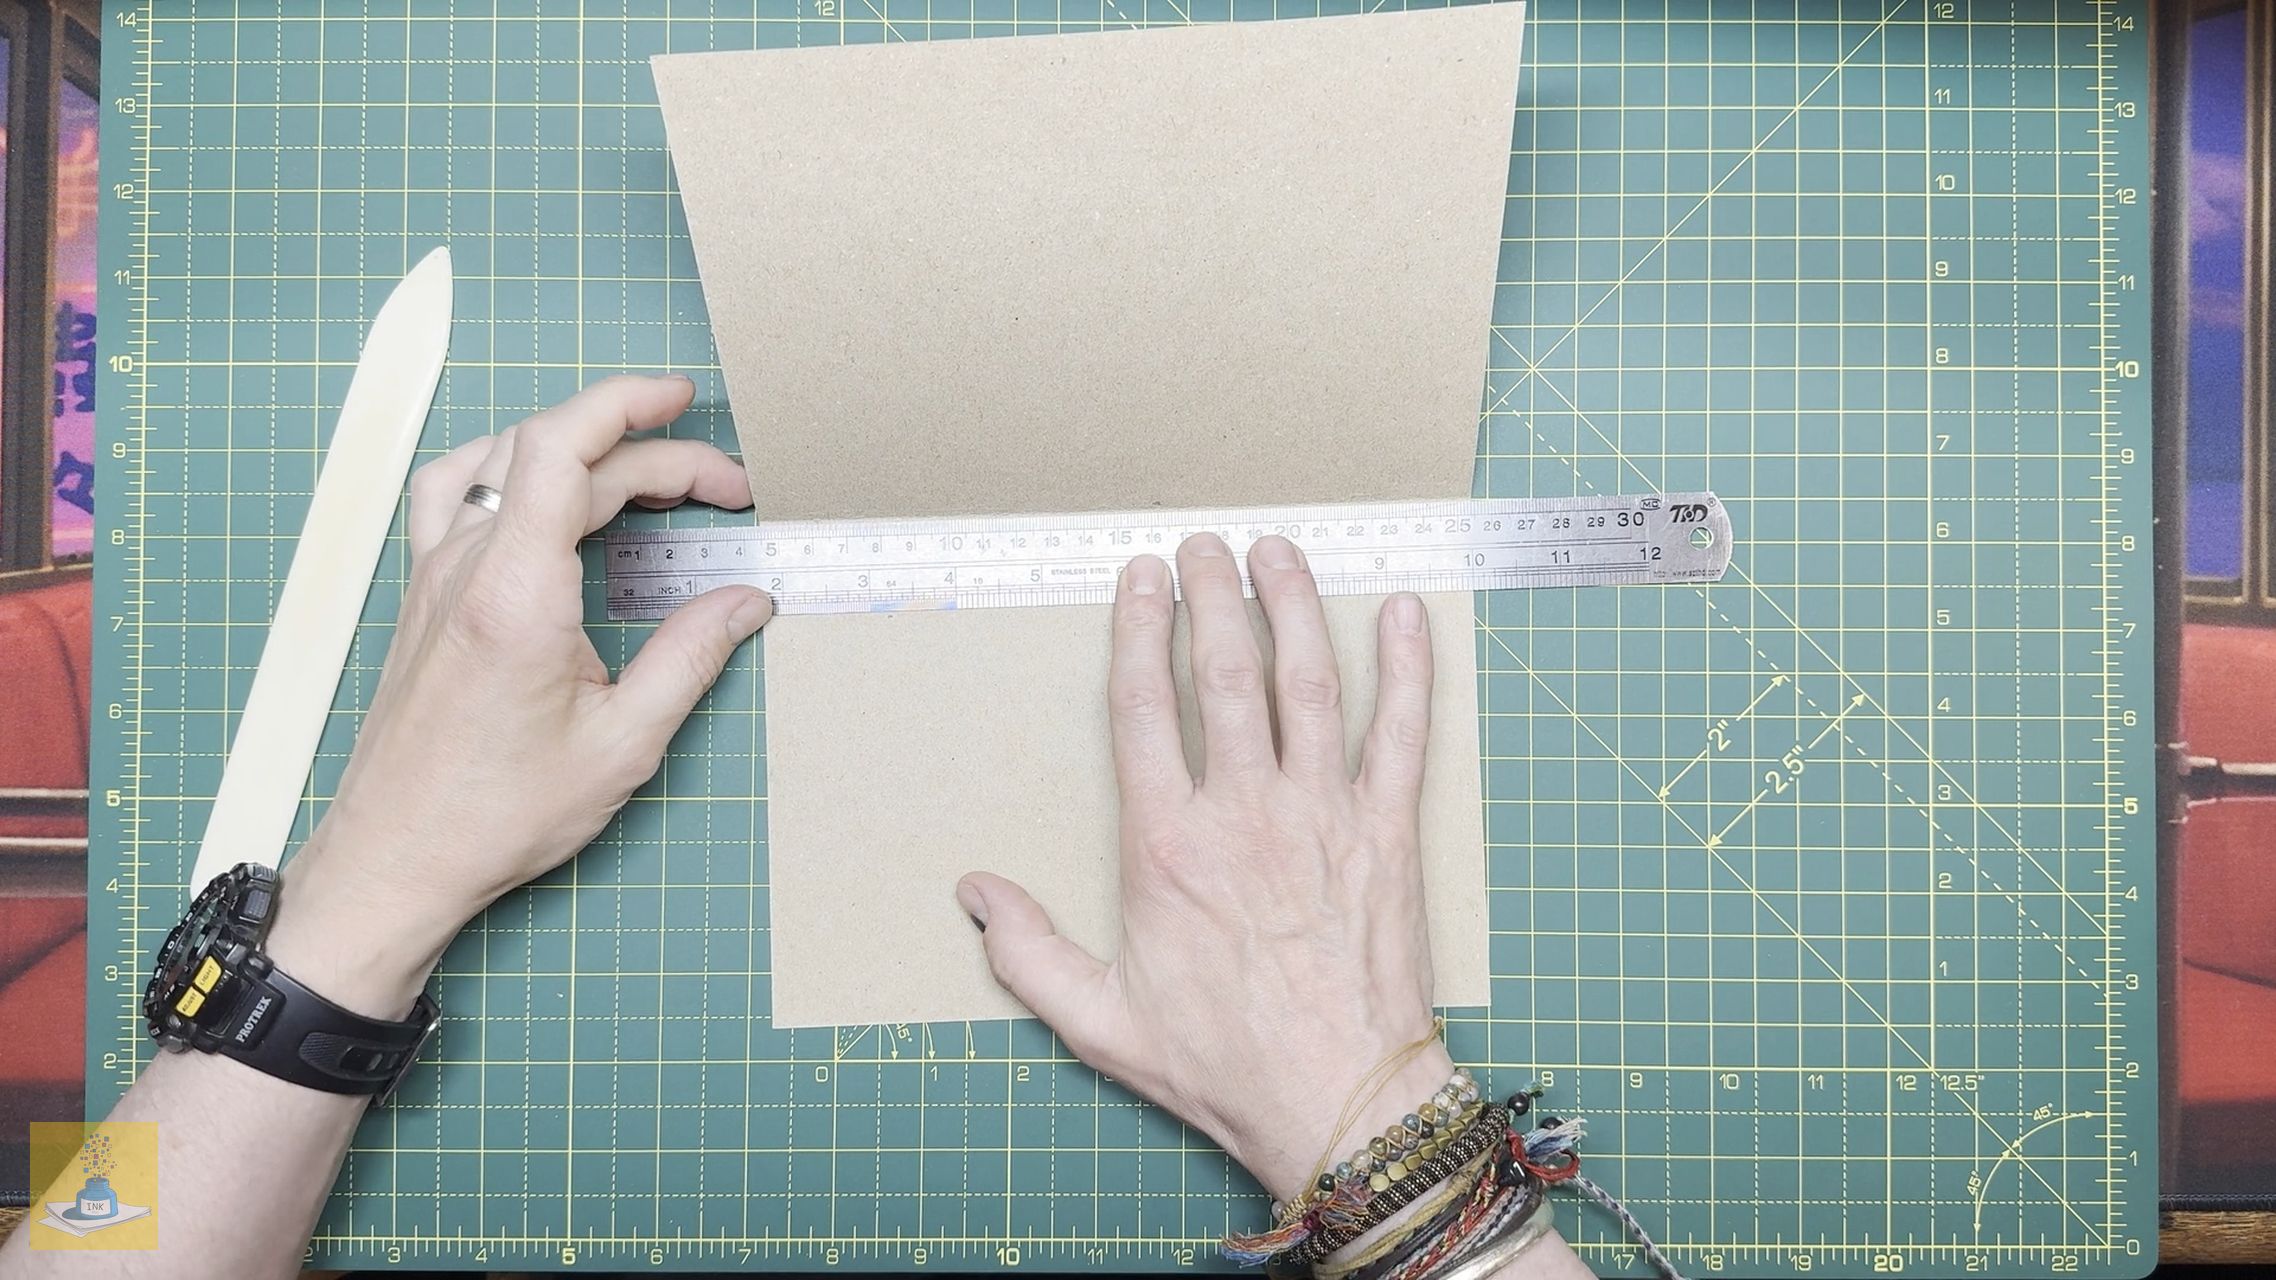
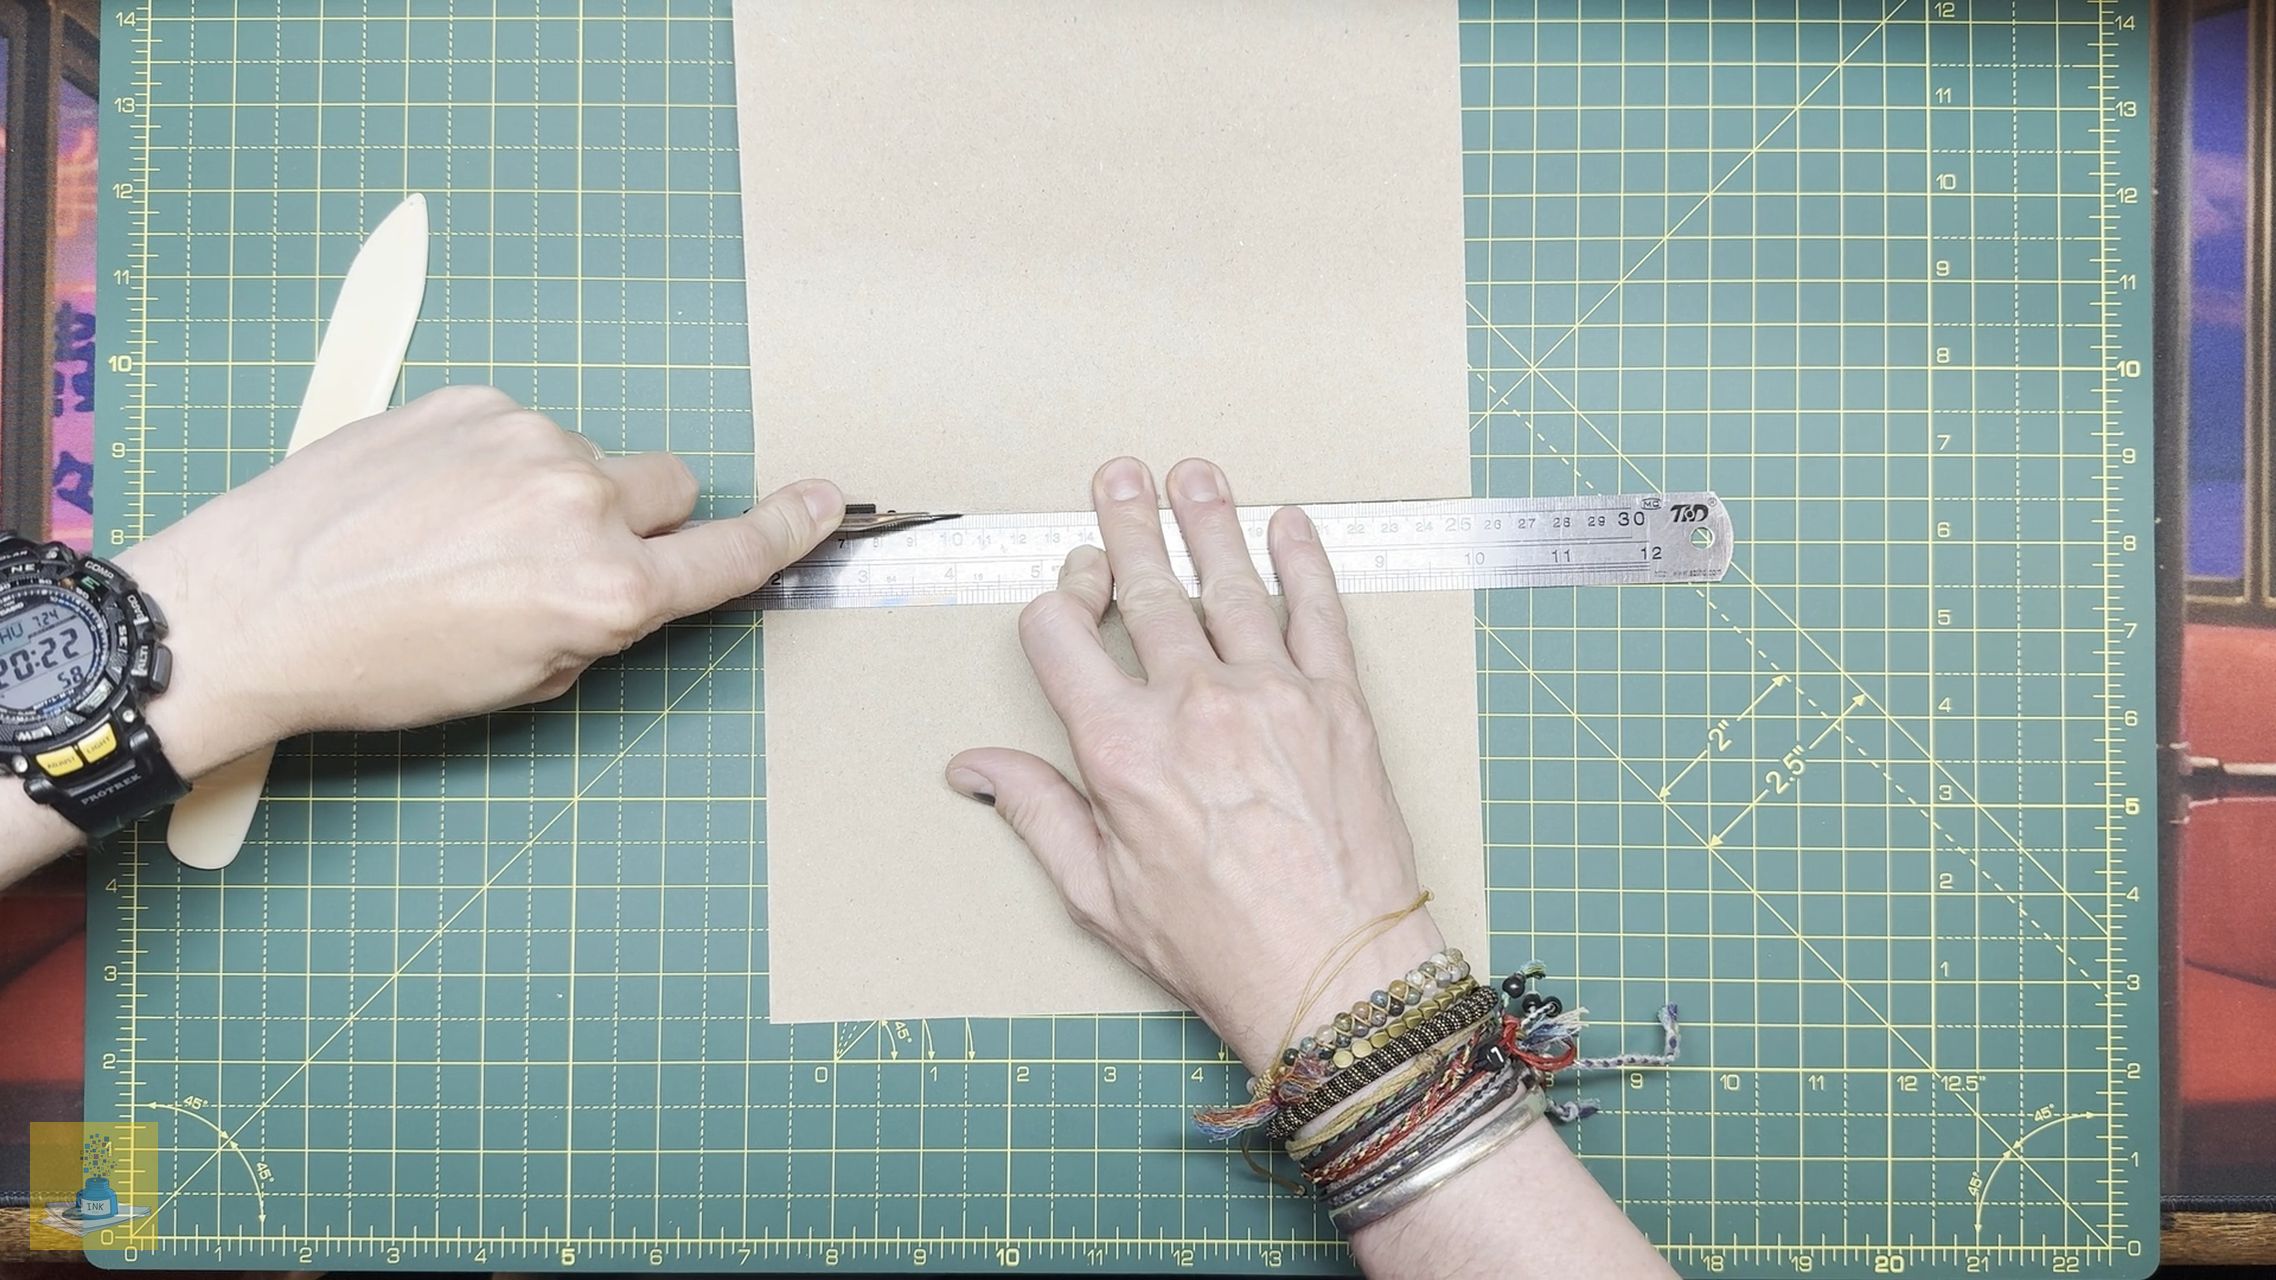
- Cut along the fold line to get two A5 sheets. You’ll only need one for this project.


And that’s it! If you want to add a patterned paper to the outside of the cover, you can continue with the next section “Covering your Cover“.
Covering Your Cover
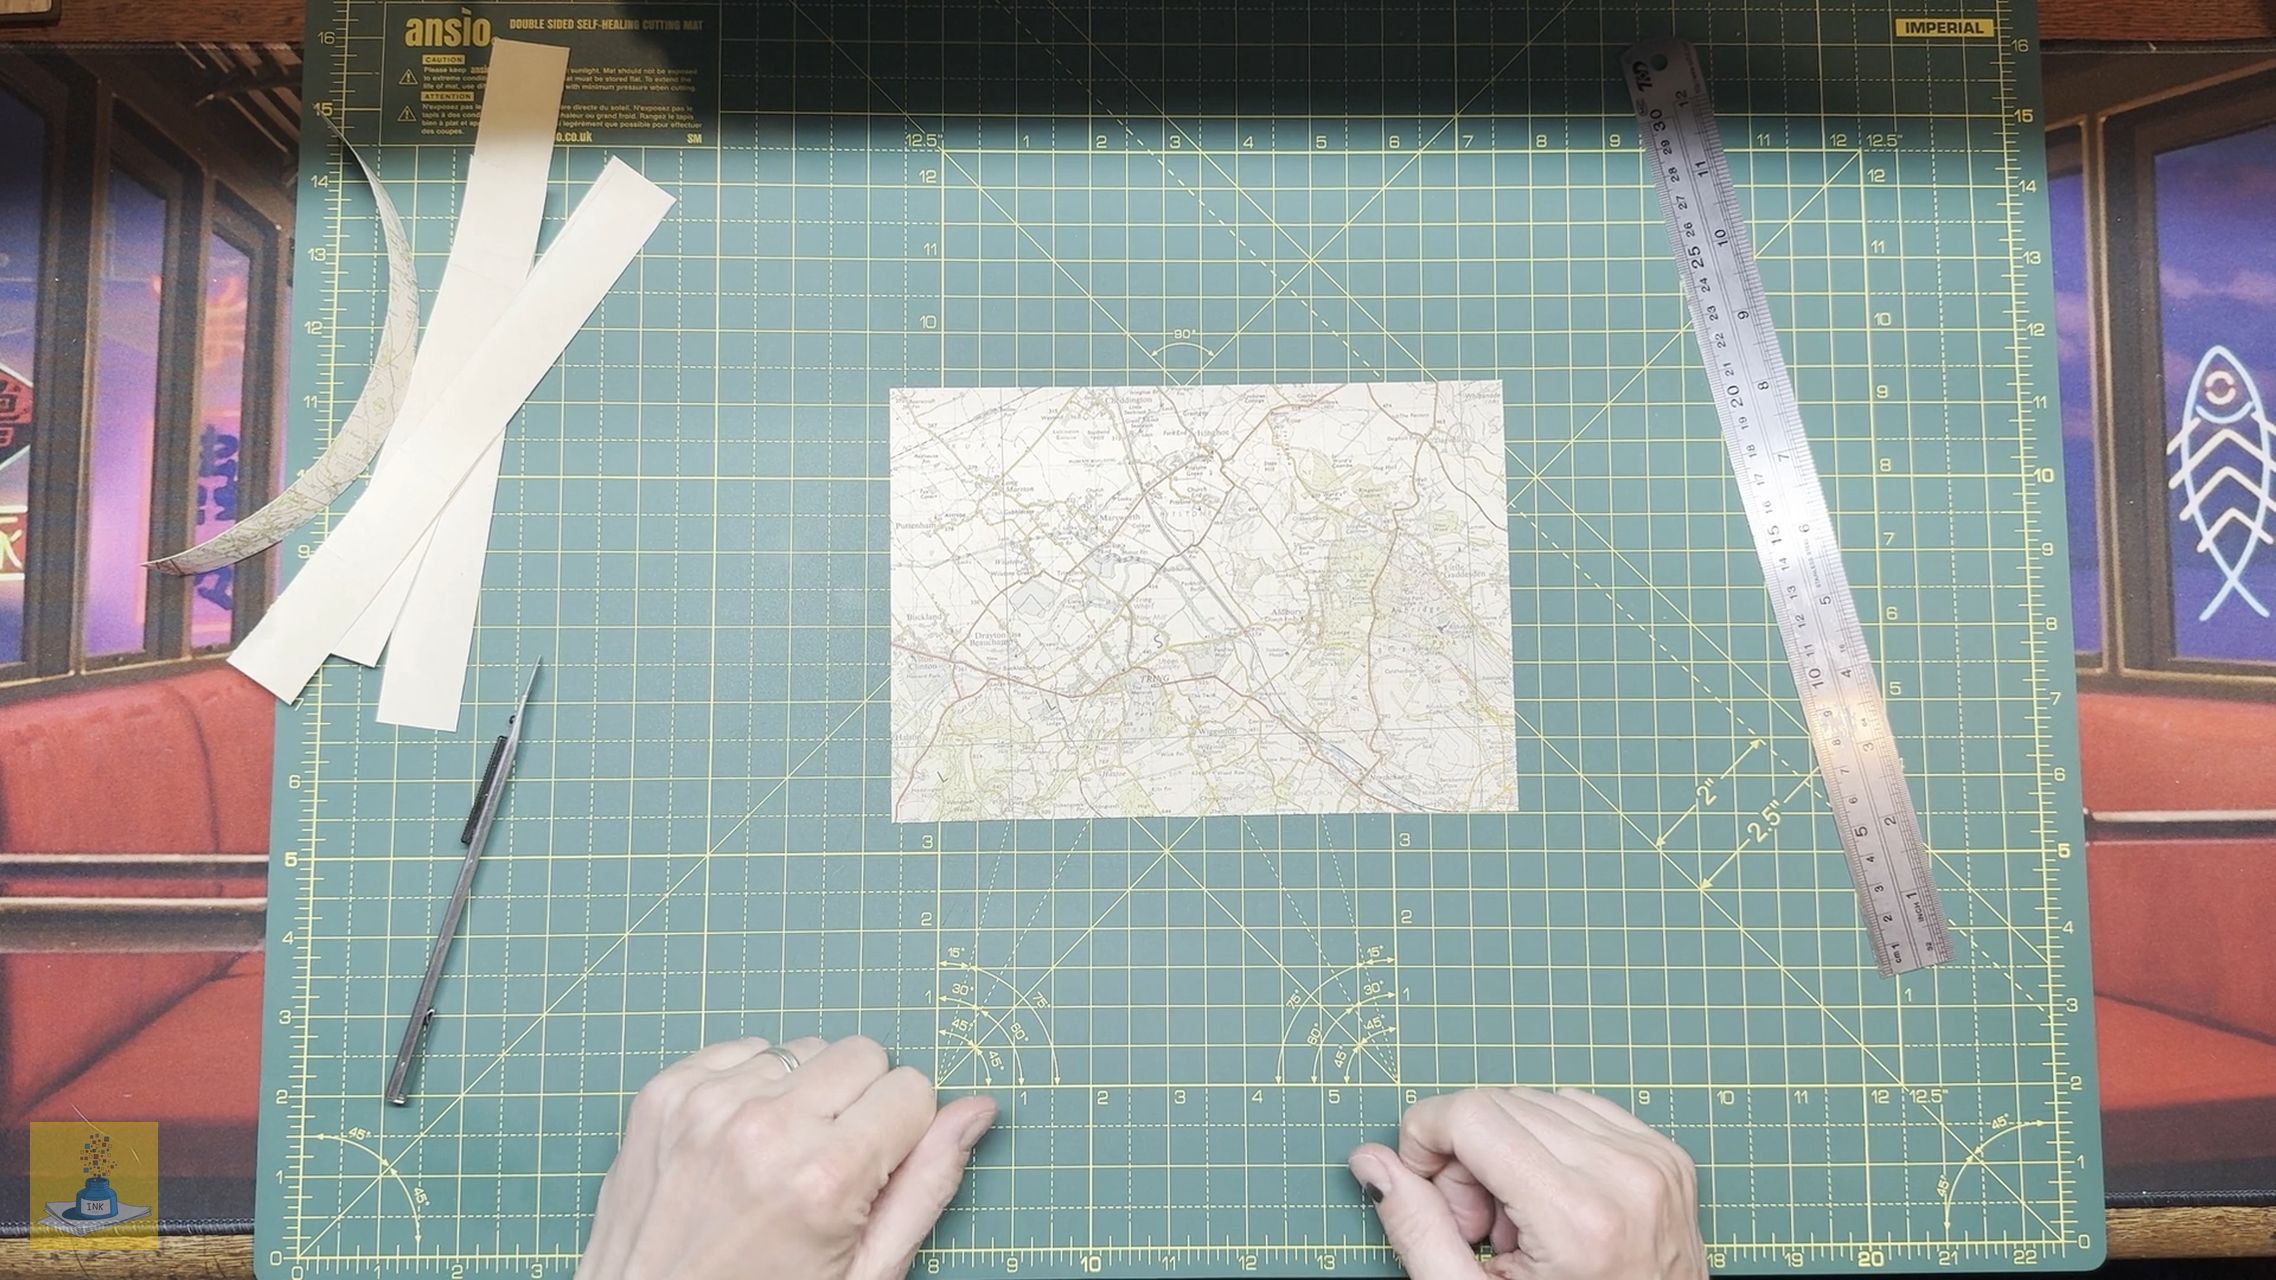
- Find a patterned paper you like. For example you could use a page from an old comic book, which can look pretty cool! Here I will be using an a section from an old Ordnace map from the 1950’s.

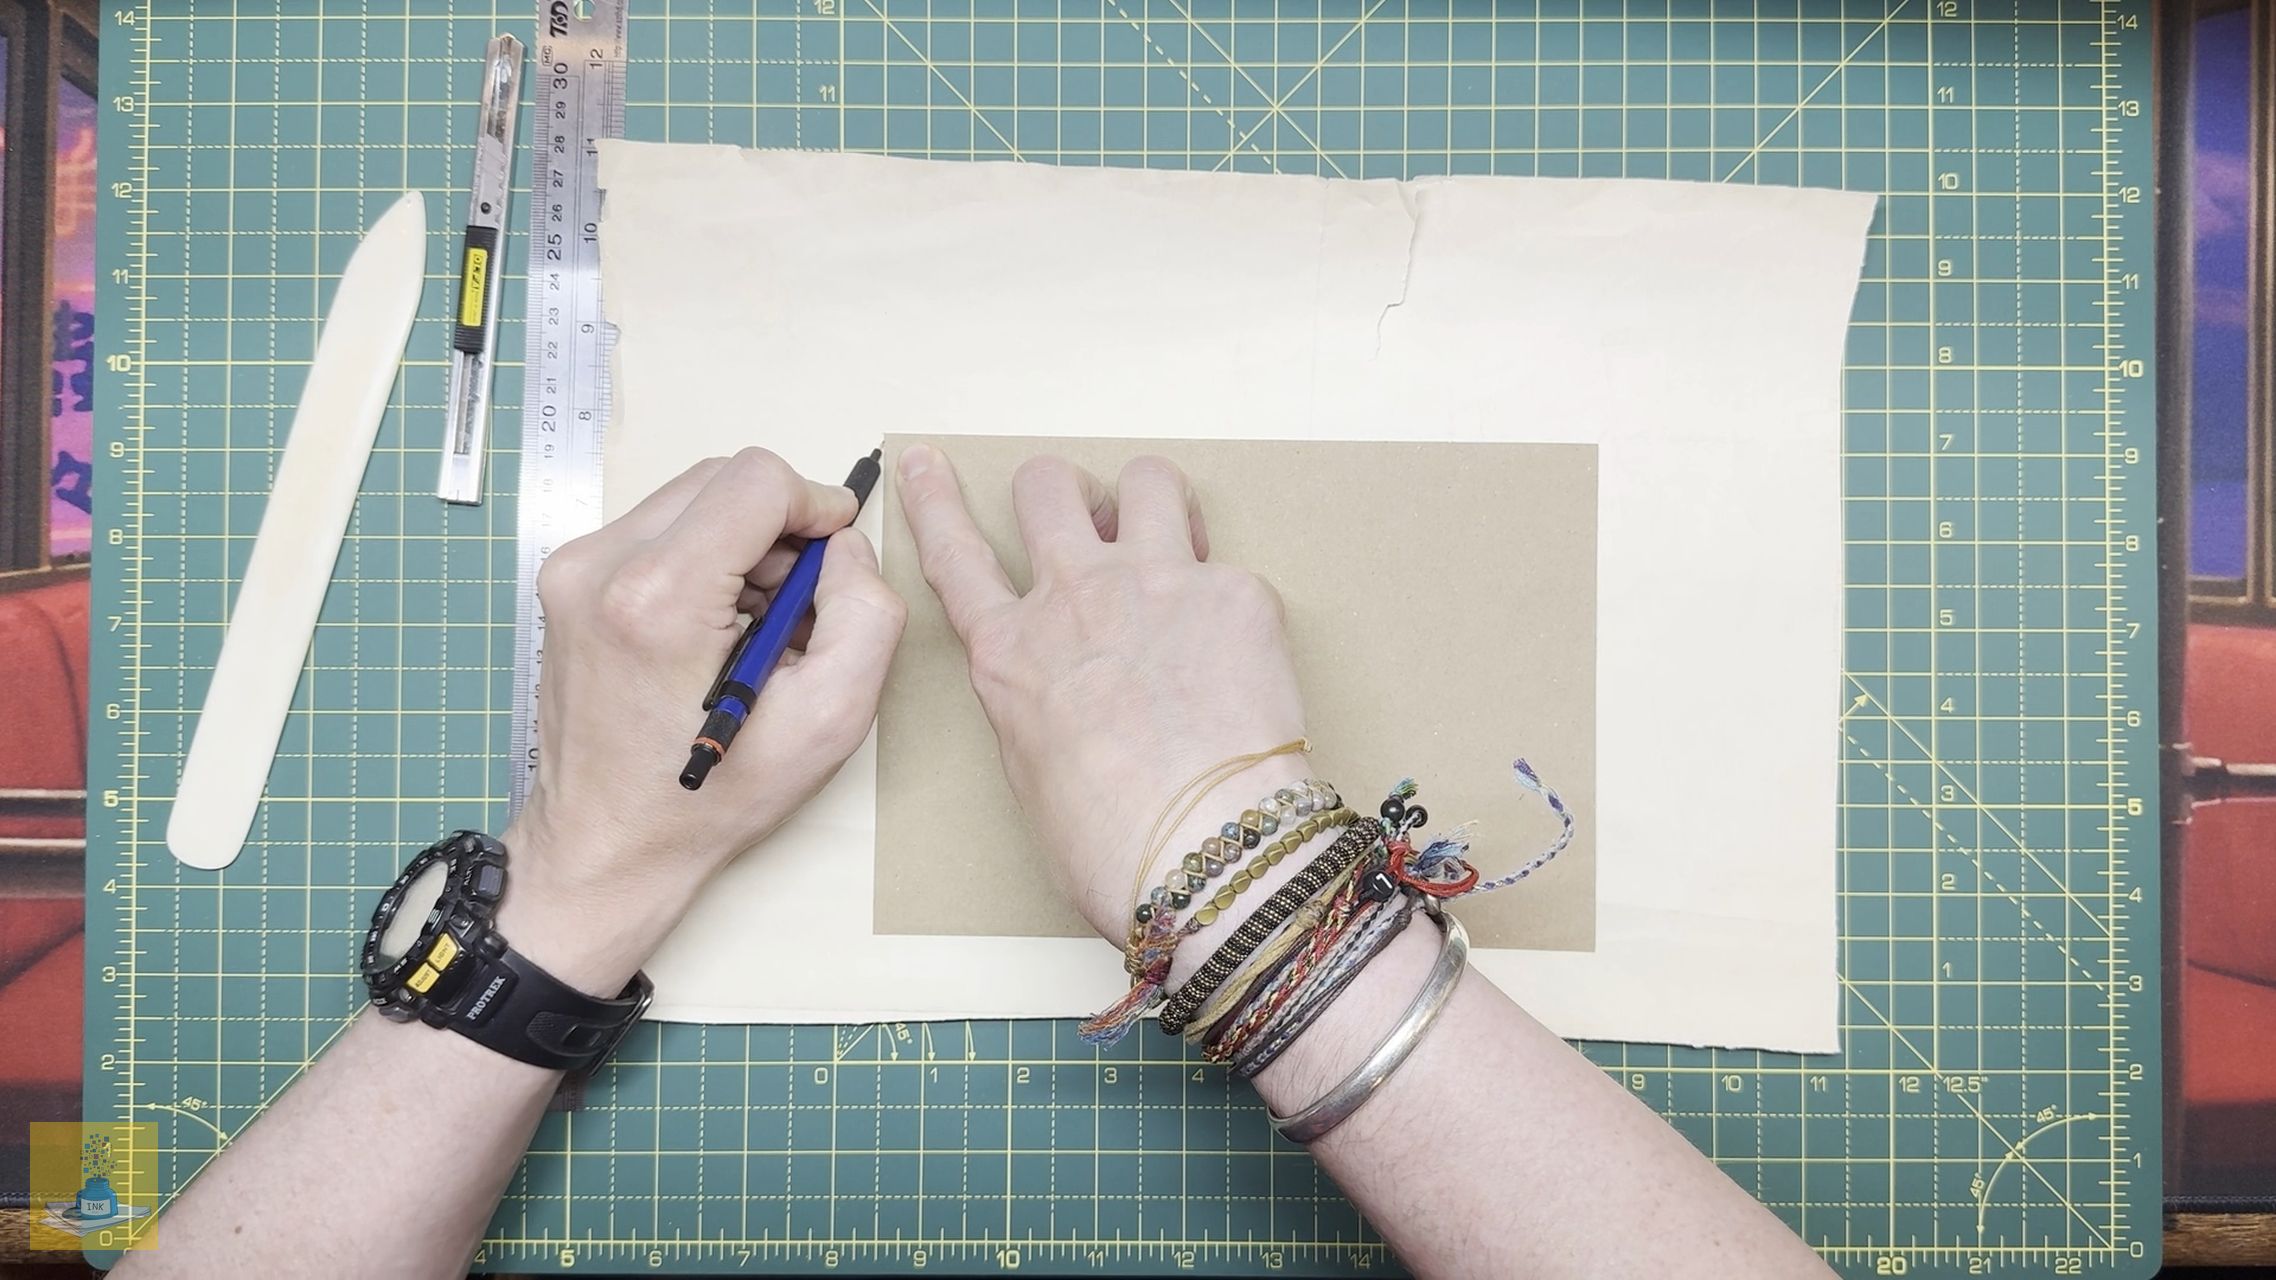
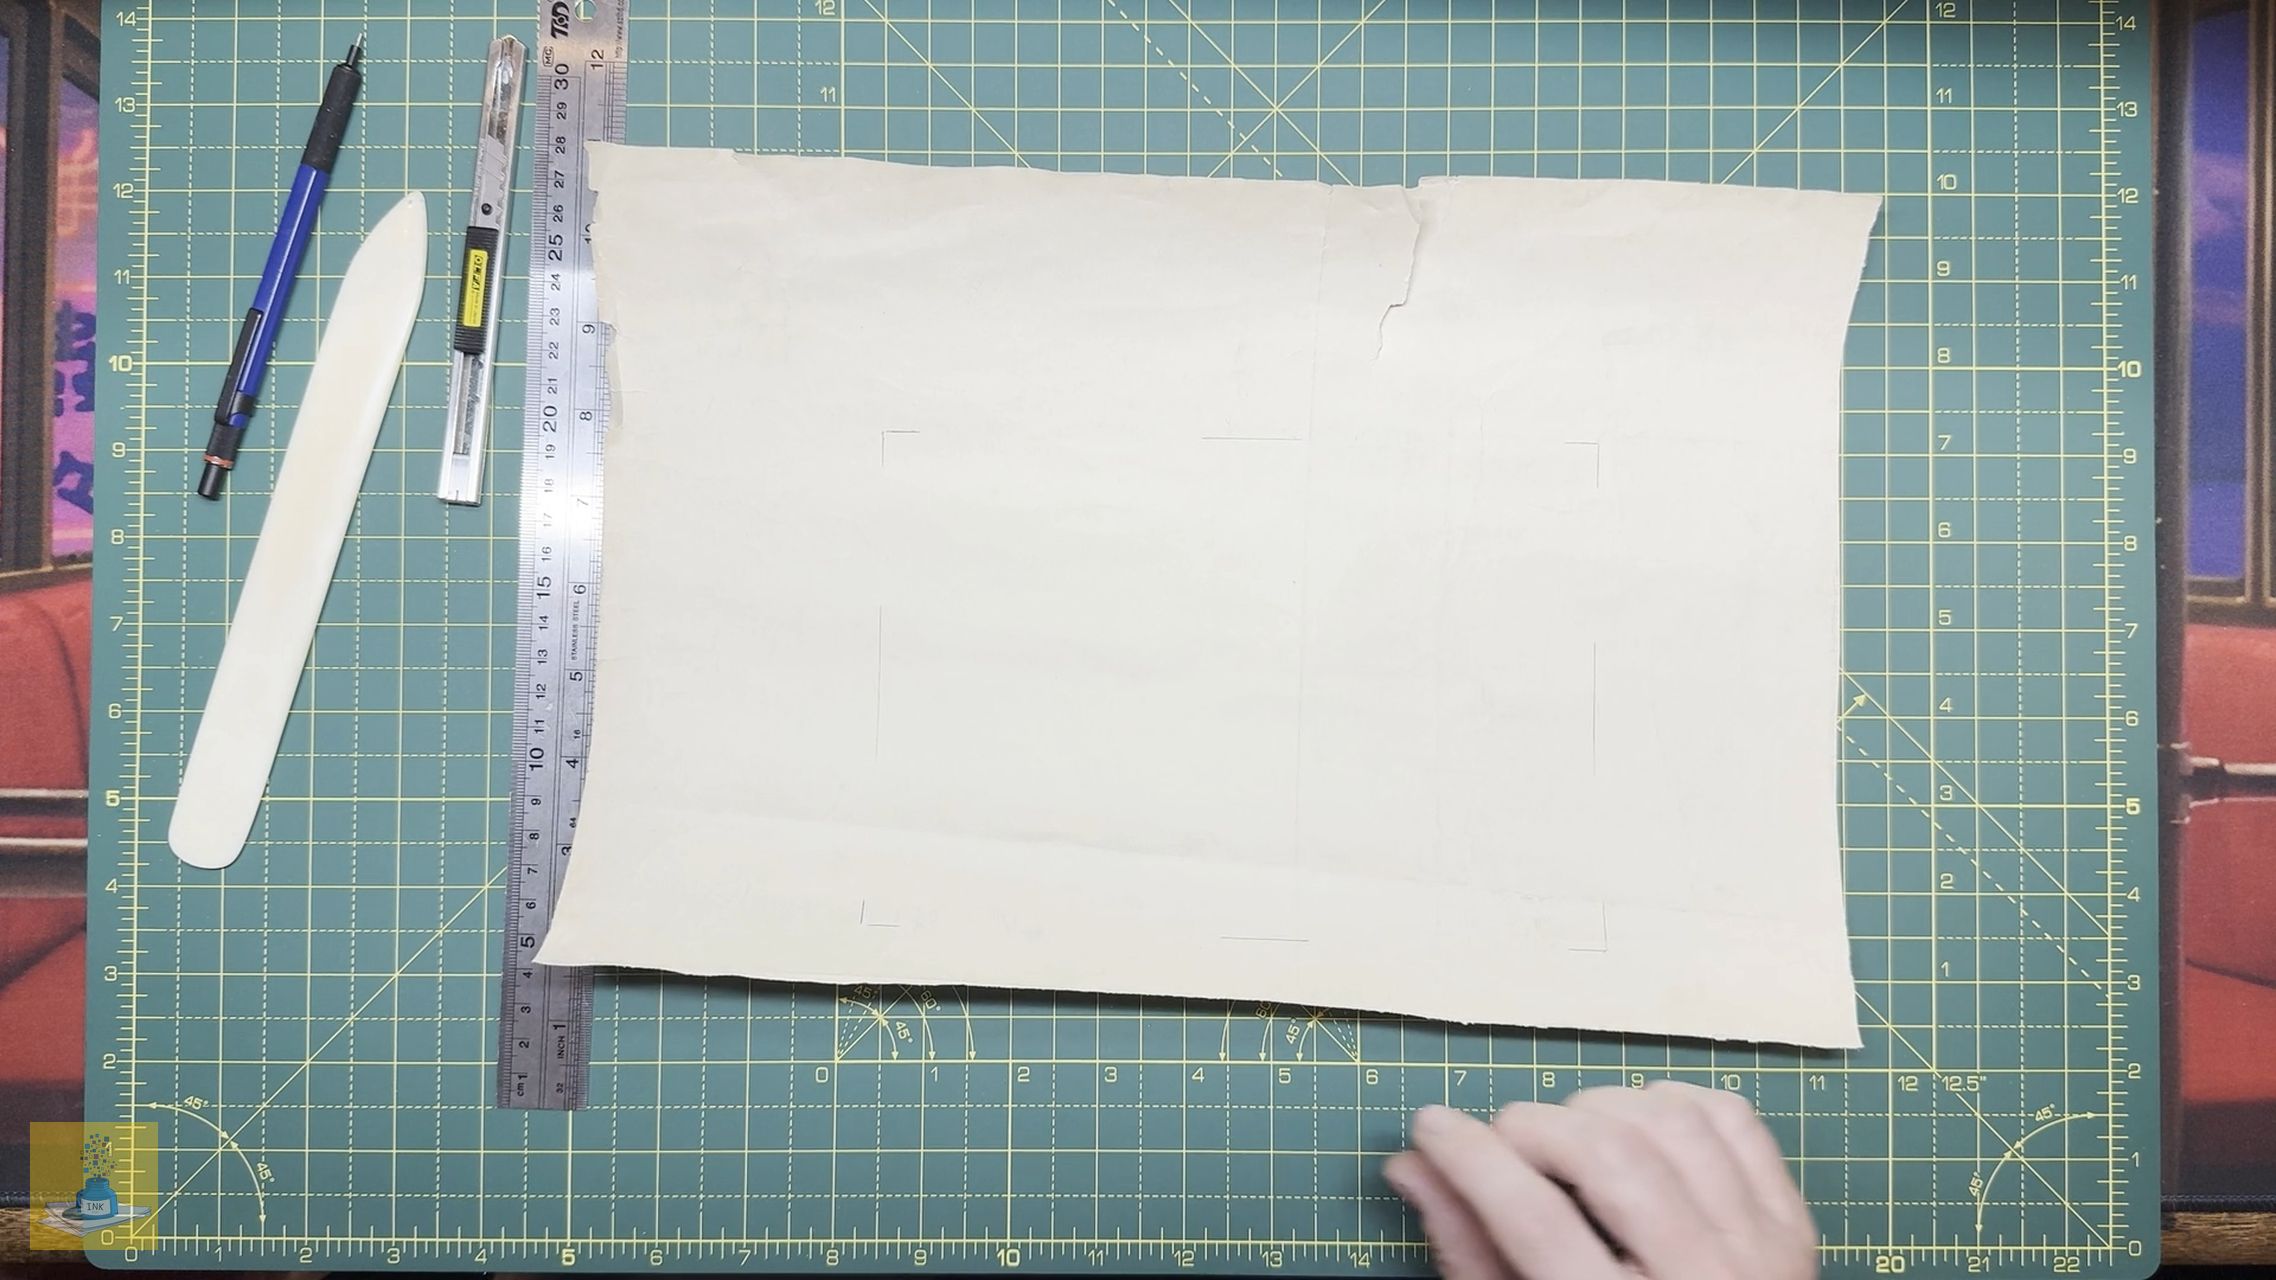
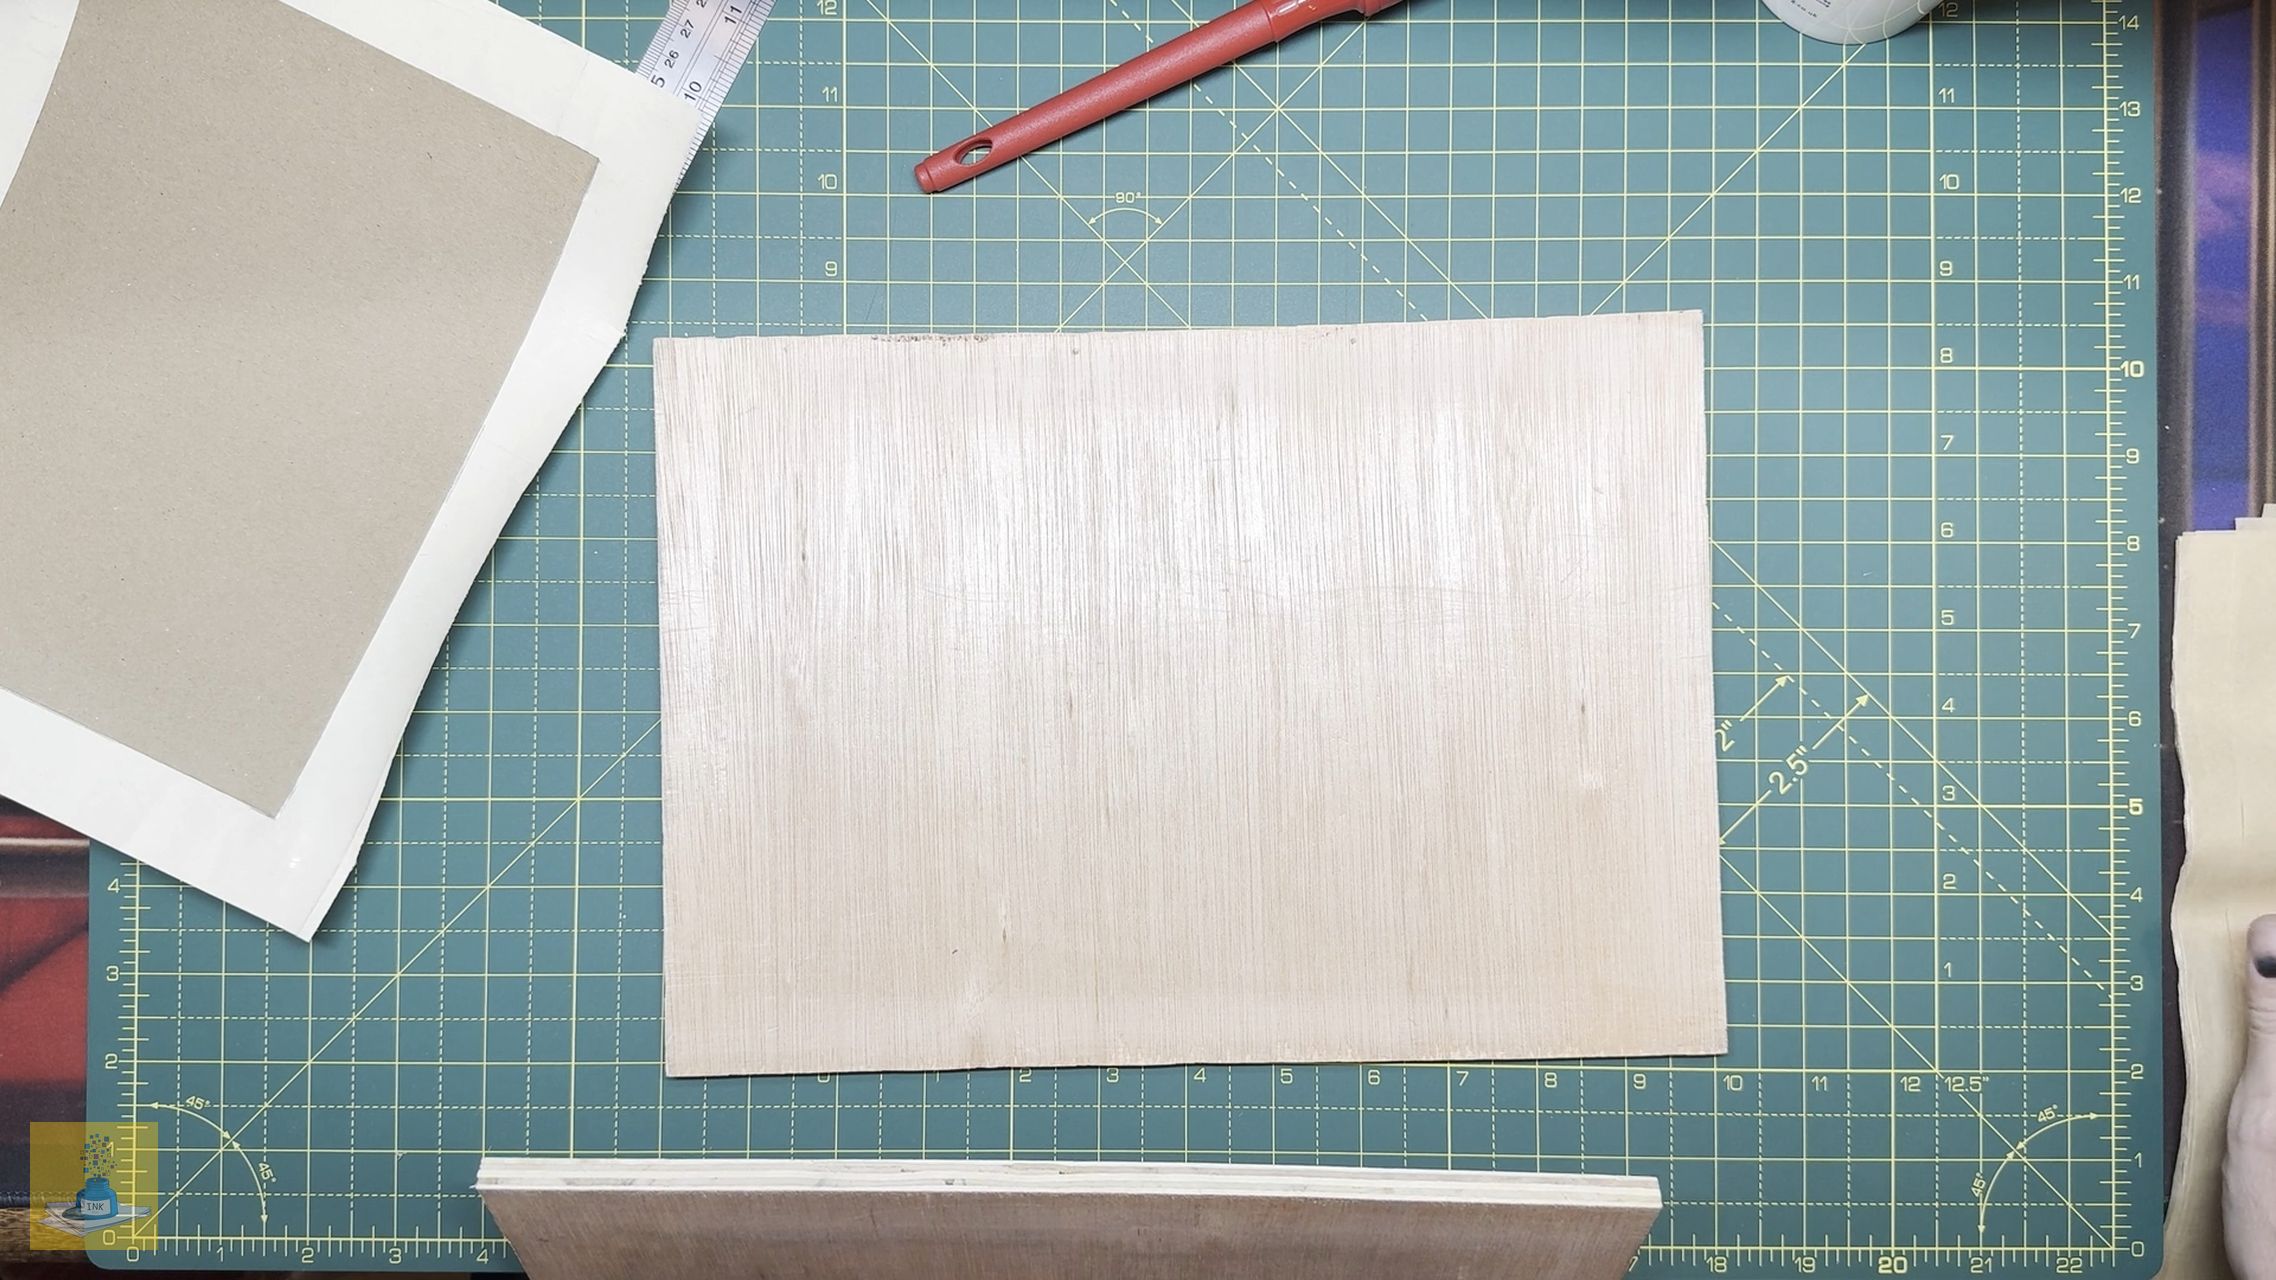
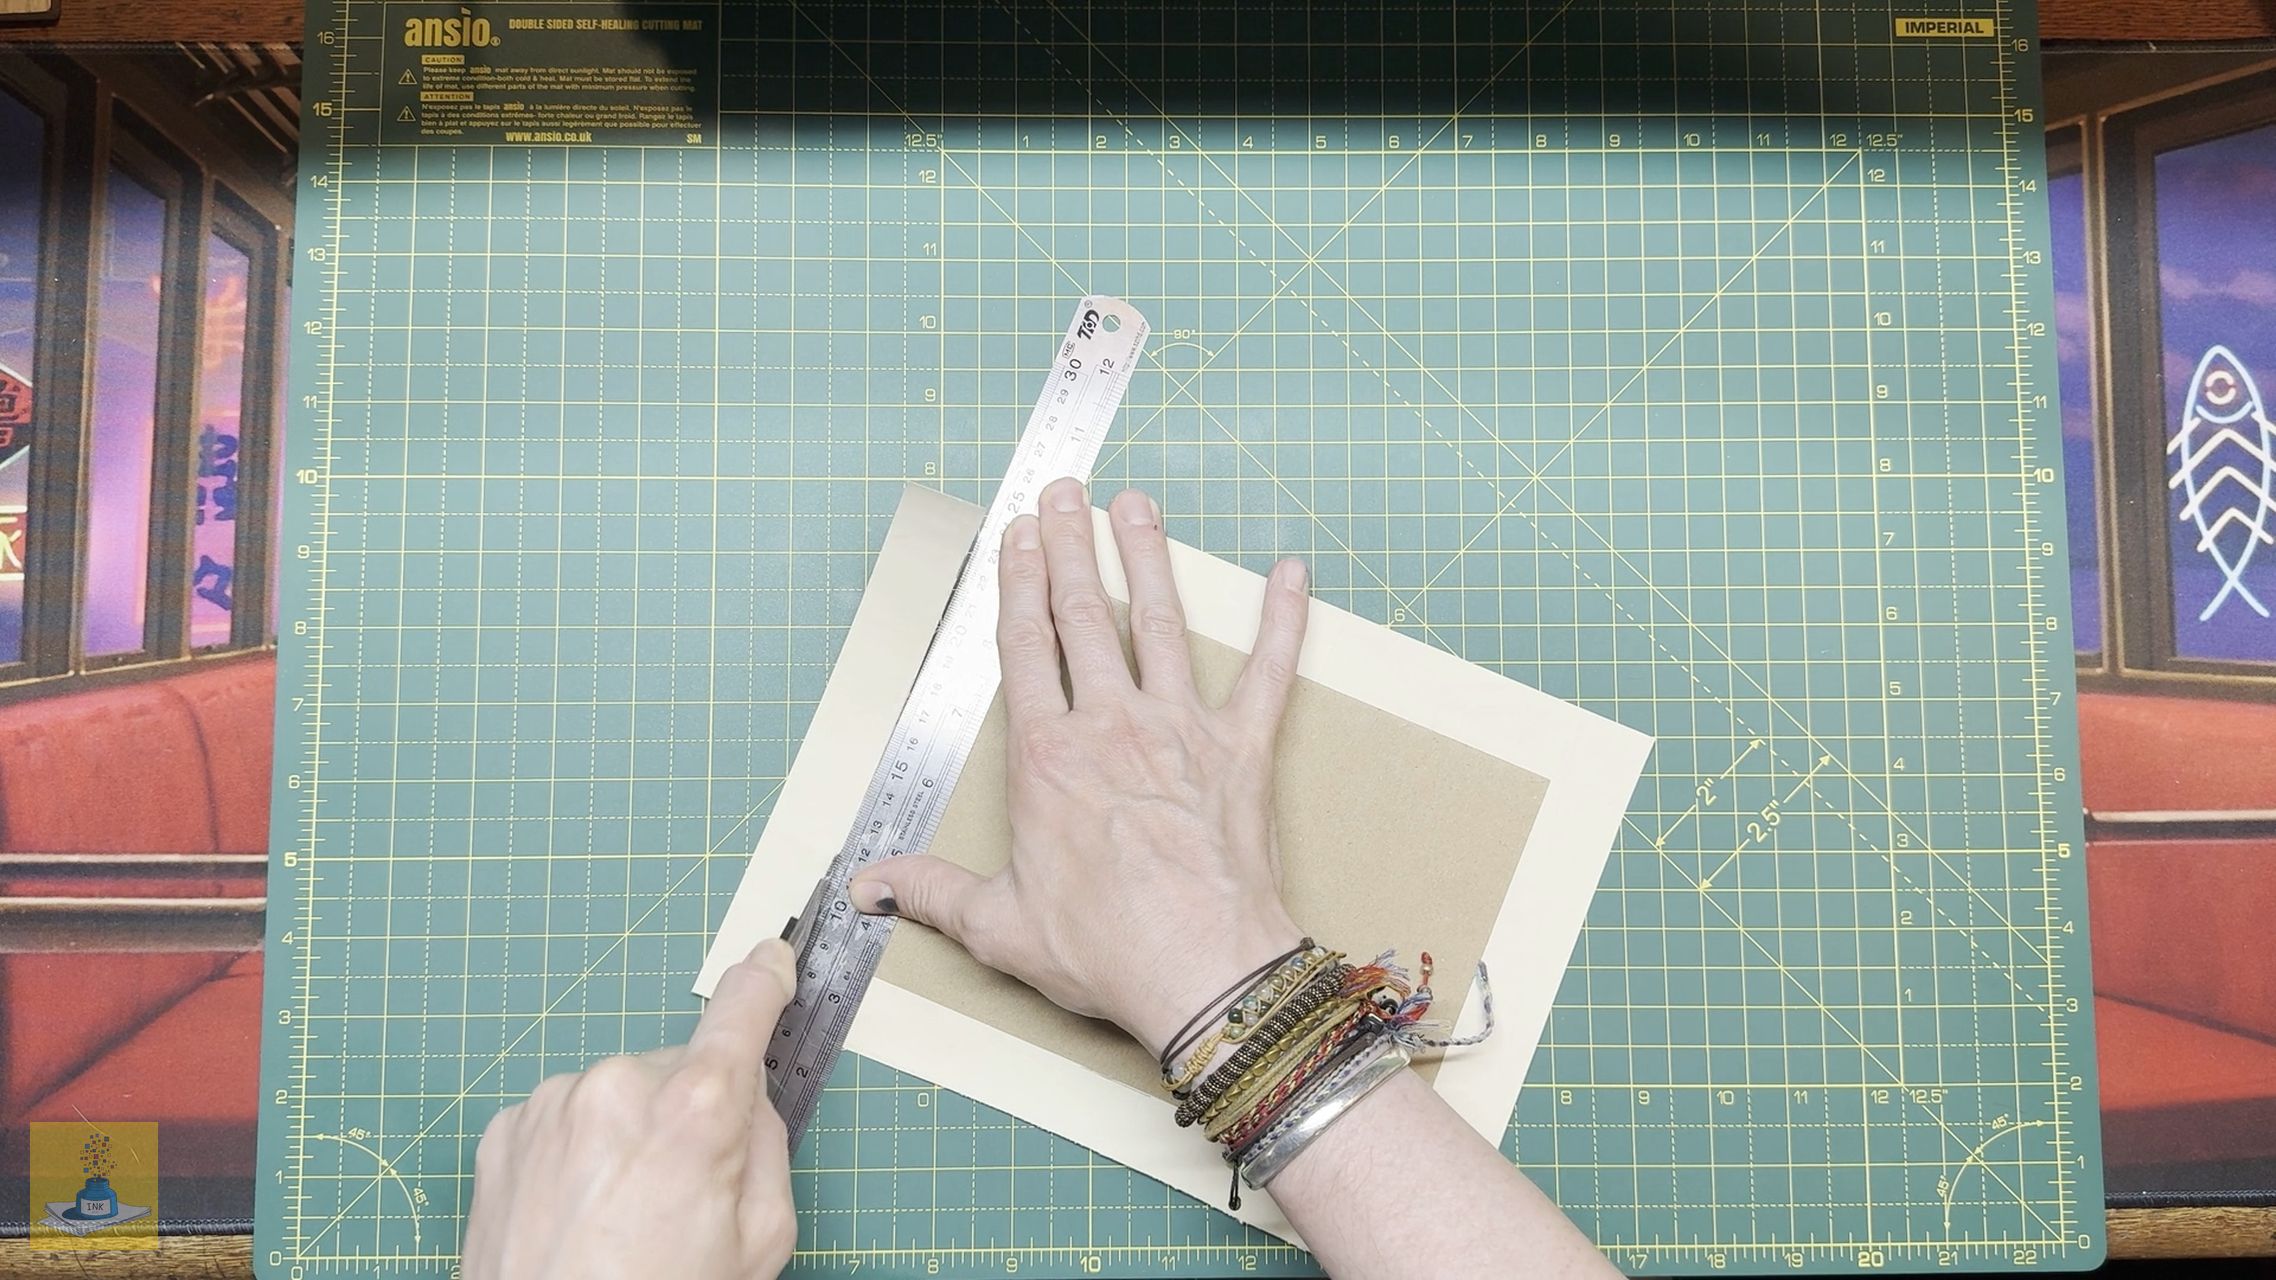
- Lay your A5 card on top of the paper and mark around it, leaving at least a rules width margin or more. Mark the corners of the card on the paper to help you line things up later.


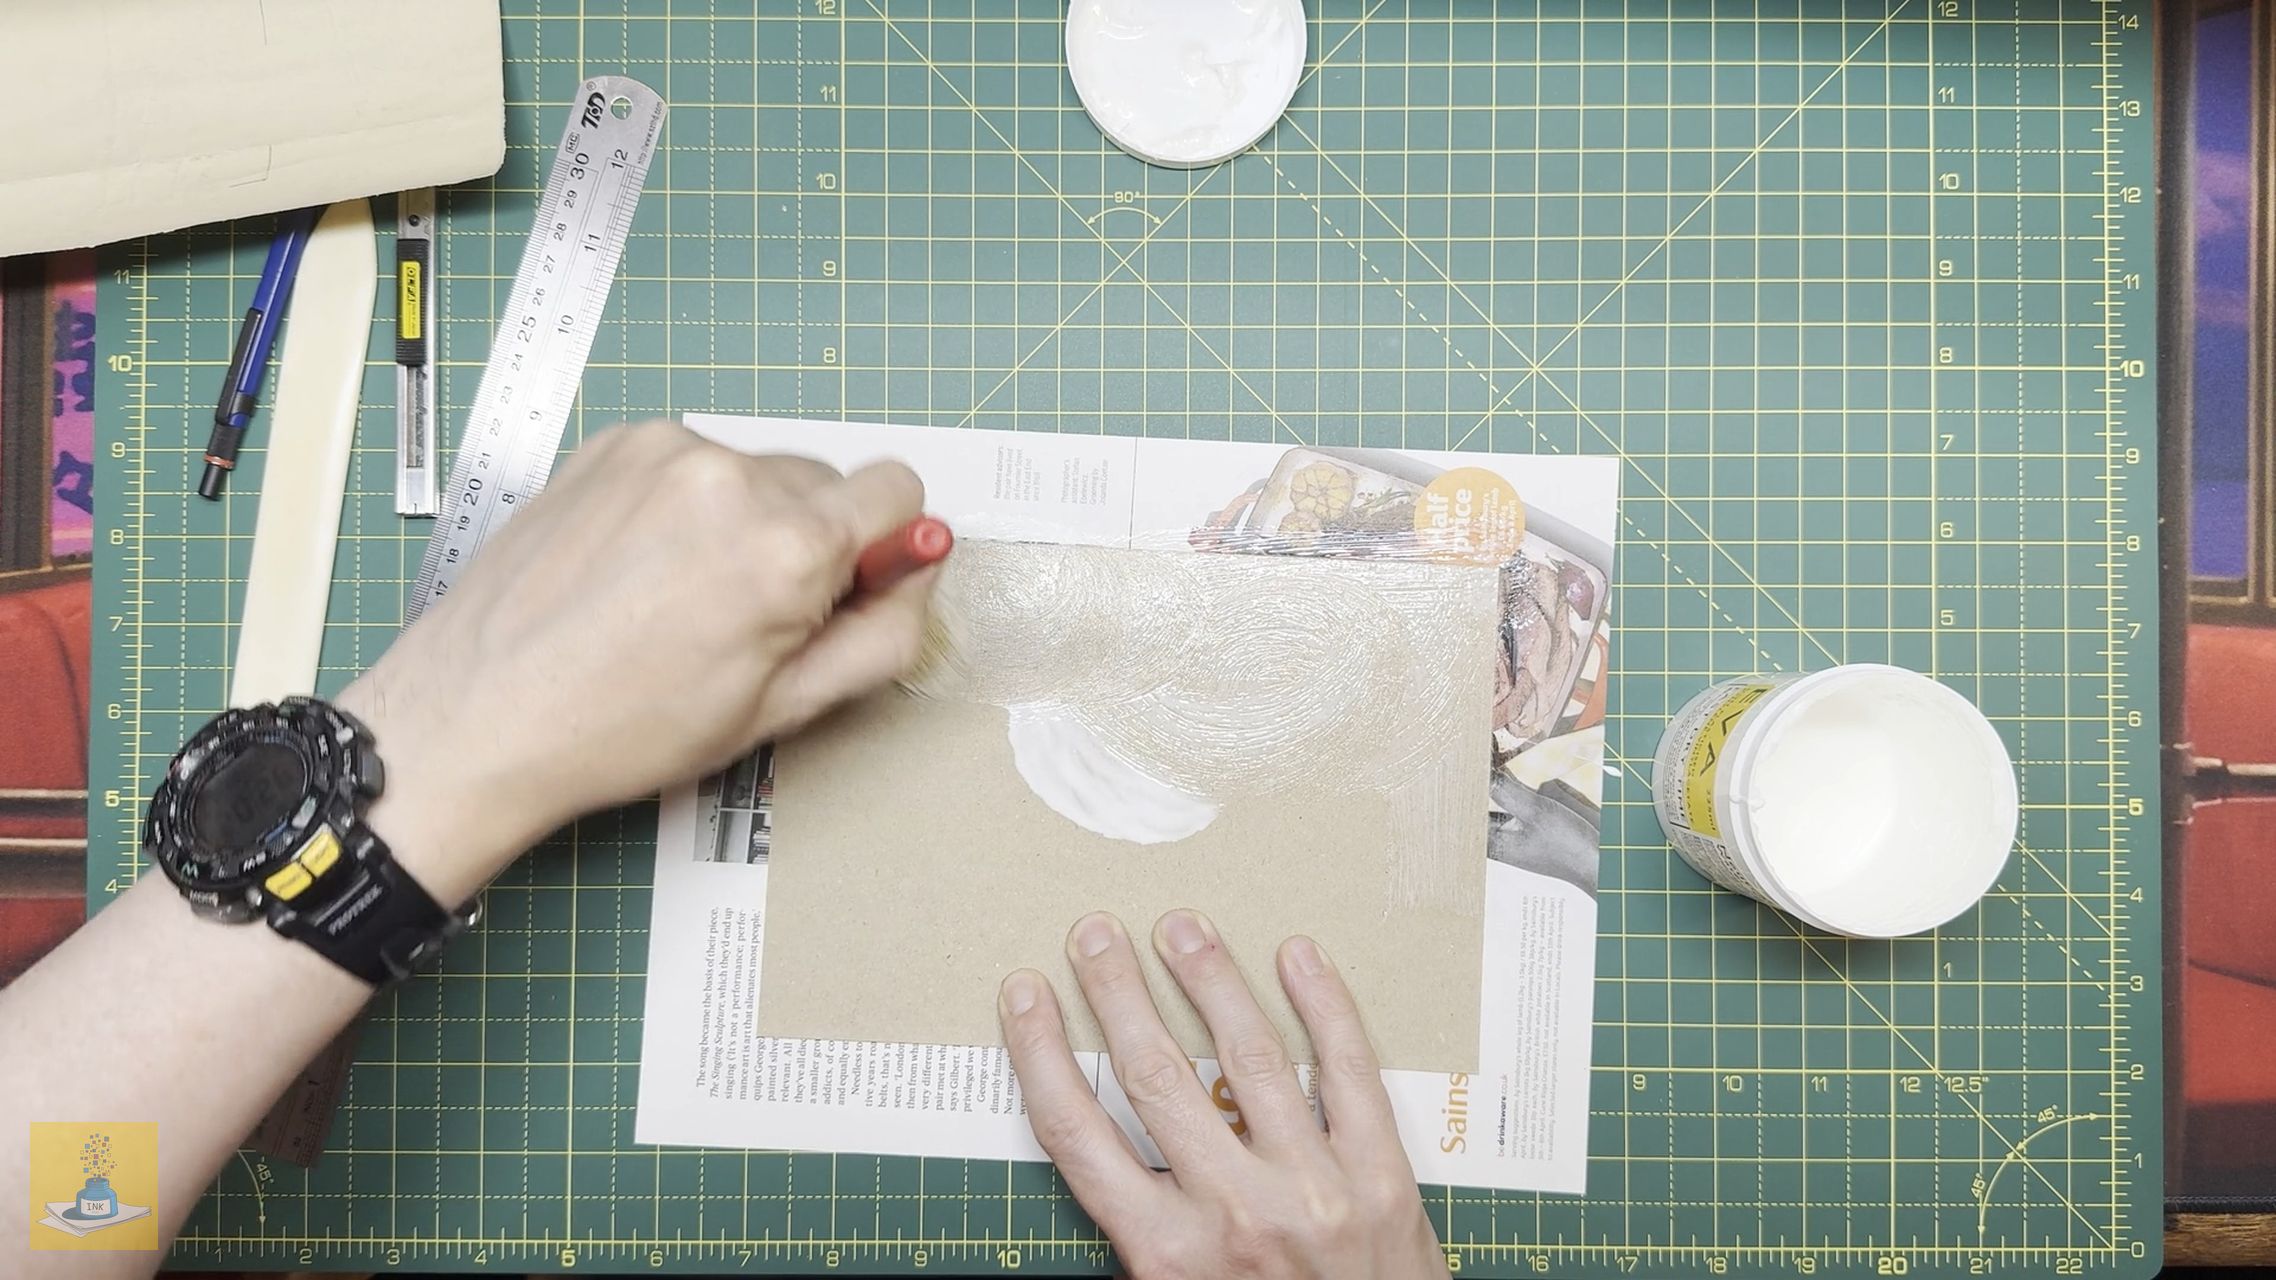
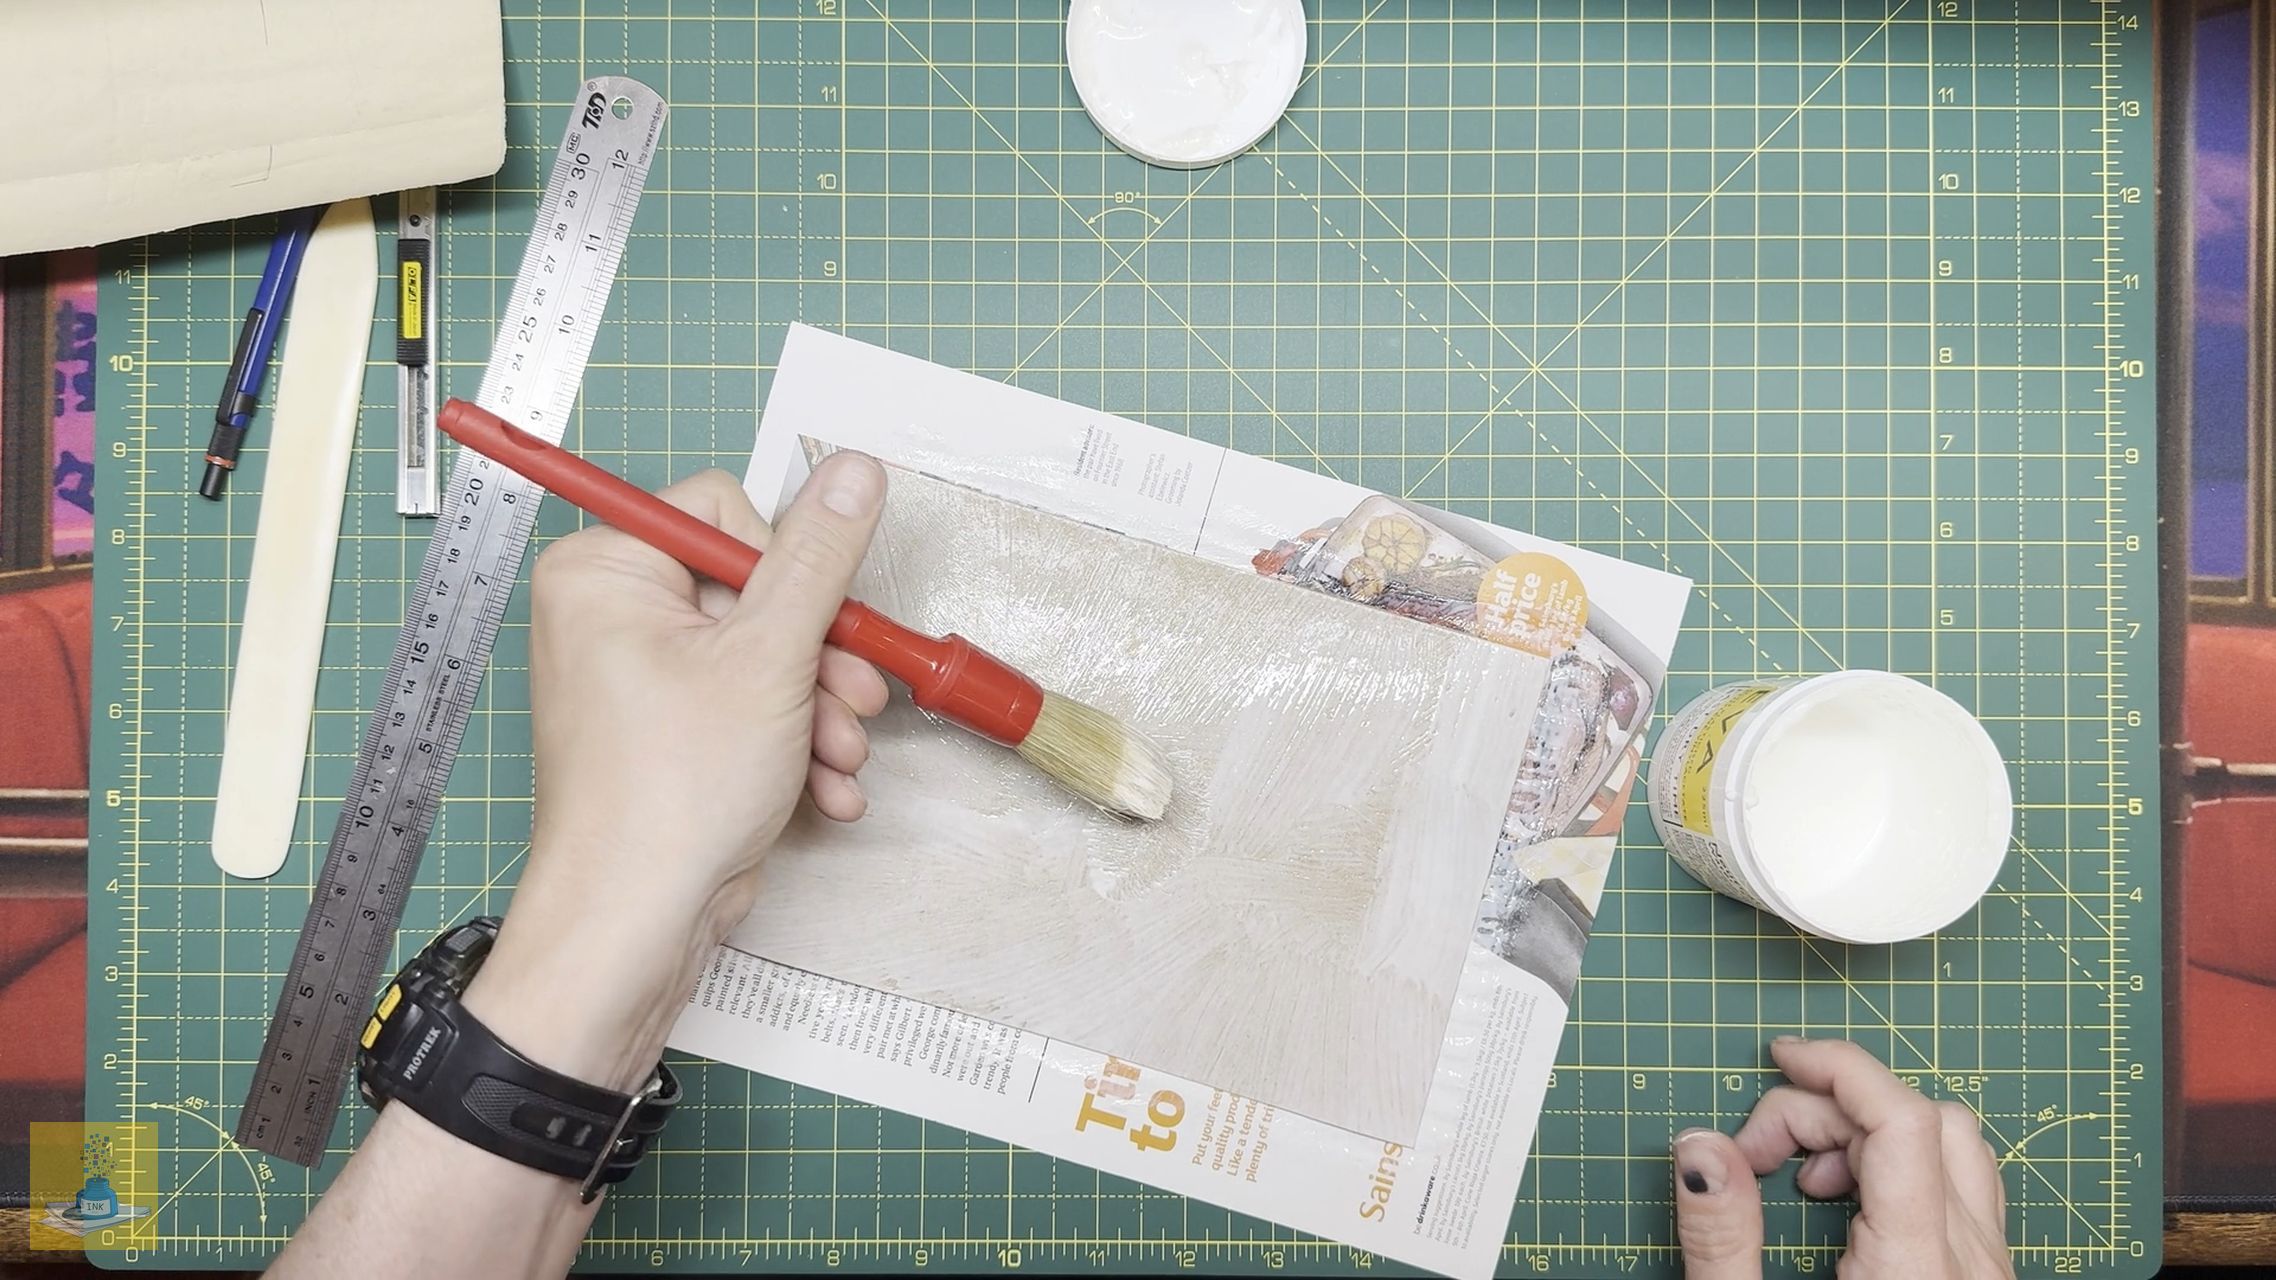
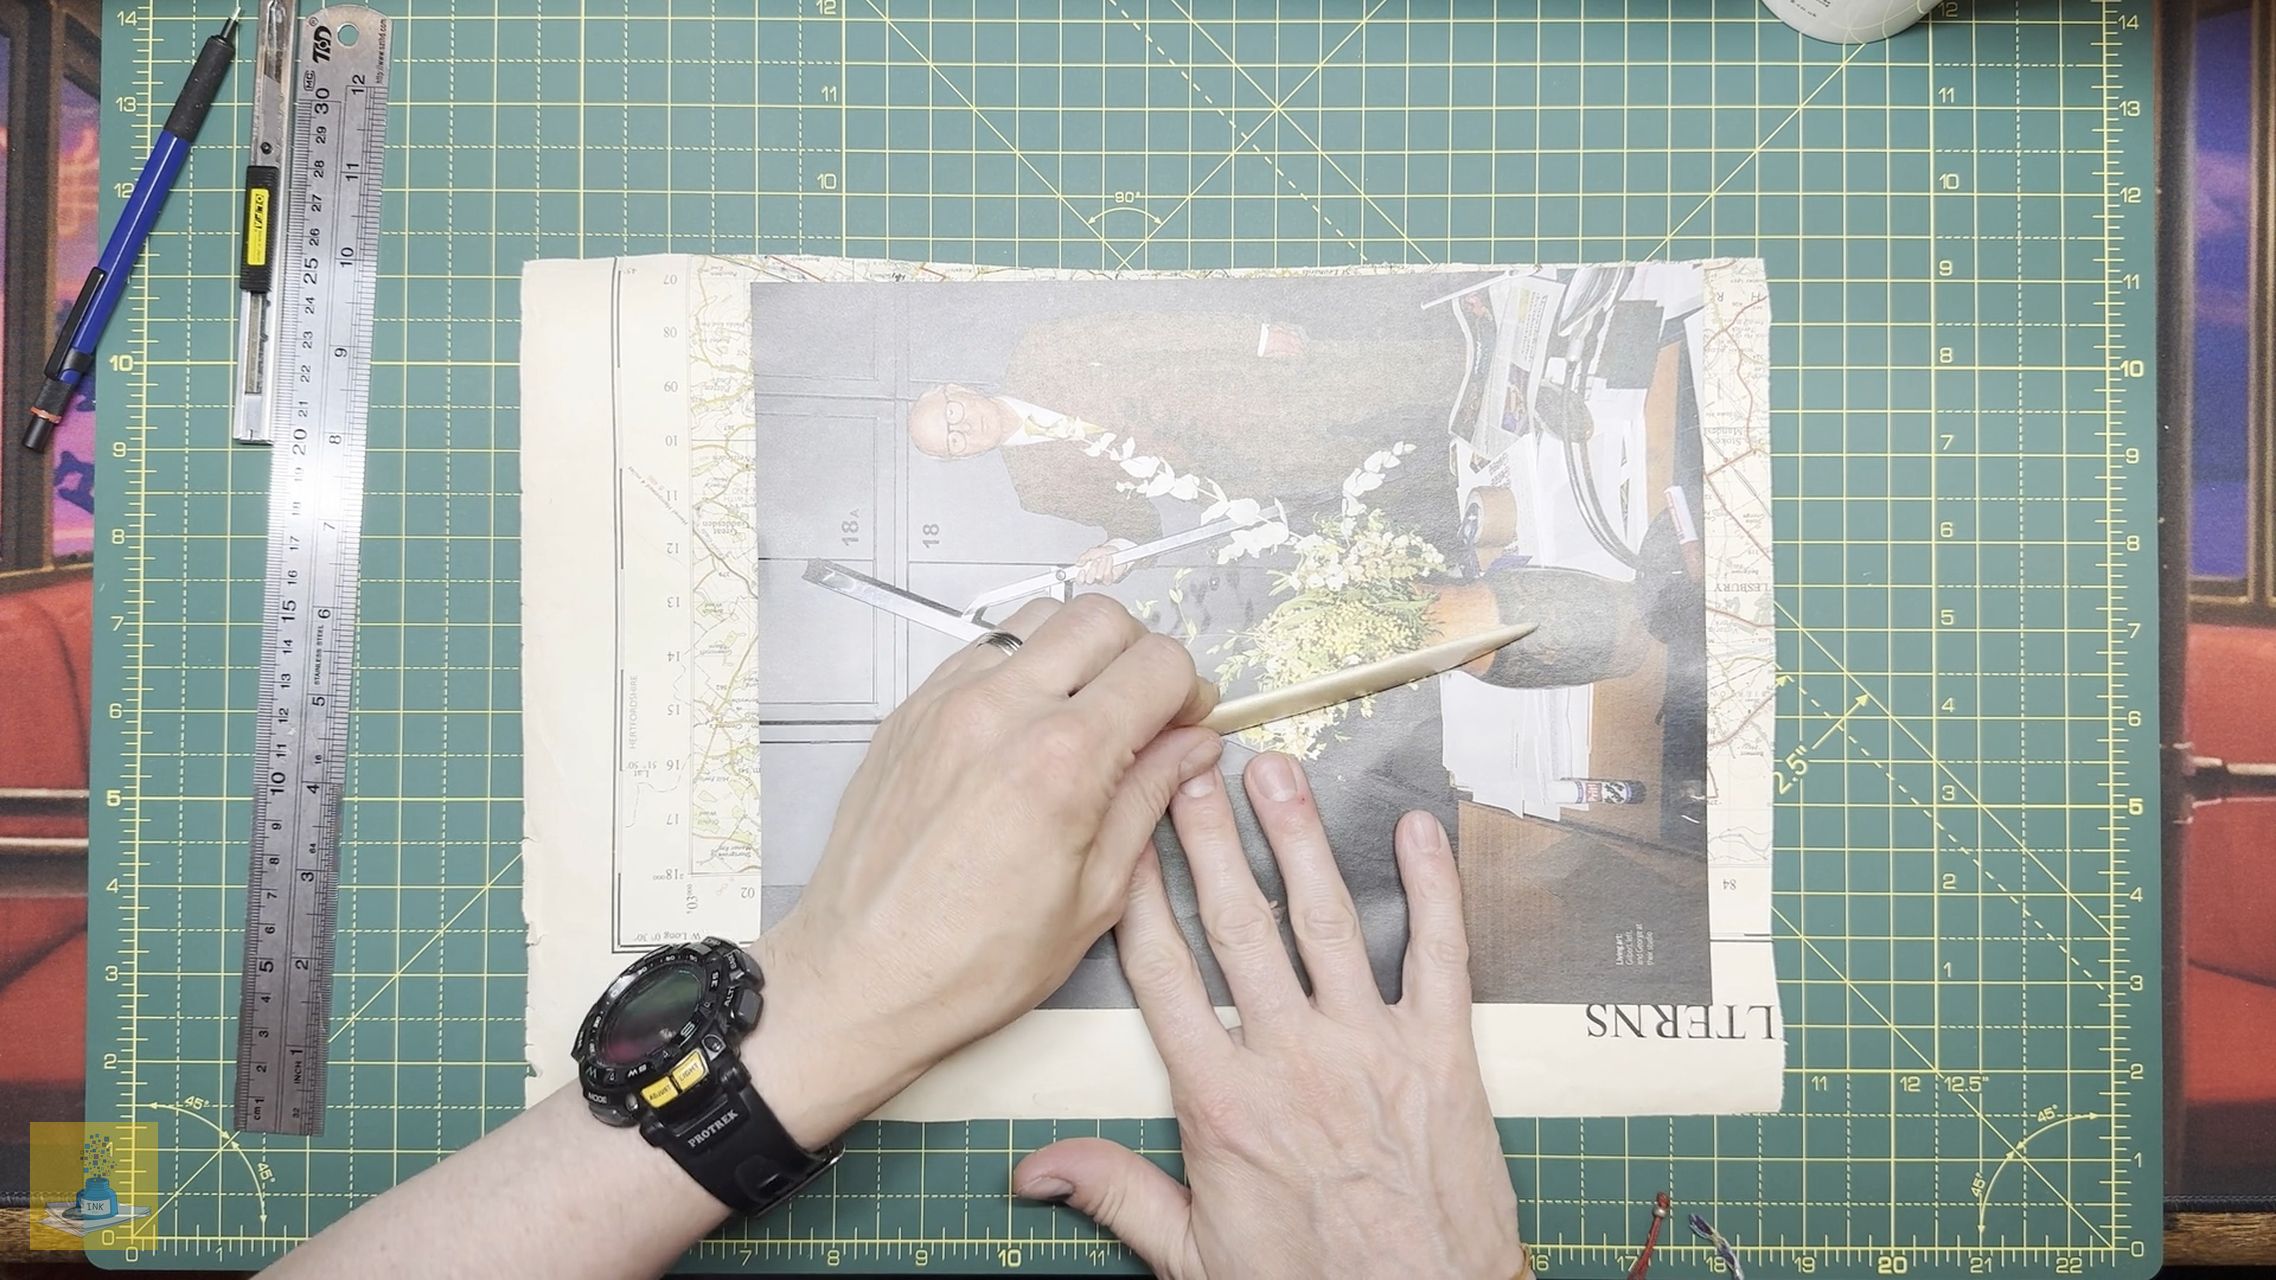
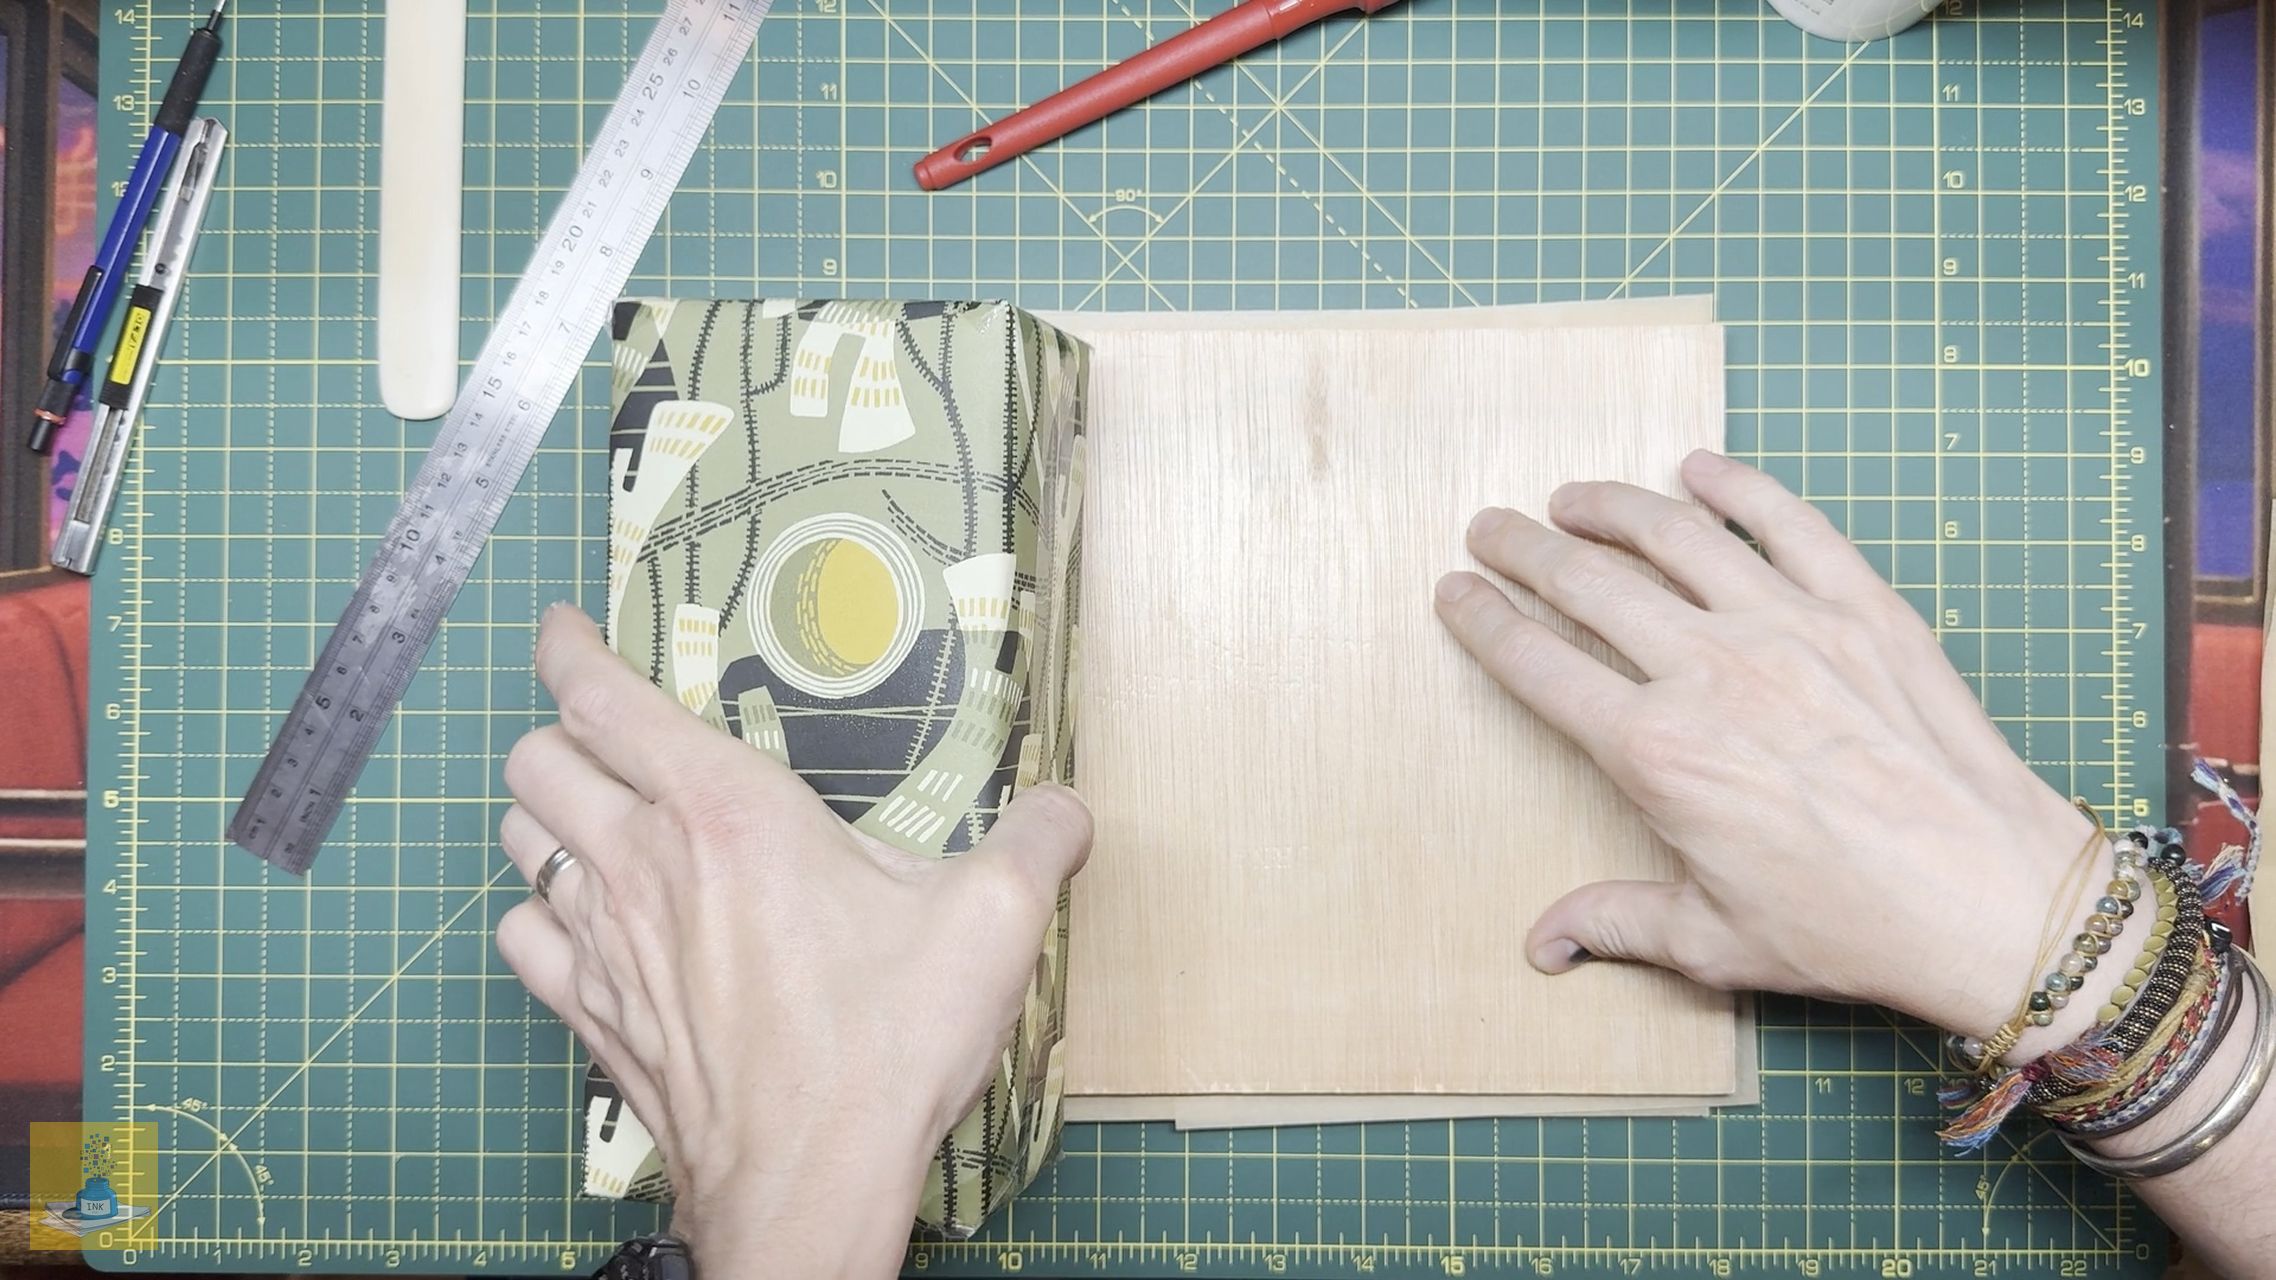
- Brush an even coat of glue onto the card, making sure to get the edges. I always make sure the darker side of my Kraft card faces inward for a nicer aesthetic.


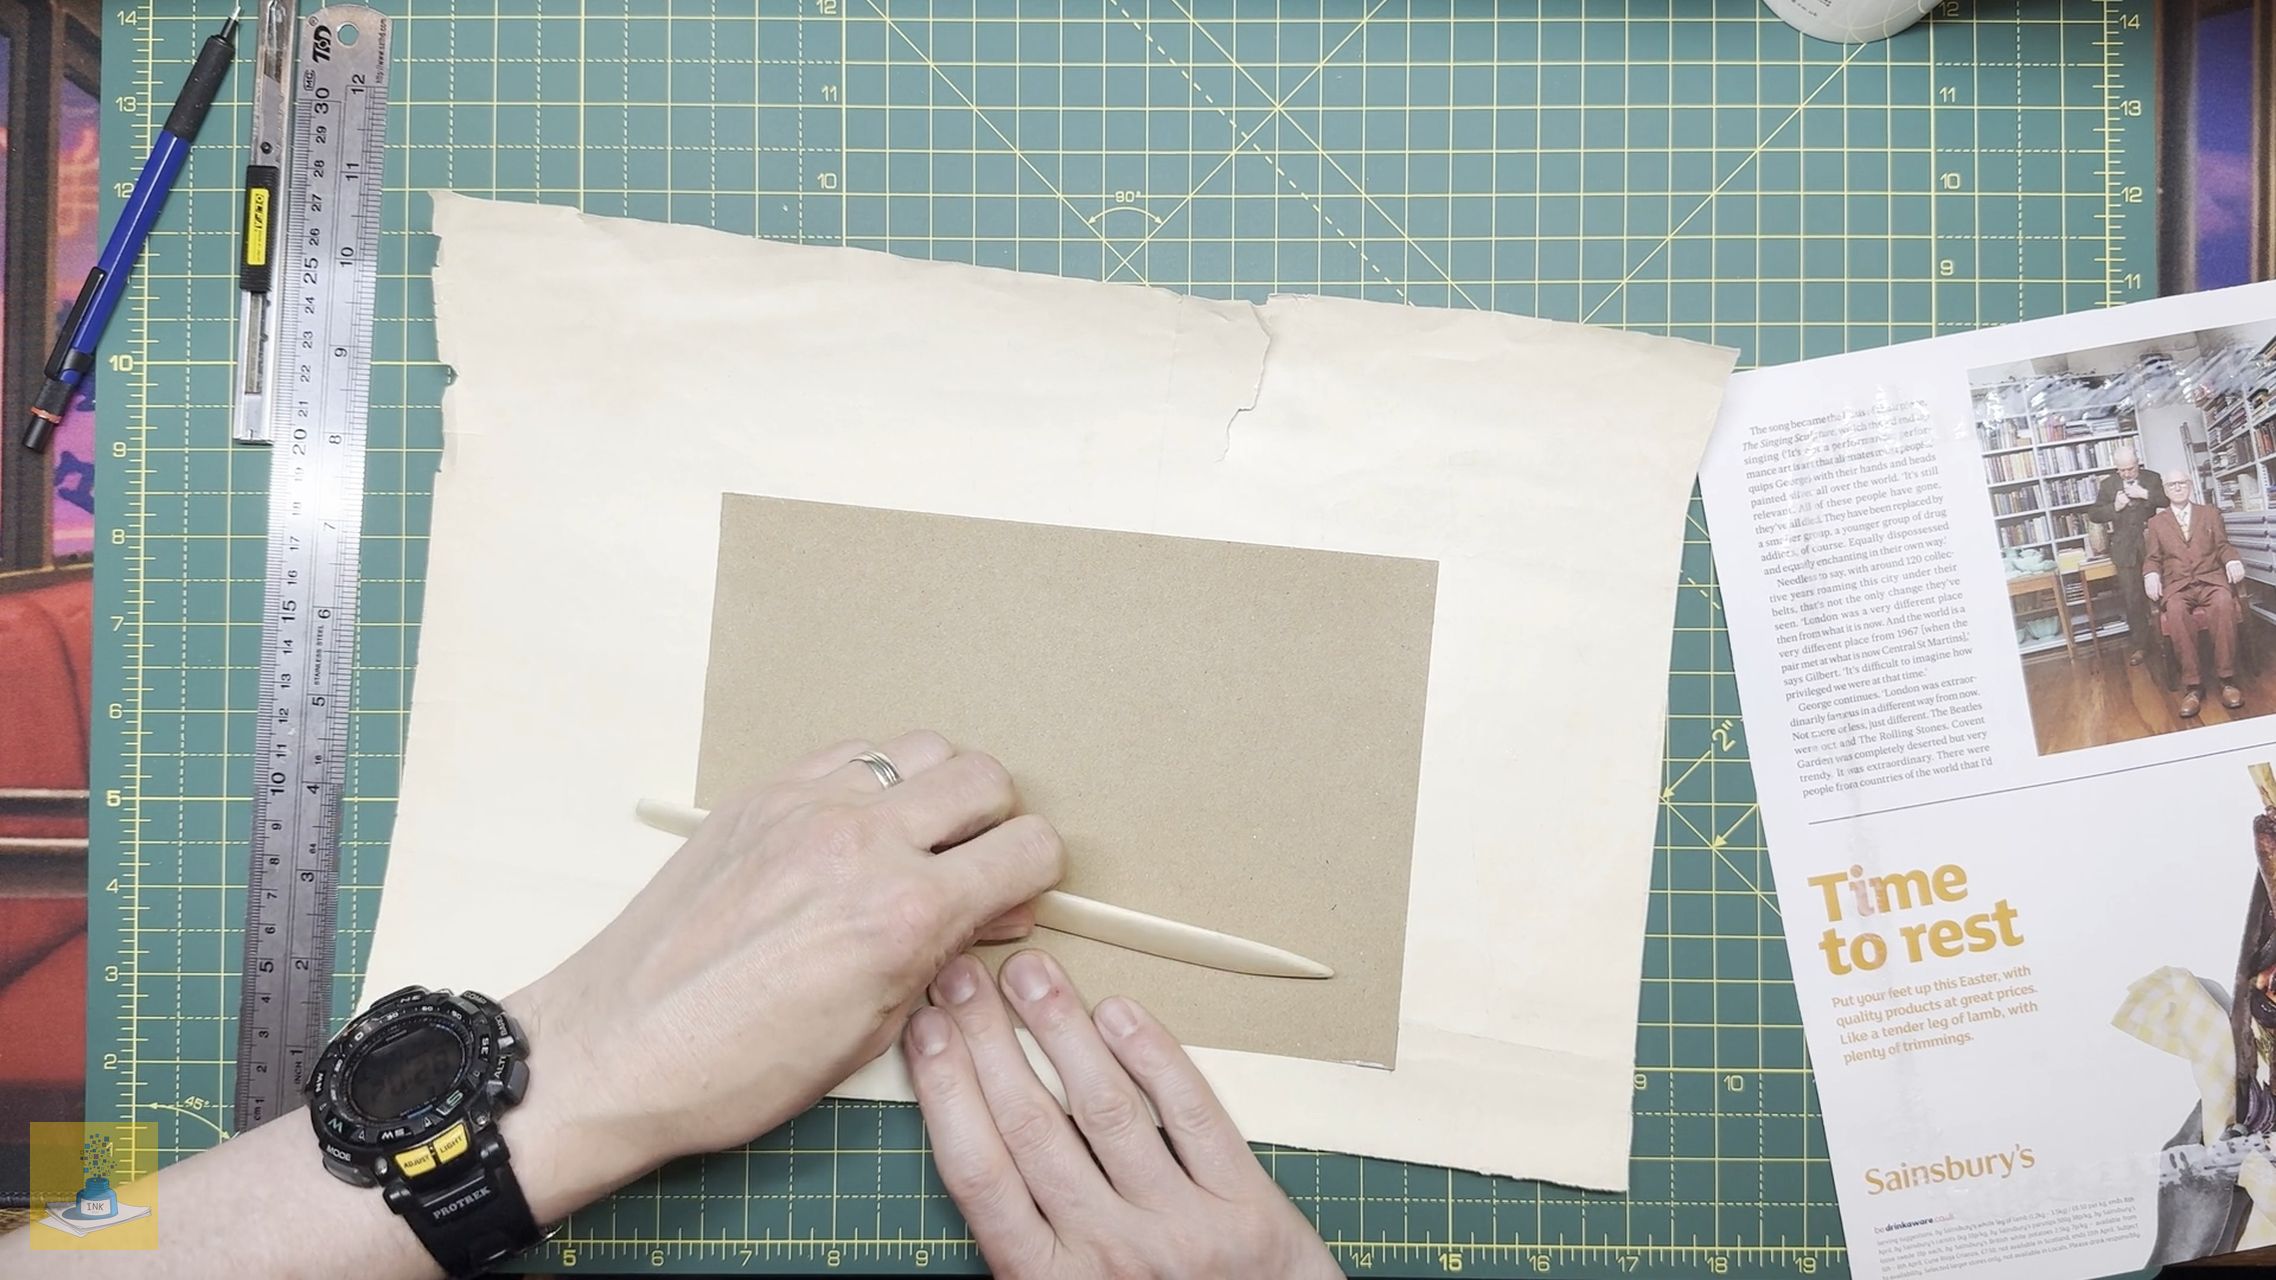
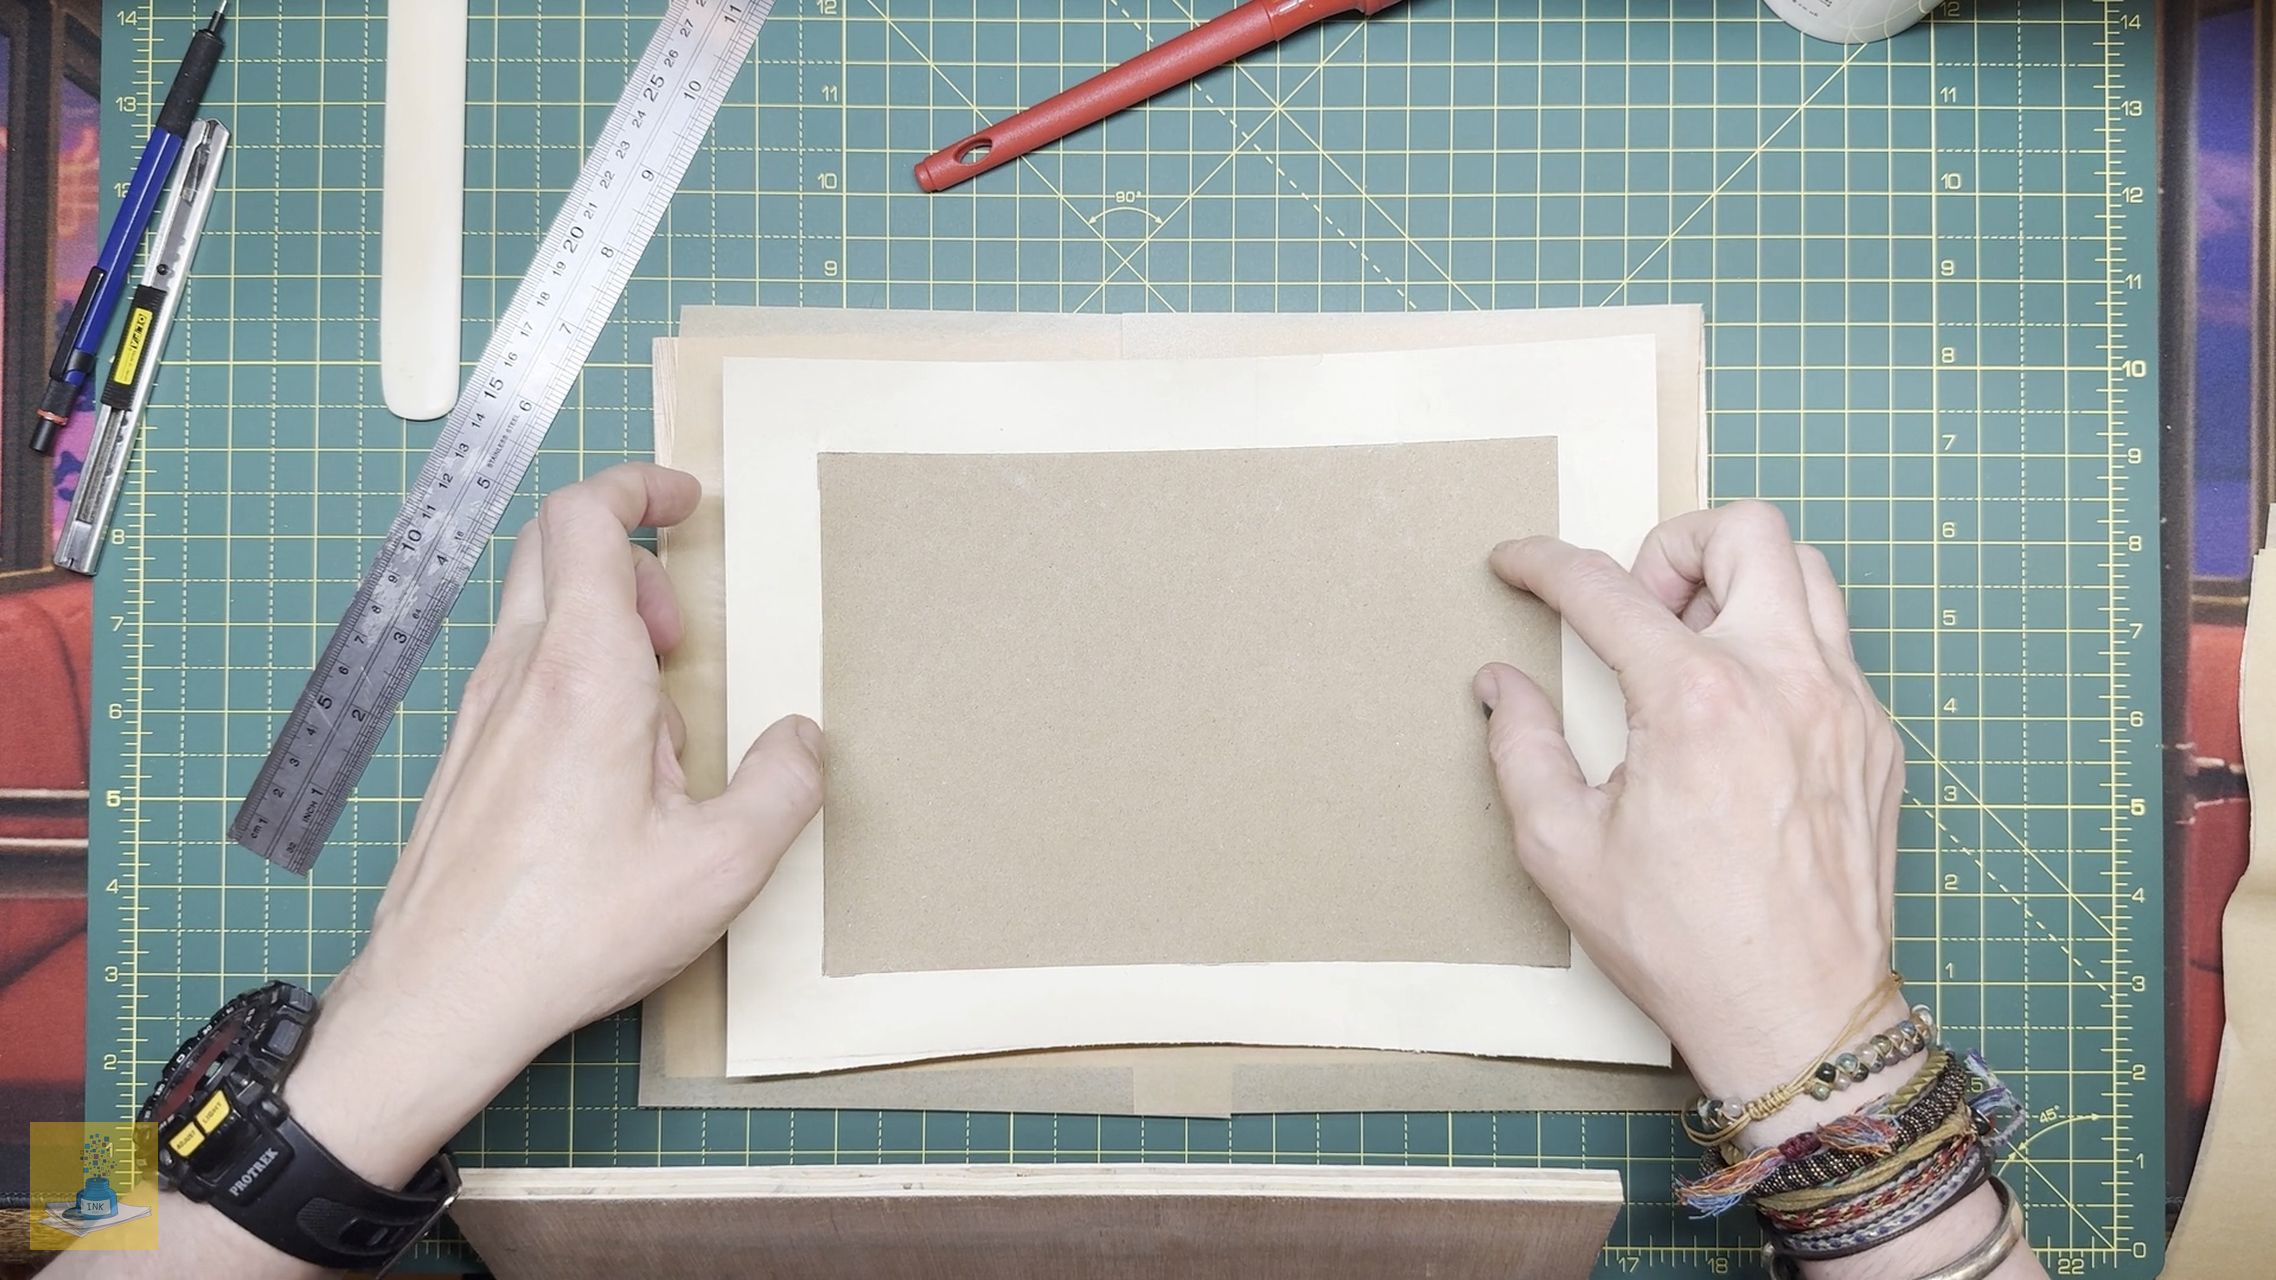
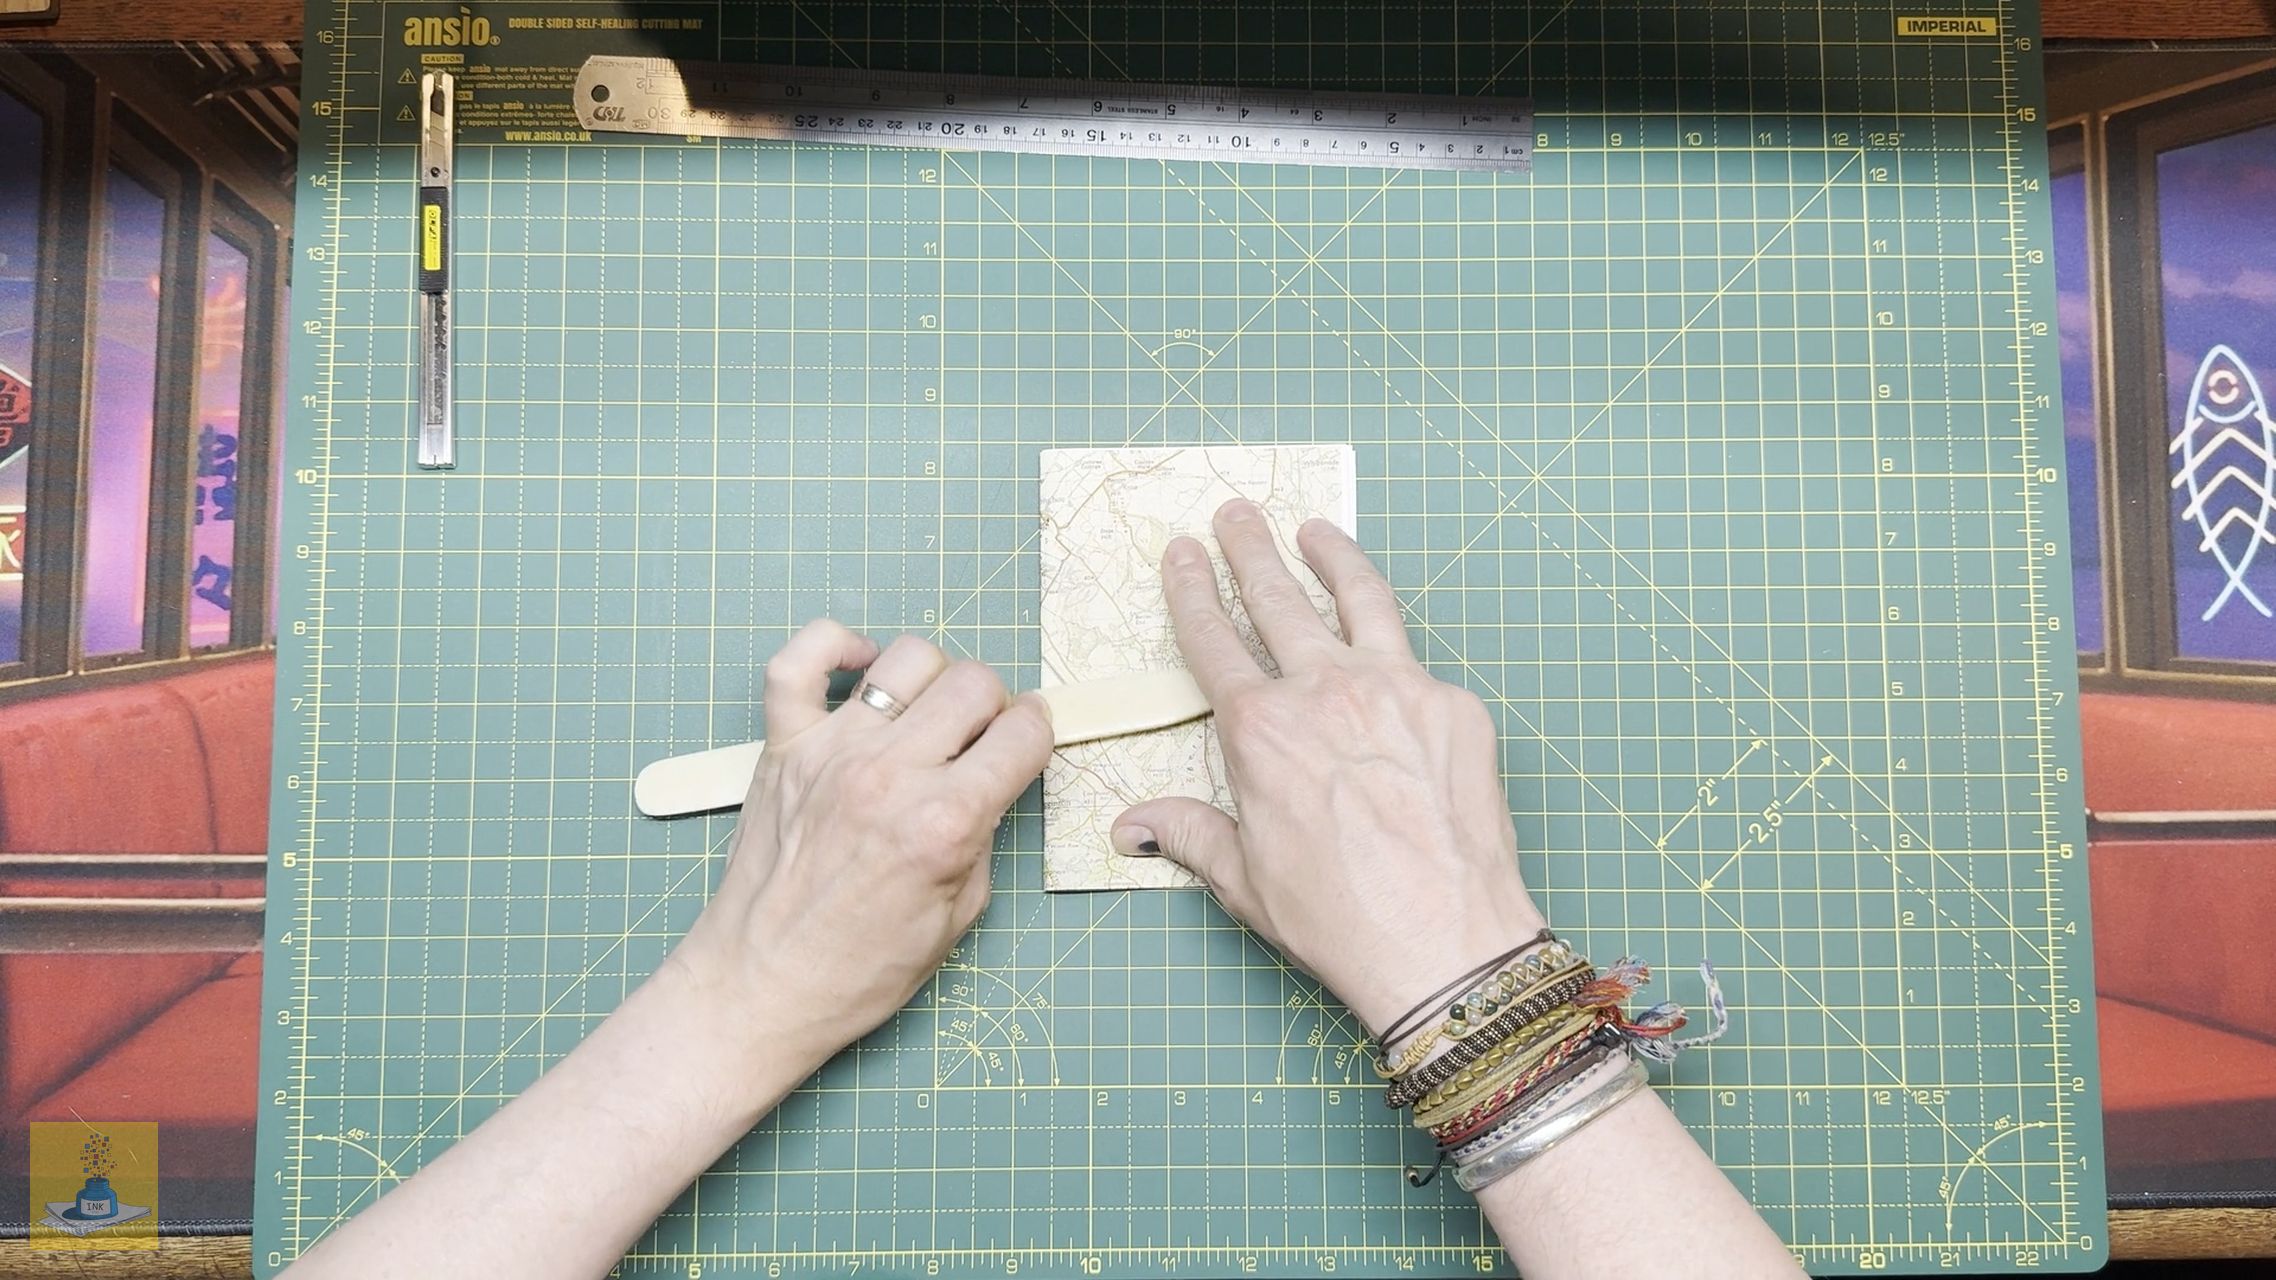
- Carefully place the card onto the patterned paper, lining up with the marked corners you made in step 2.

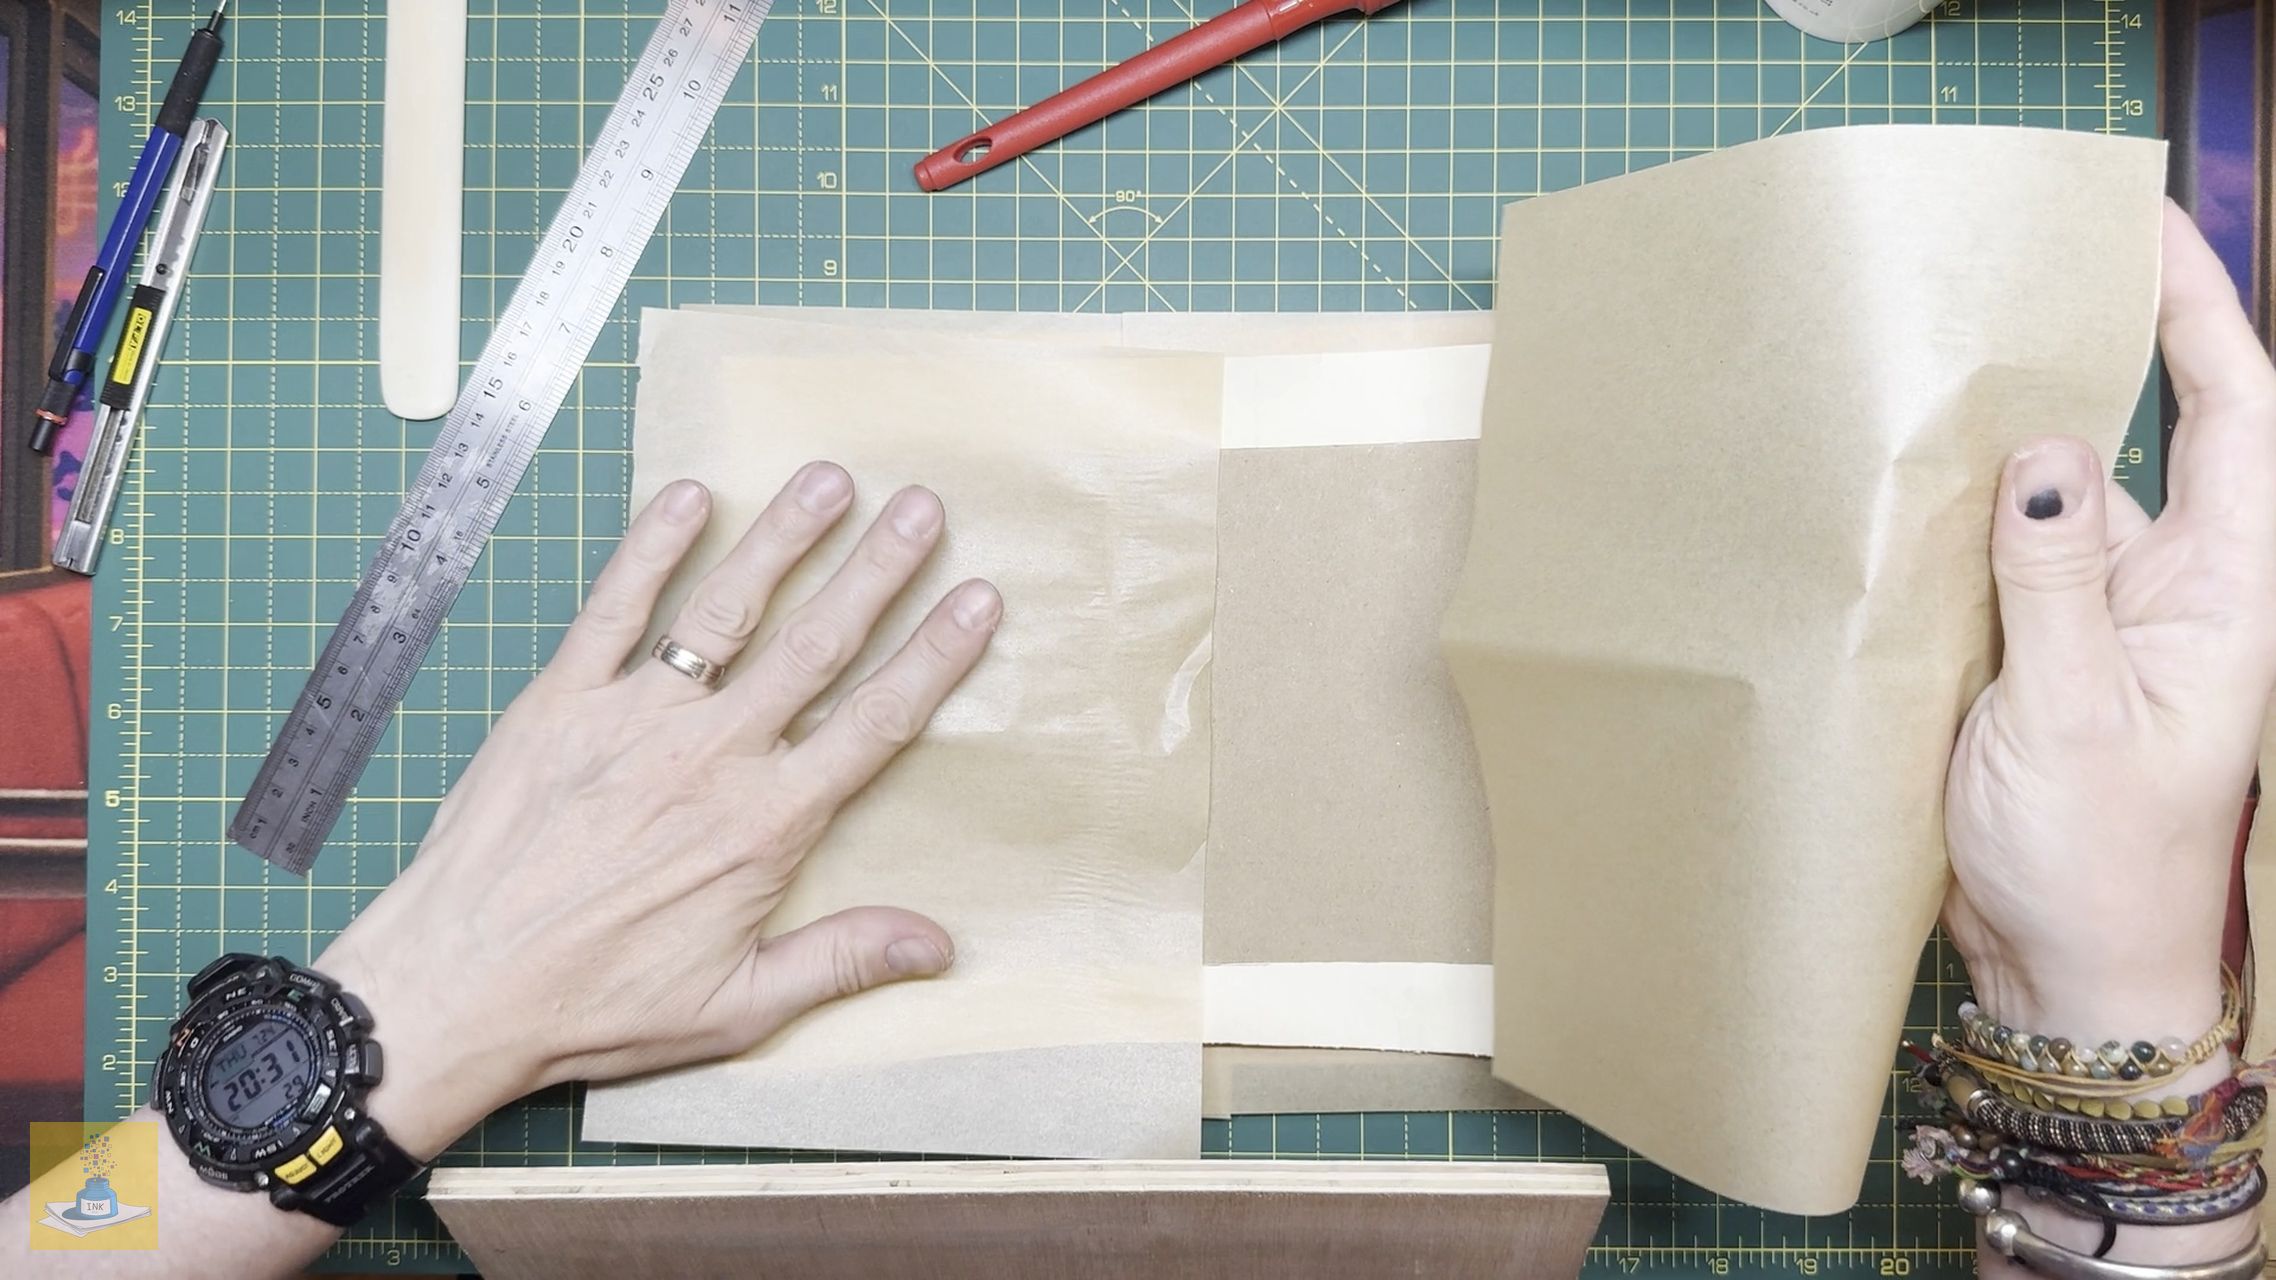
- Use a bone folder to flatten it out and remove any air bubbles. You can also flip it over and smooth the patterned side using a spare piece of paper on top to avoid ripping the glue paper.


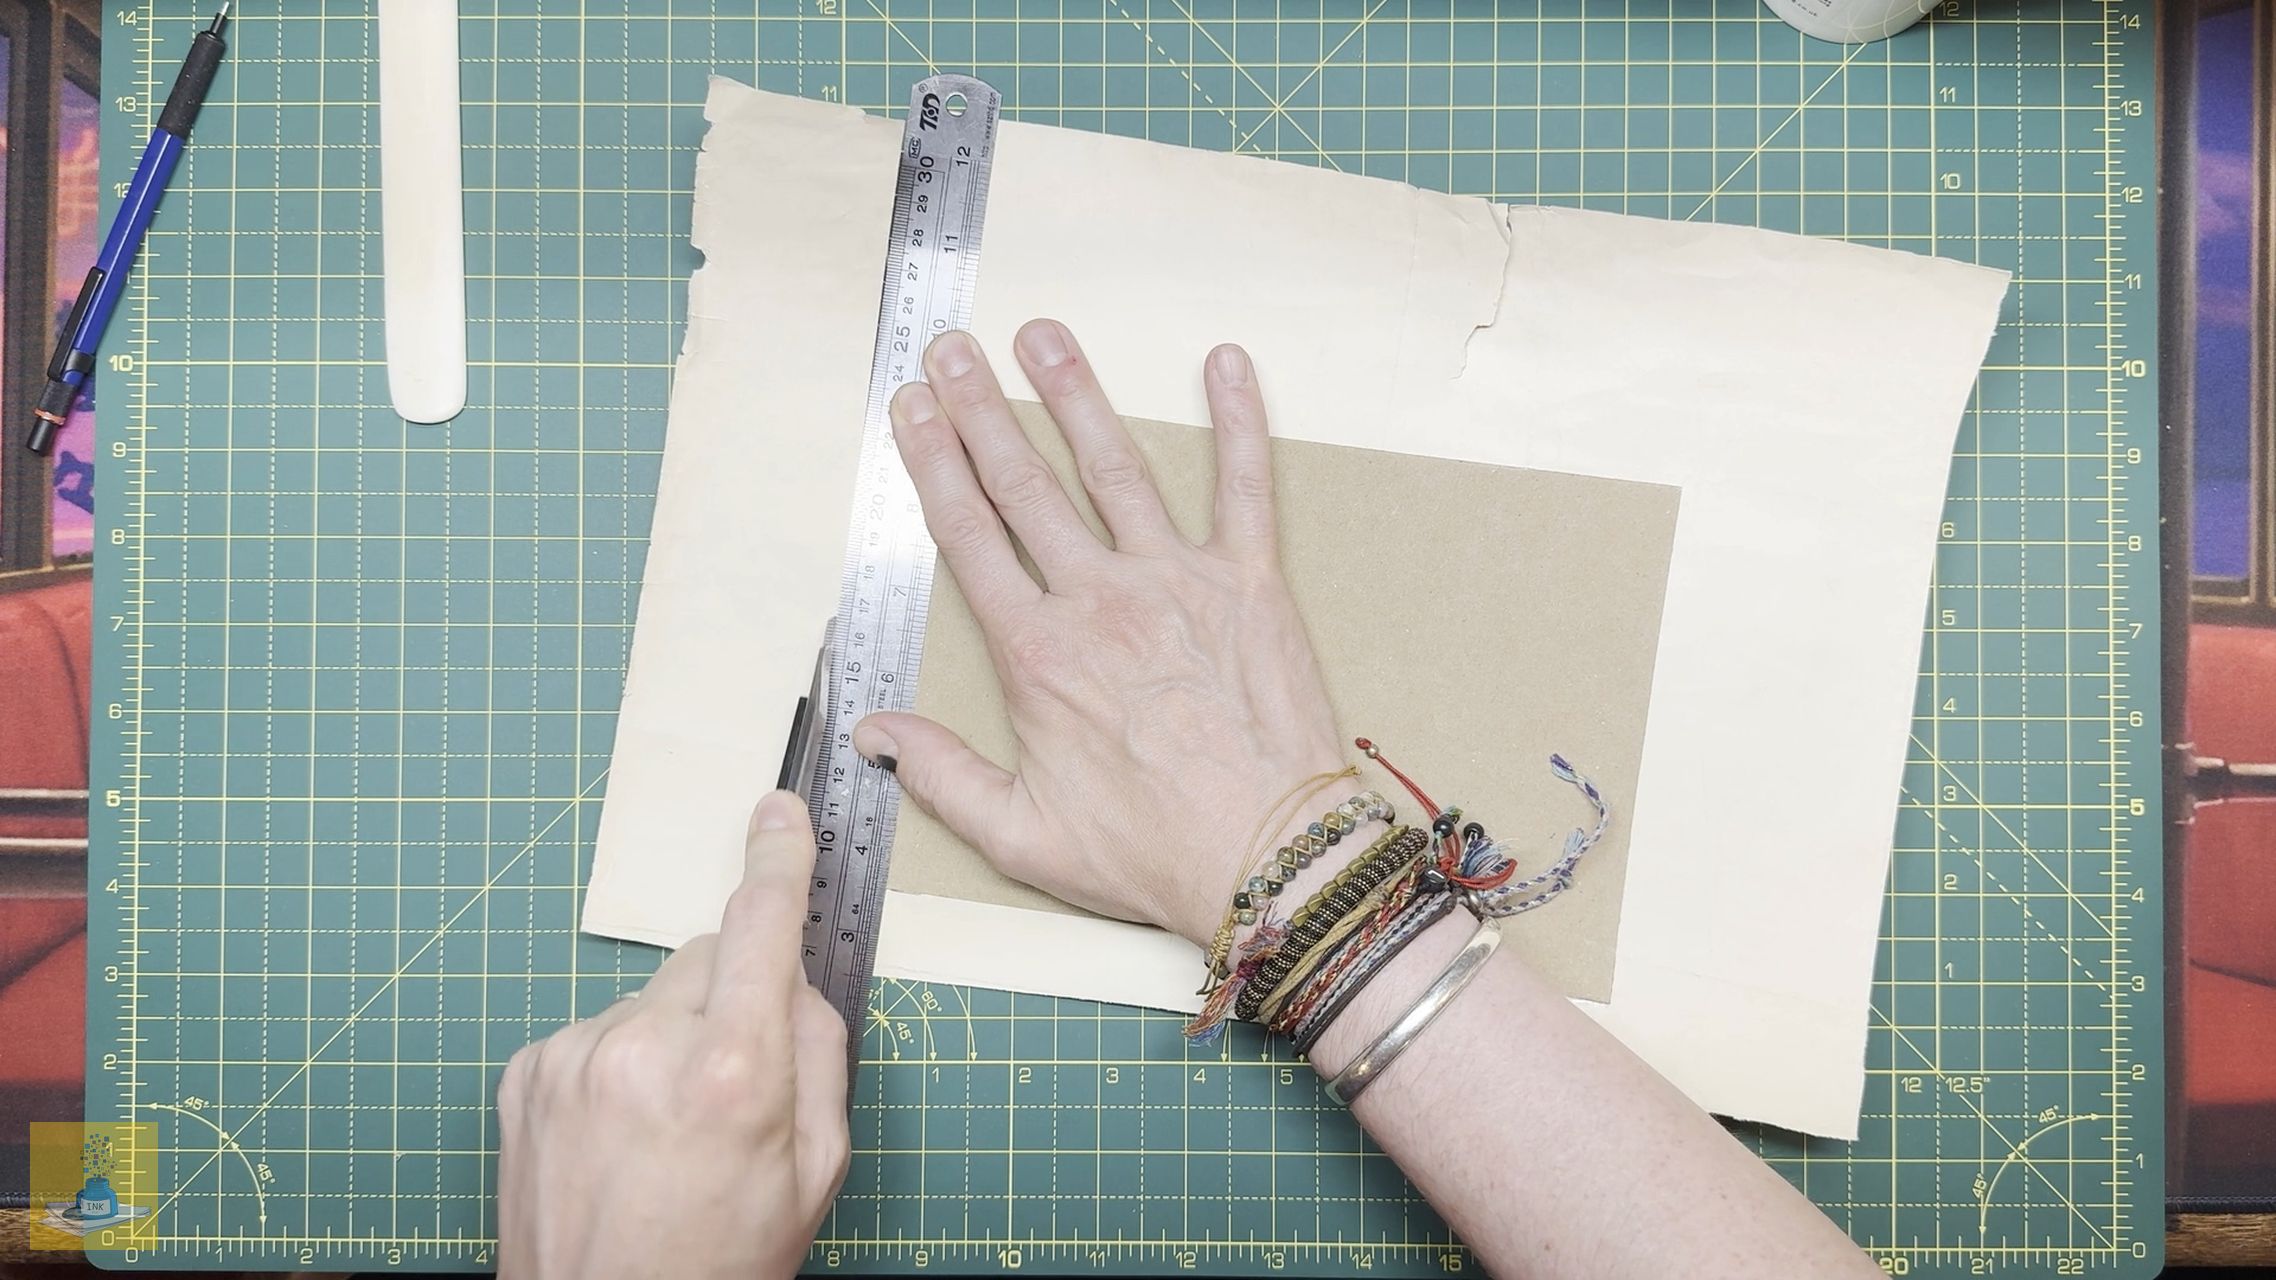
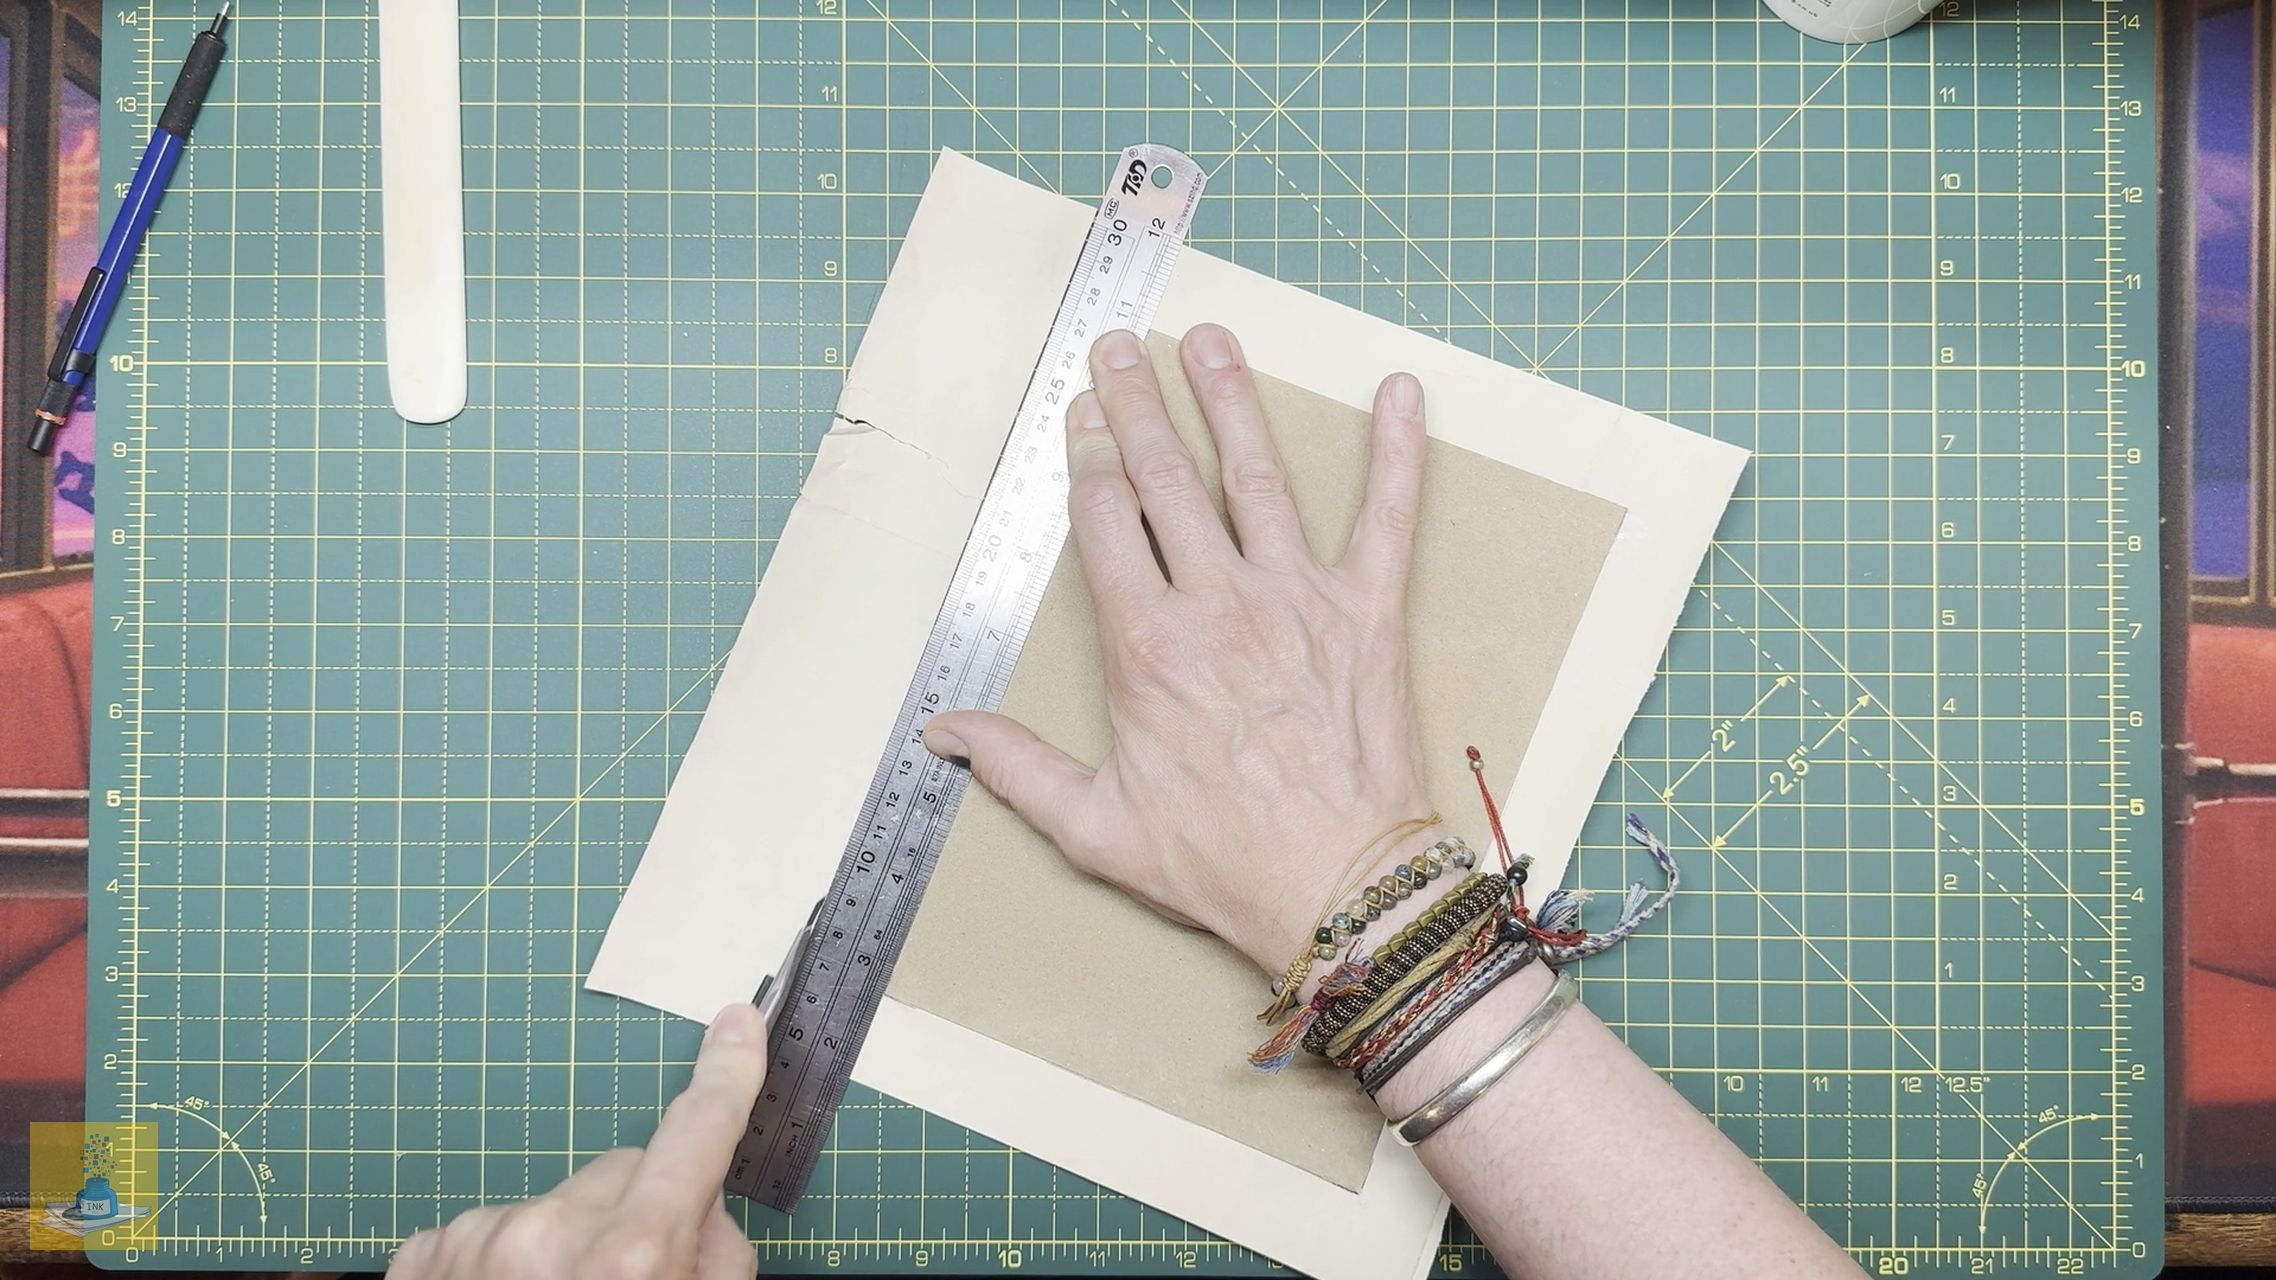
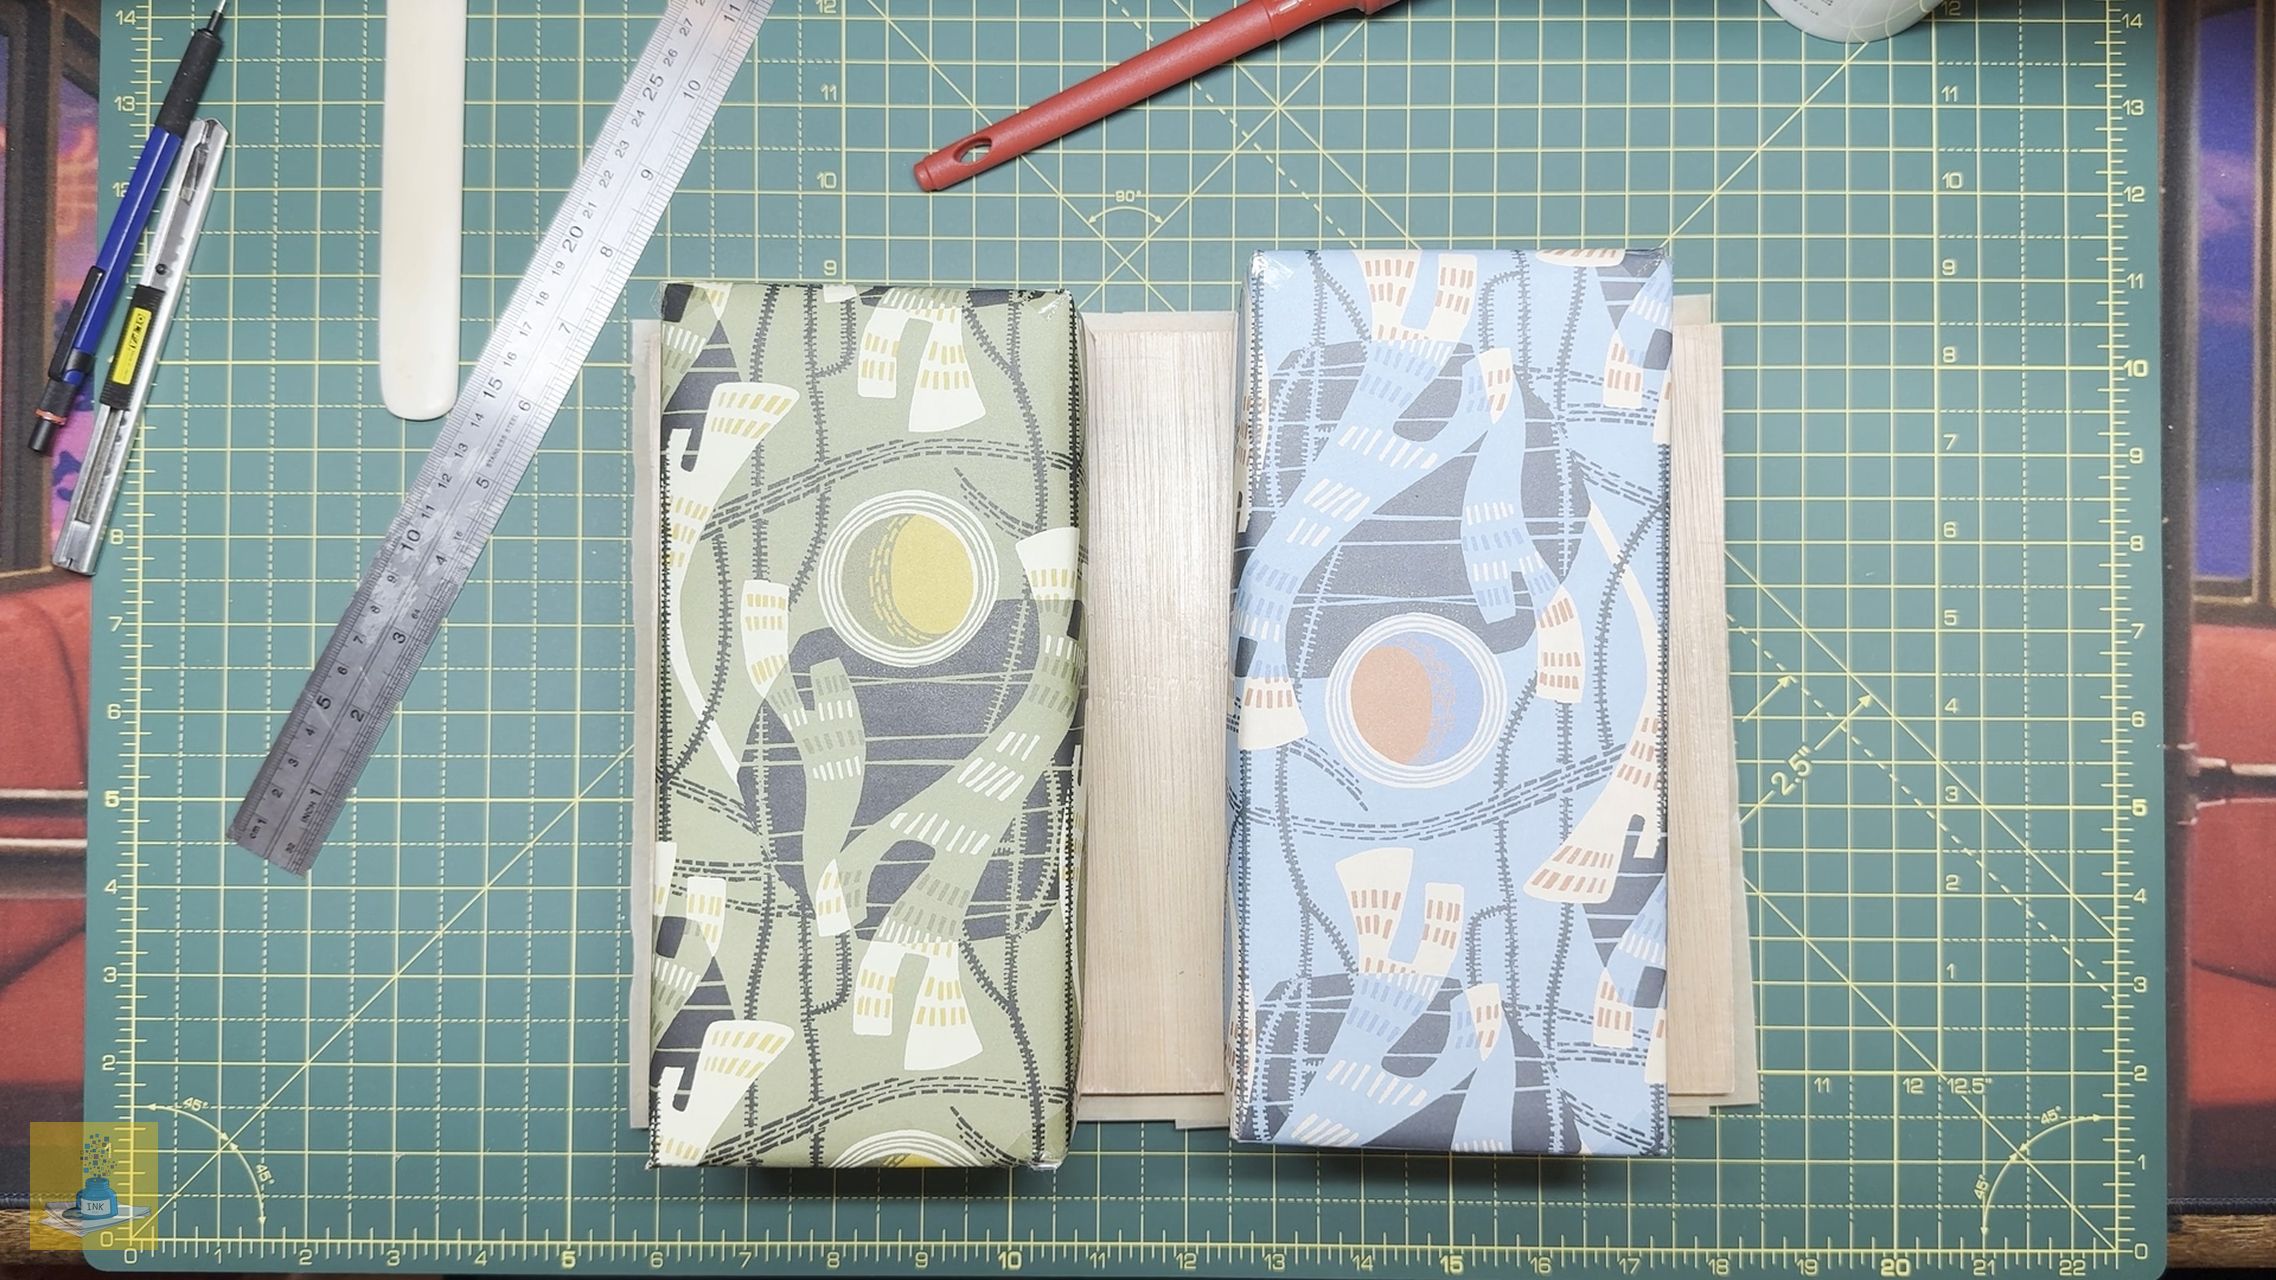
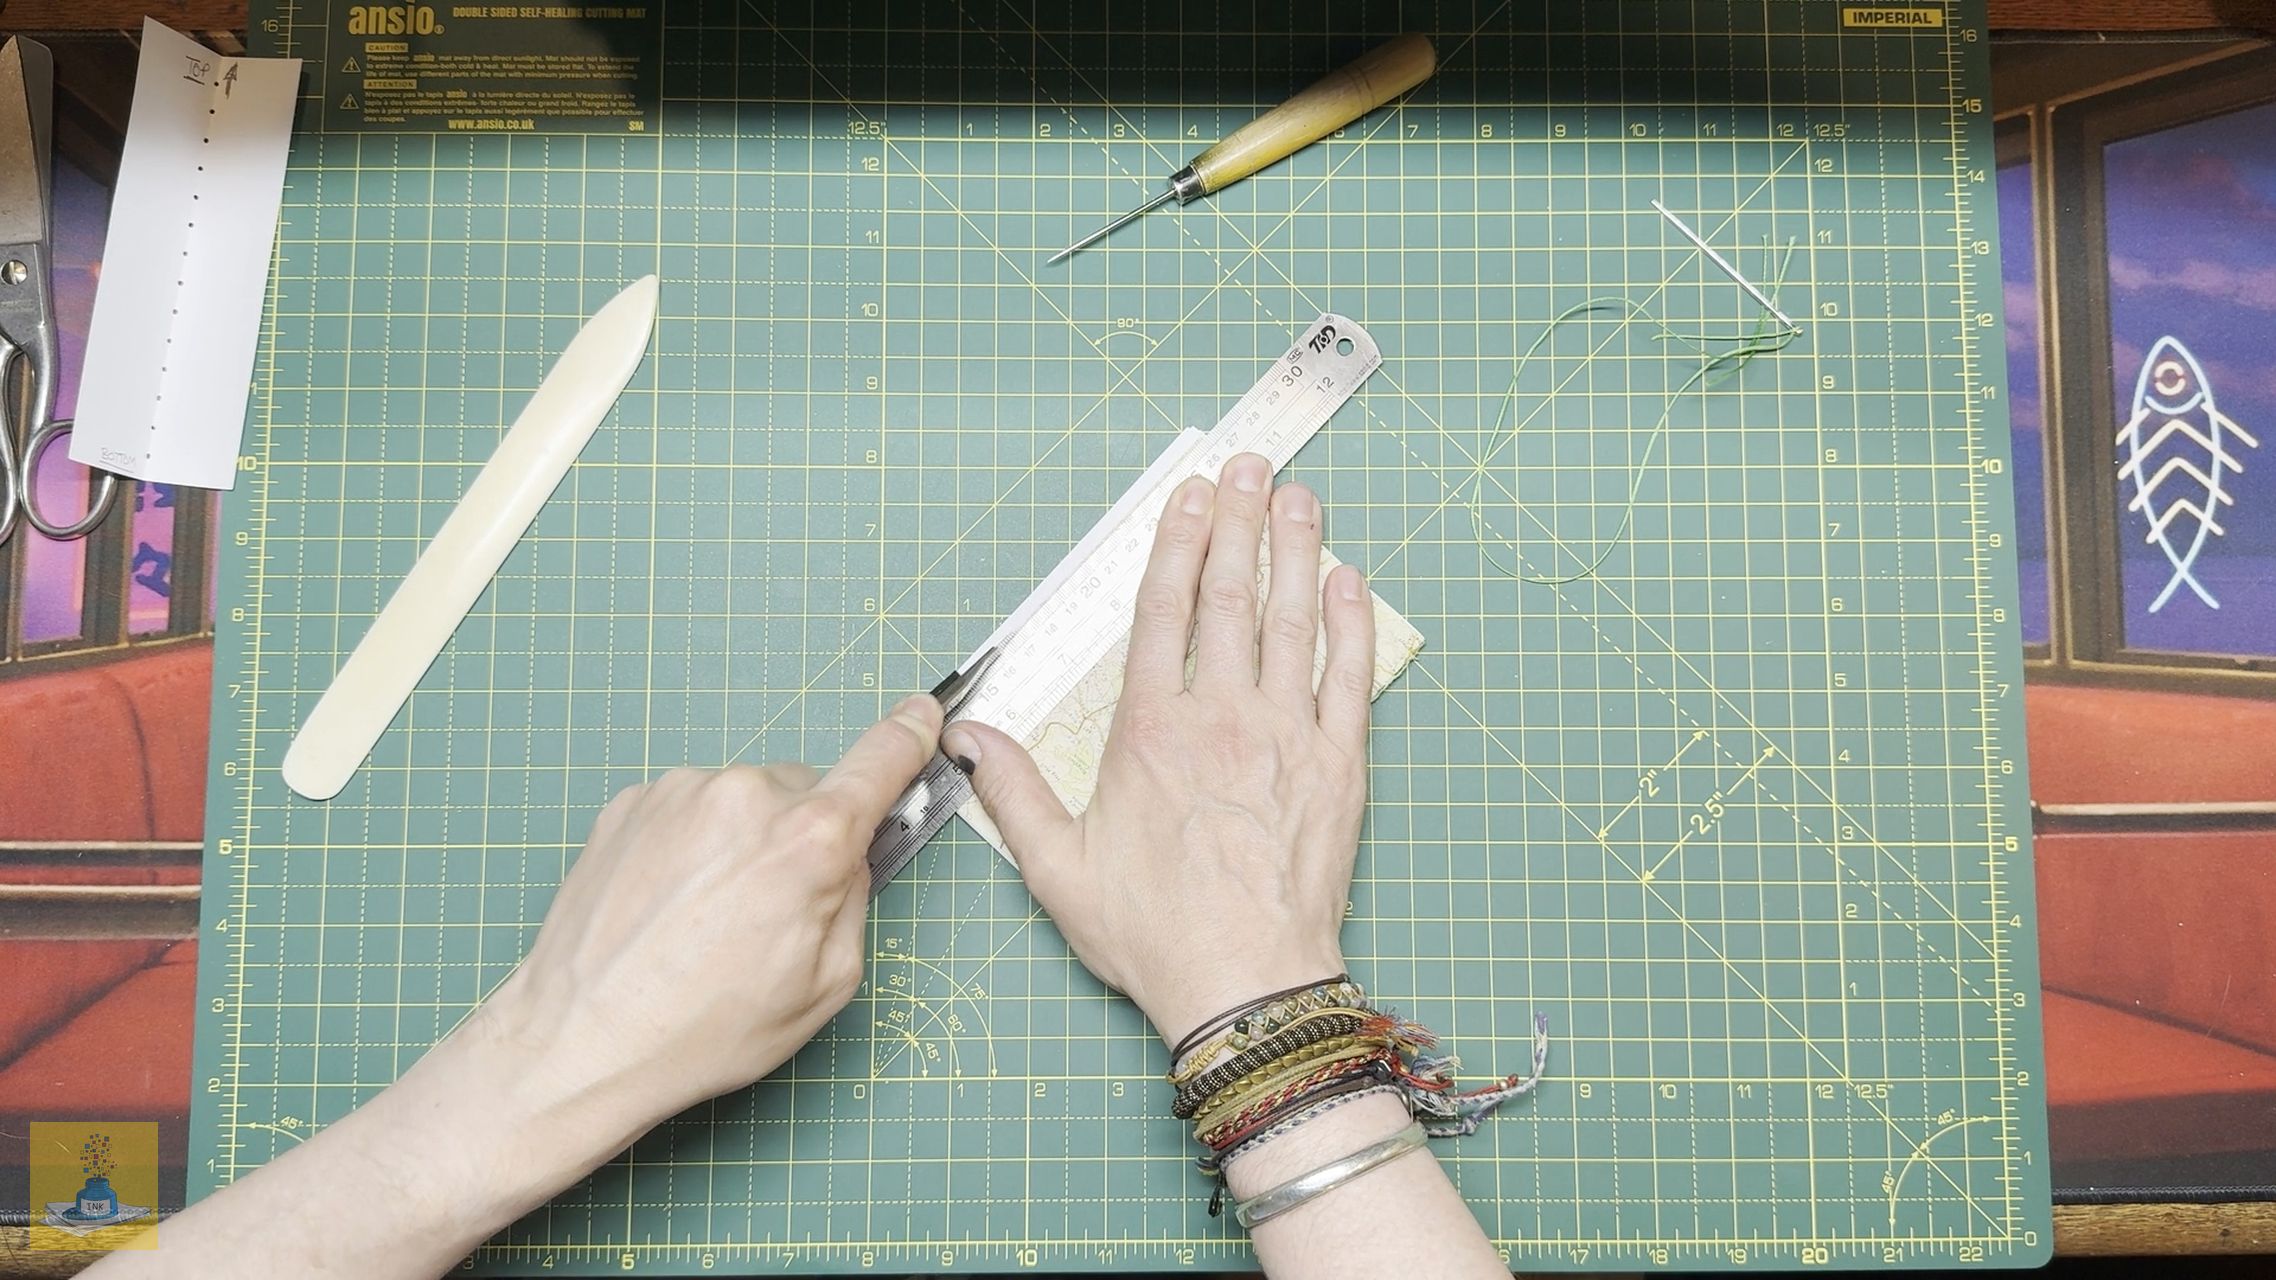
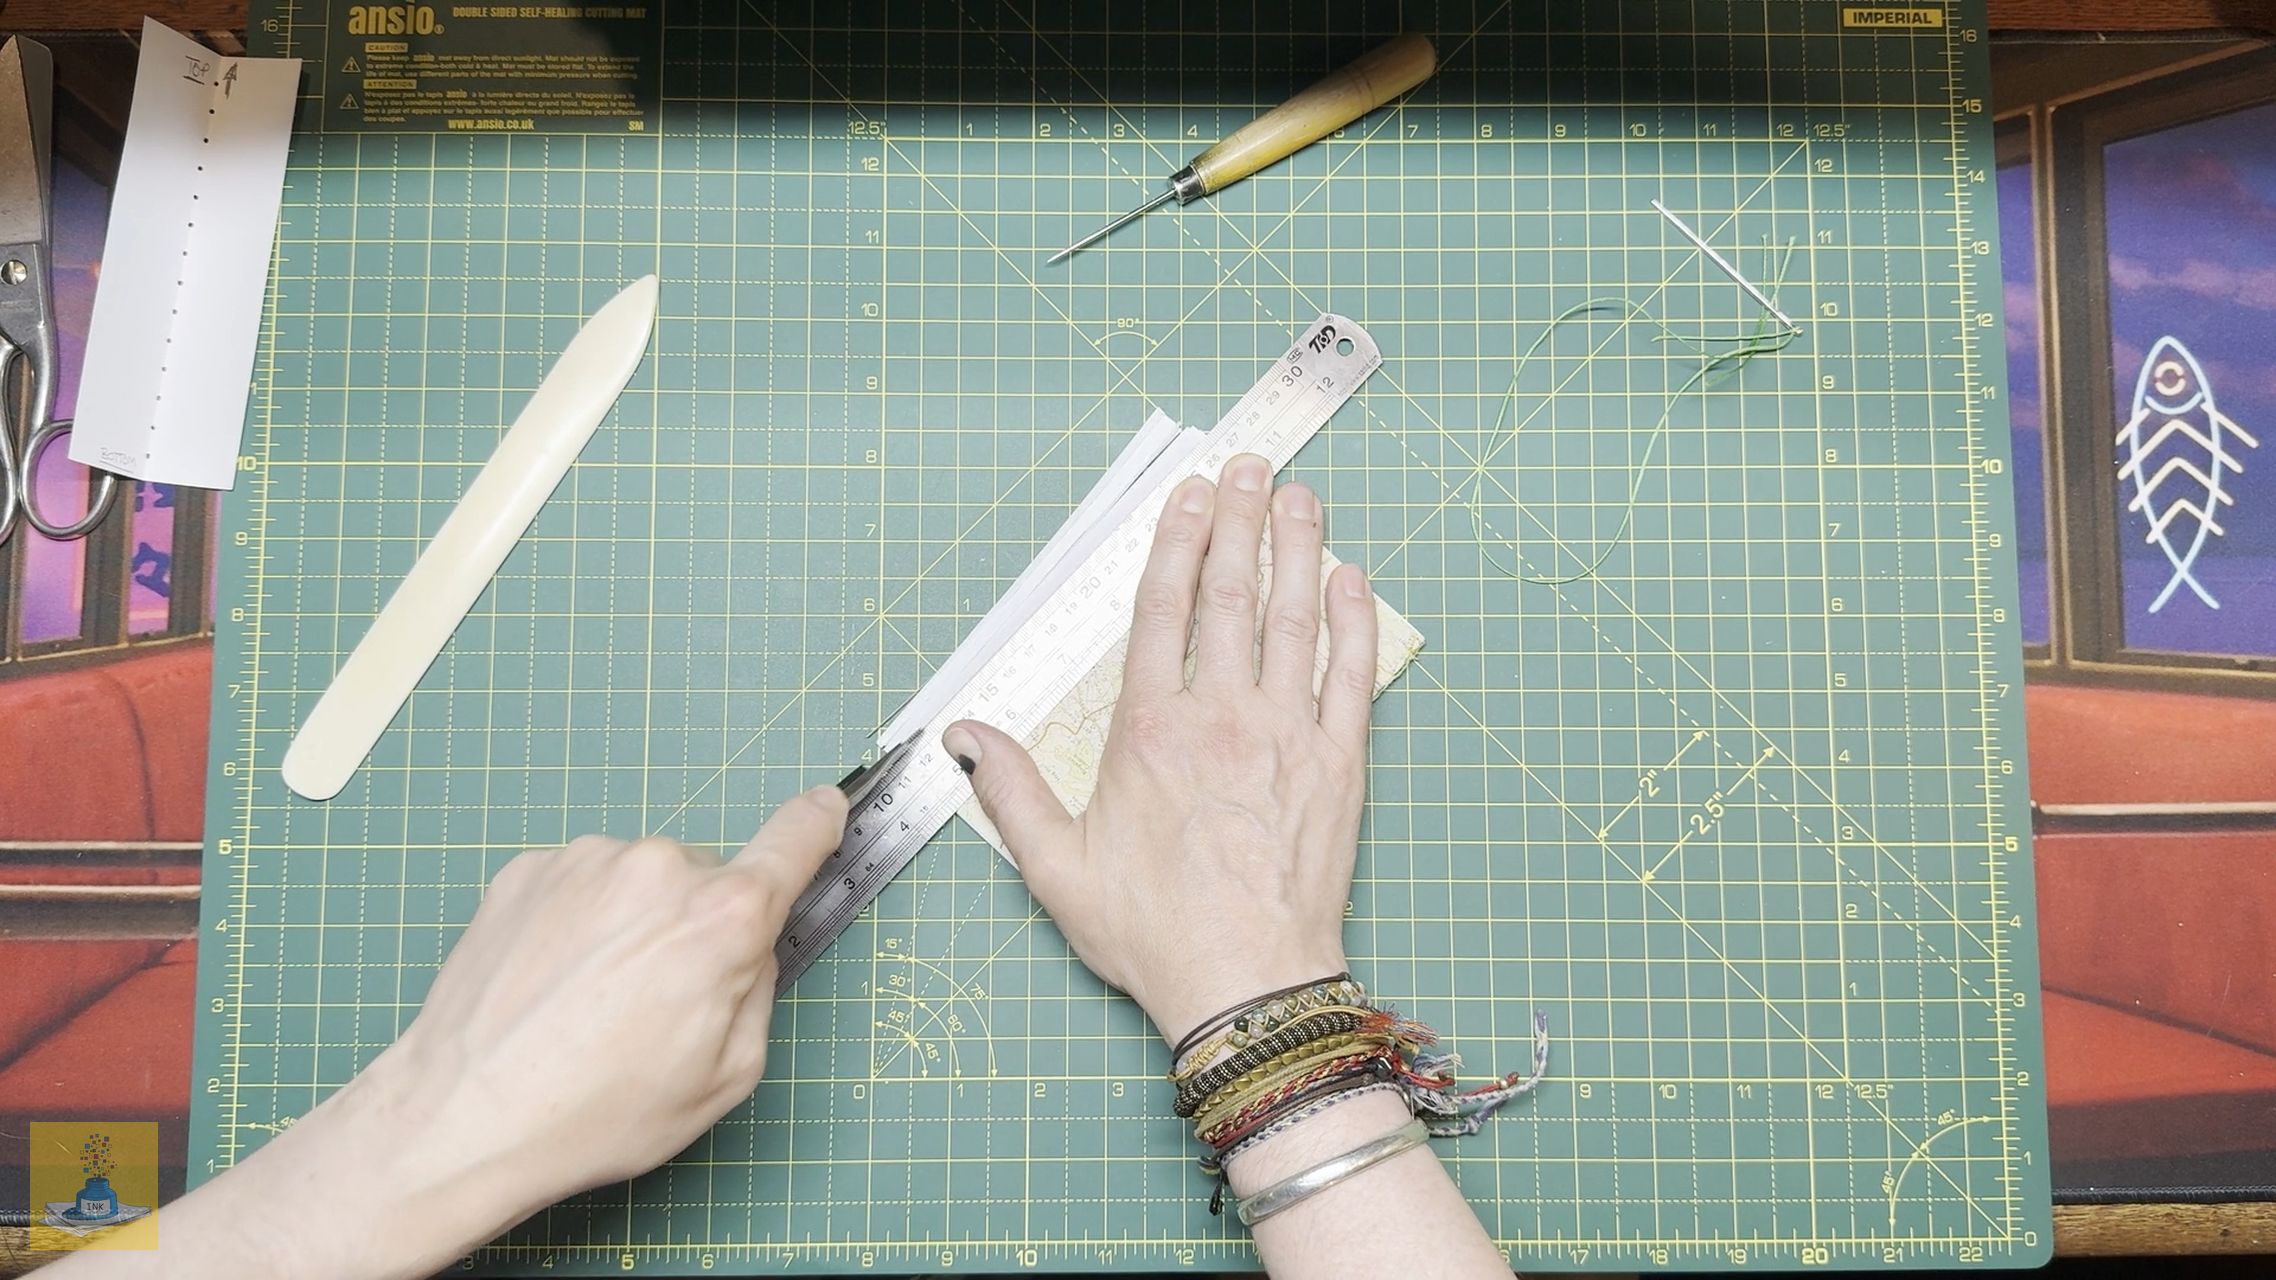
- I trim the edges, a rulers width from the card. I do this so that you haven’t got too much of a large paper to work with.


- Before pressing the cover I always check that the edges and corners are sticking and nothing has been missed.

- Once the cover is smooth, place it between two boards and place heavy books or bricks on top and let it dry flat.


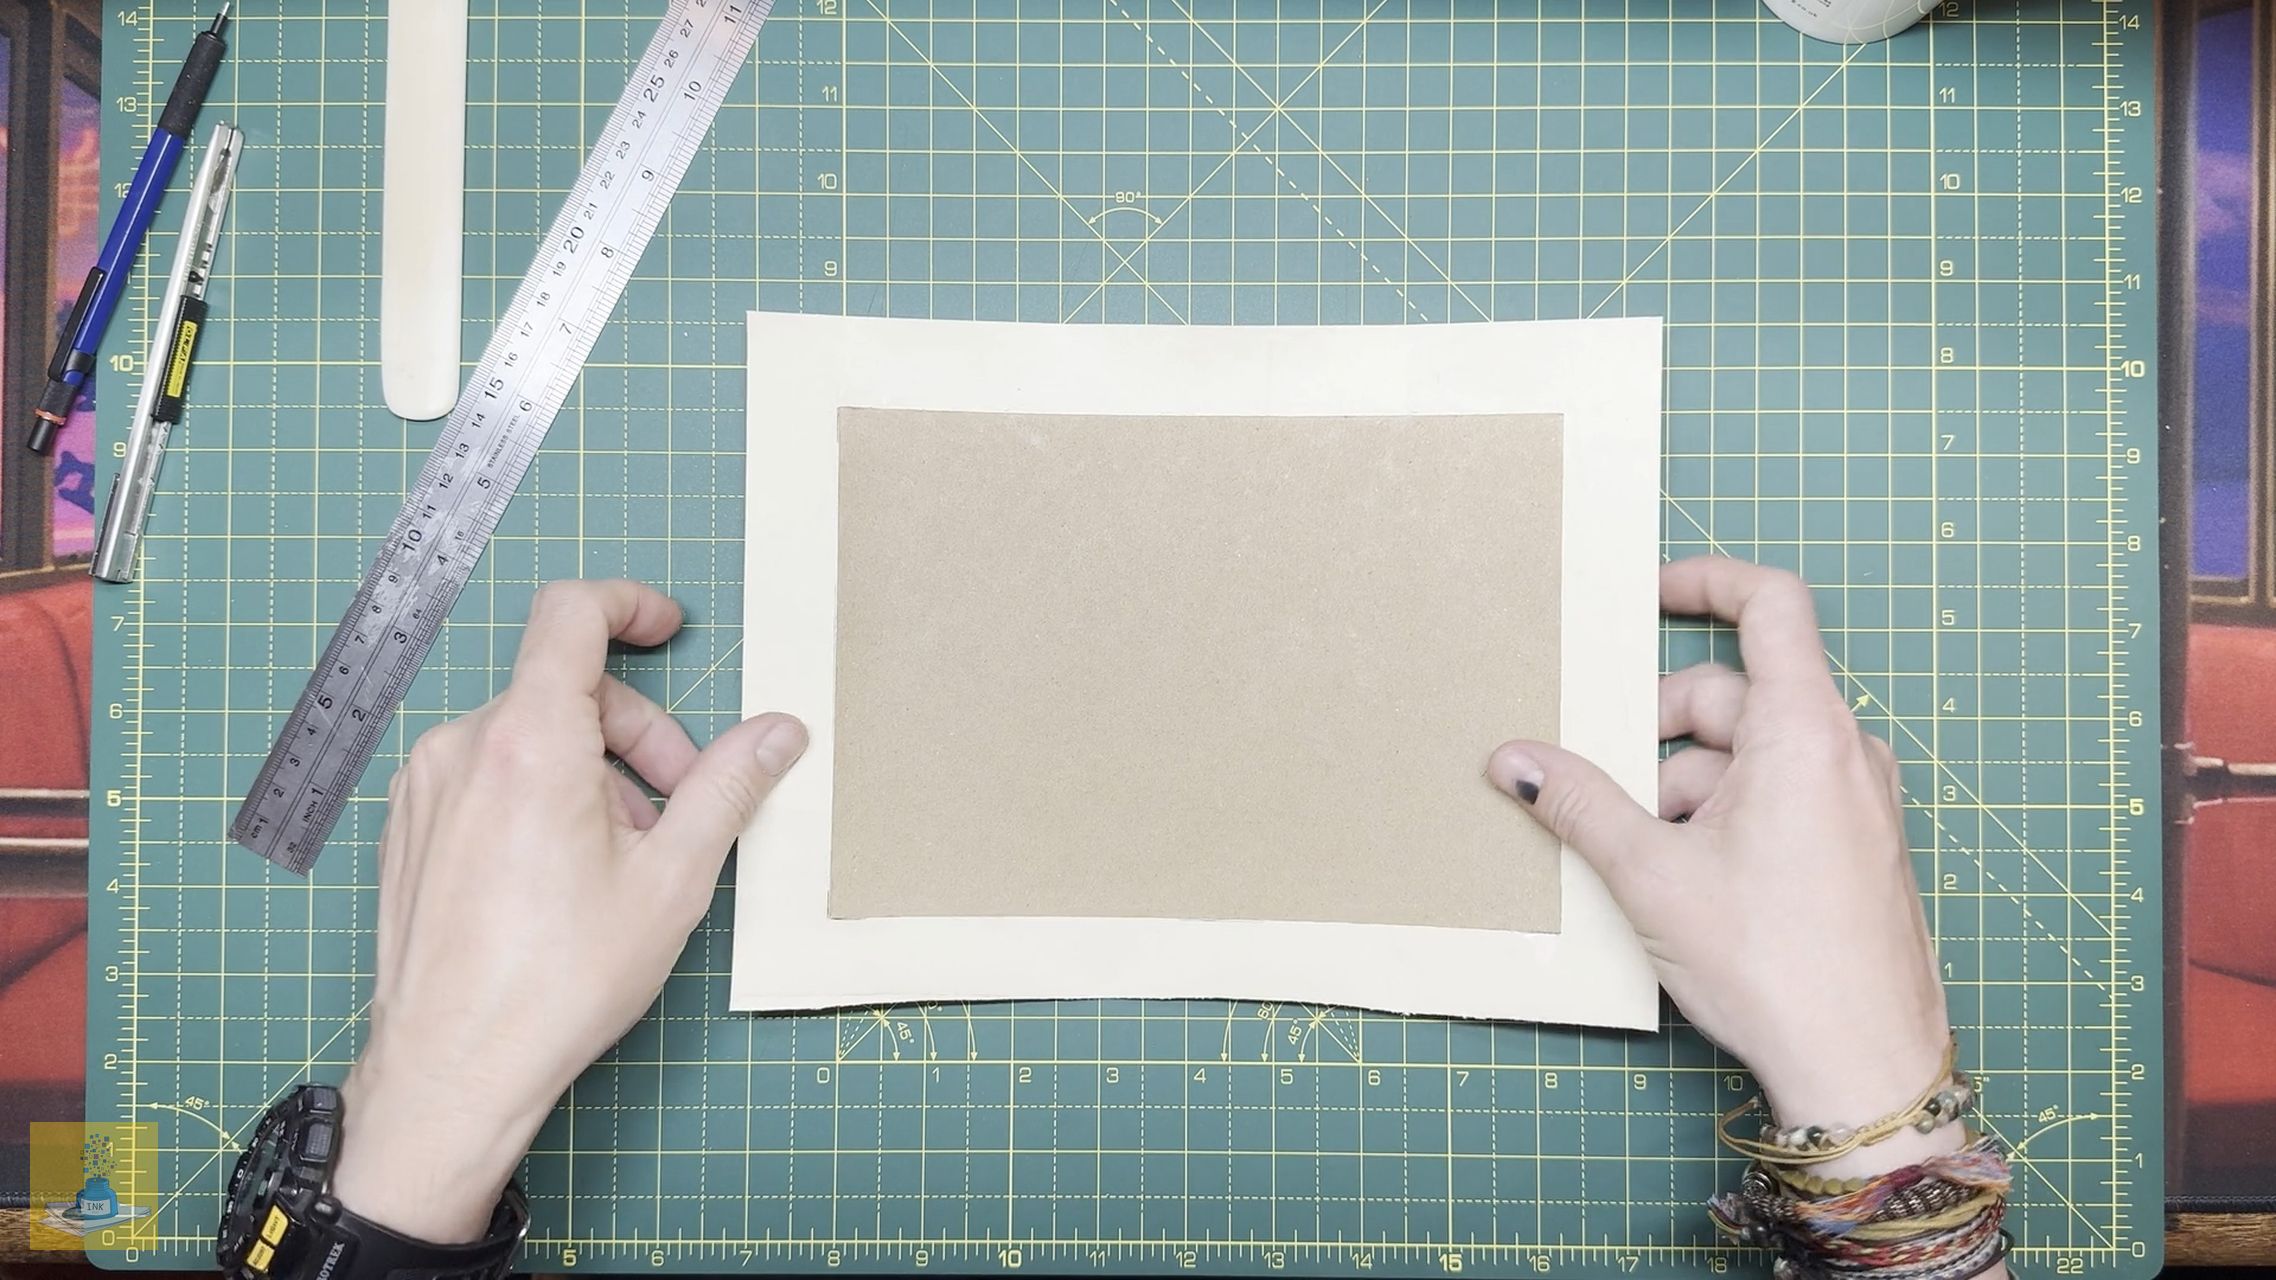
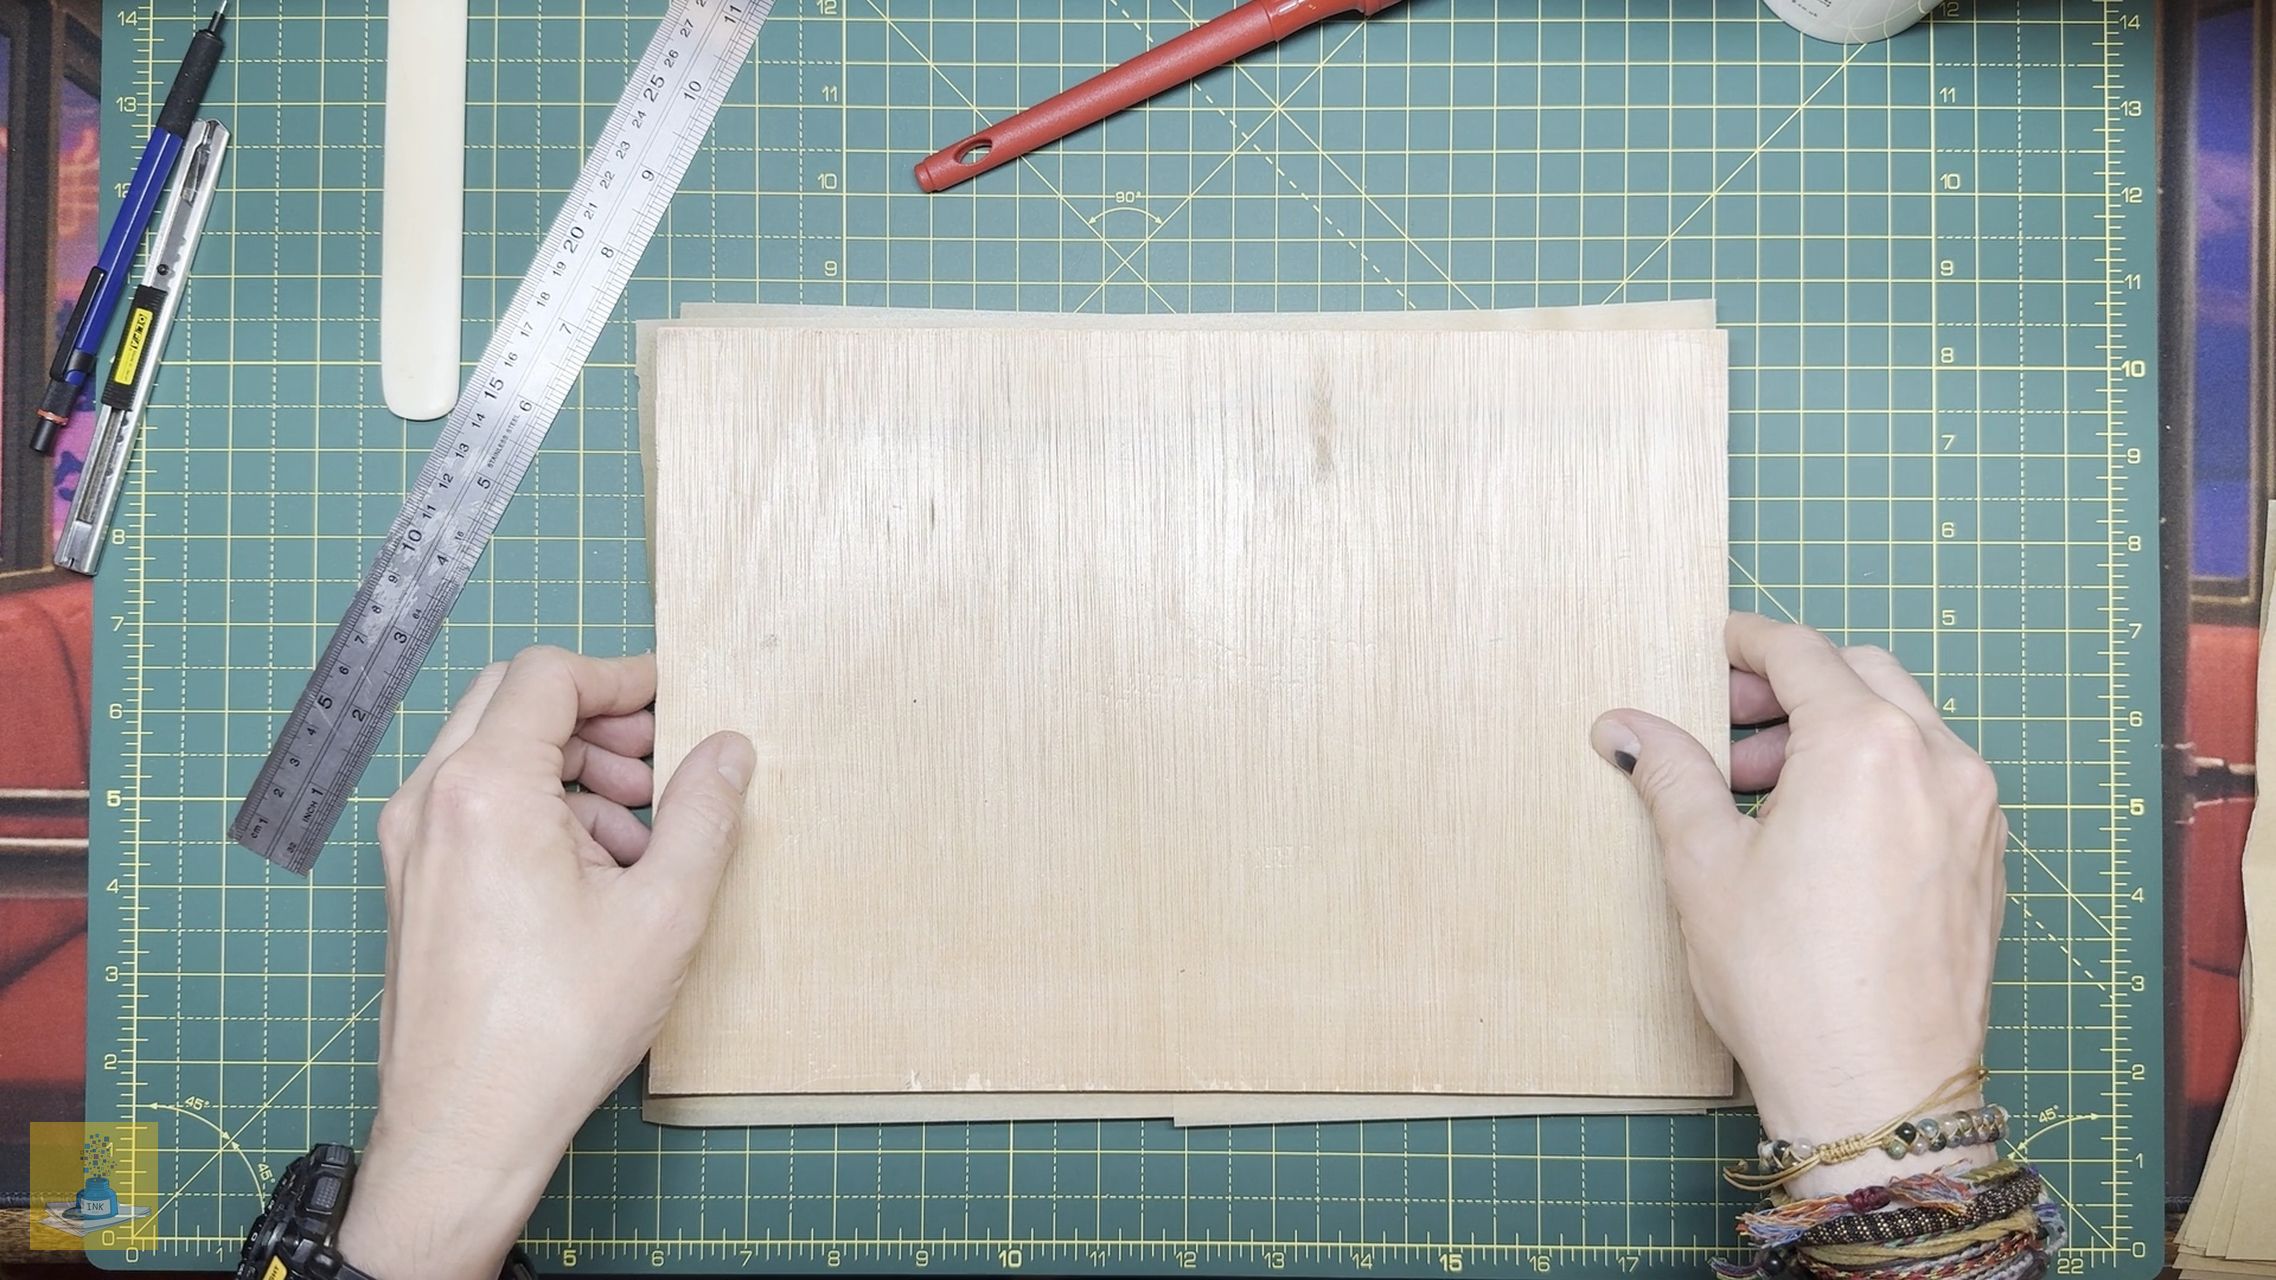
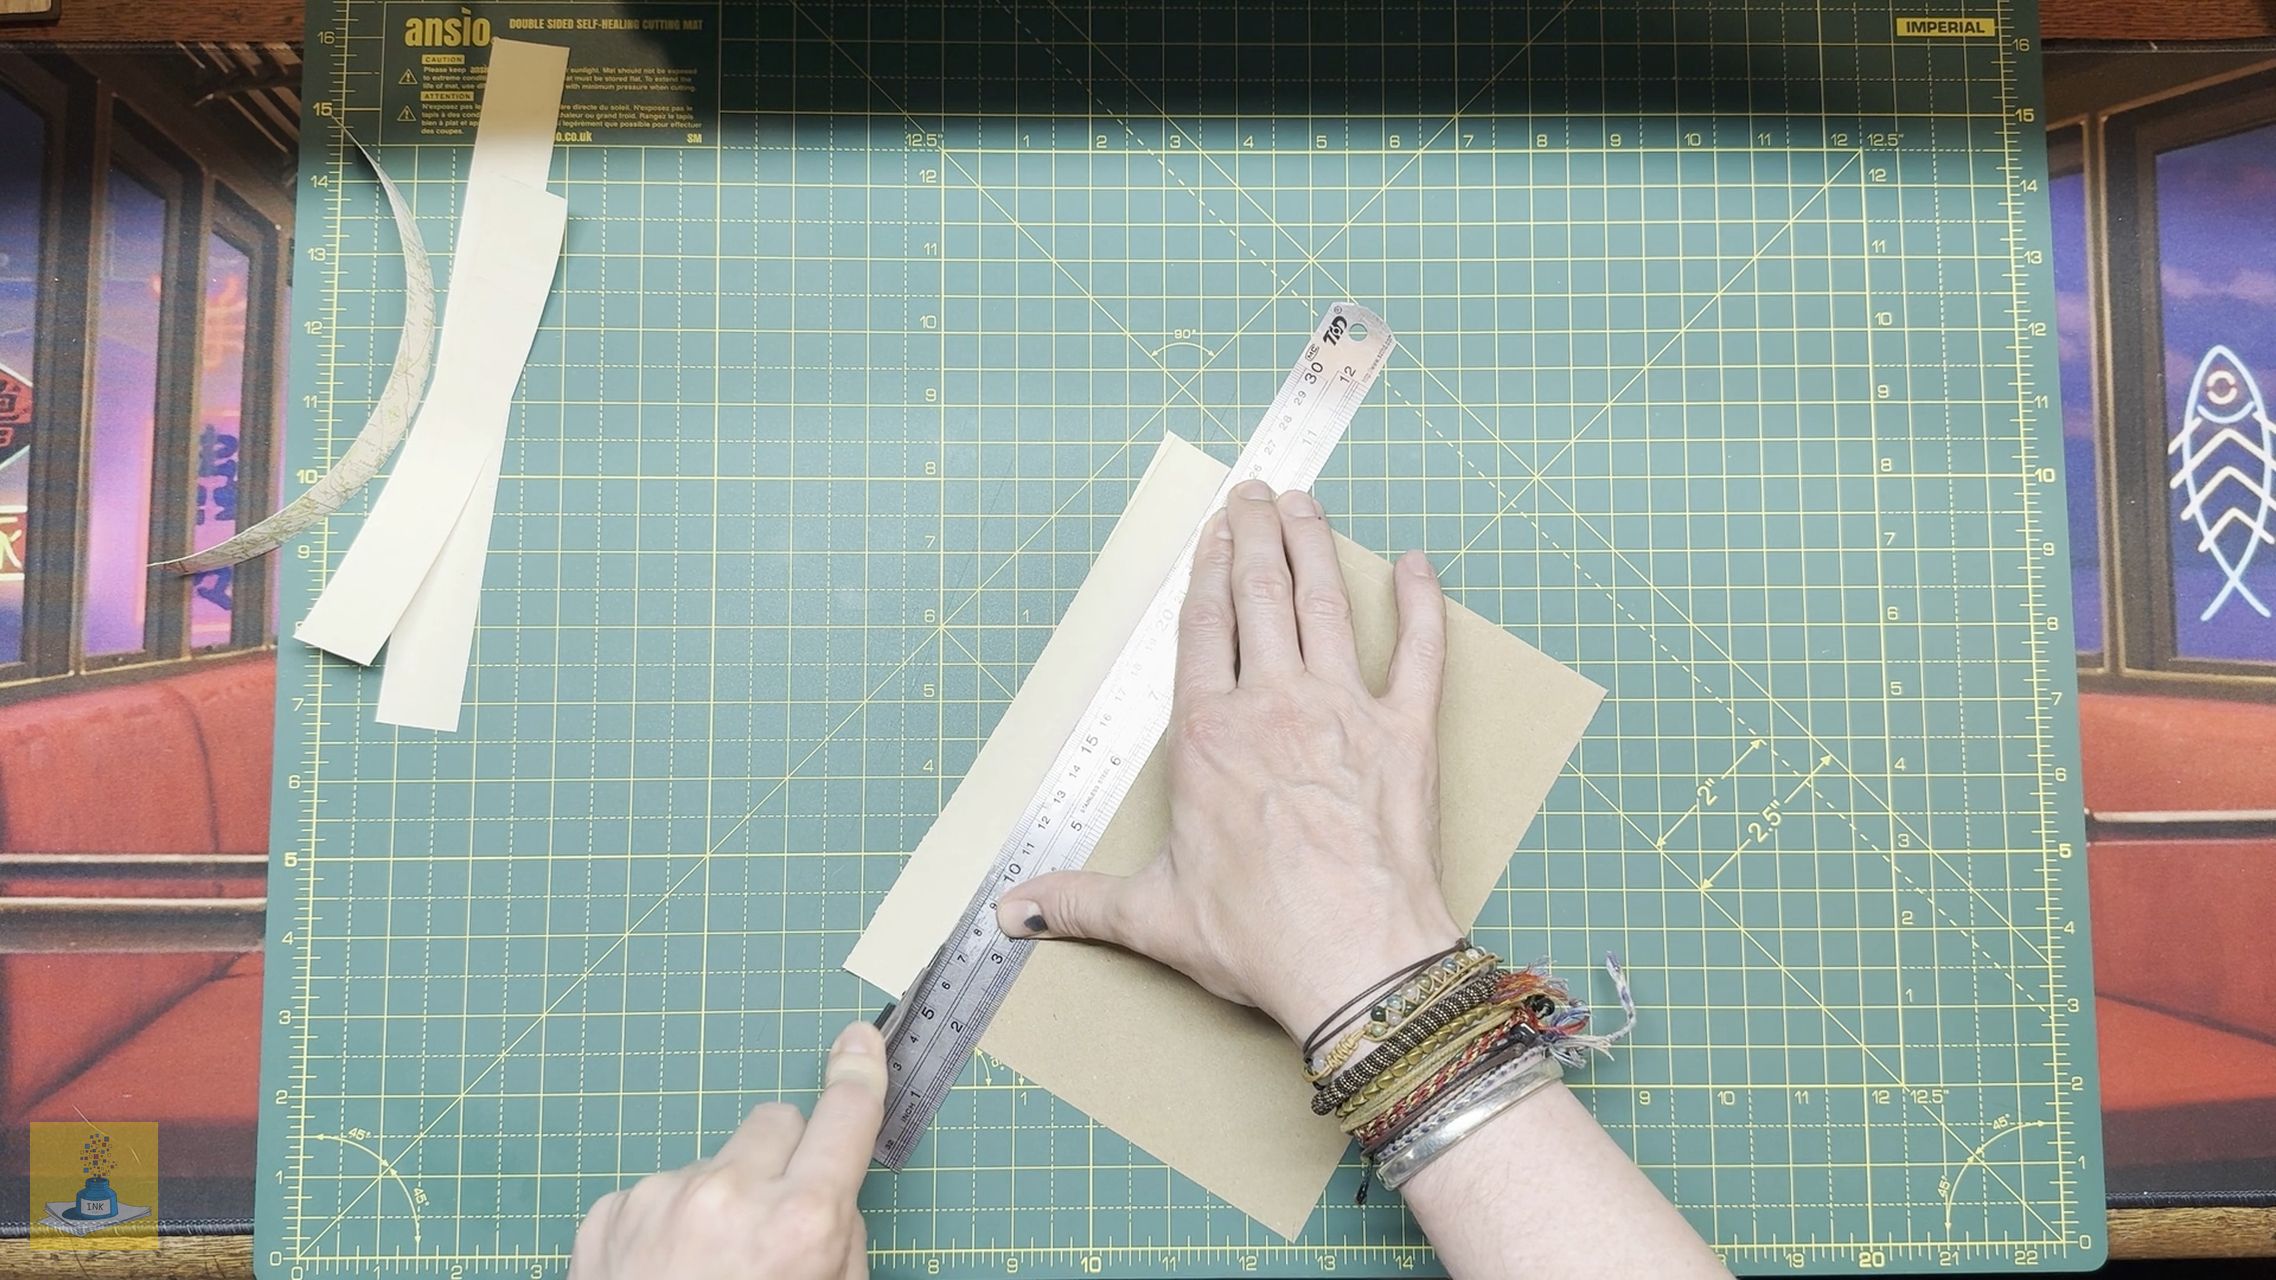
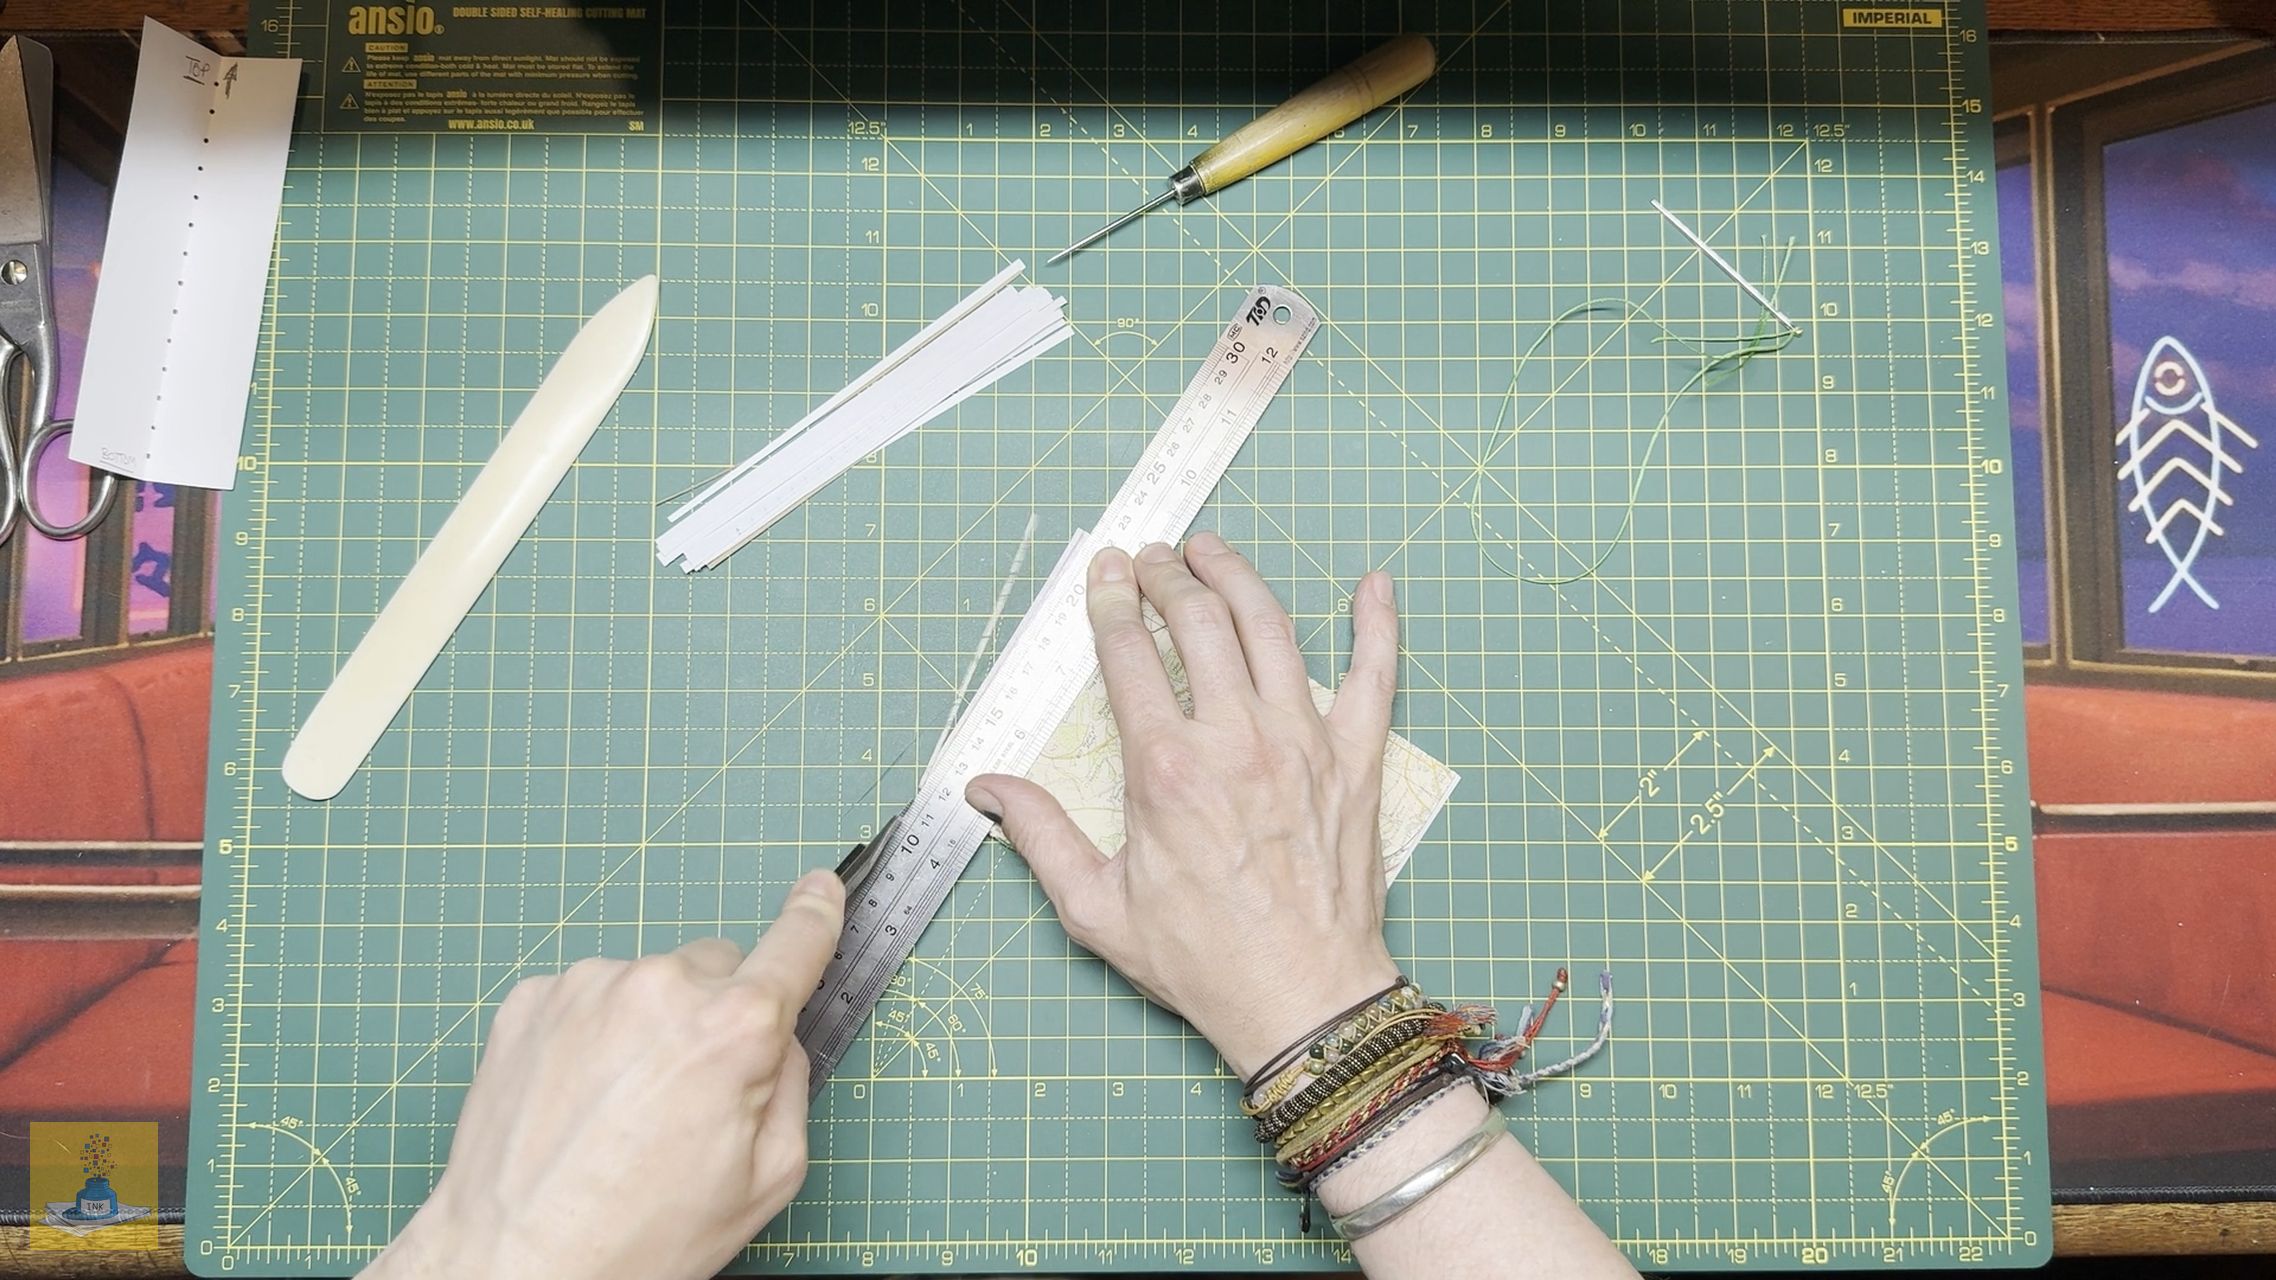
- When the cover is completely dry, use a steel ruler and a sharp craft knife to trim the excess paper from all four sides. It’s important to do this only after the glue is dry to prevent the paper from tearing.


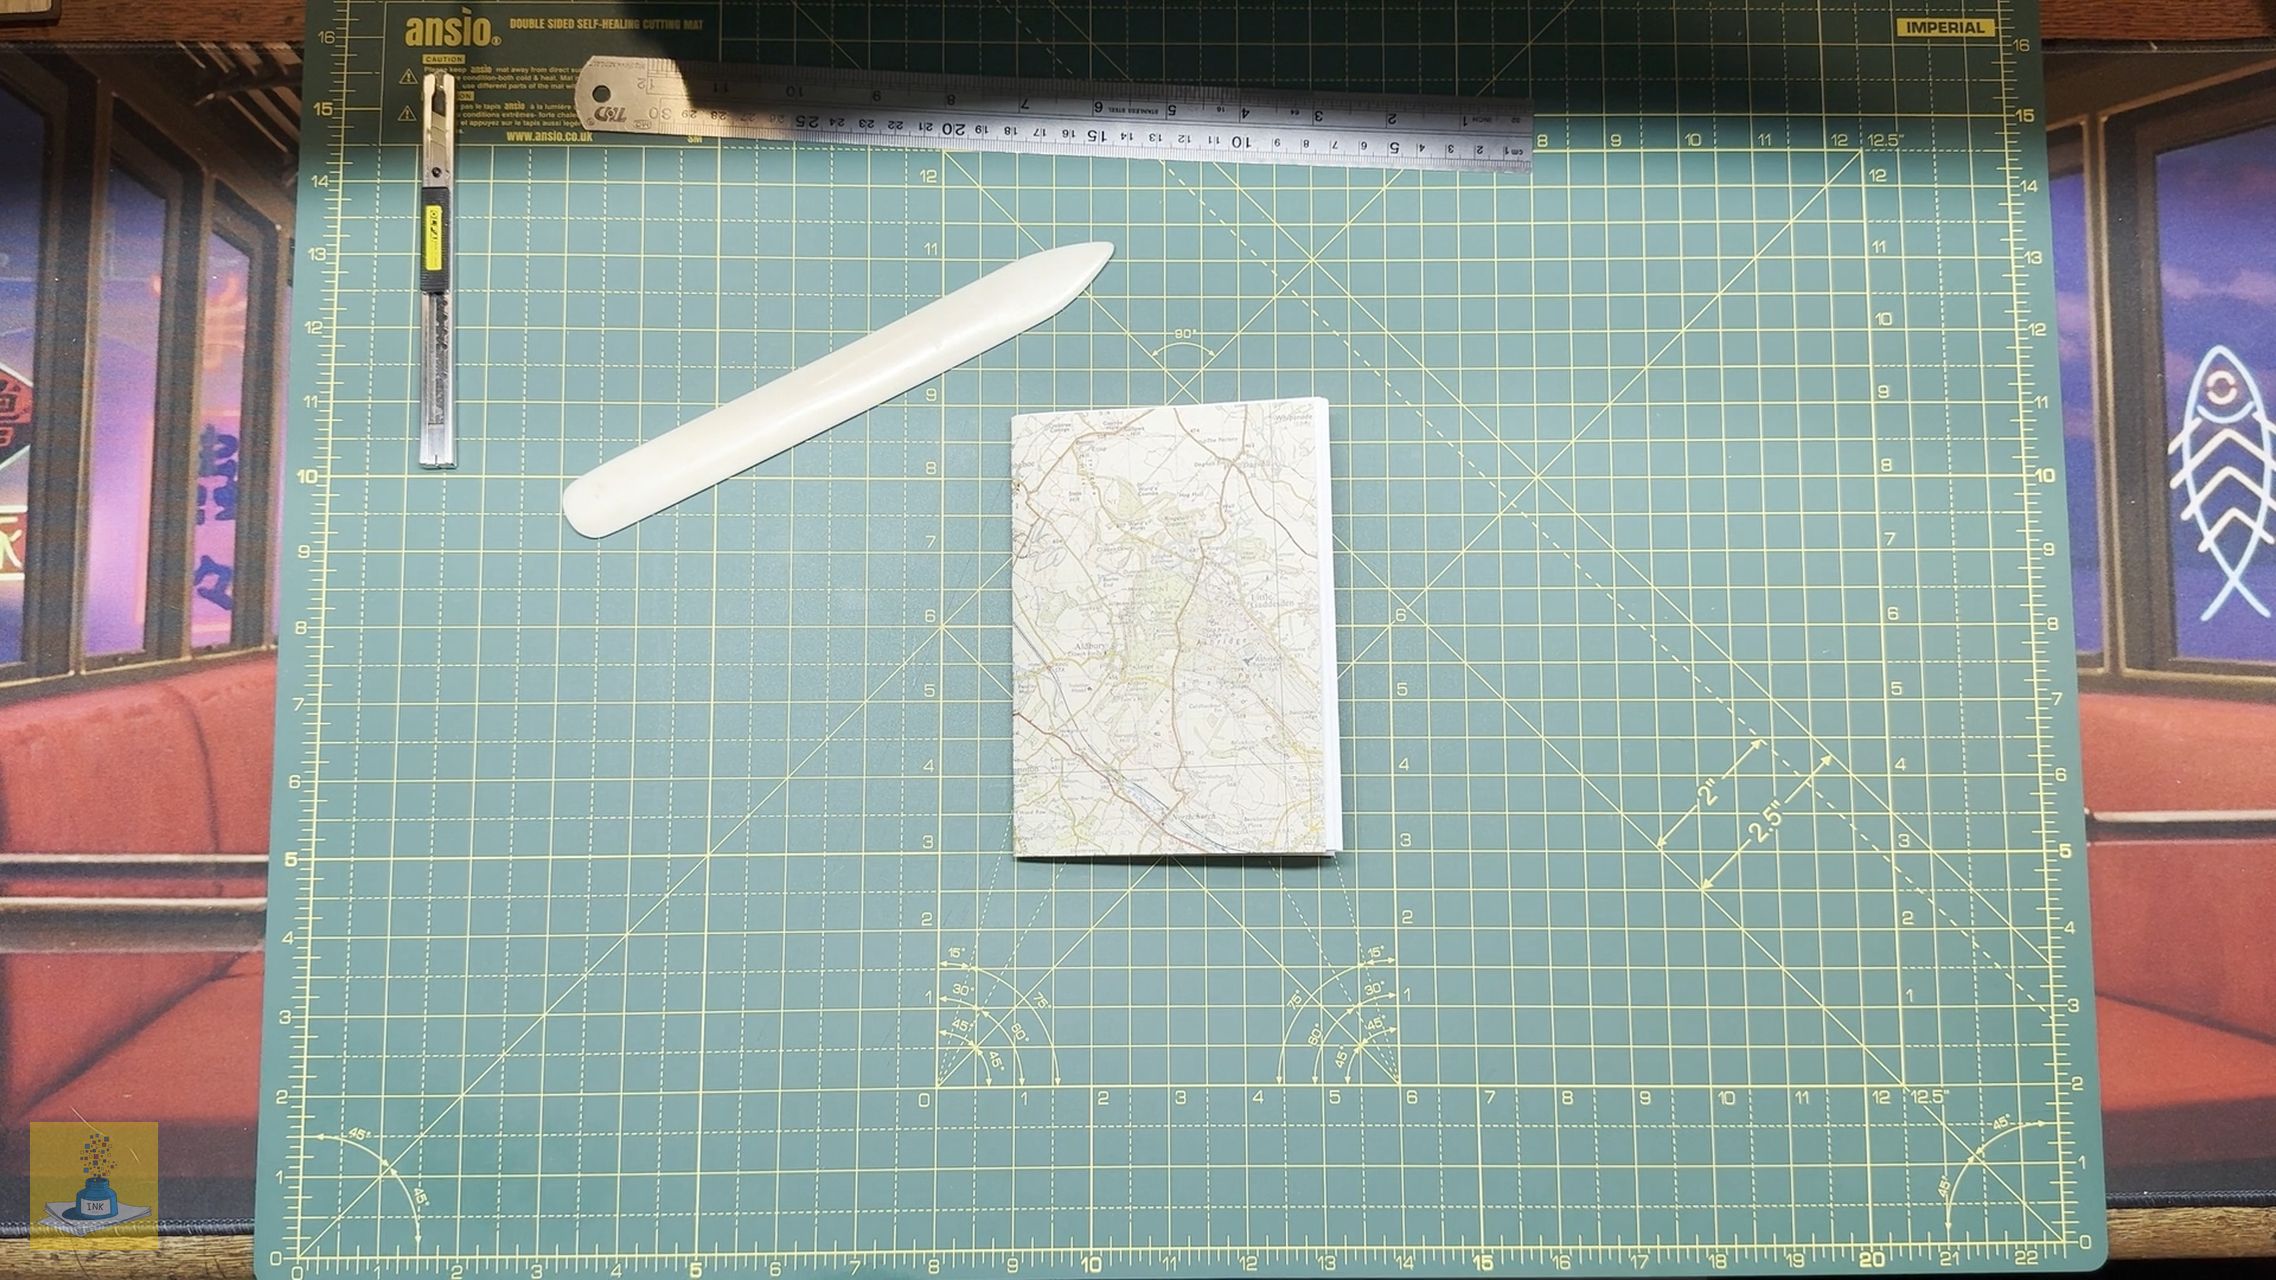
Your cover is now complete!
Folding and Sewing
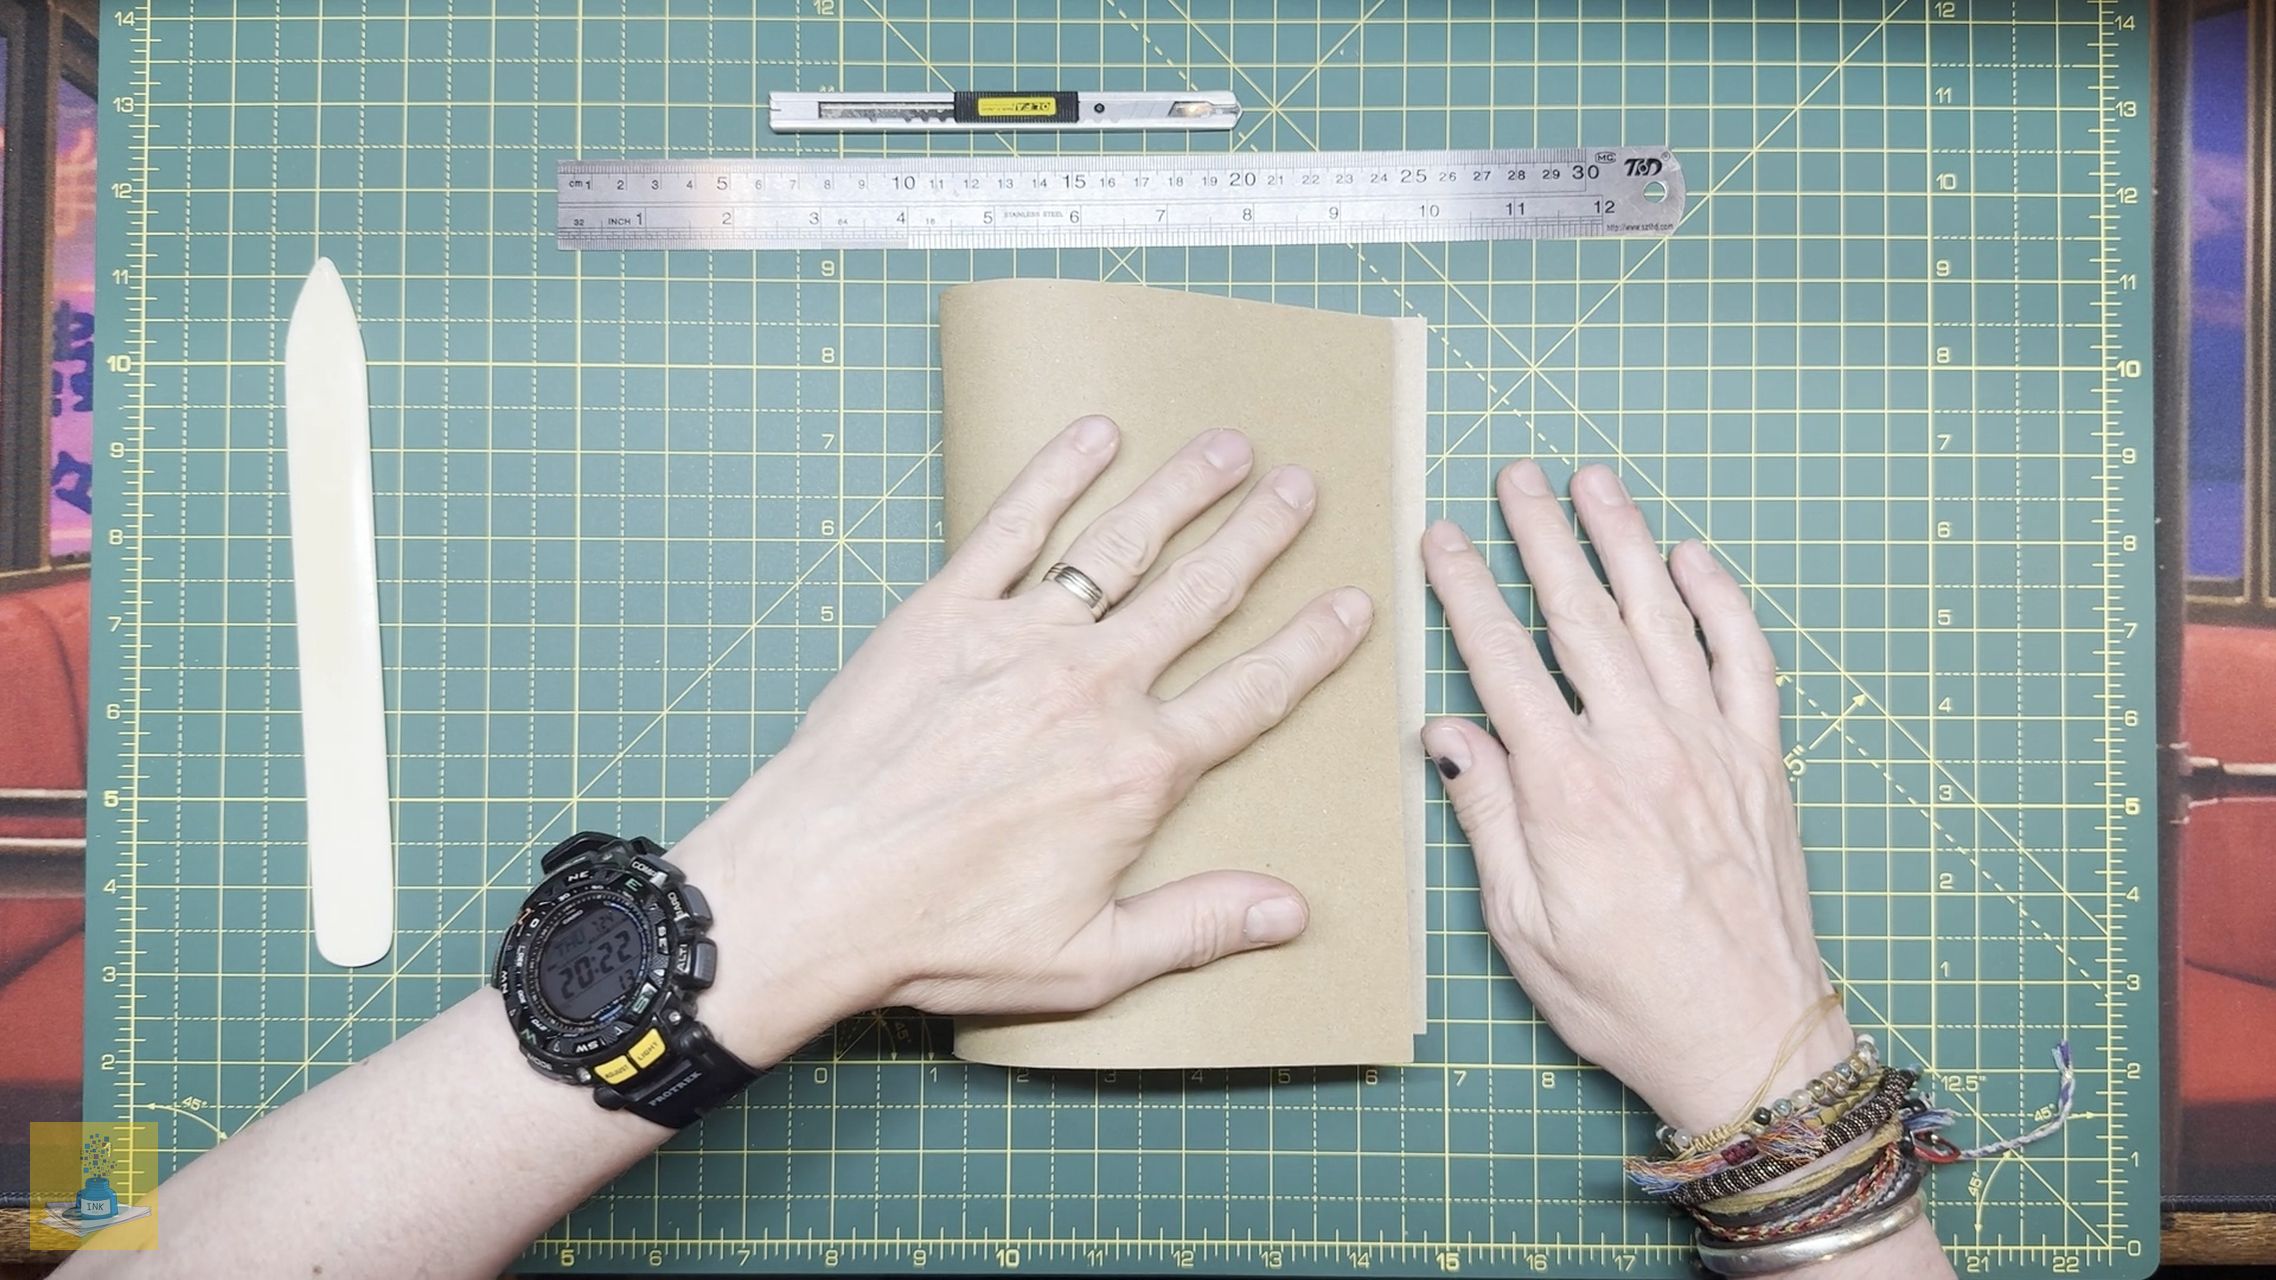
Folding
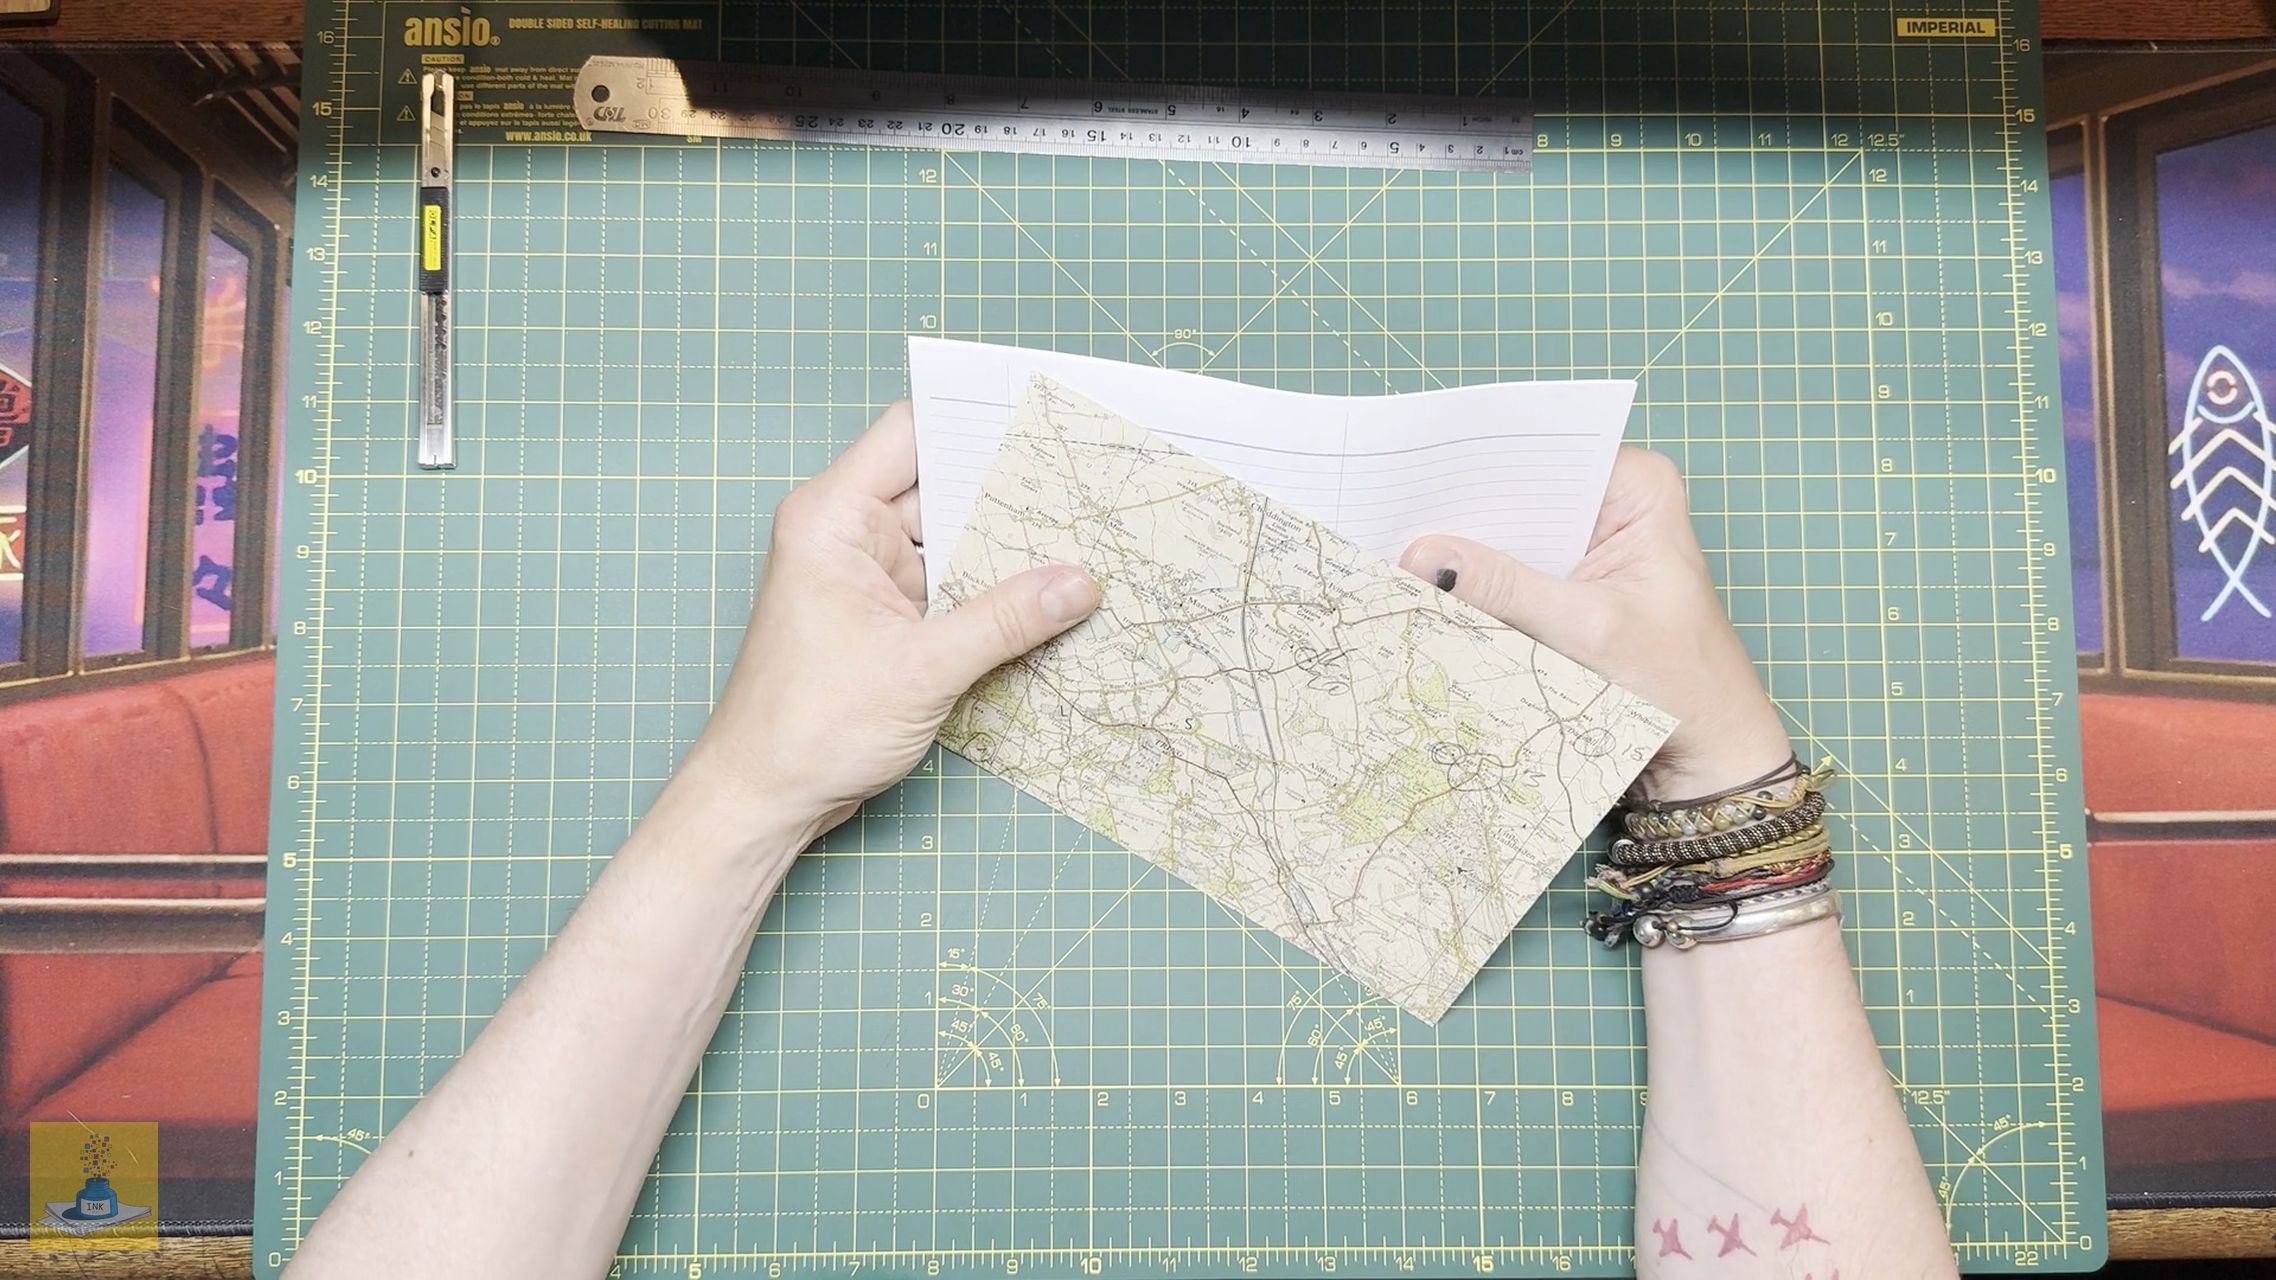
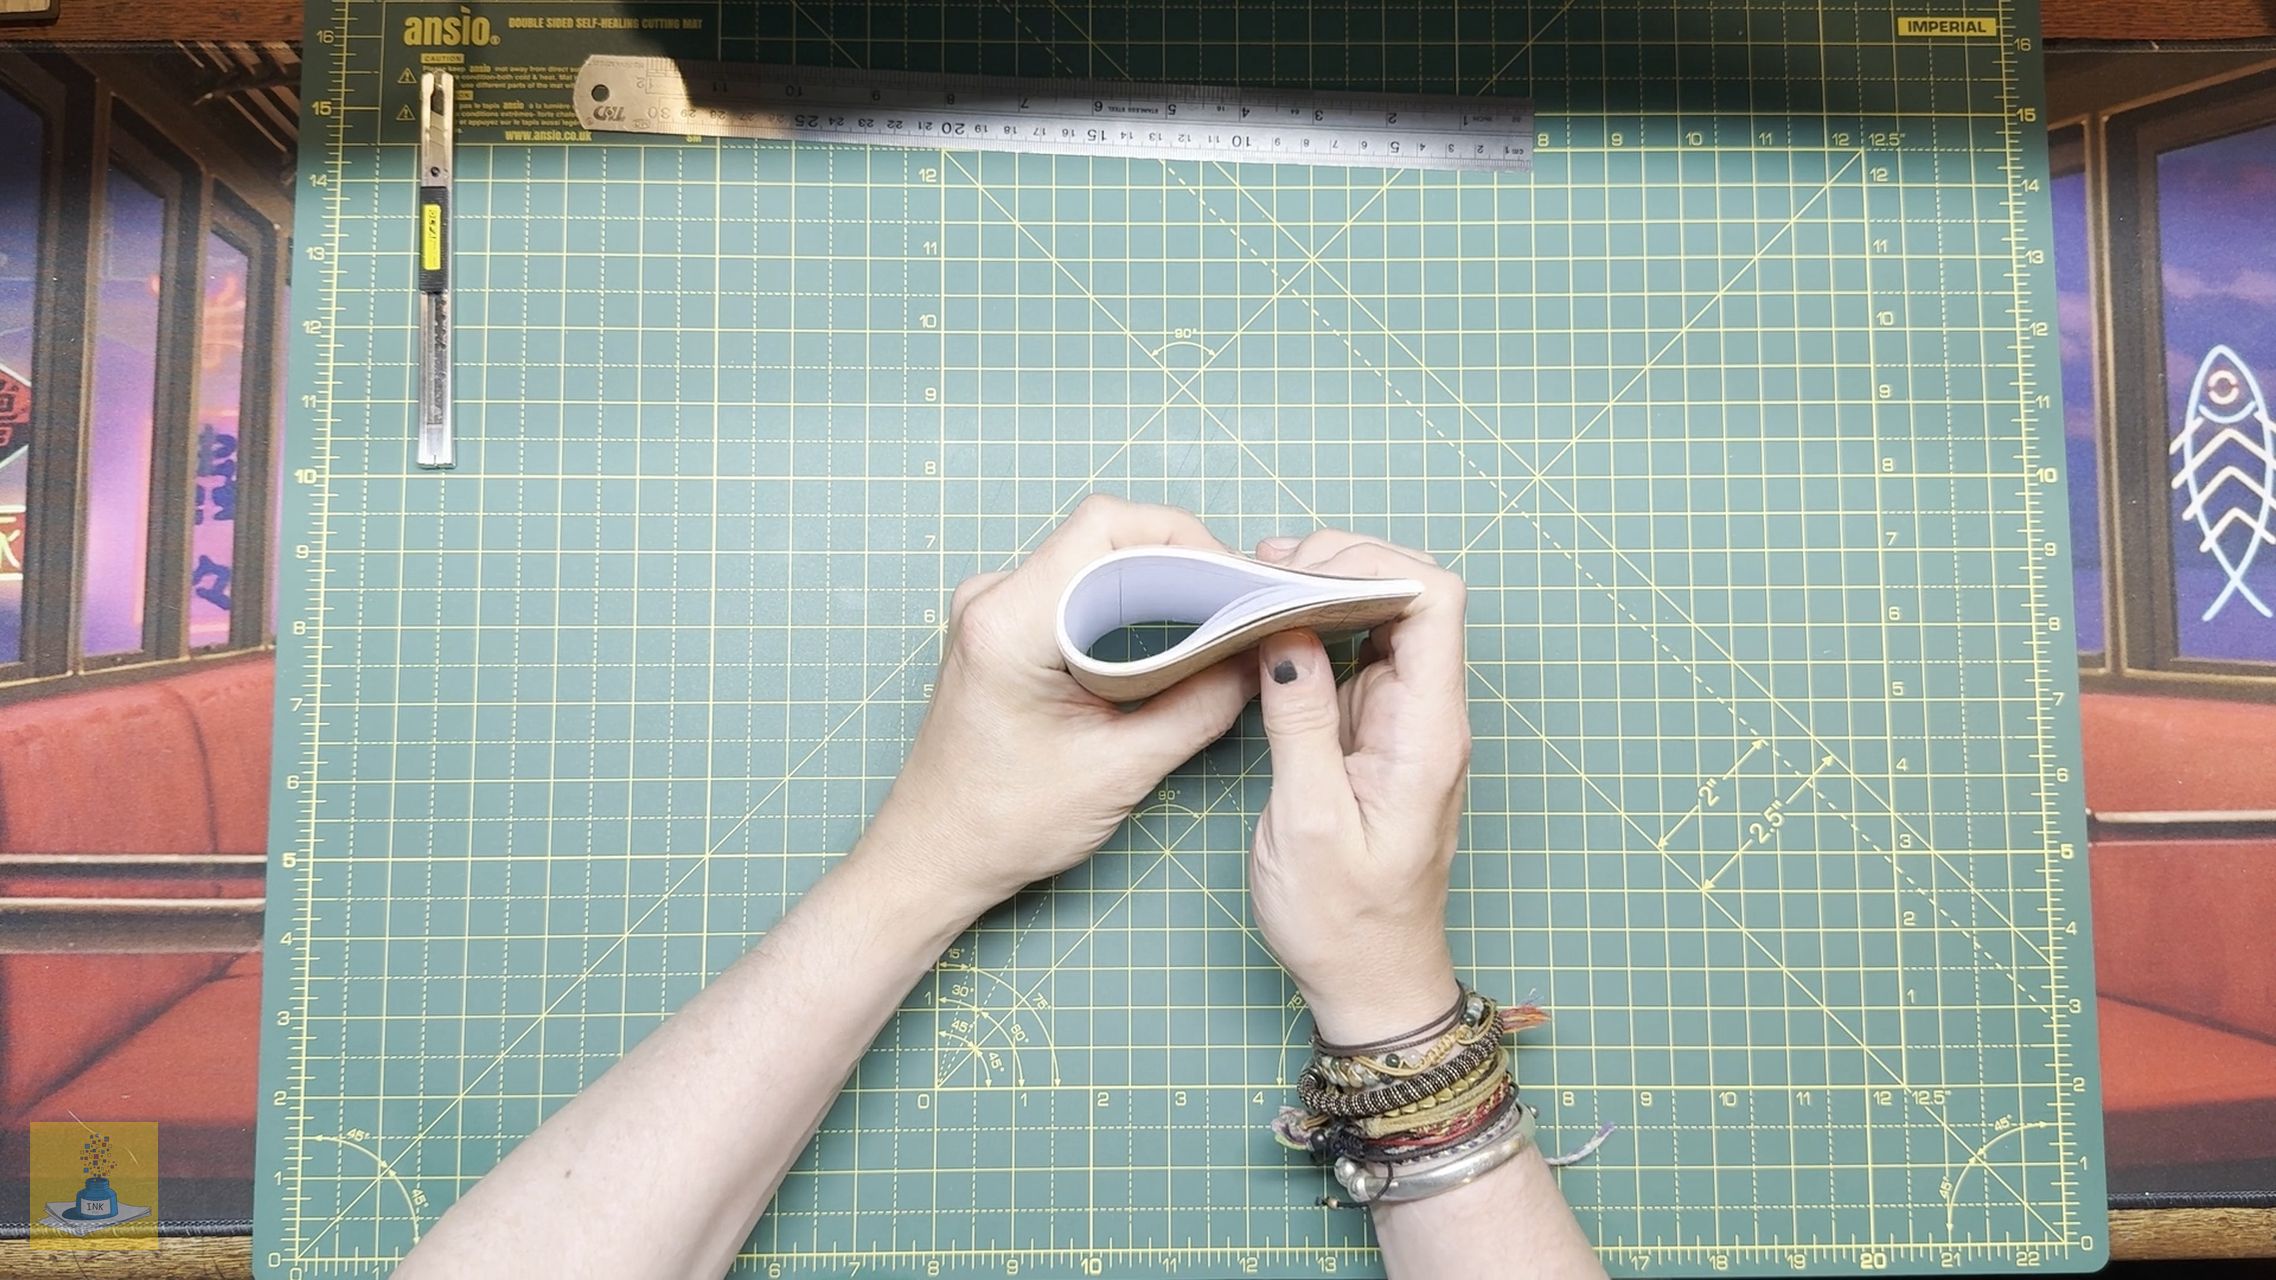
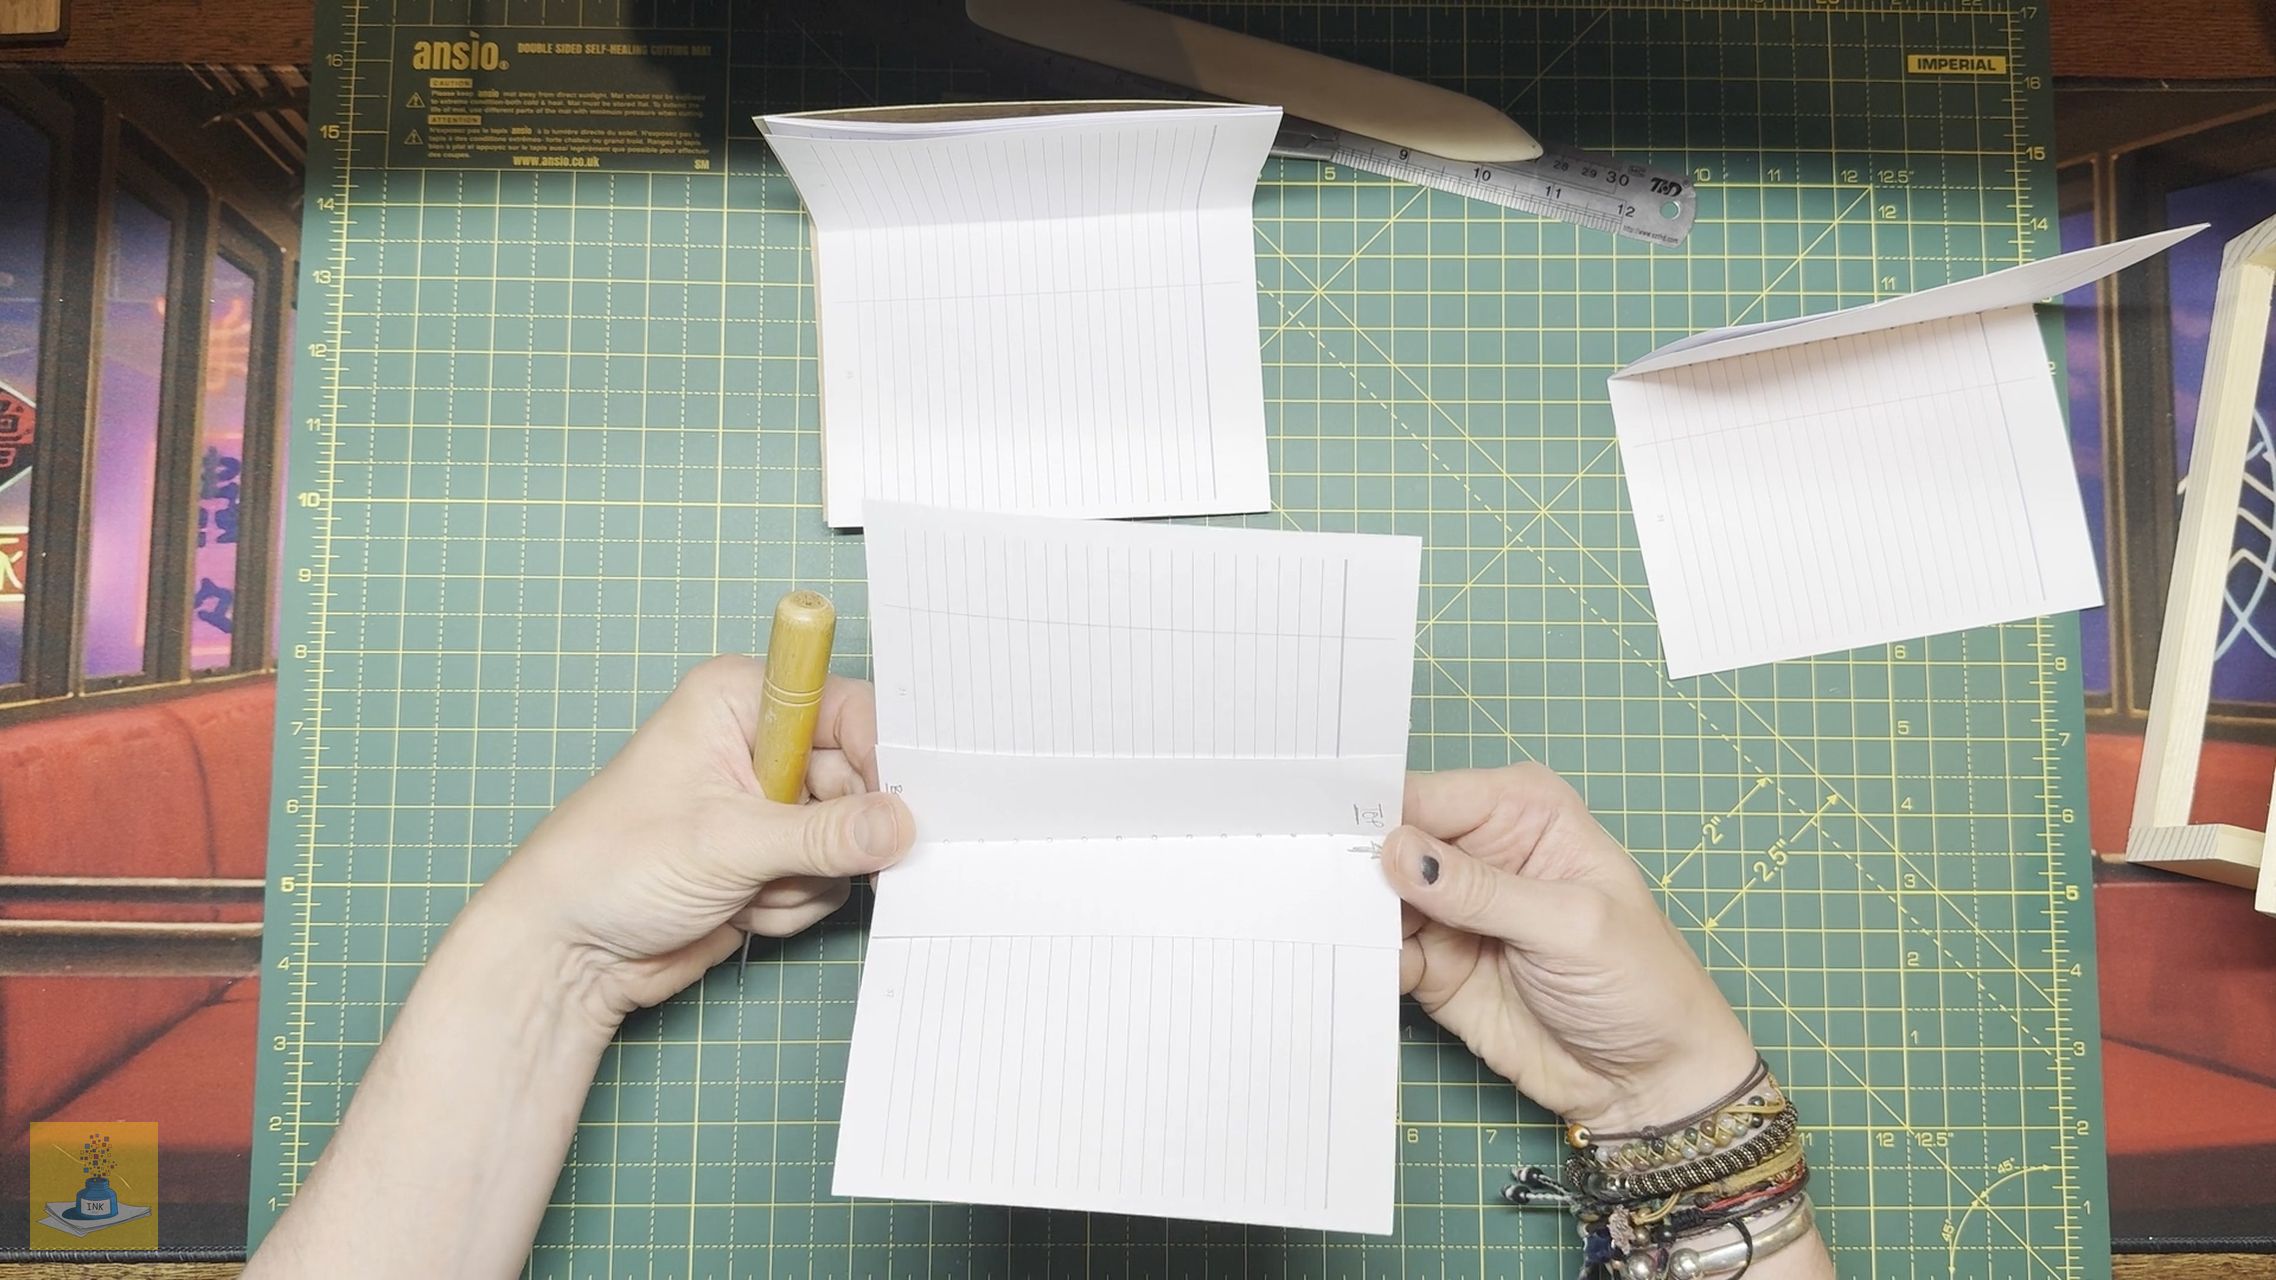
- Take your 15 sheets of A5 paper and the completed cover. Carefully fold them all in half together and use a bone folder to create a crease. Don’t worry if the edges don’t line up perfectly; they’ll be trimmed later.


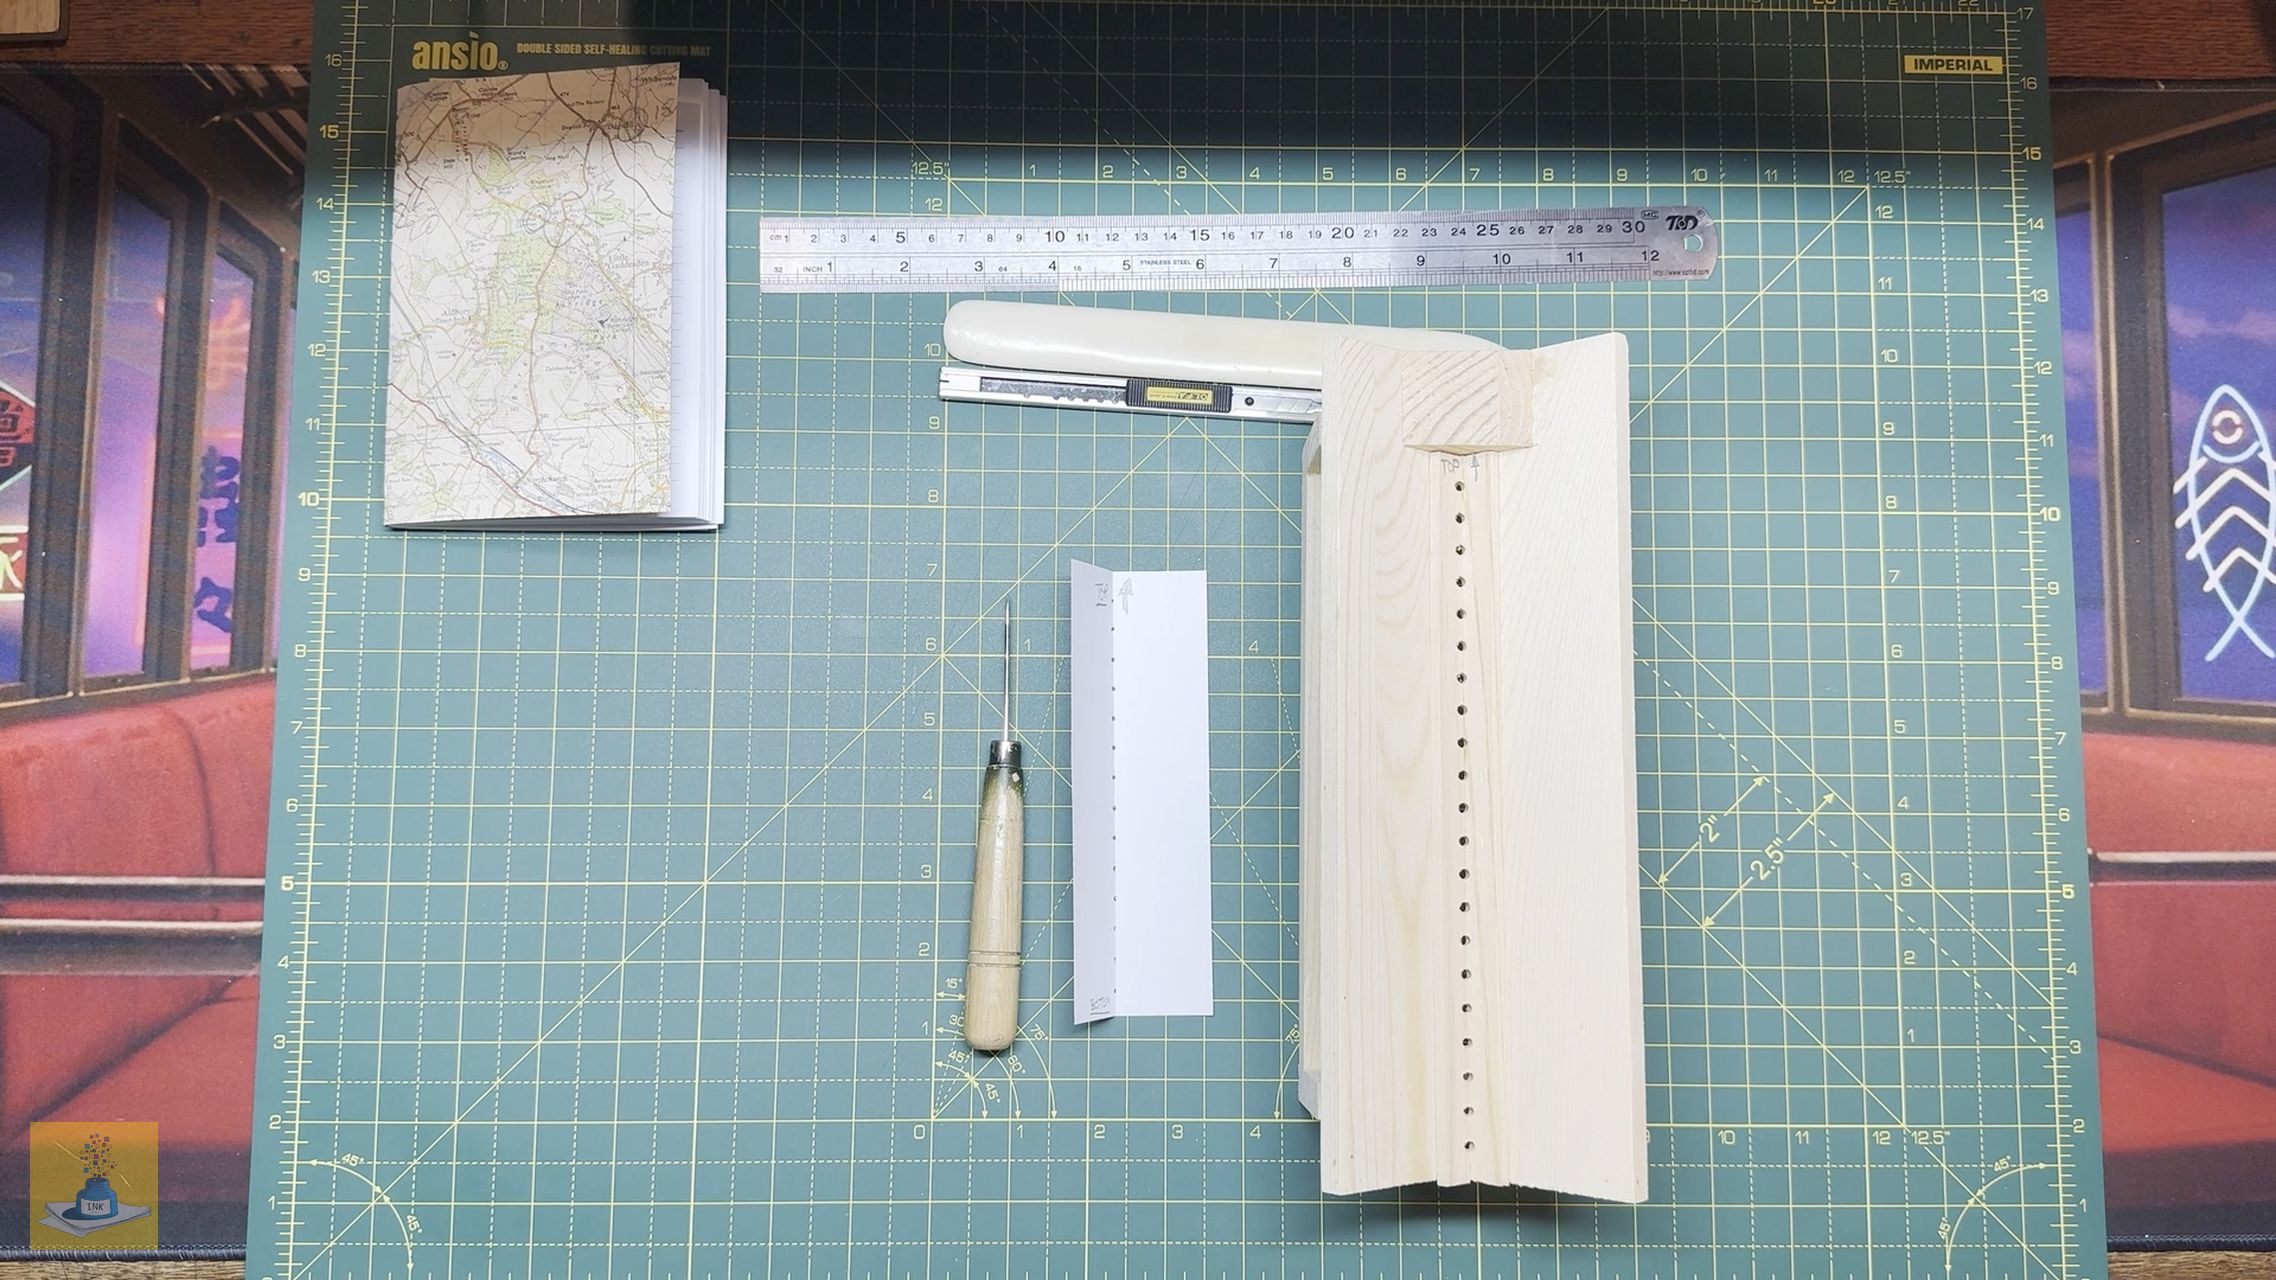
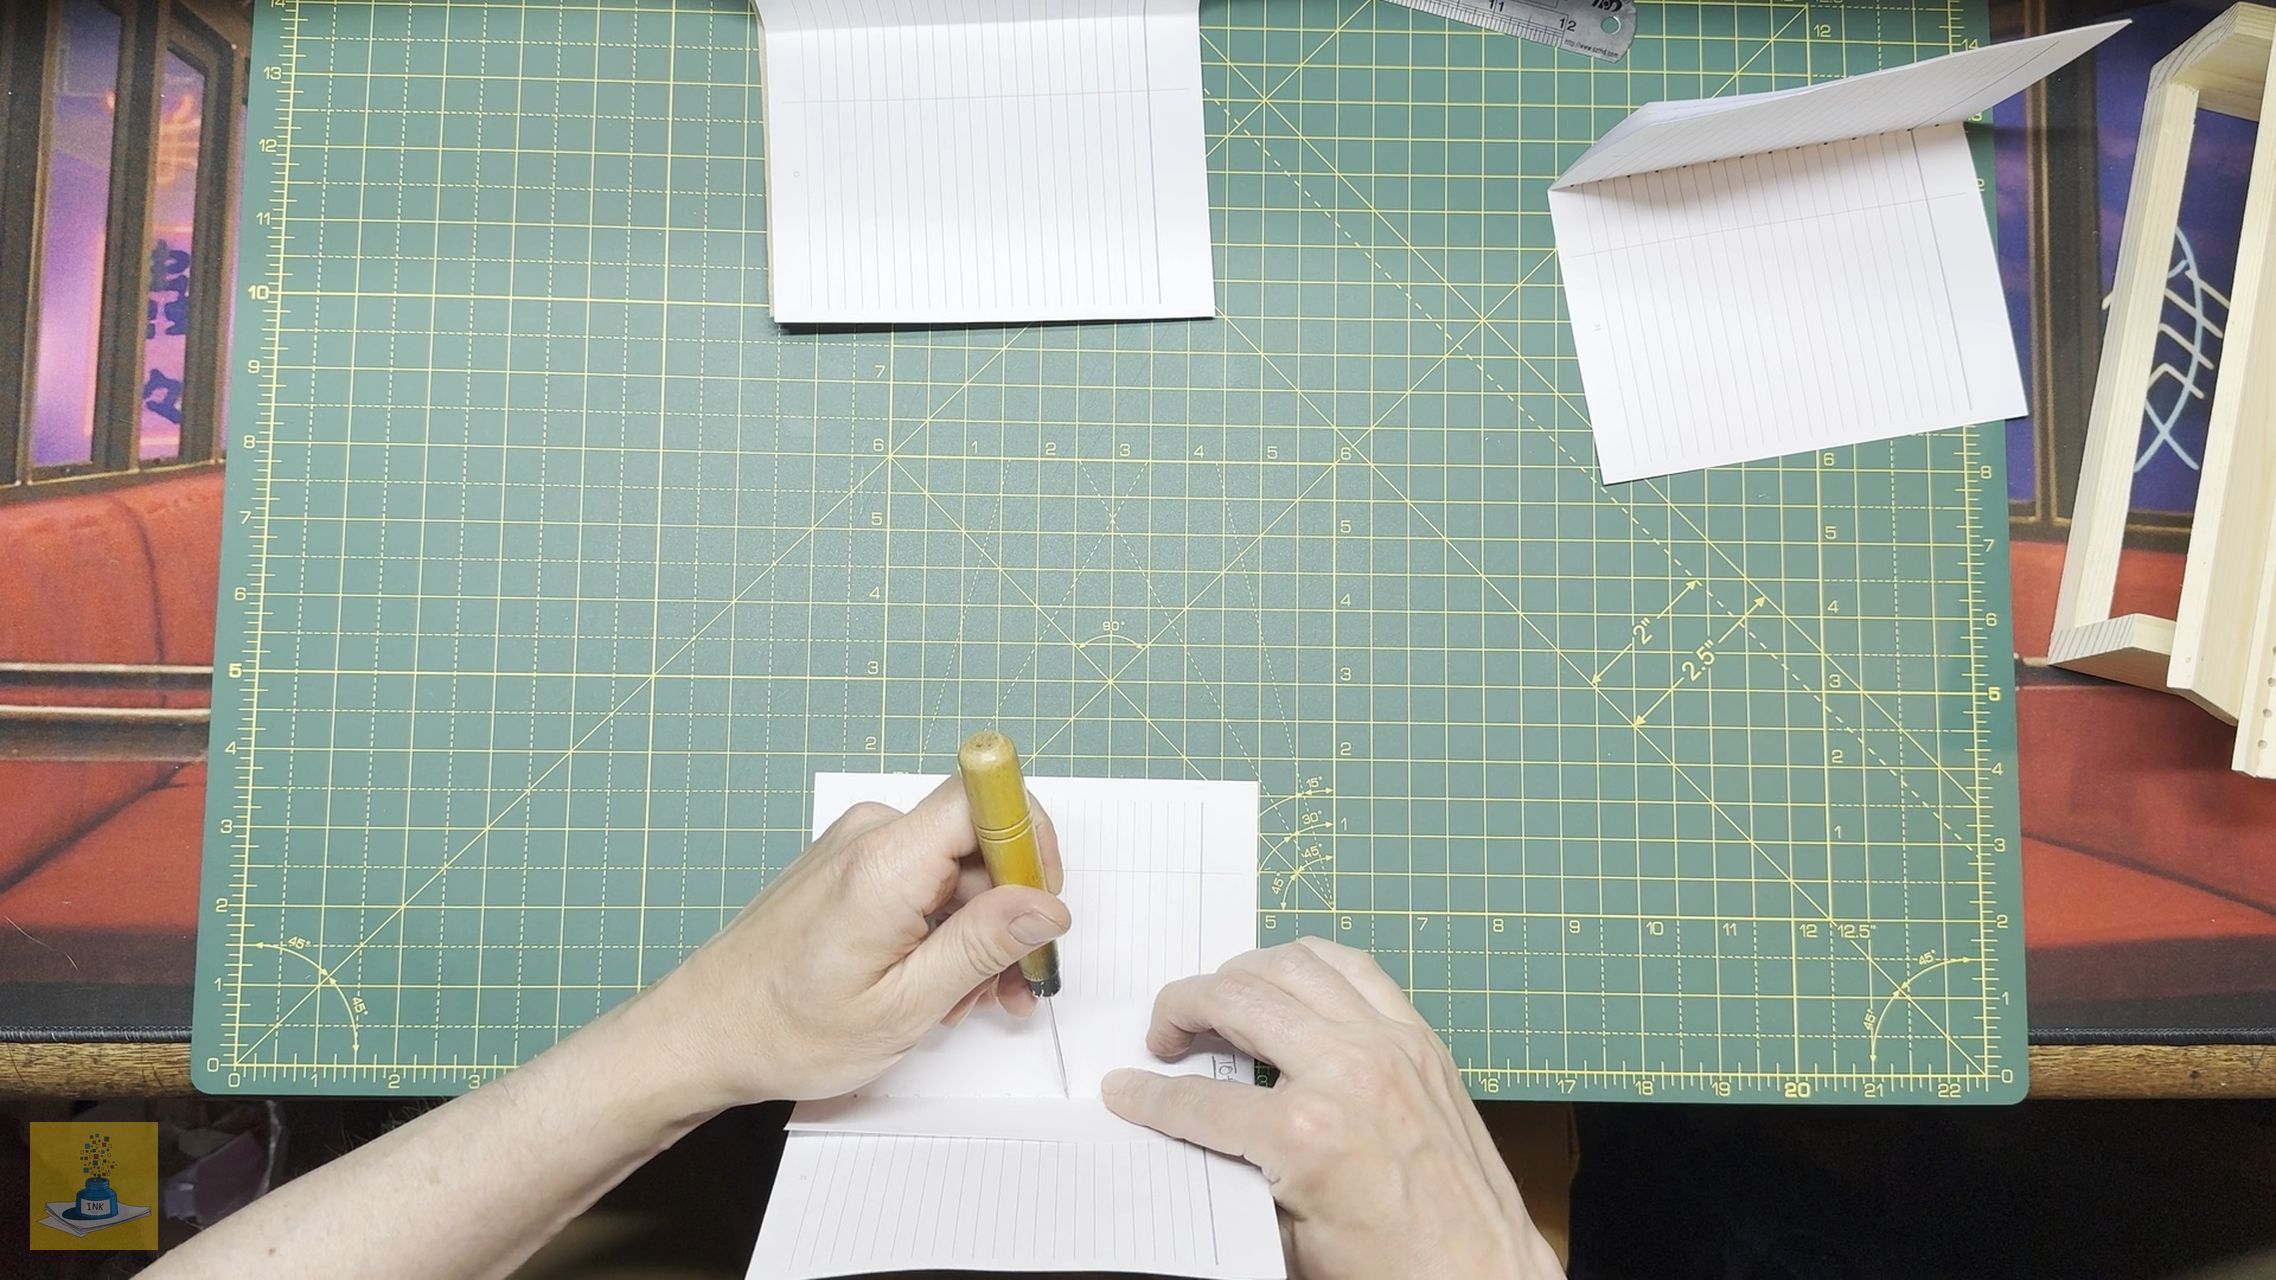
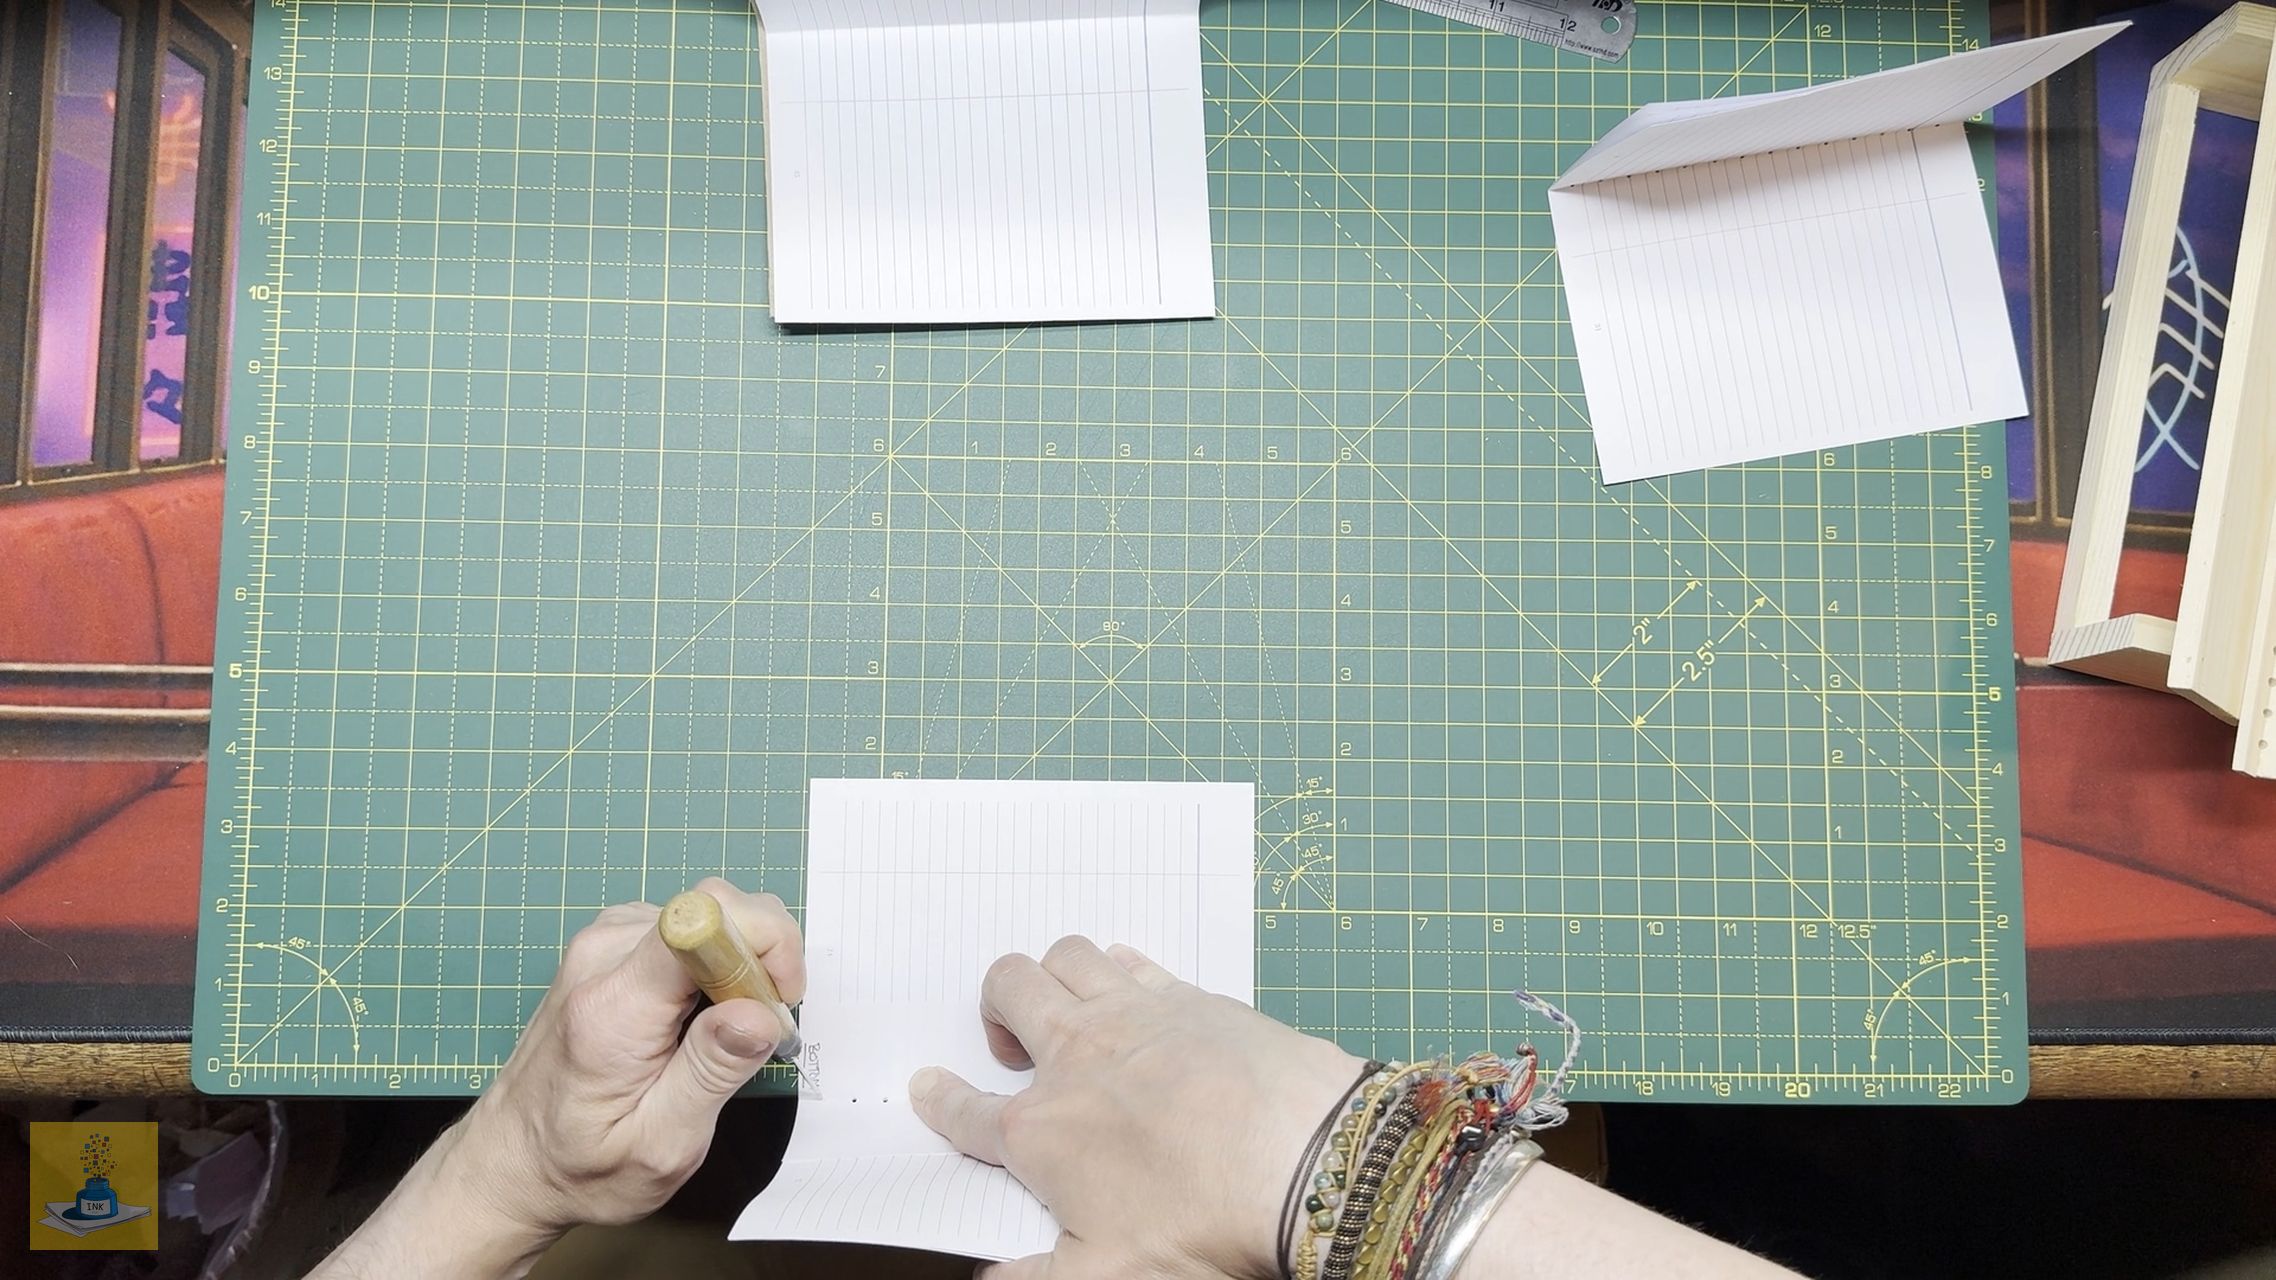
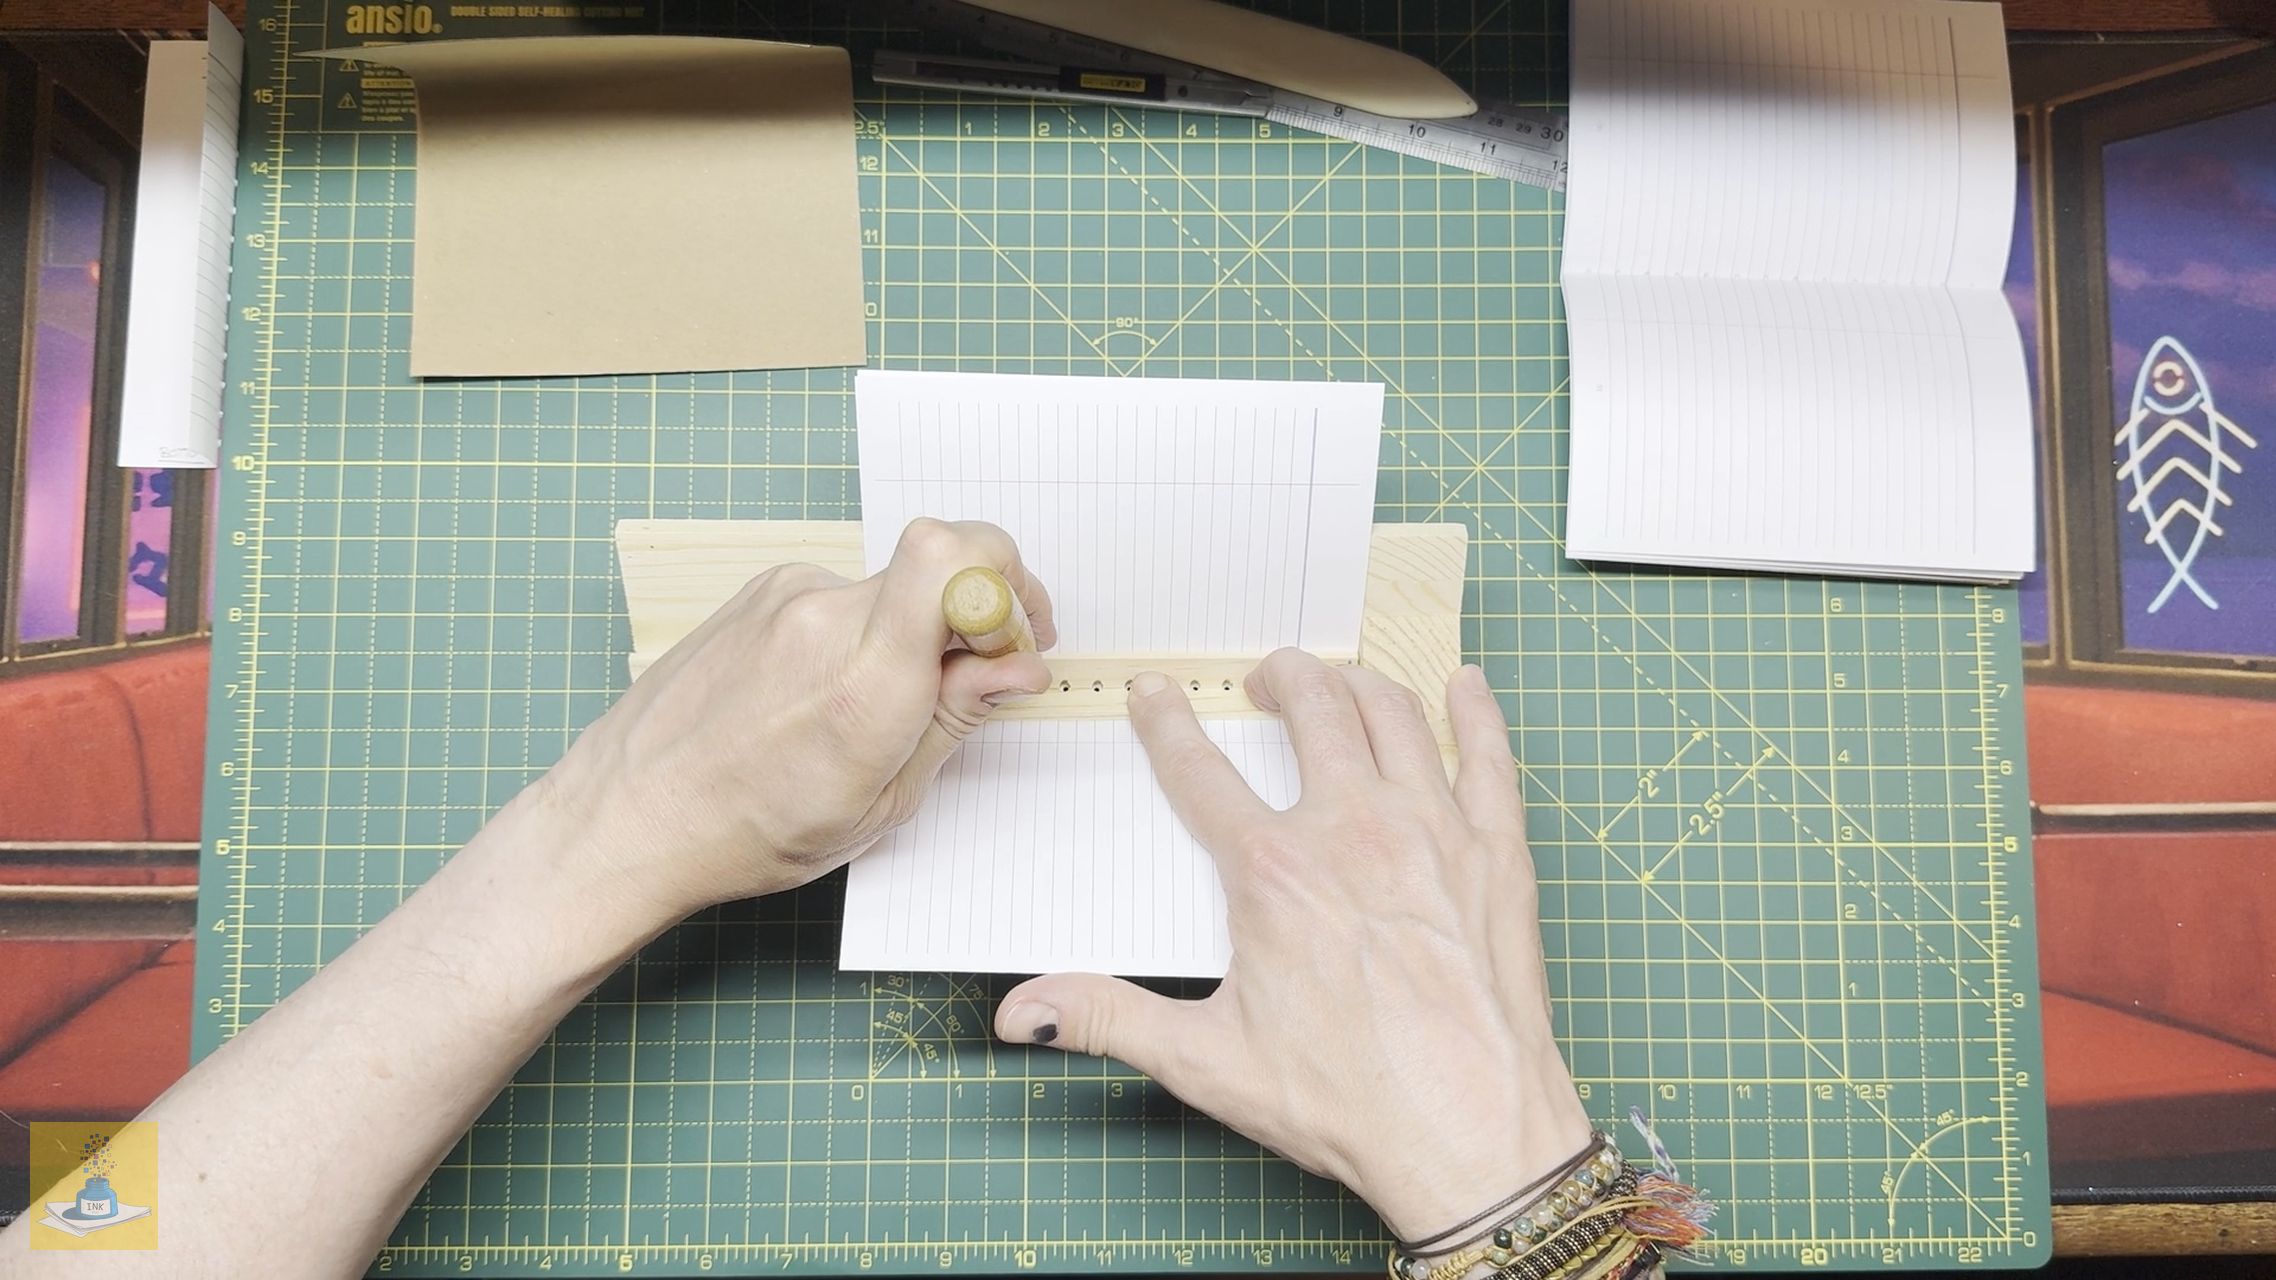
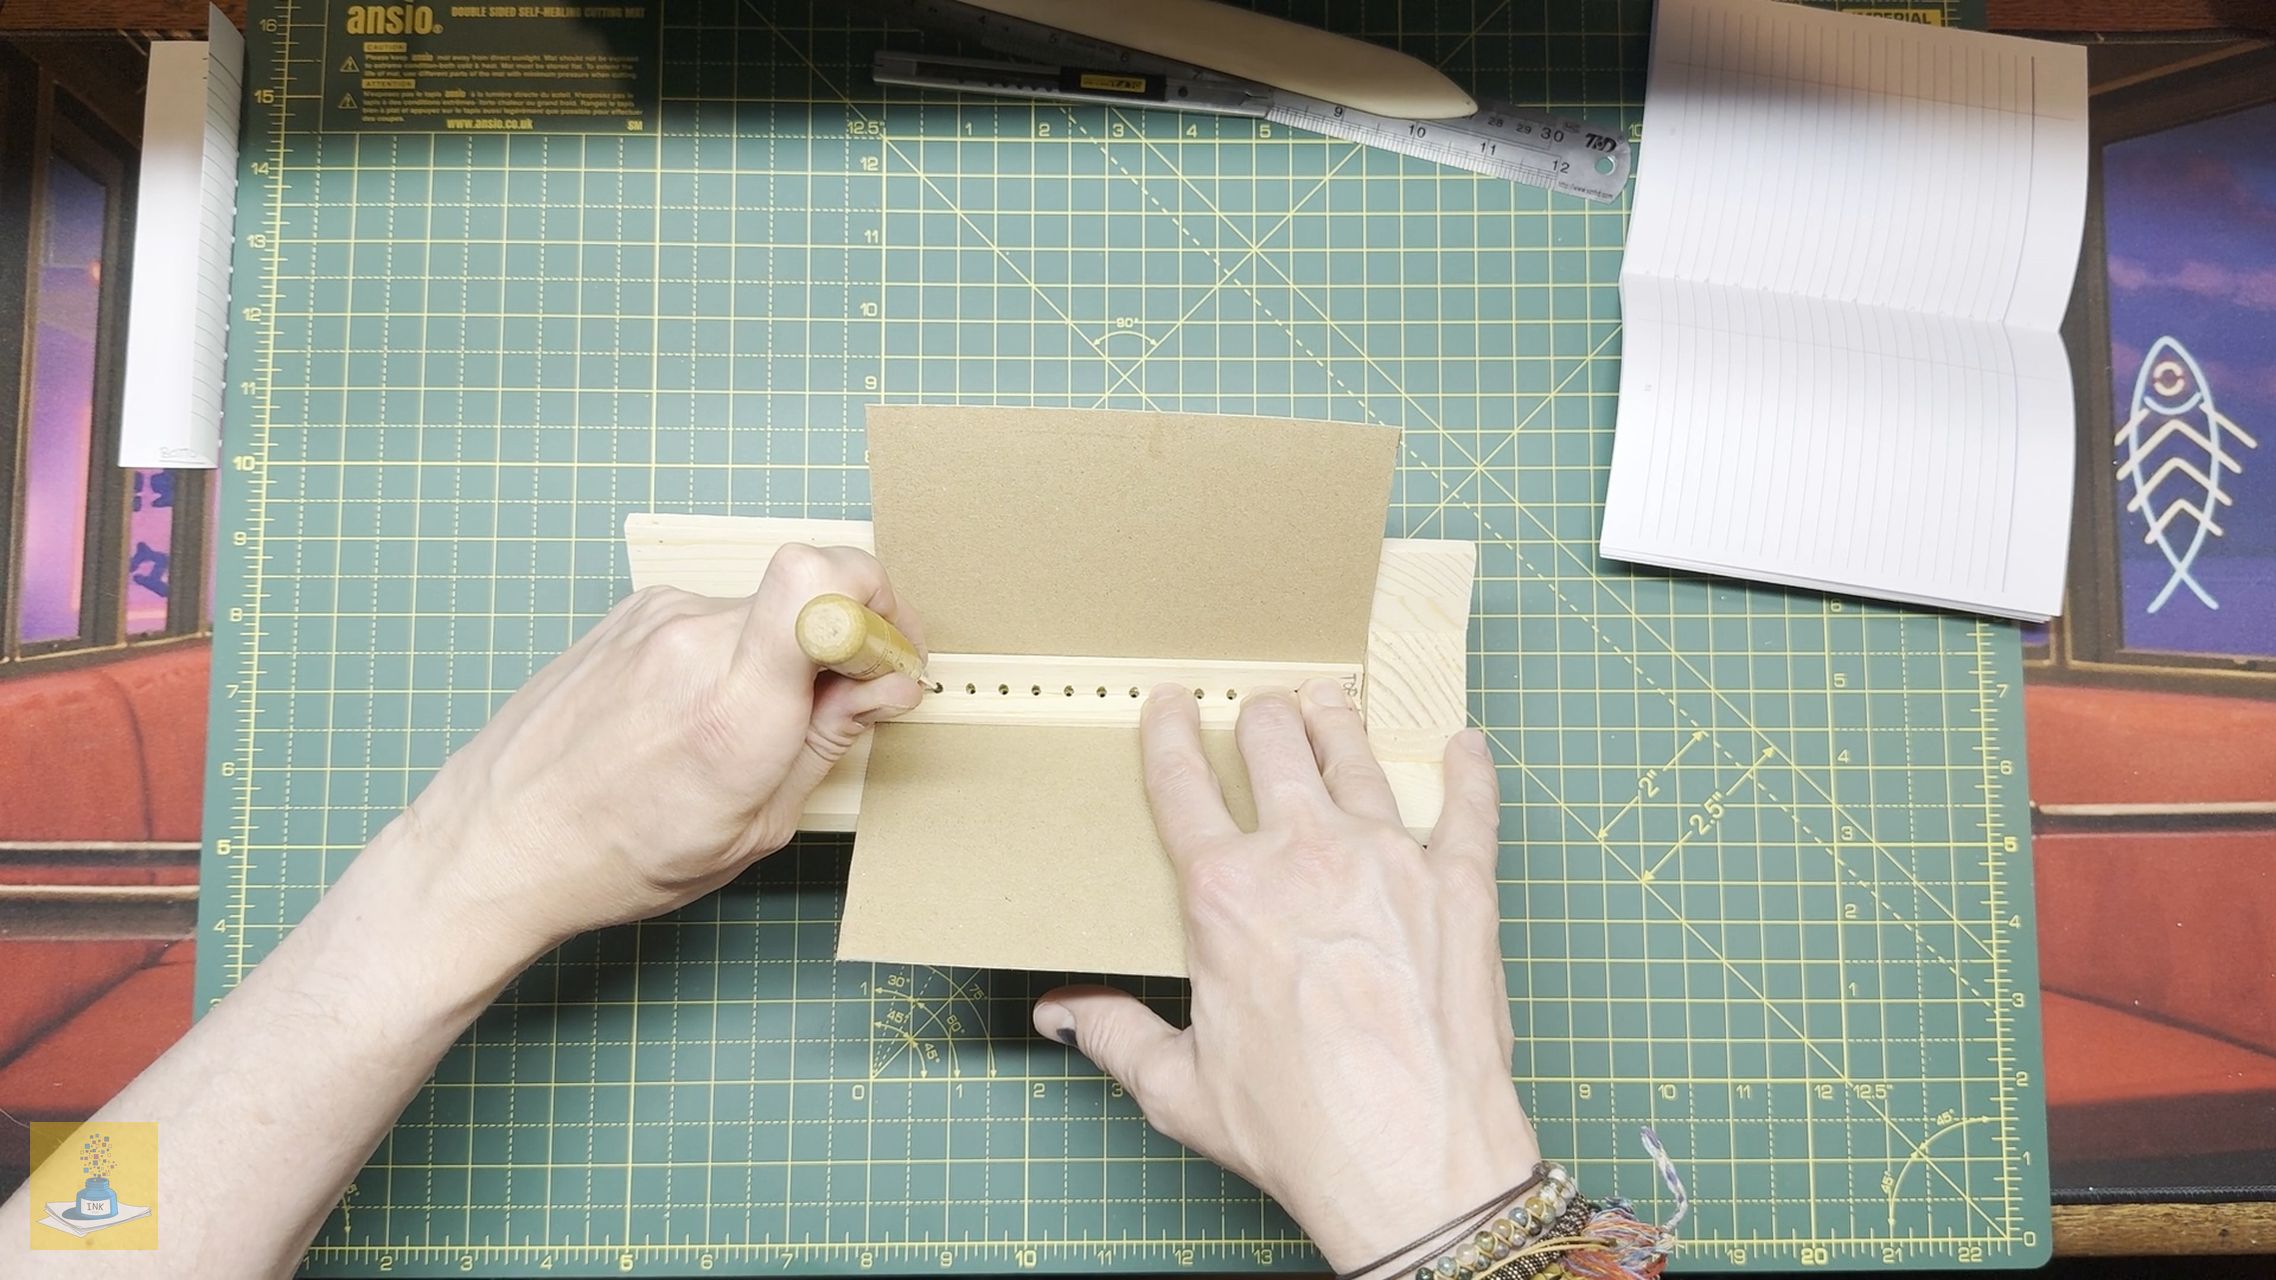
- Next, it’s time to punch holes in the pages spine for sewing.
- If you don’t have a punching cradle, you can use the template I’ve created, aligning to the top edge of the paper on the spine. With the paper slightly closed and the spine on the edge of a table, use your awl or needle to poke holes from the inside.
- Always make sure to put the top of the template to the top of the page for consistency.
- I punch 3-4 sheets of paper at a time to make things easier and saving damaging the paper.


- Once the holes are punched, you’re ready to stitch everything together.
Sewing
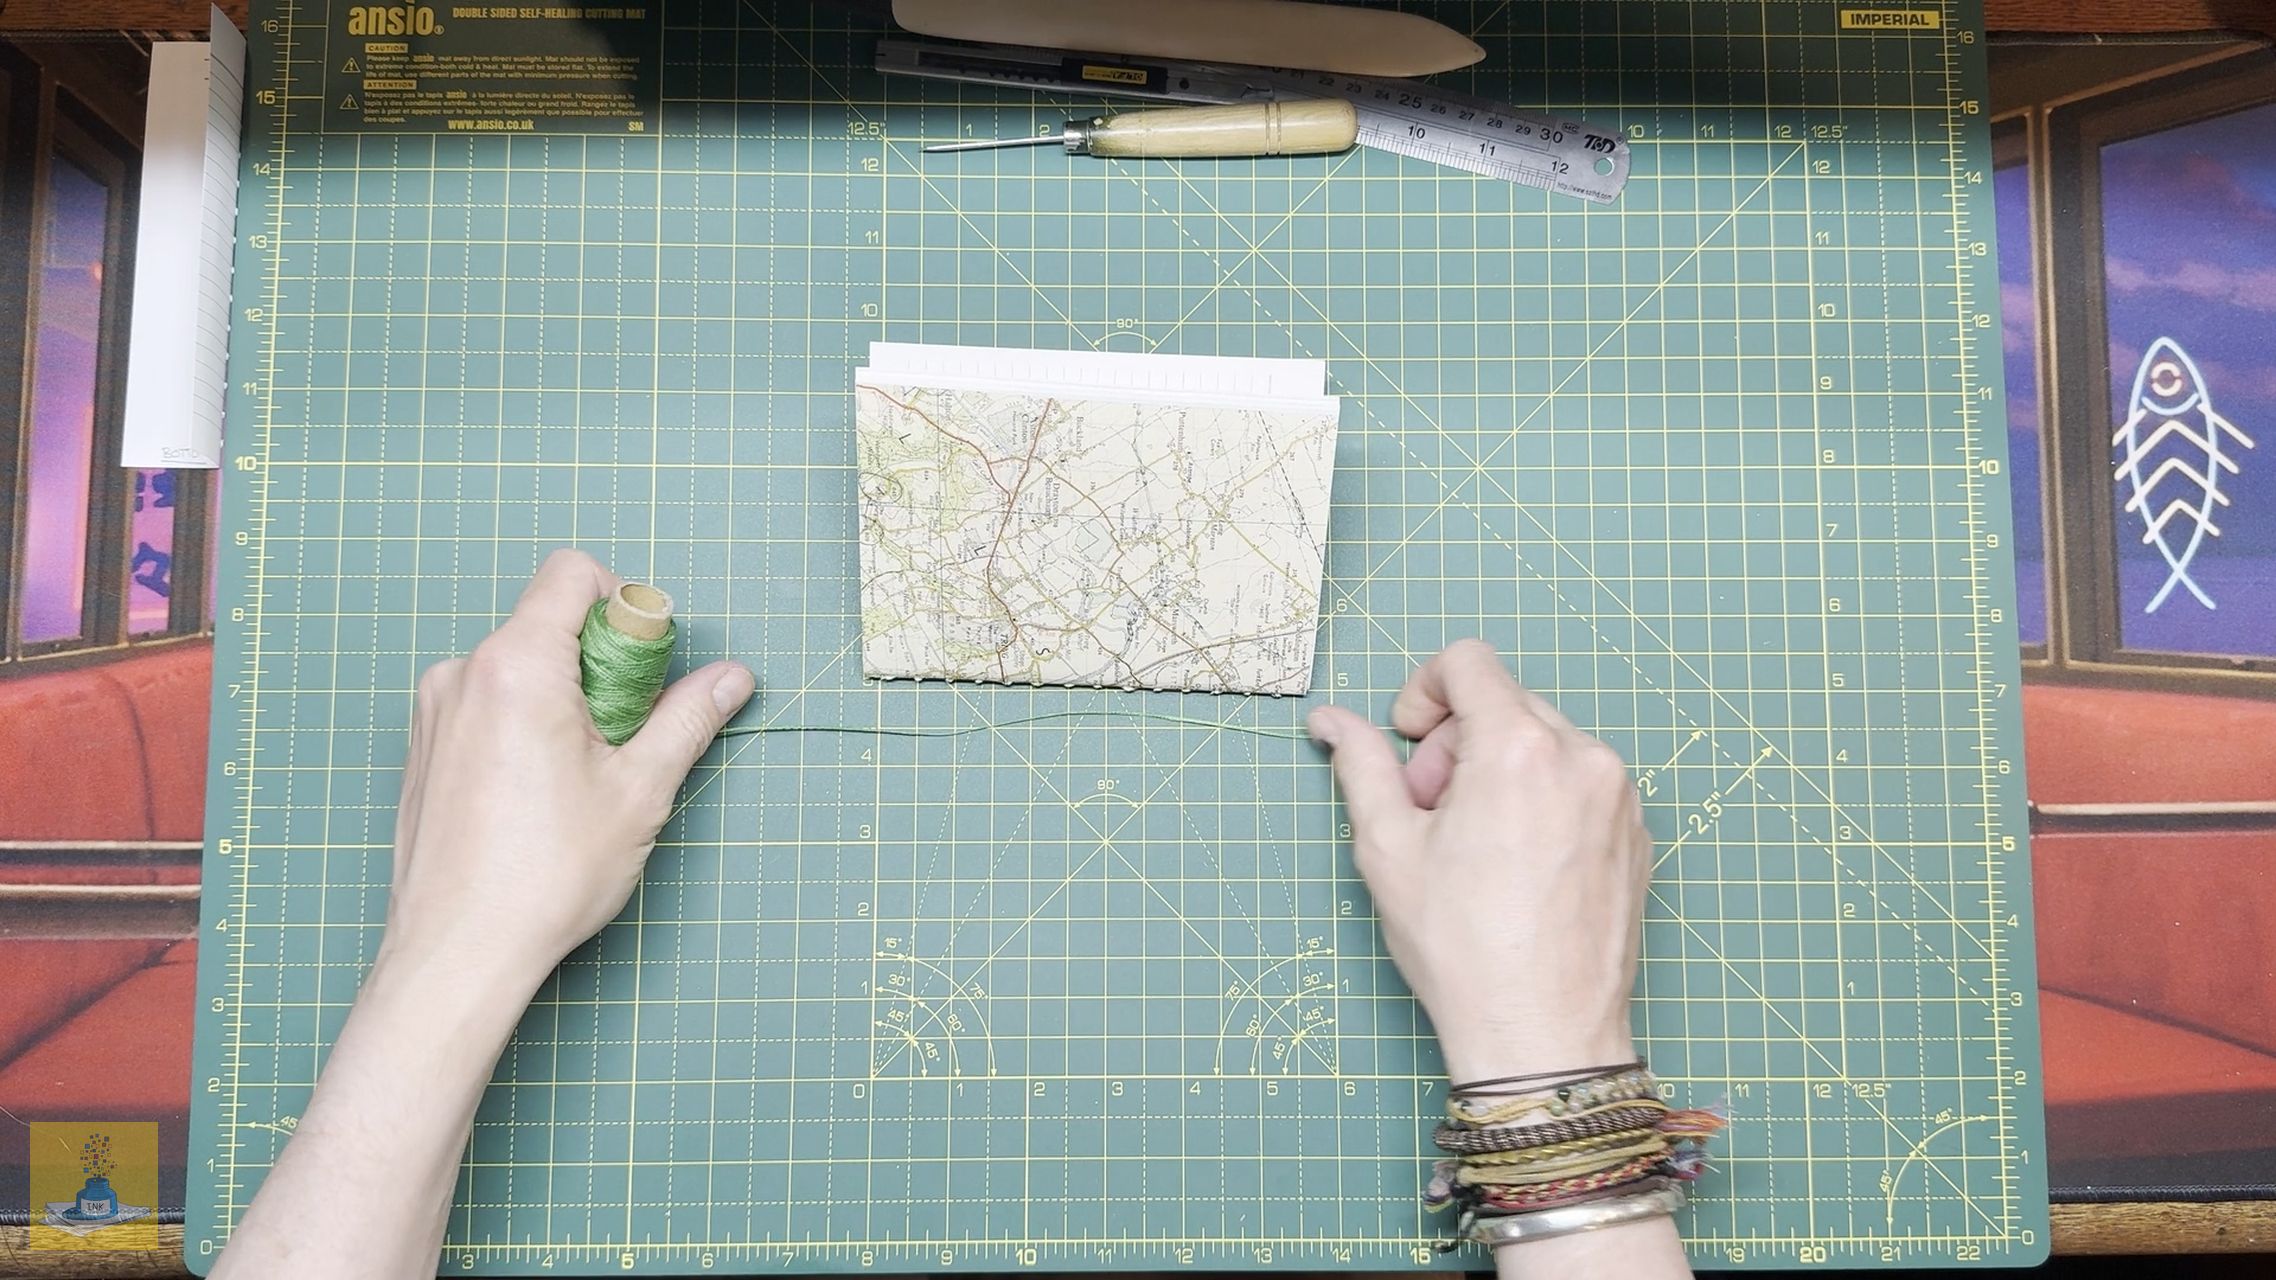
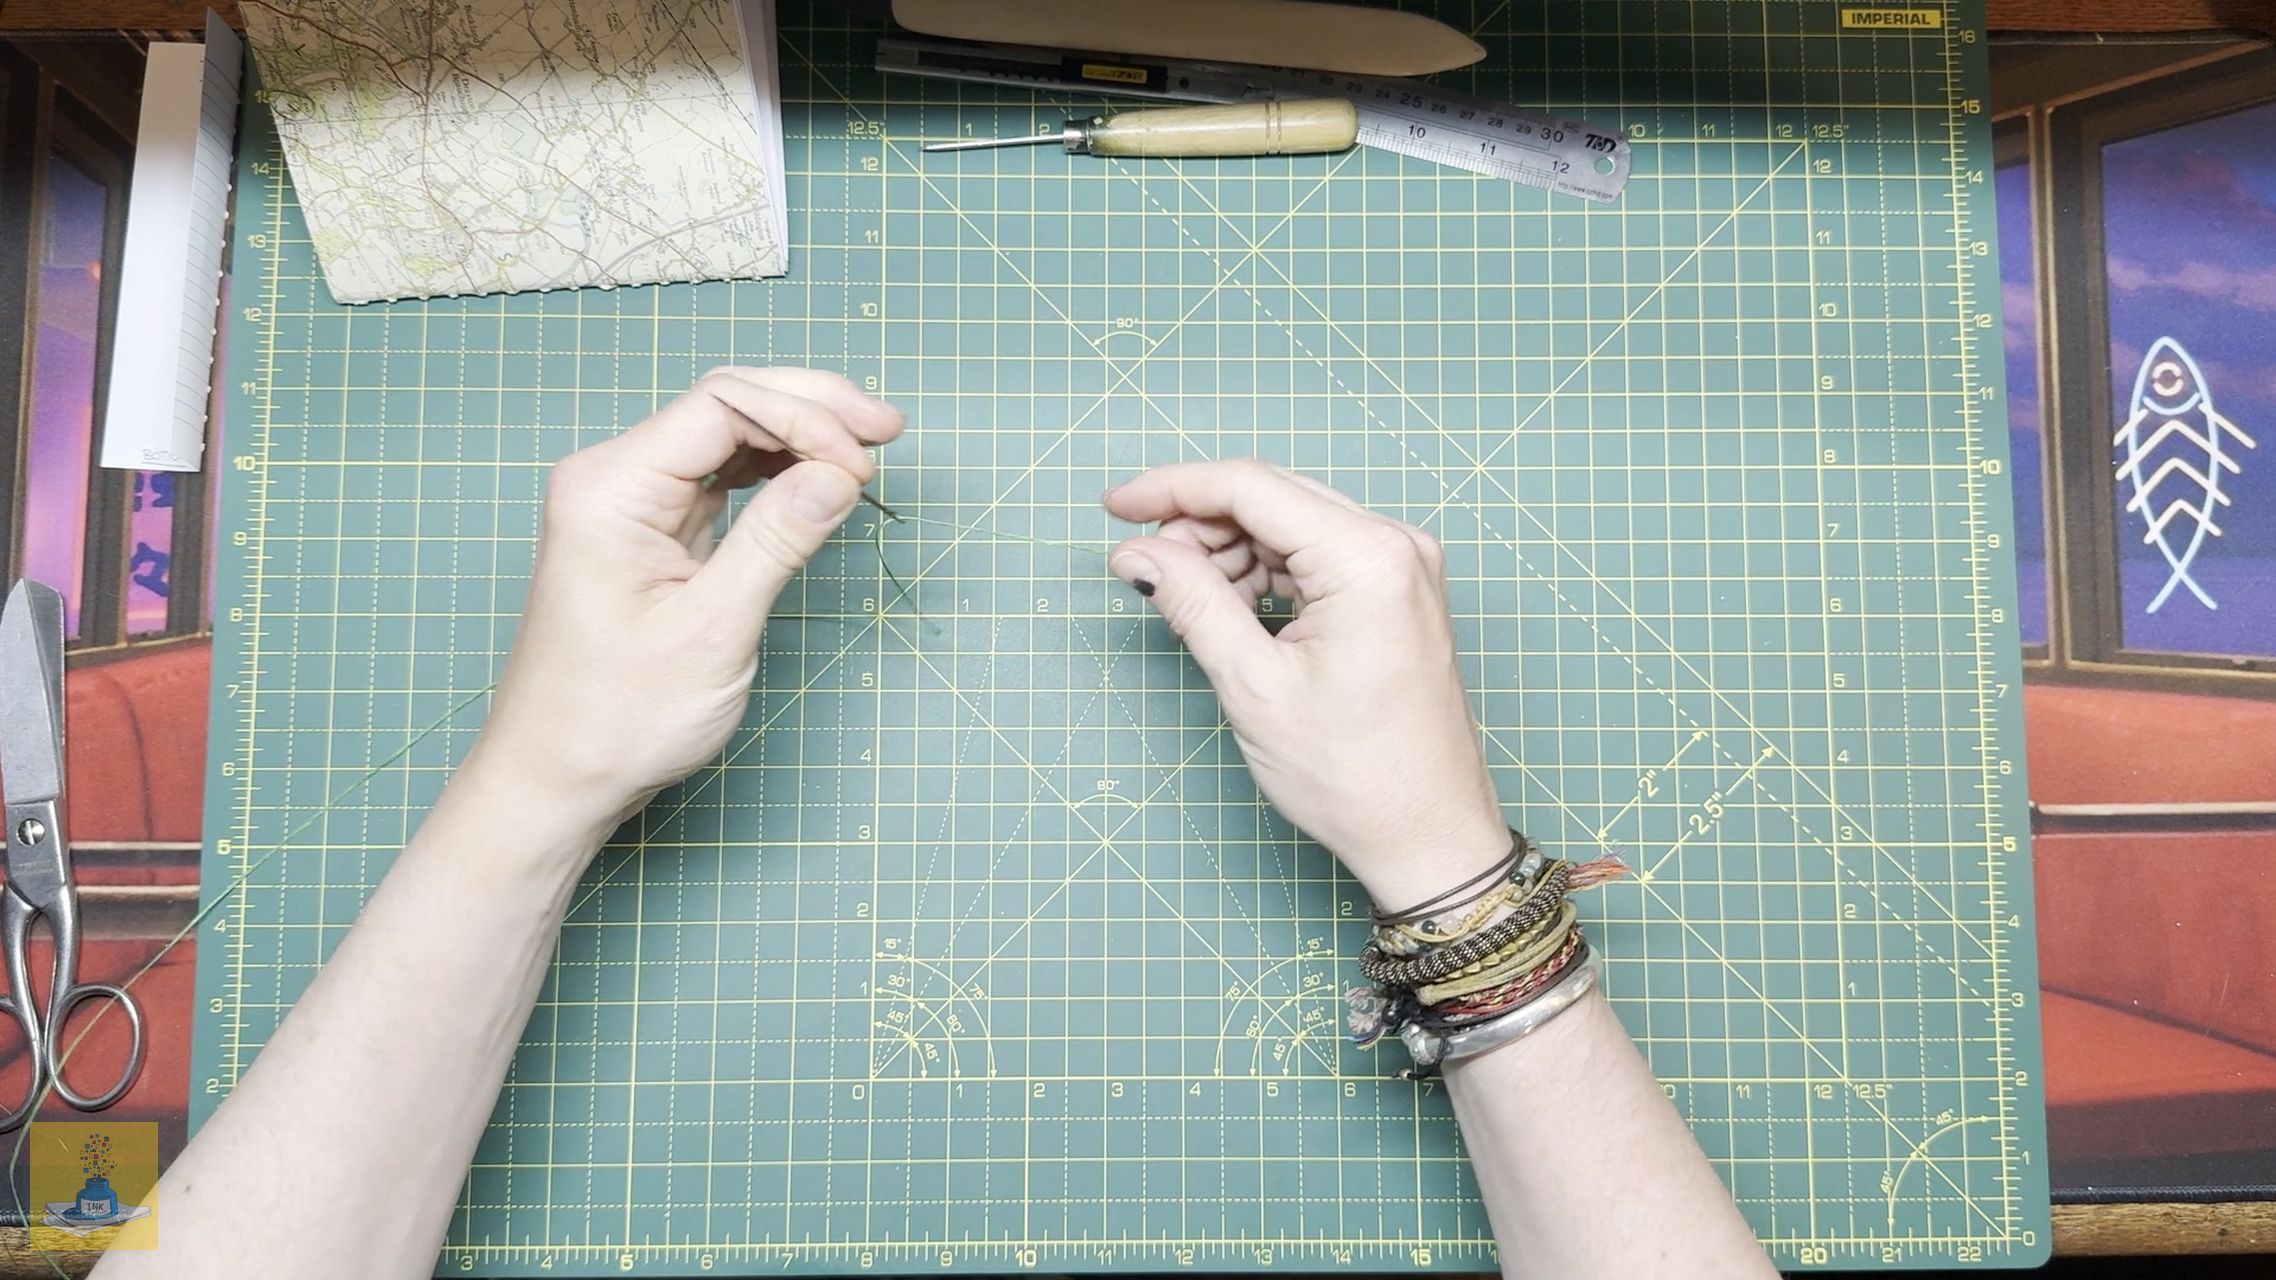
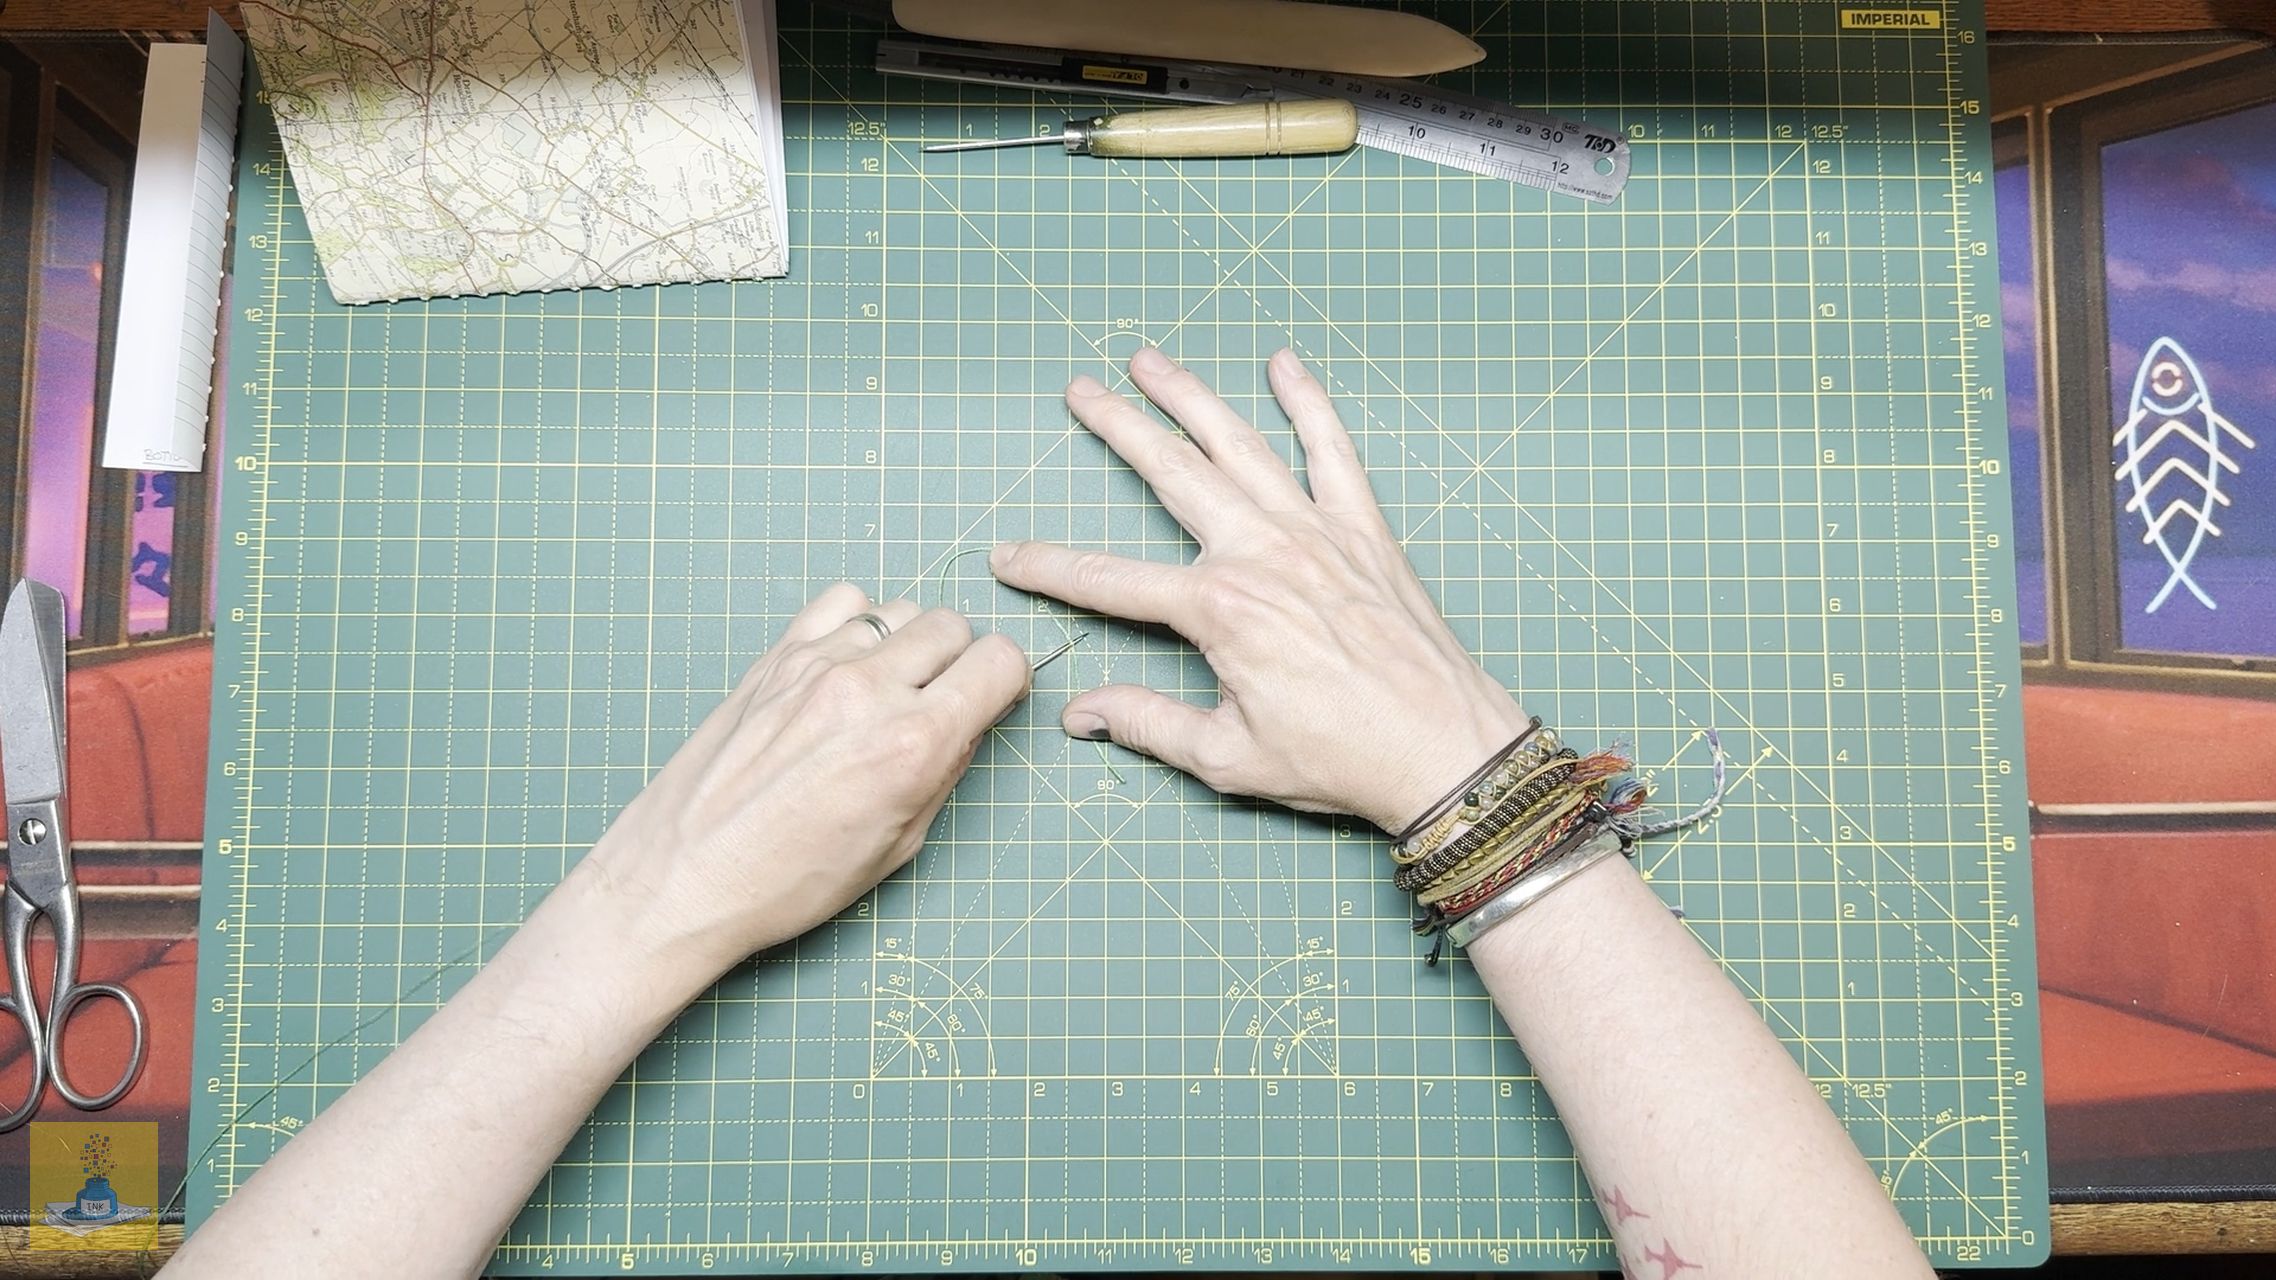
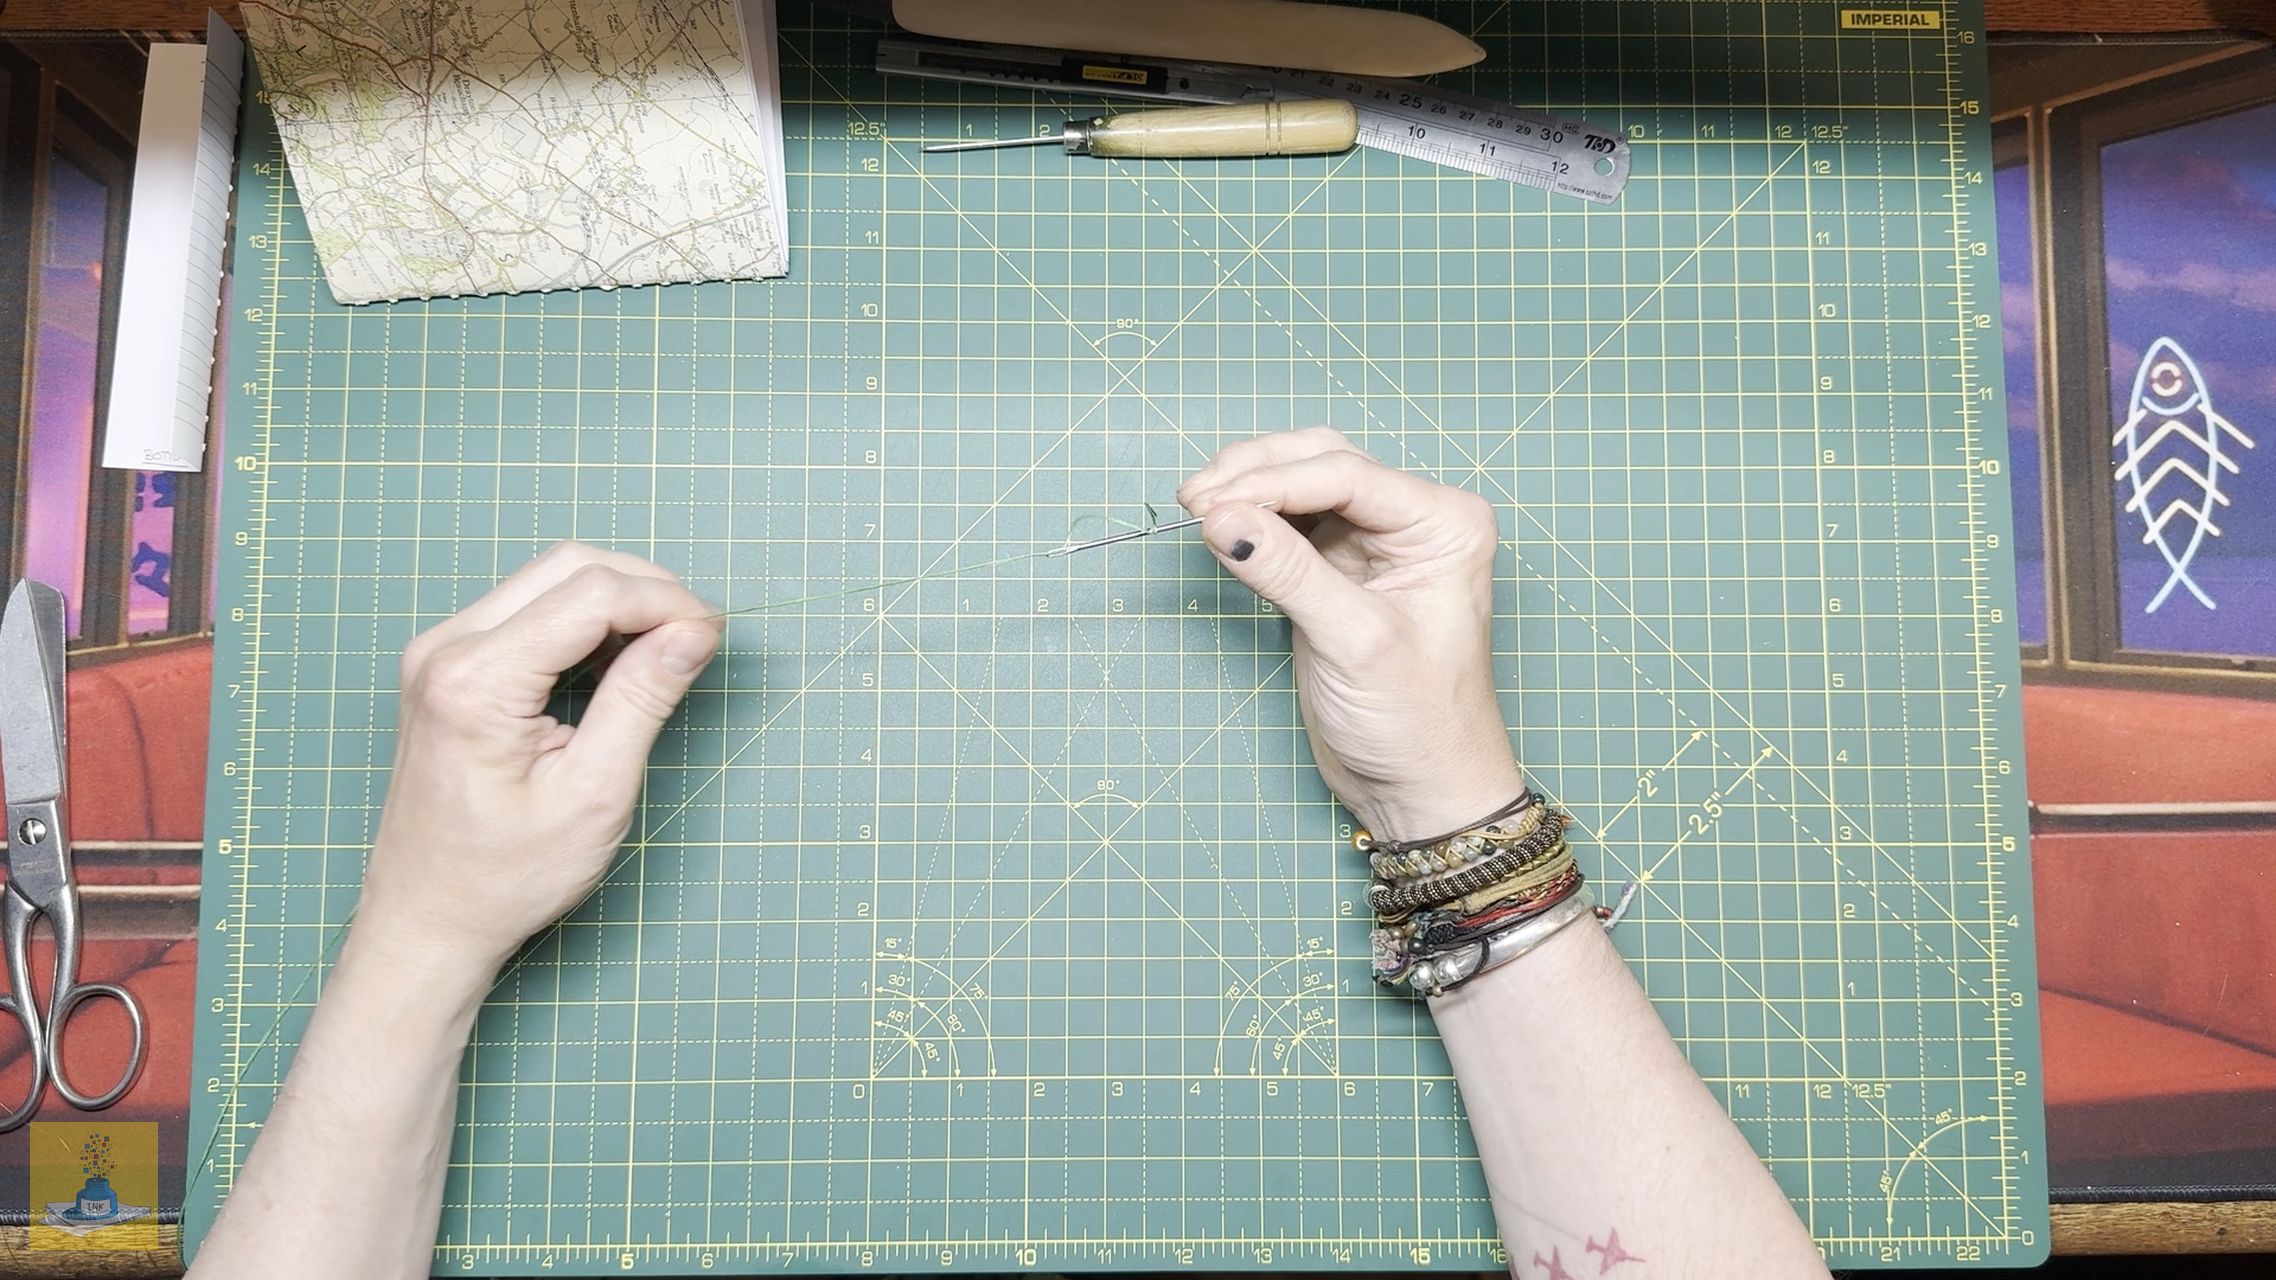
- Measure about 3-4 spine lengths of thread; this will be more than enough. If your thread isn’t waxed, you should wax it with beeswax or a candle. This helps the thread glide through the holes.


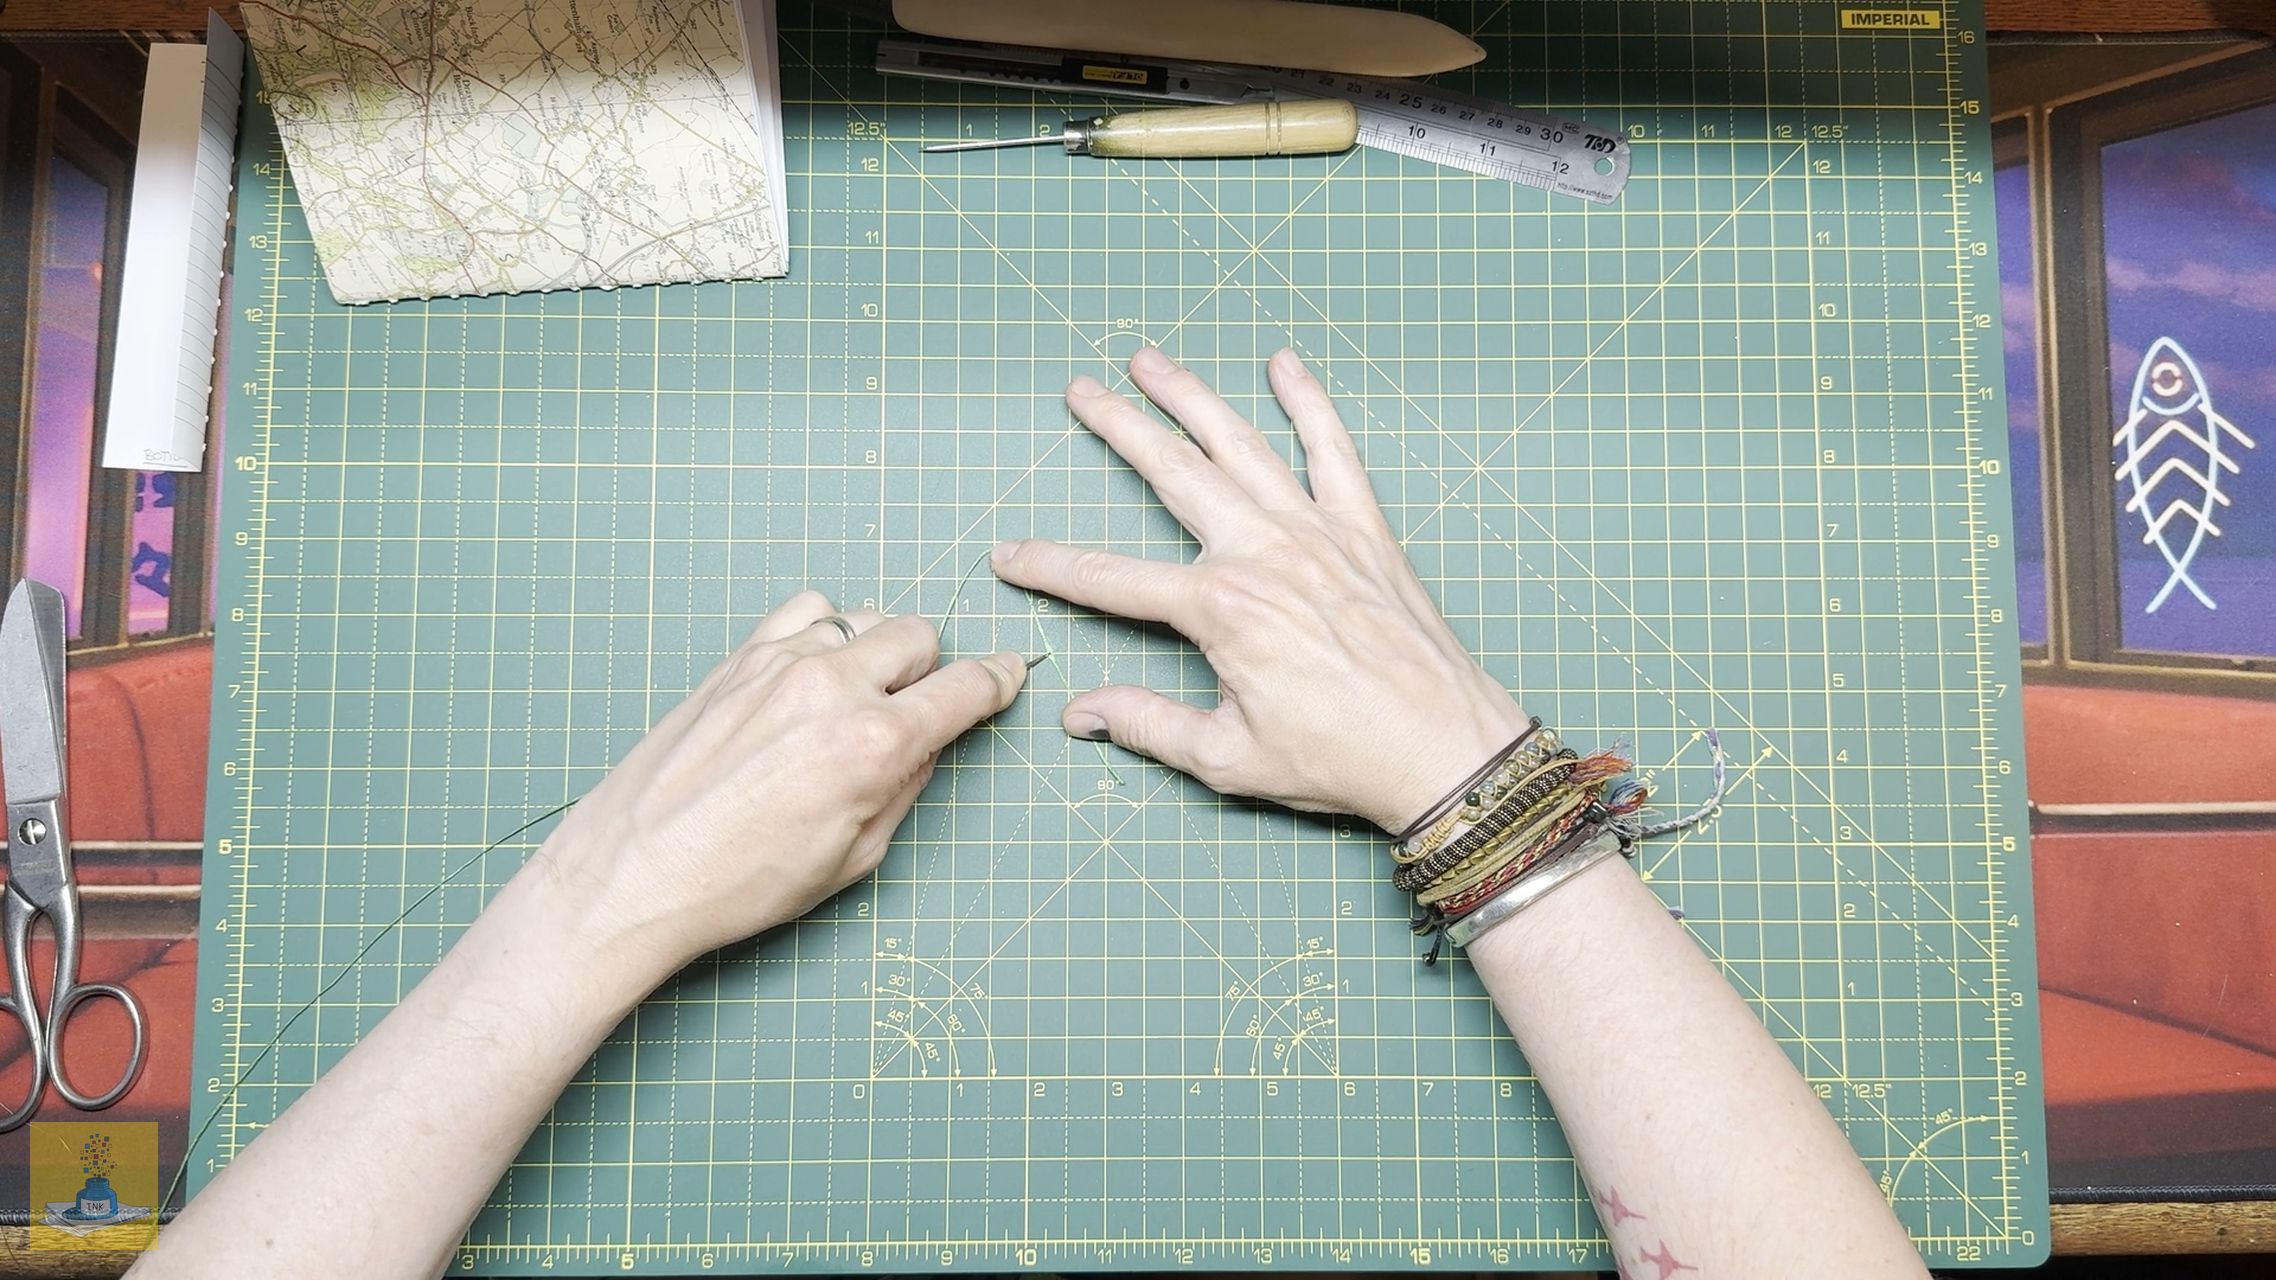
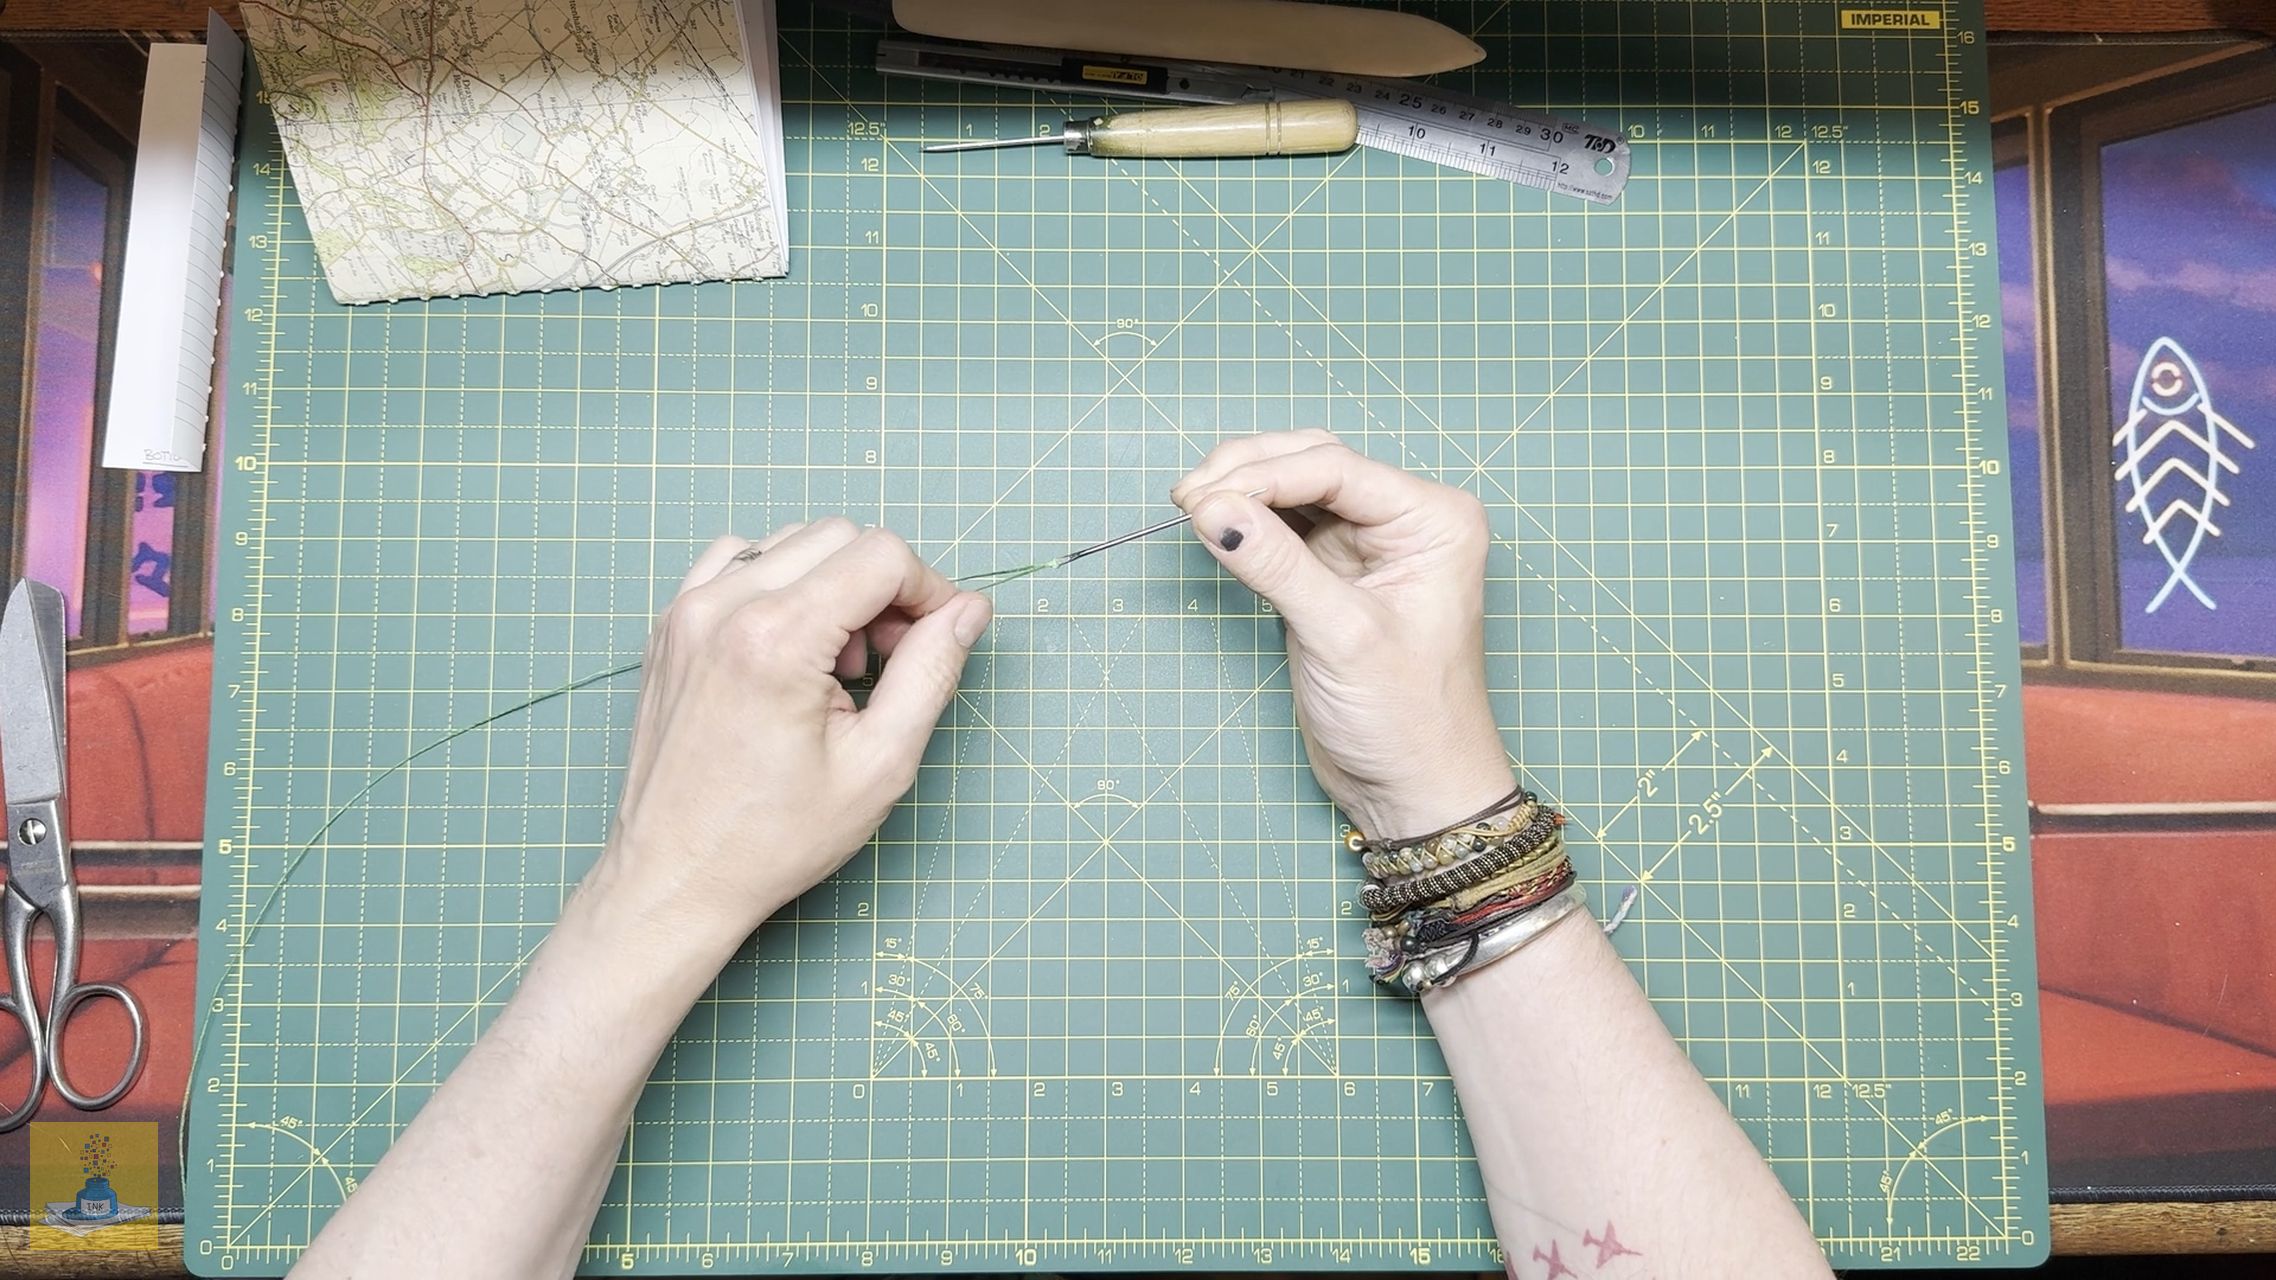
- Thread your needle, using the technic where the needle is pushed through the tail of the needle to stop the thread from coming loose when sewing.


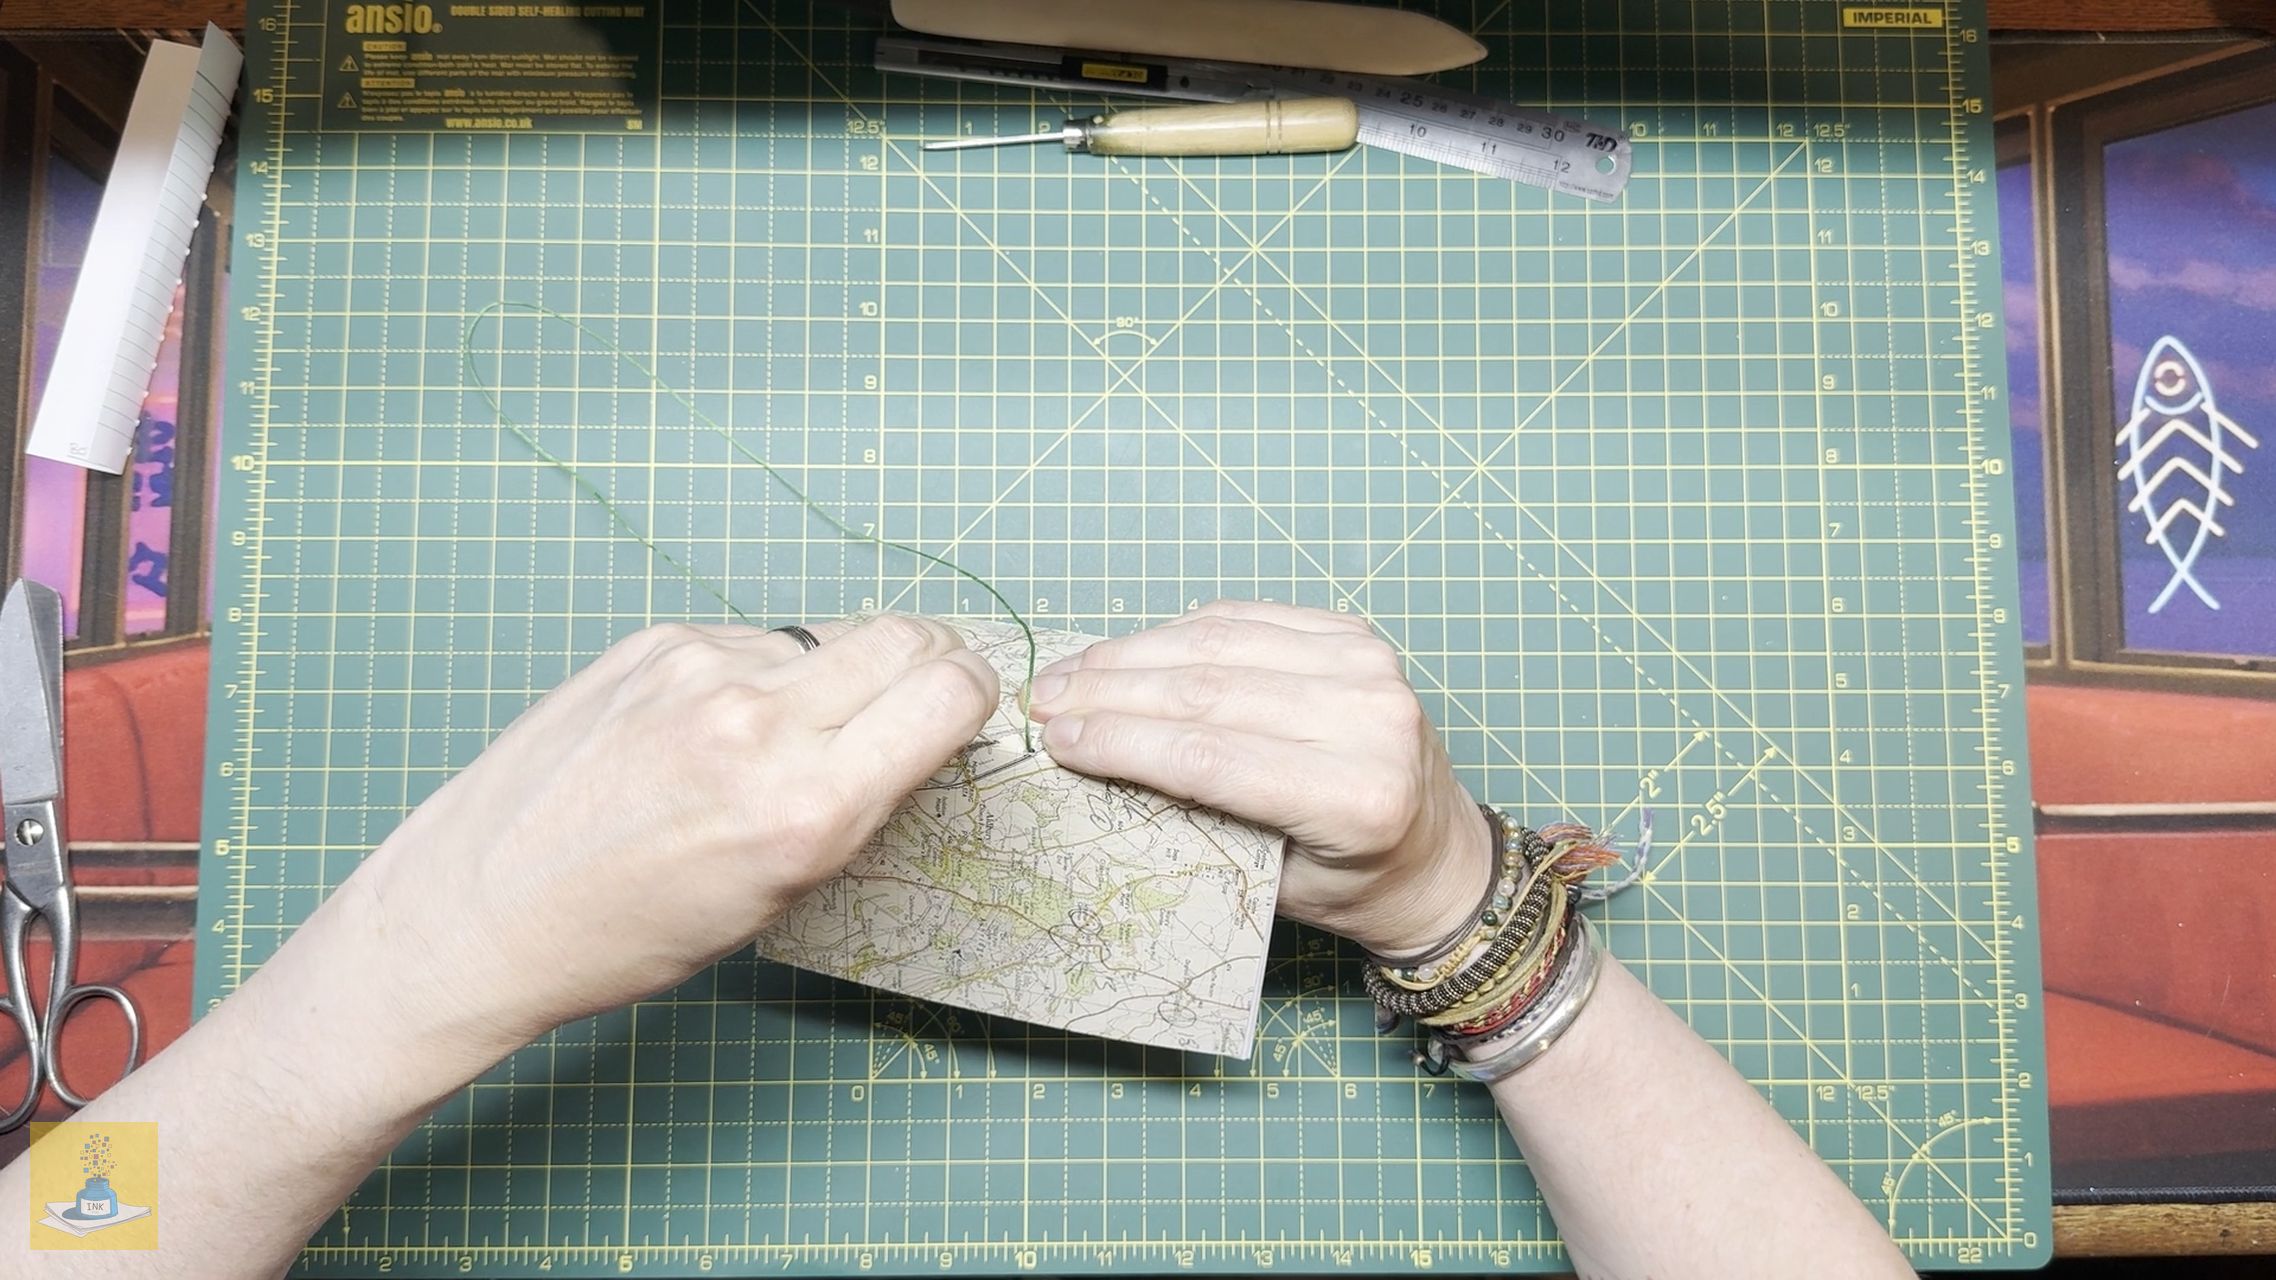
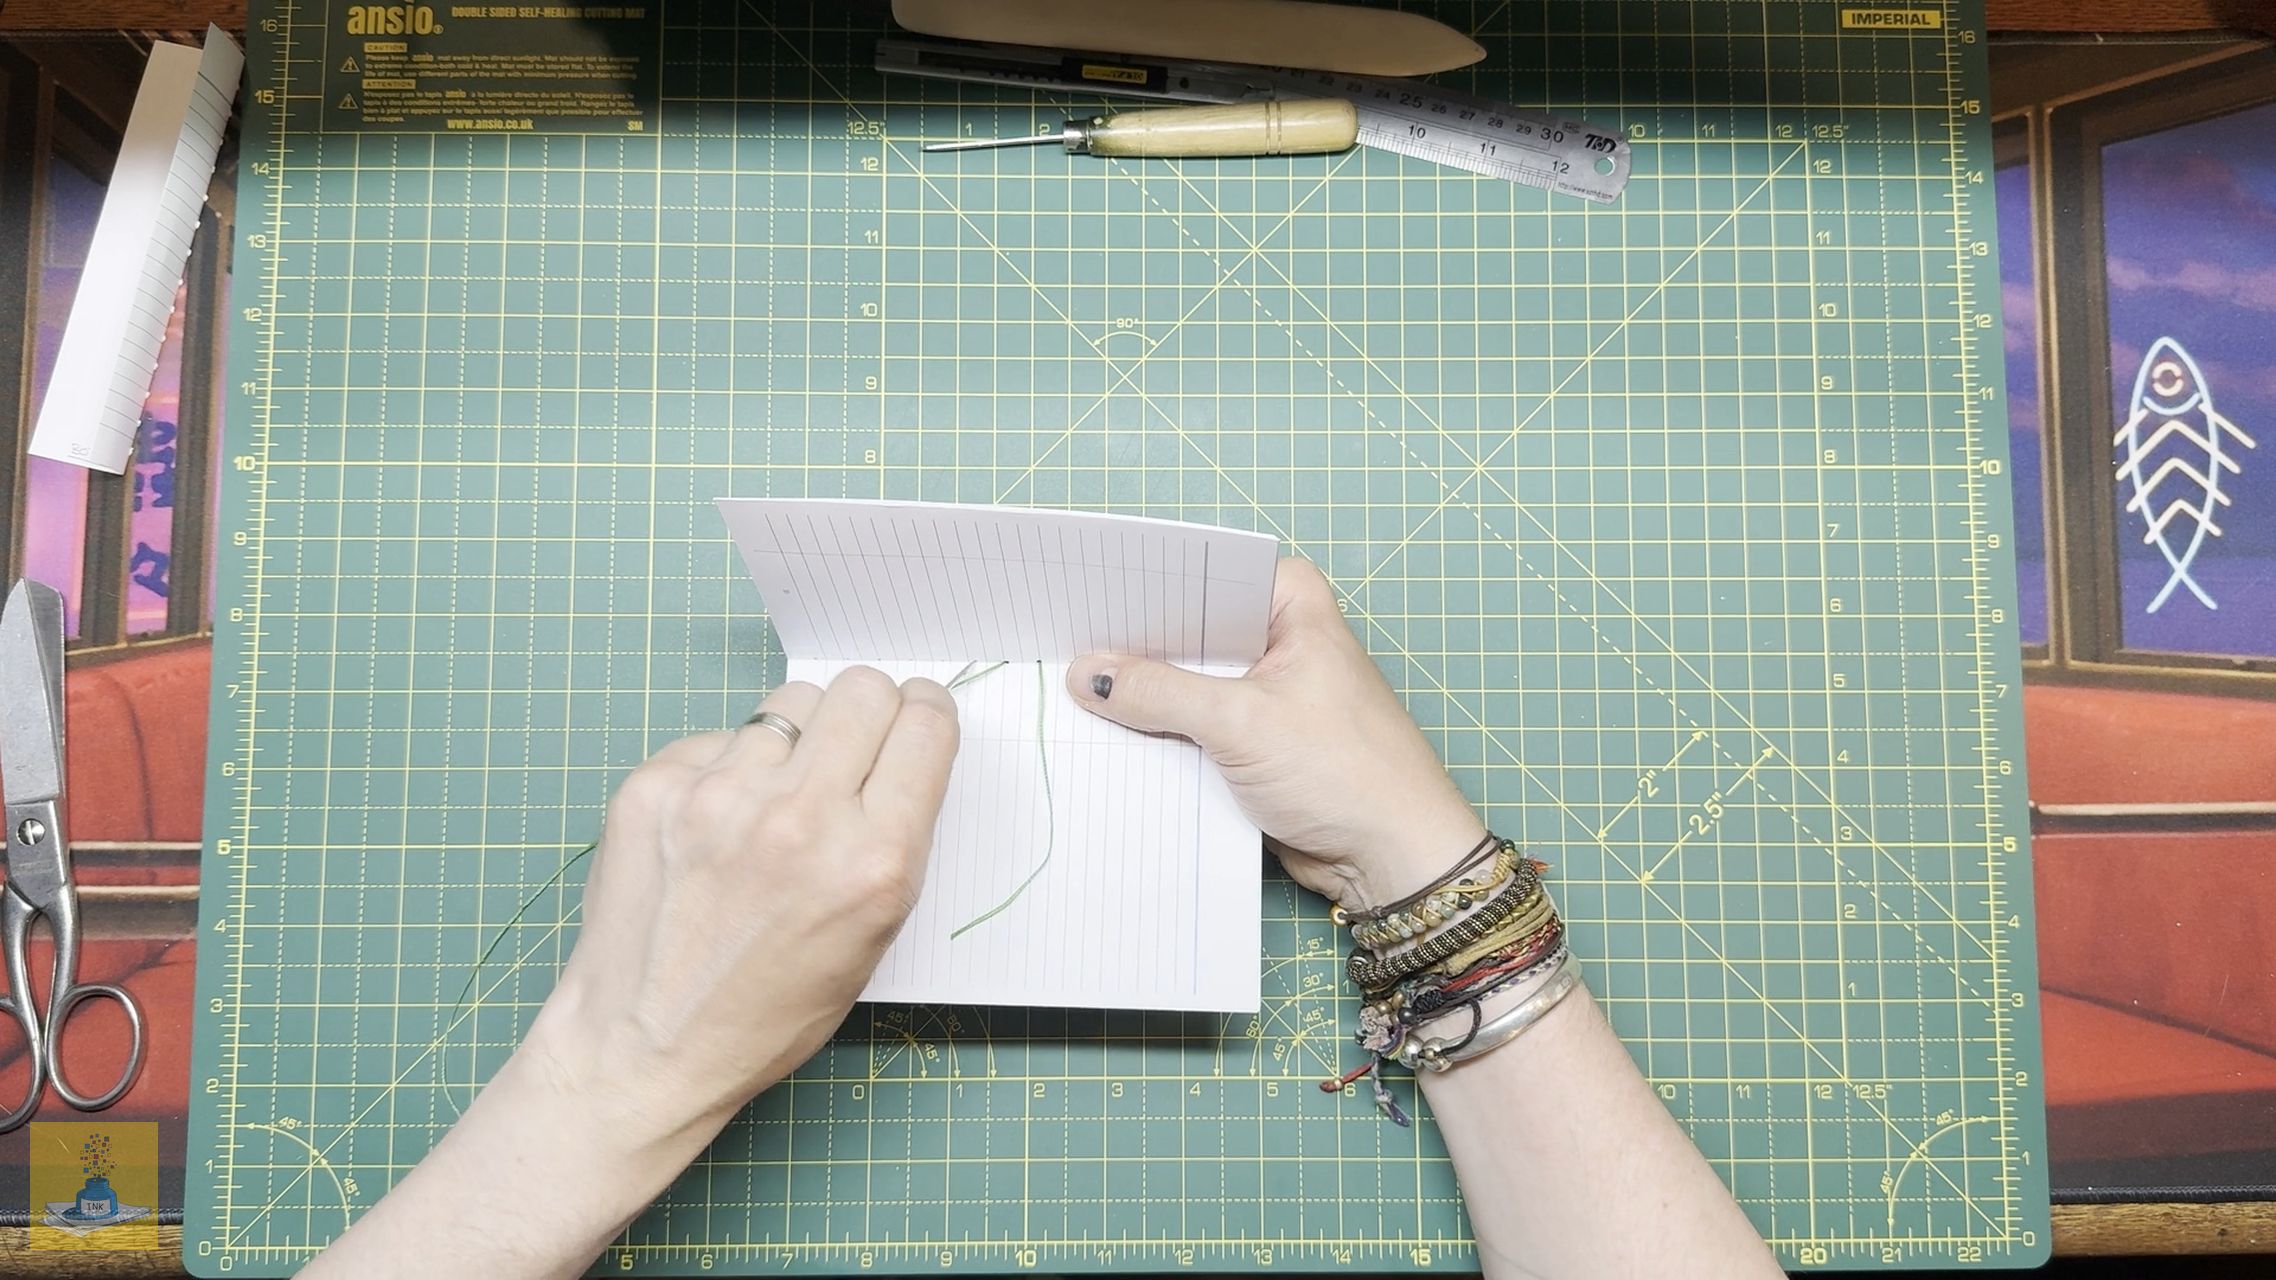
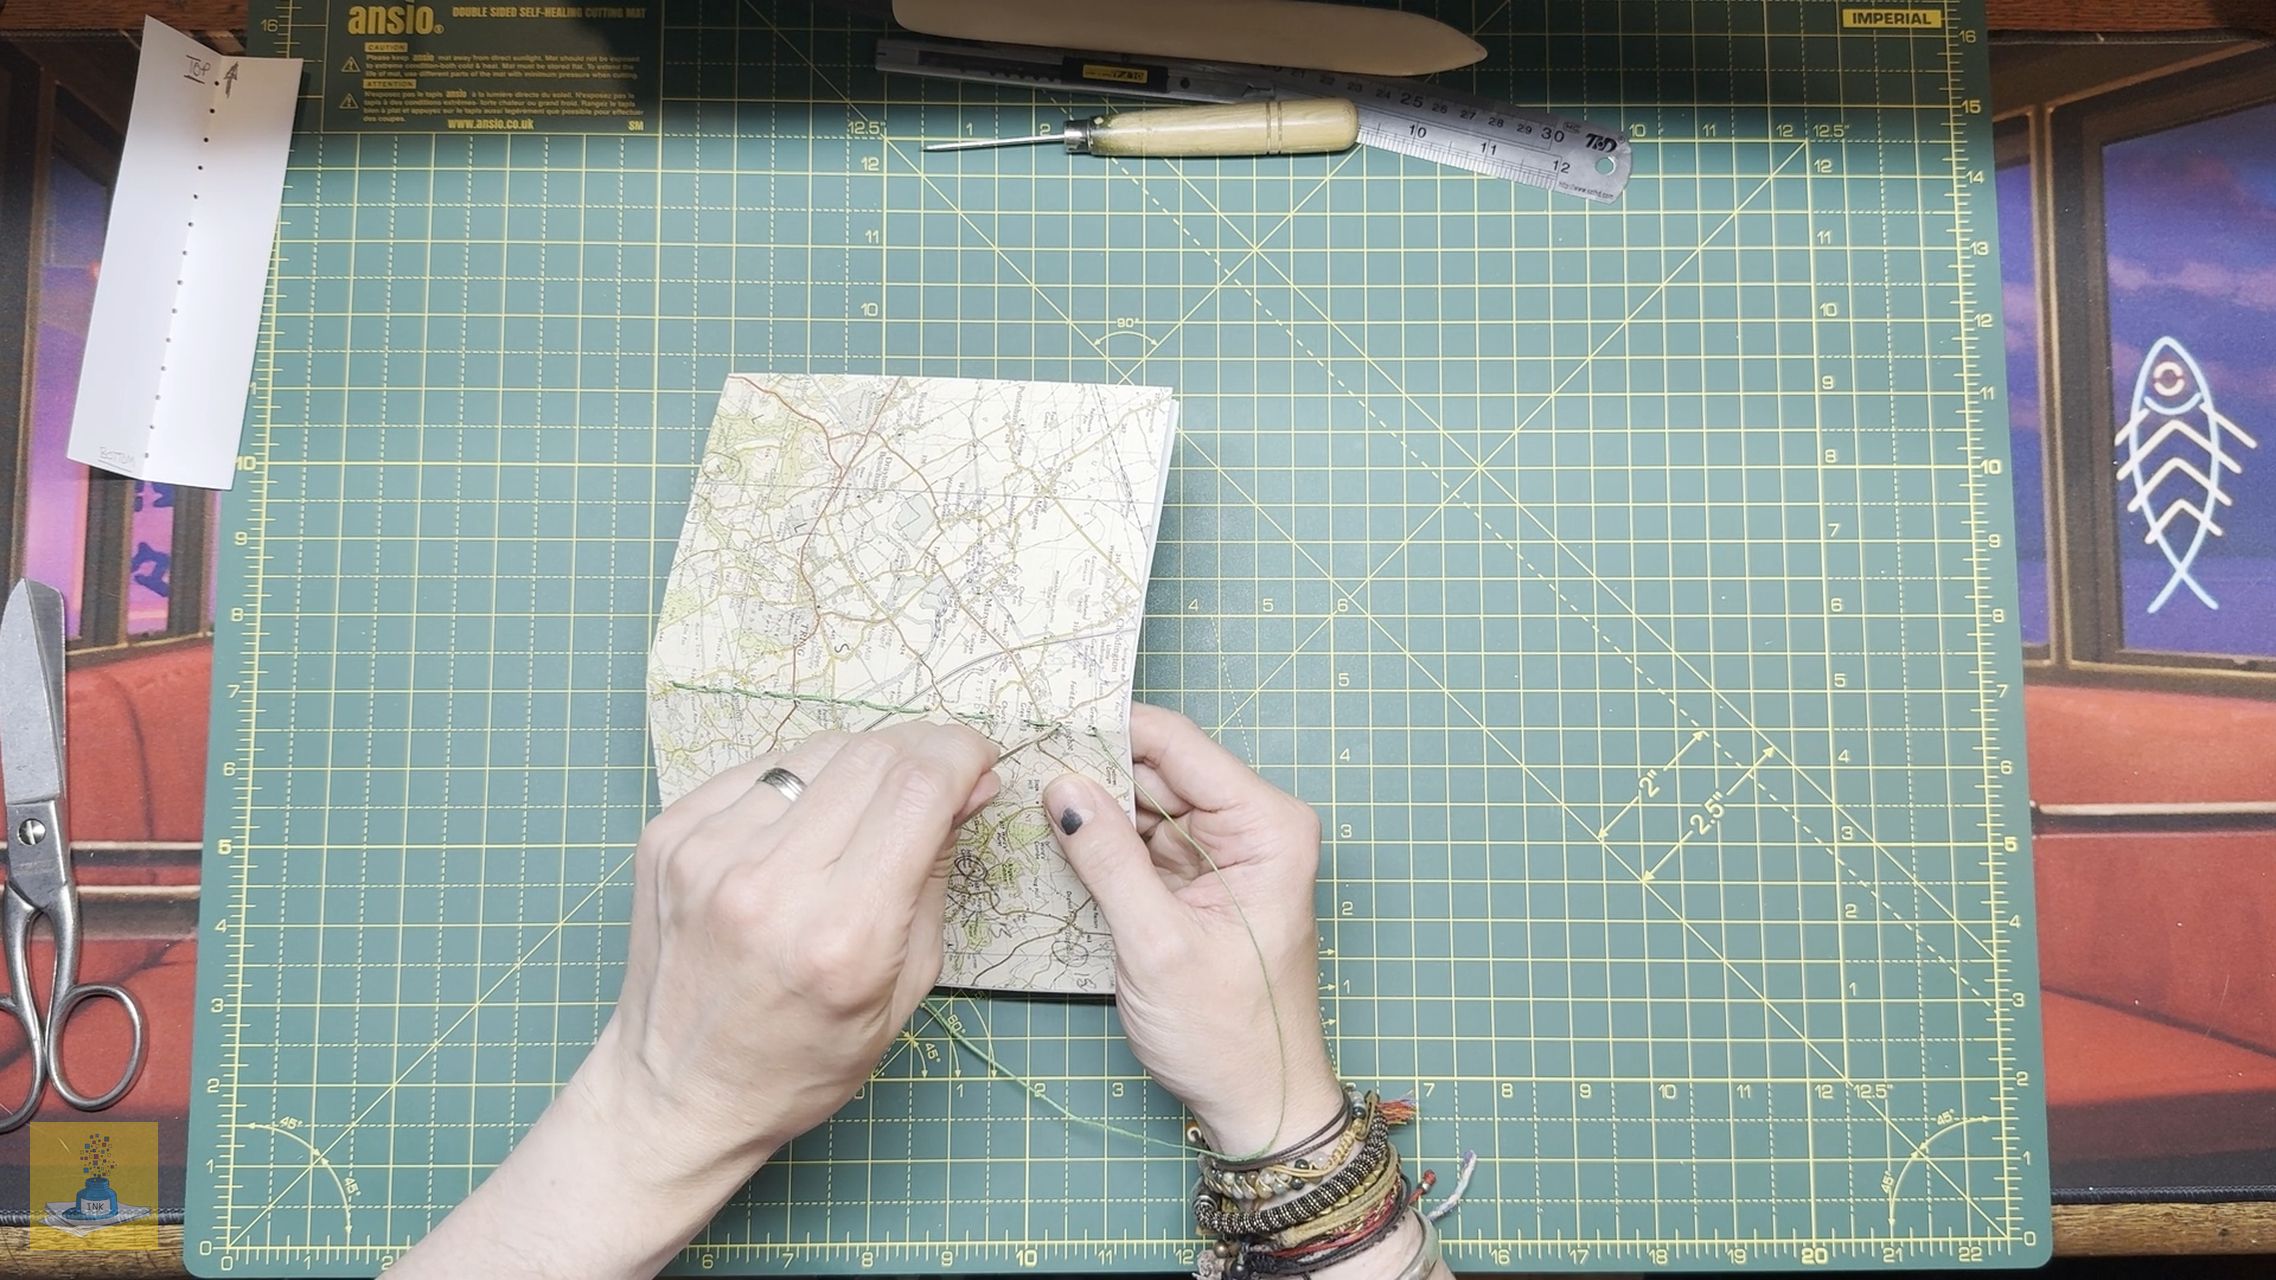
- Starting from the seventh hole from the bottom, push the needle through from the inside so it comes out, leaving a tail of thread inside for tying off later.

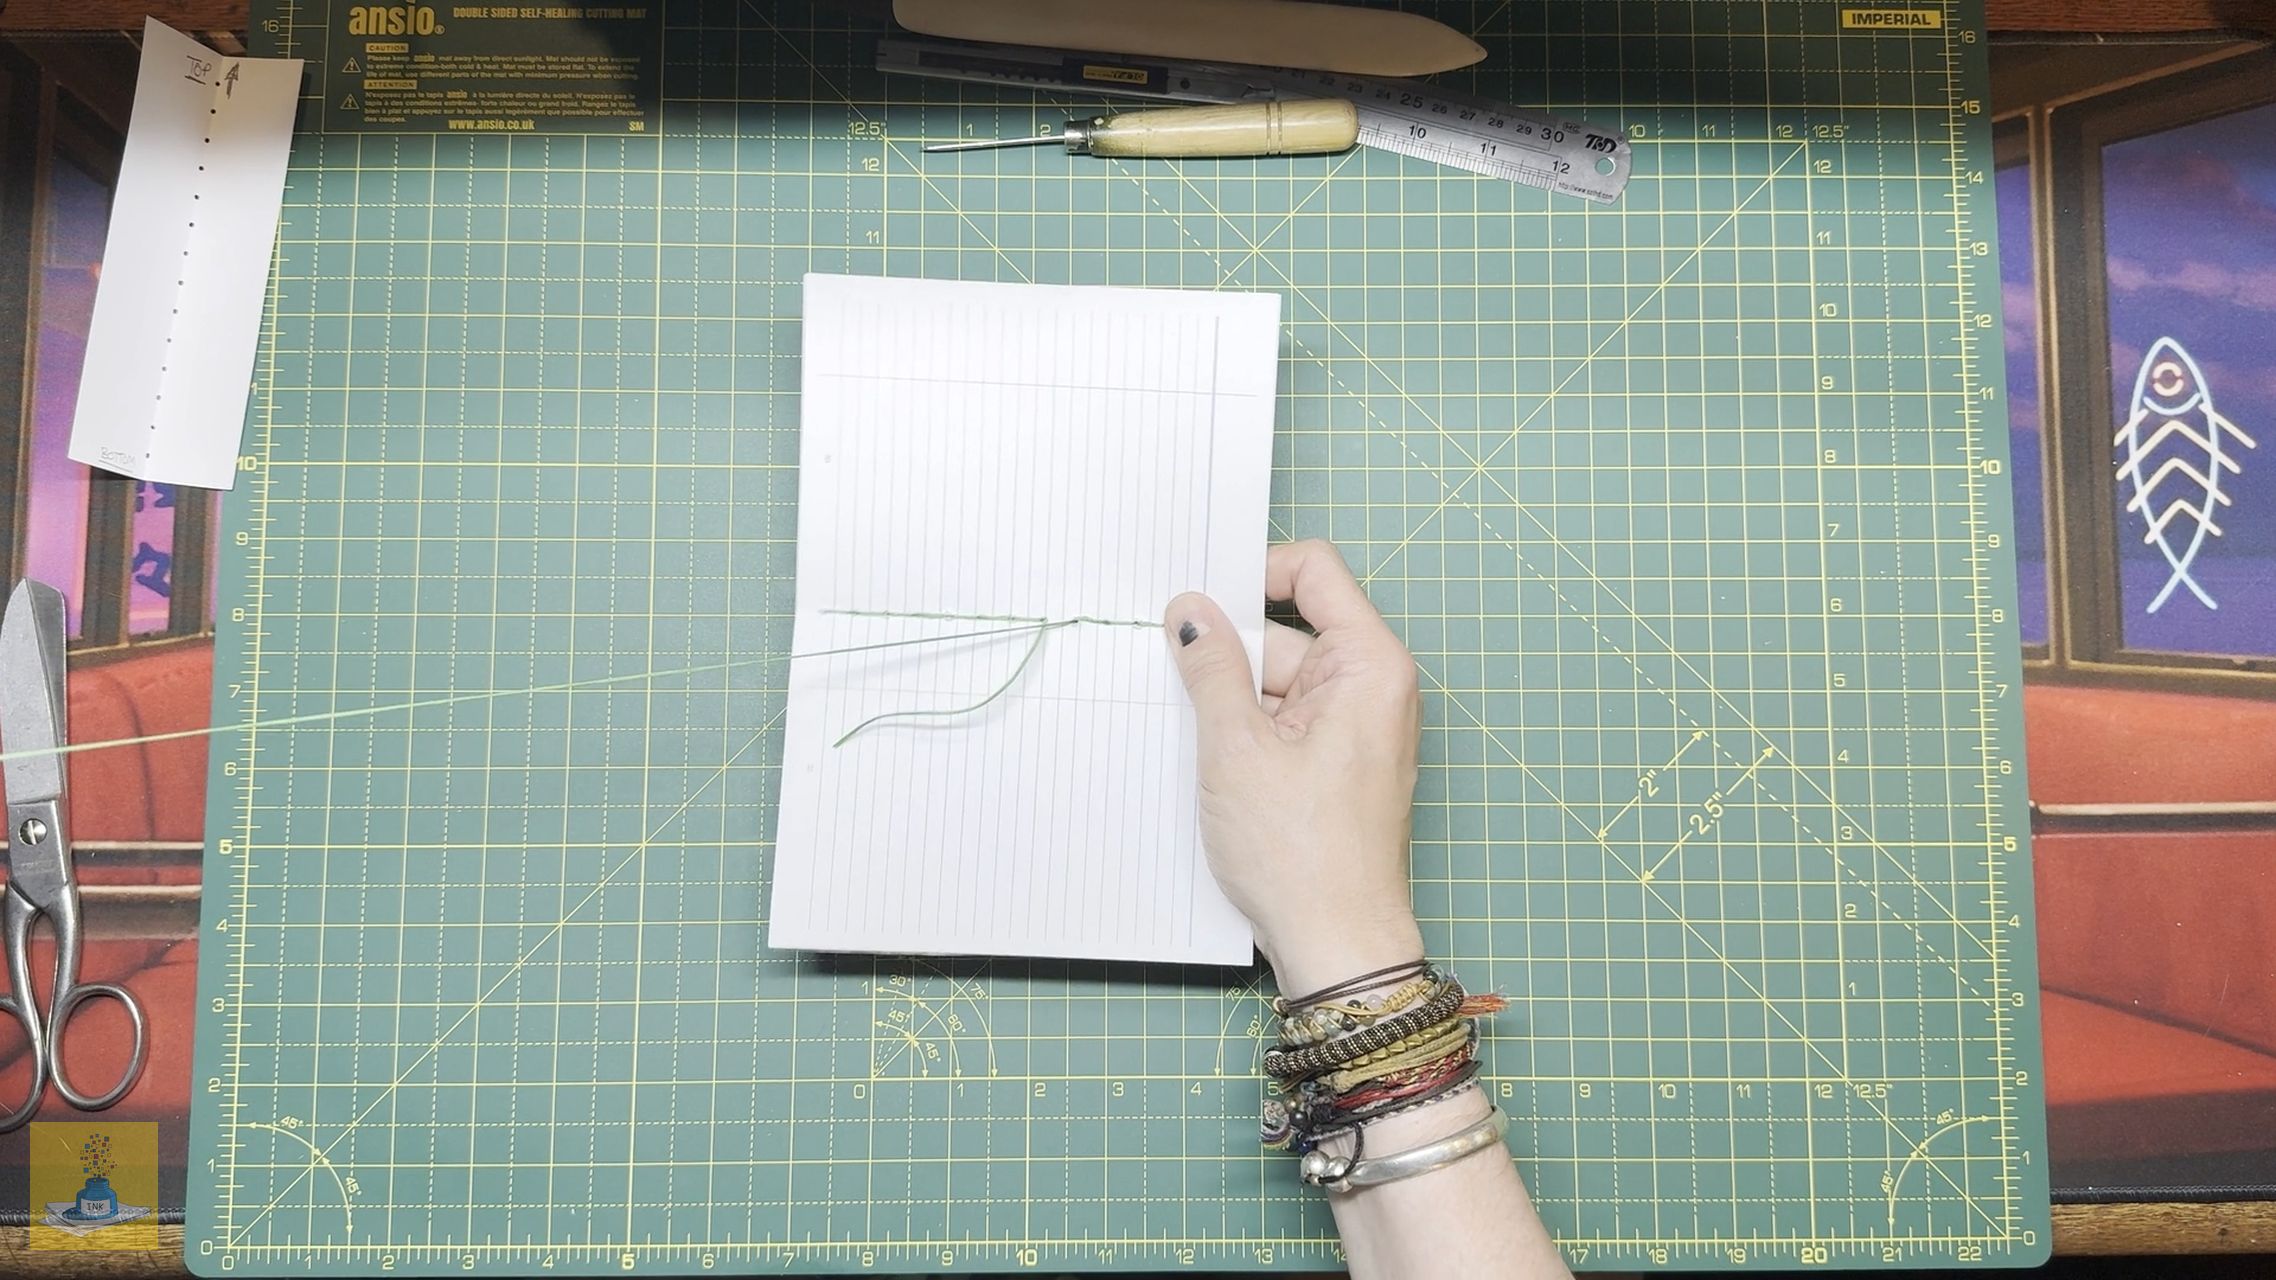
- Go in the next hole down and out the next, and repeat until you come out of the very bottom hole. Pull the thread taut as you go along, but not so tight that it causes damage to the paper.


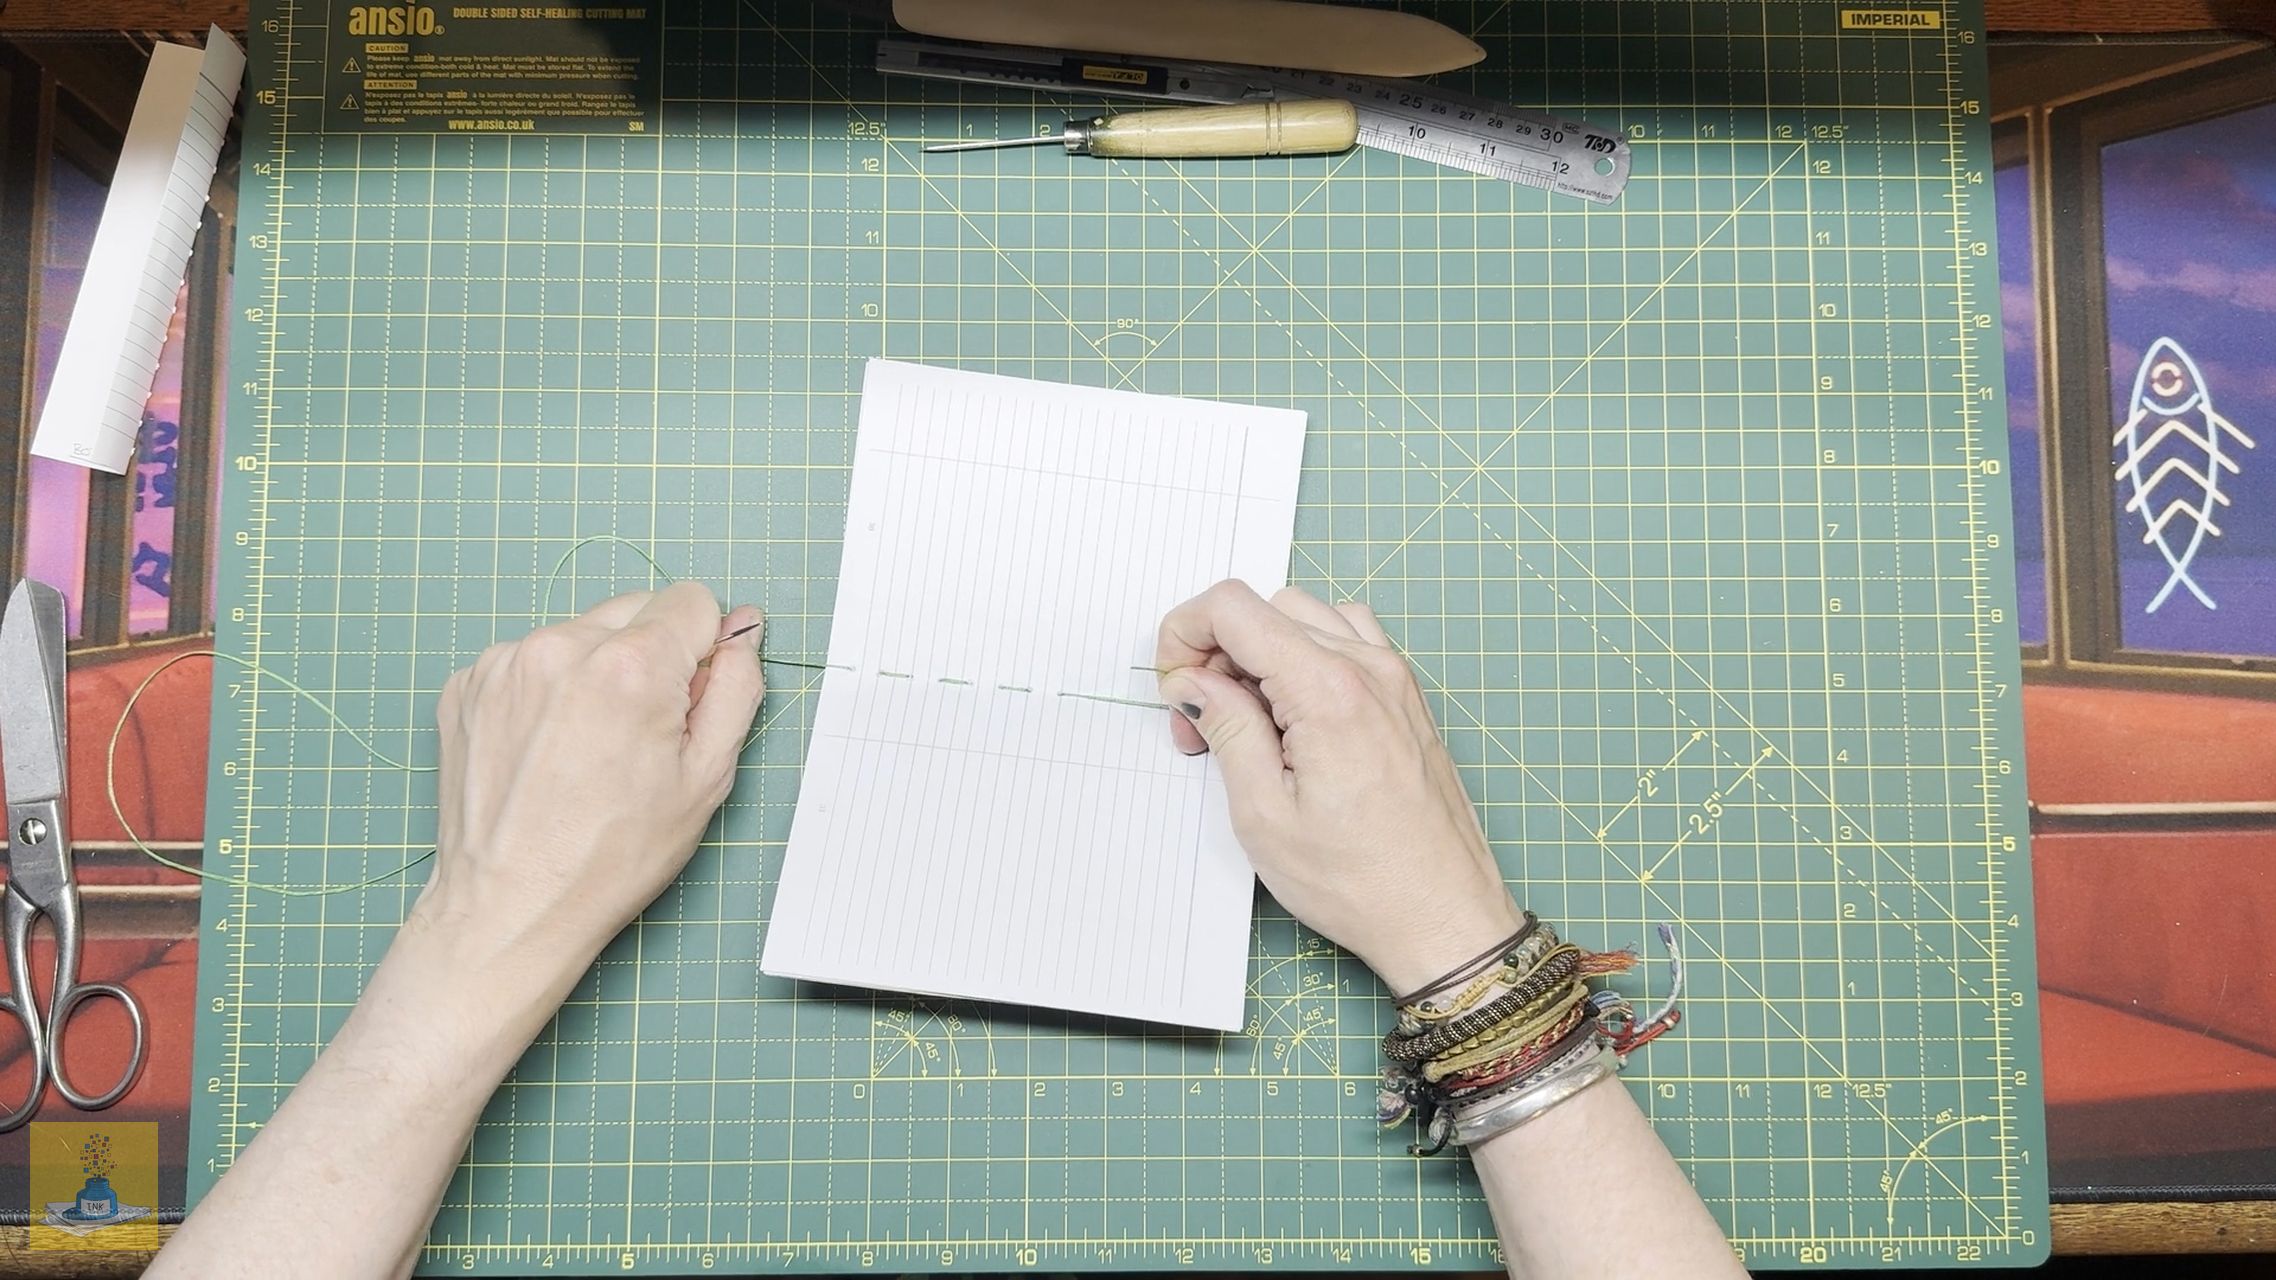
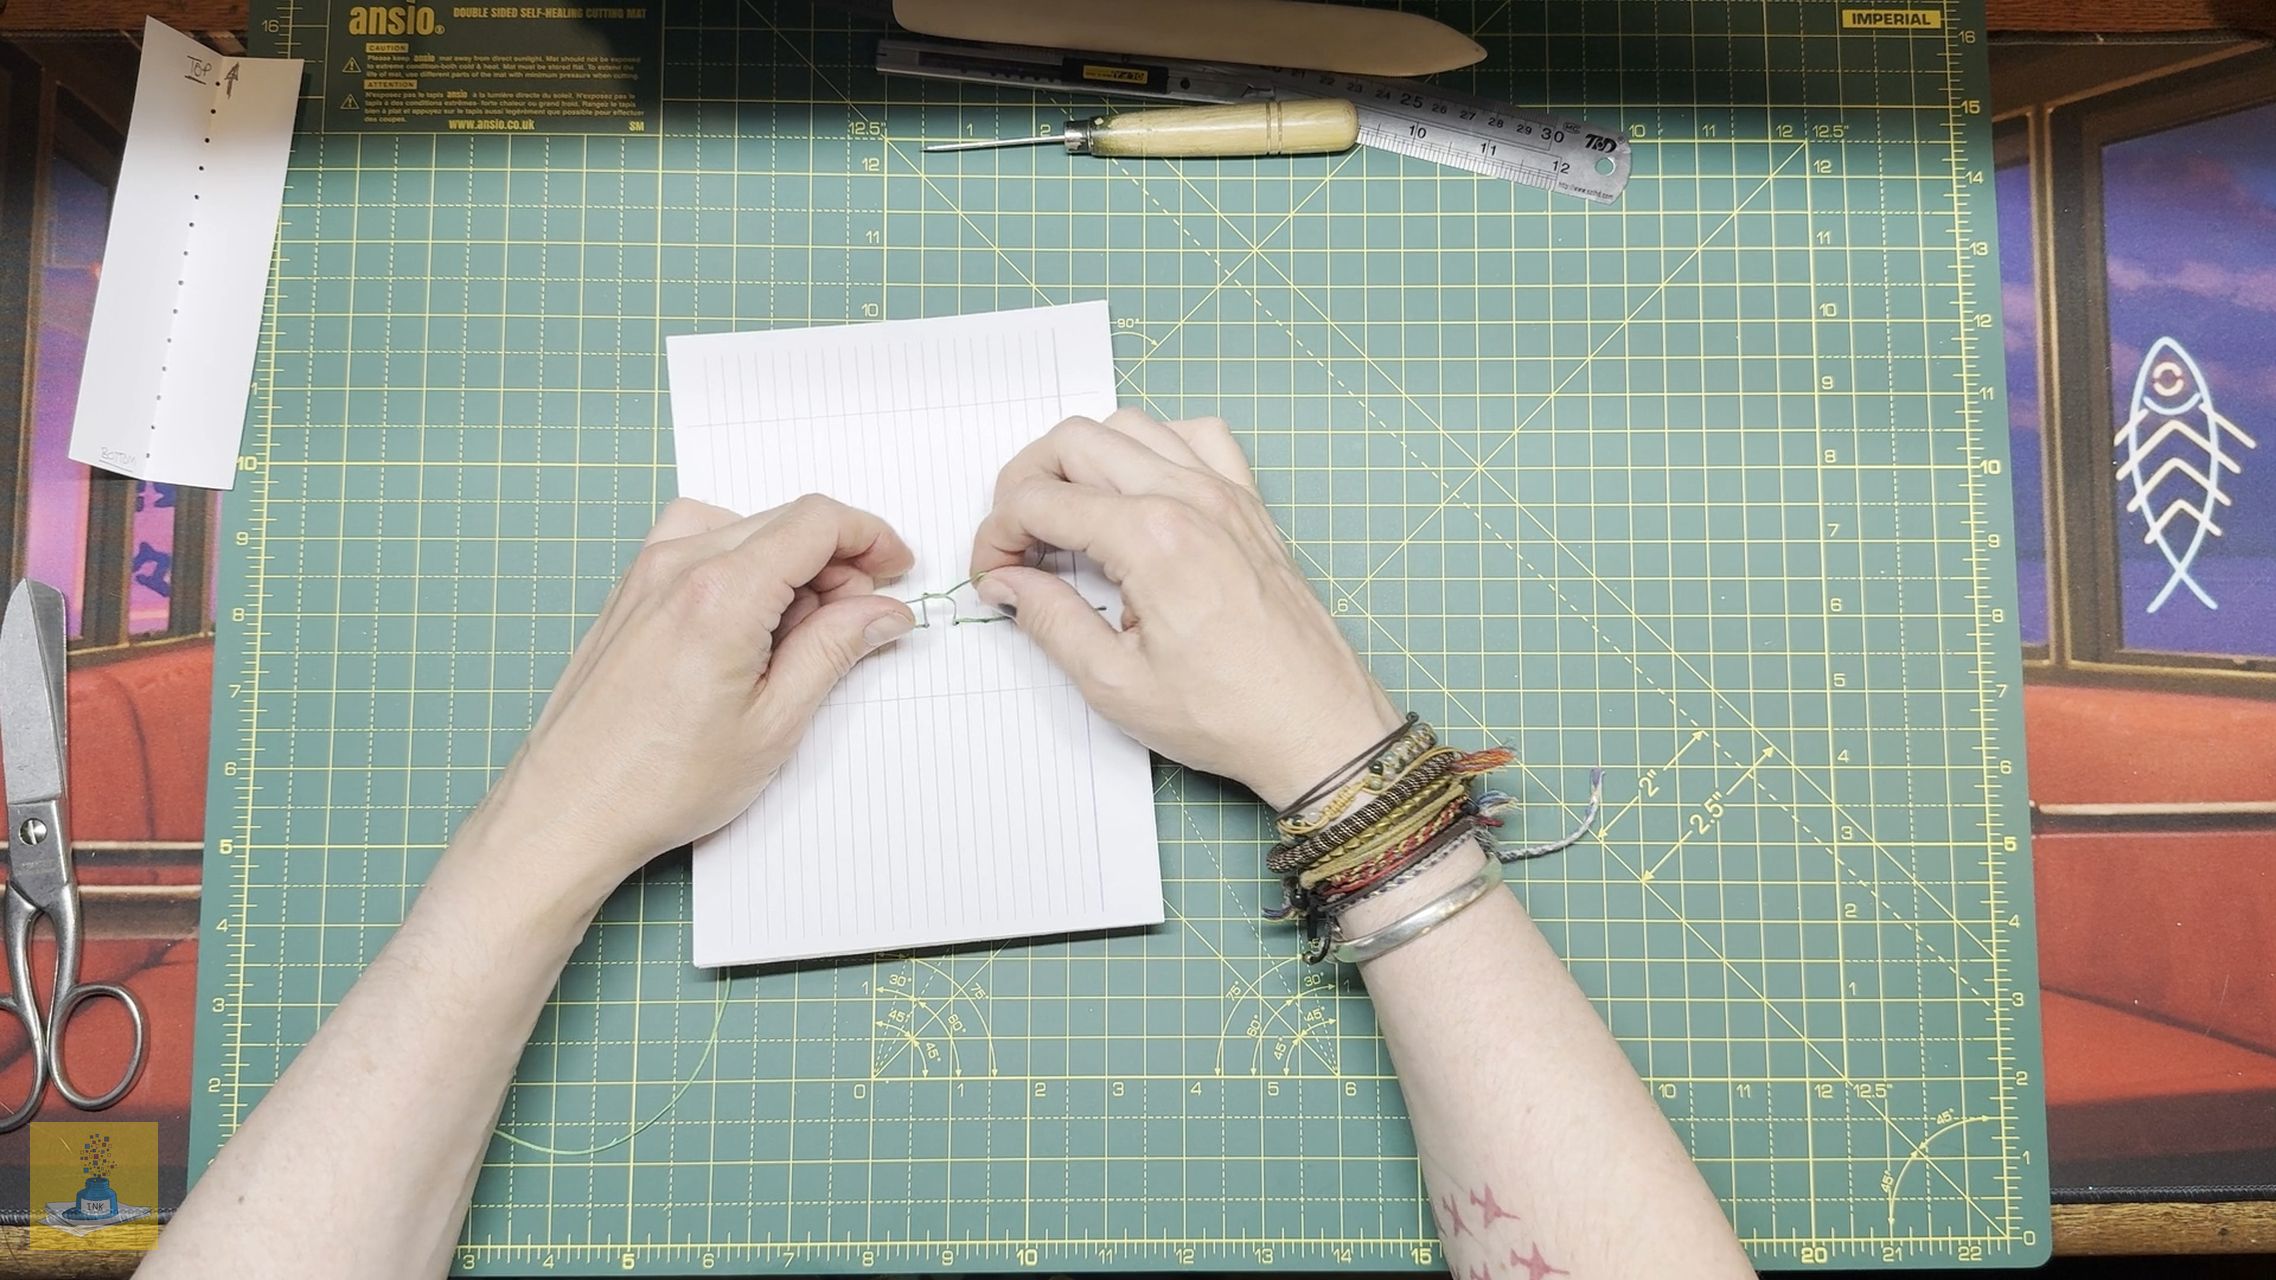
- When at the bottom hole, go back into the next hole up, making sure you don’t pierce the thread that’s already there. Continue this pattern all the way to the very top of the notebook.


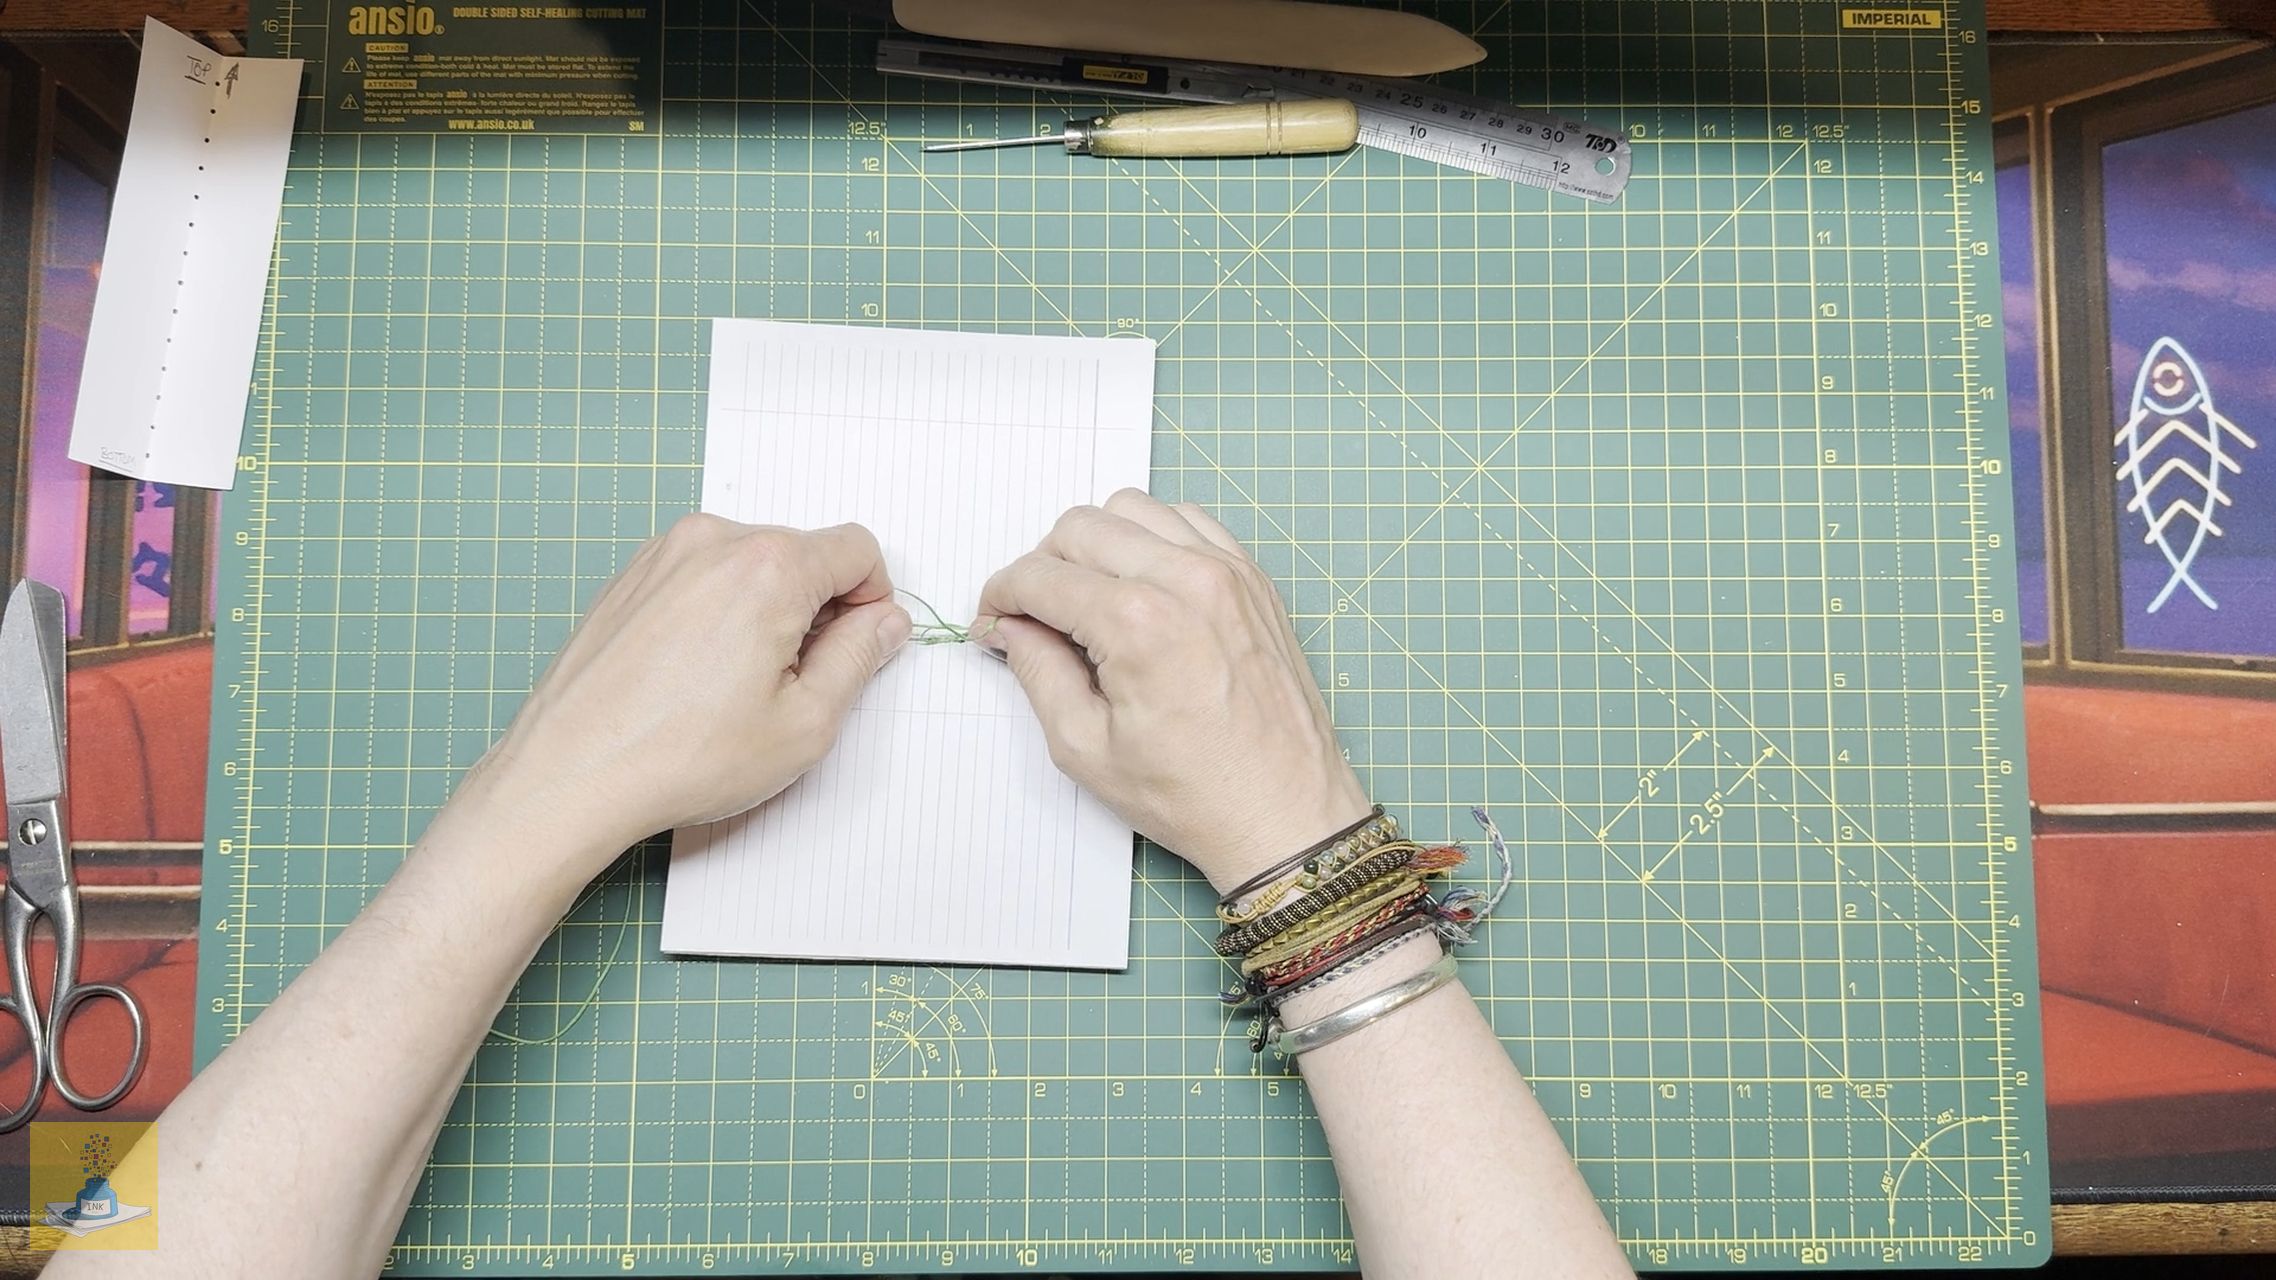
- Once you reach the top, reverse direction again until you go in the seventh hole down from the top (the hole just above where you first started).


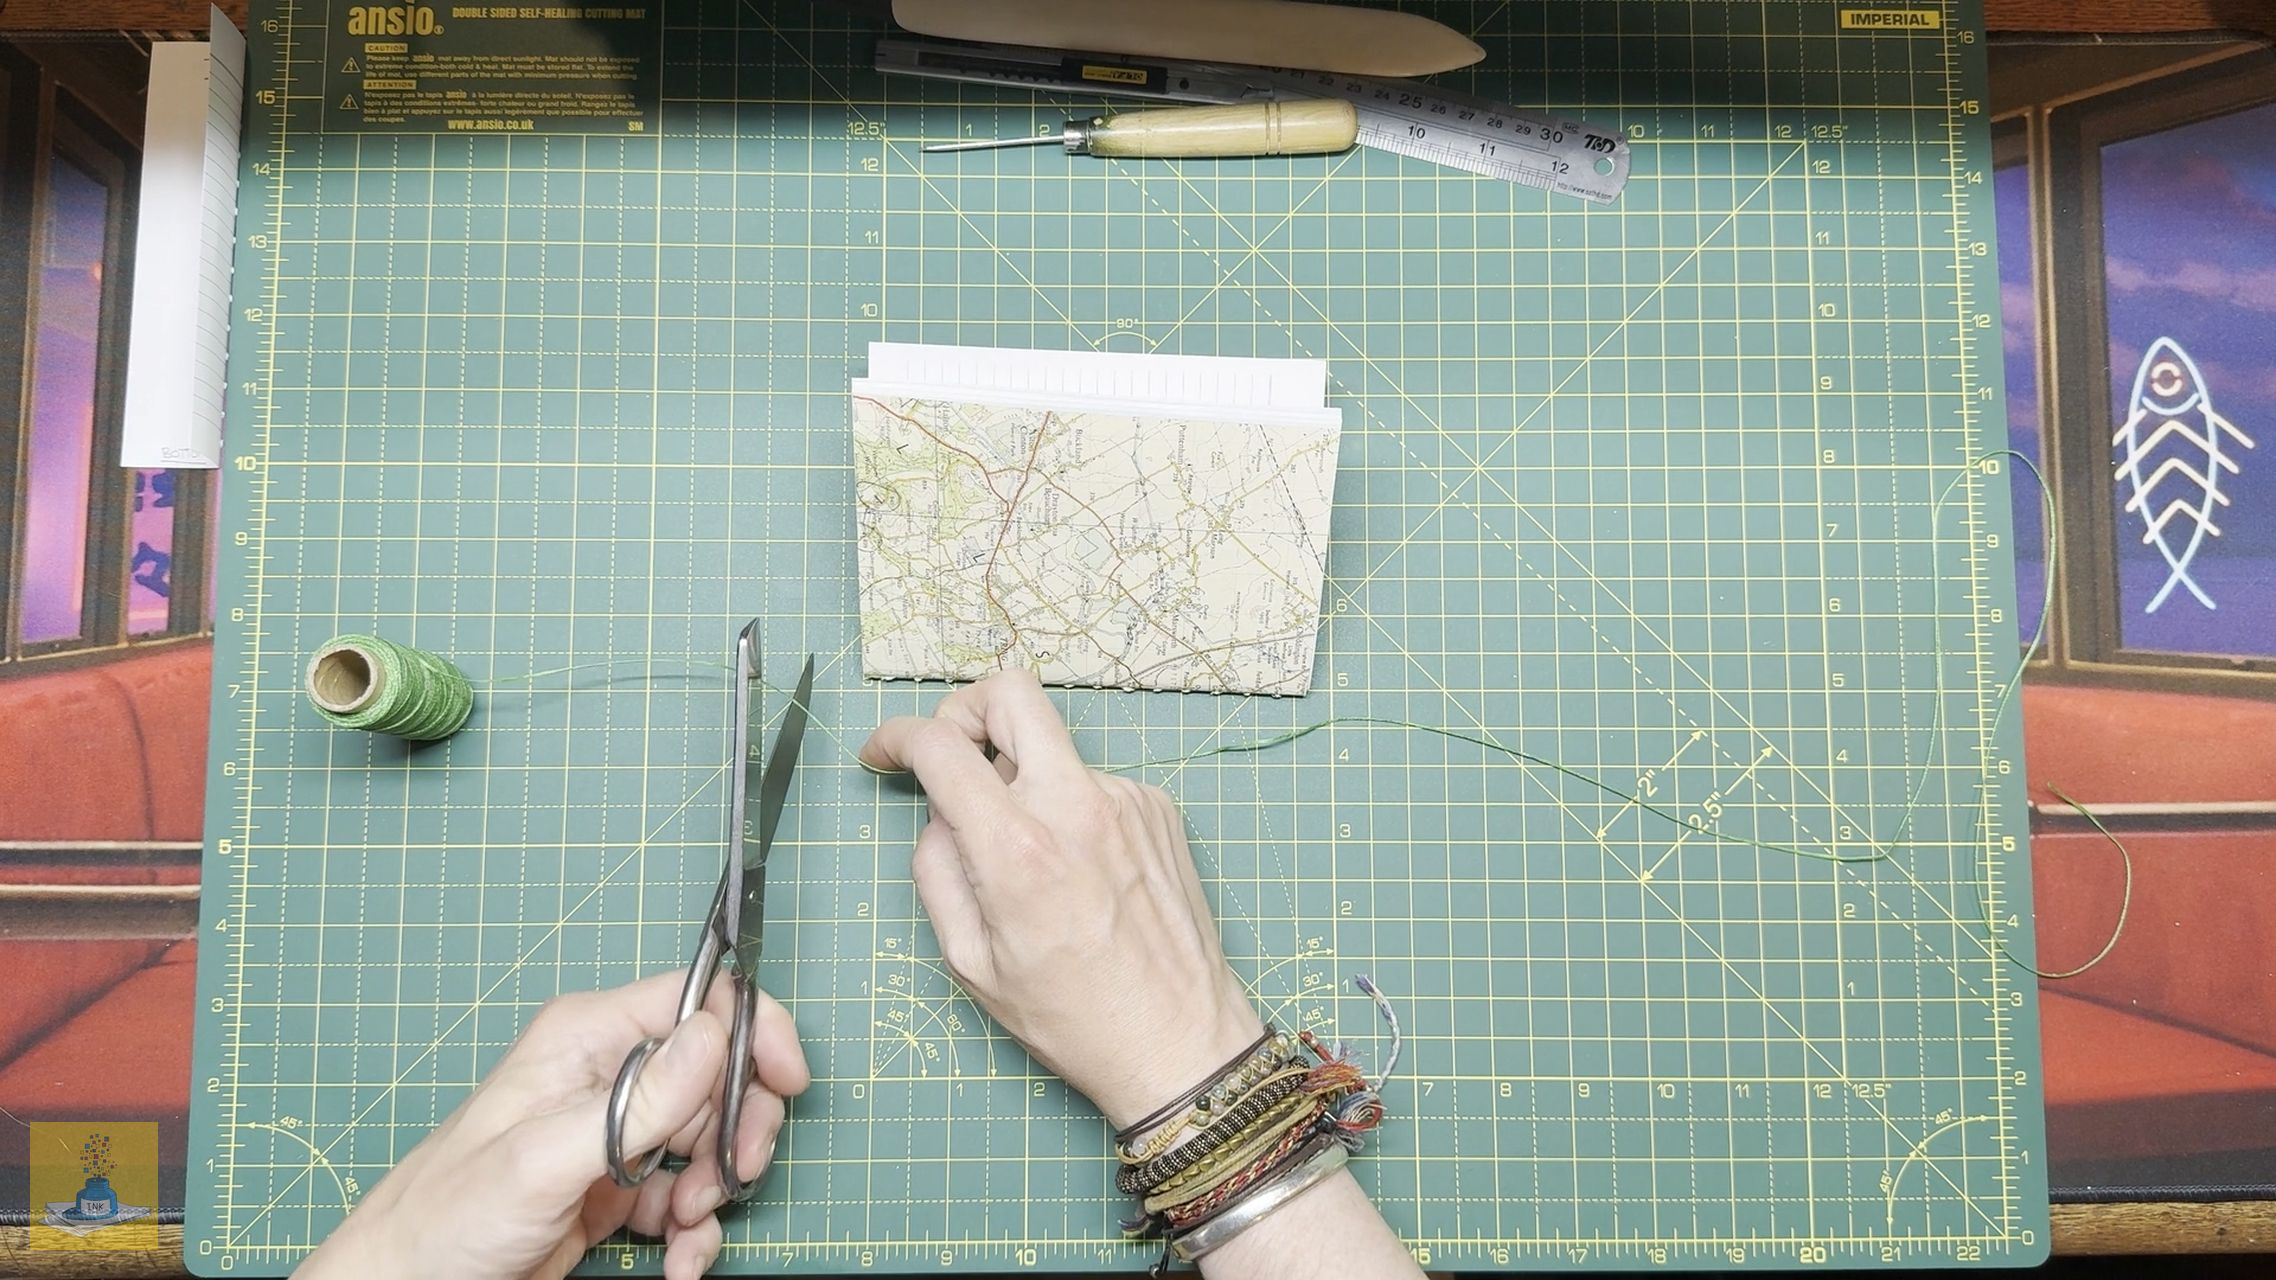
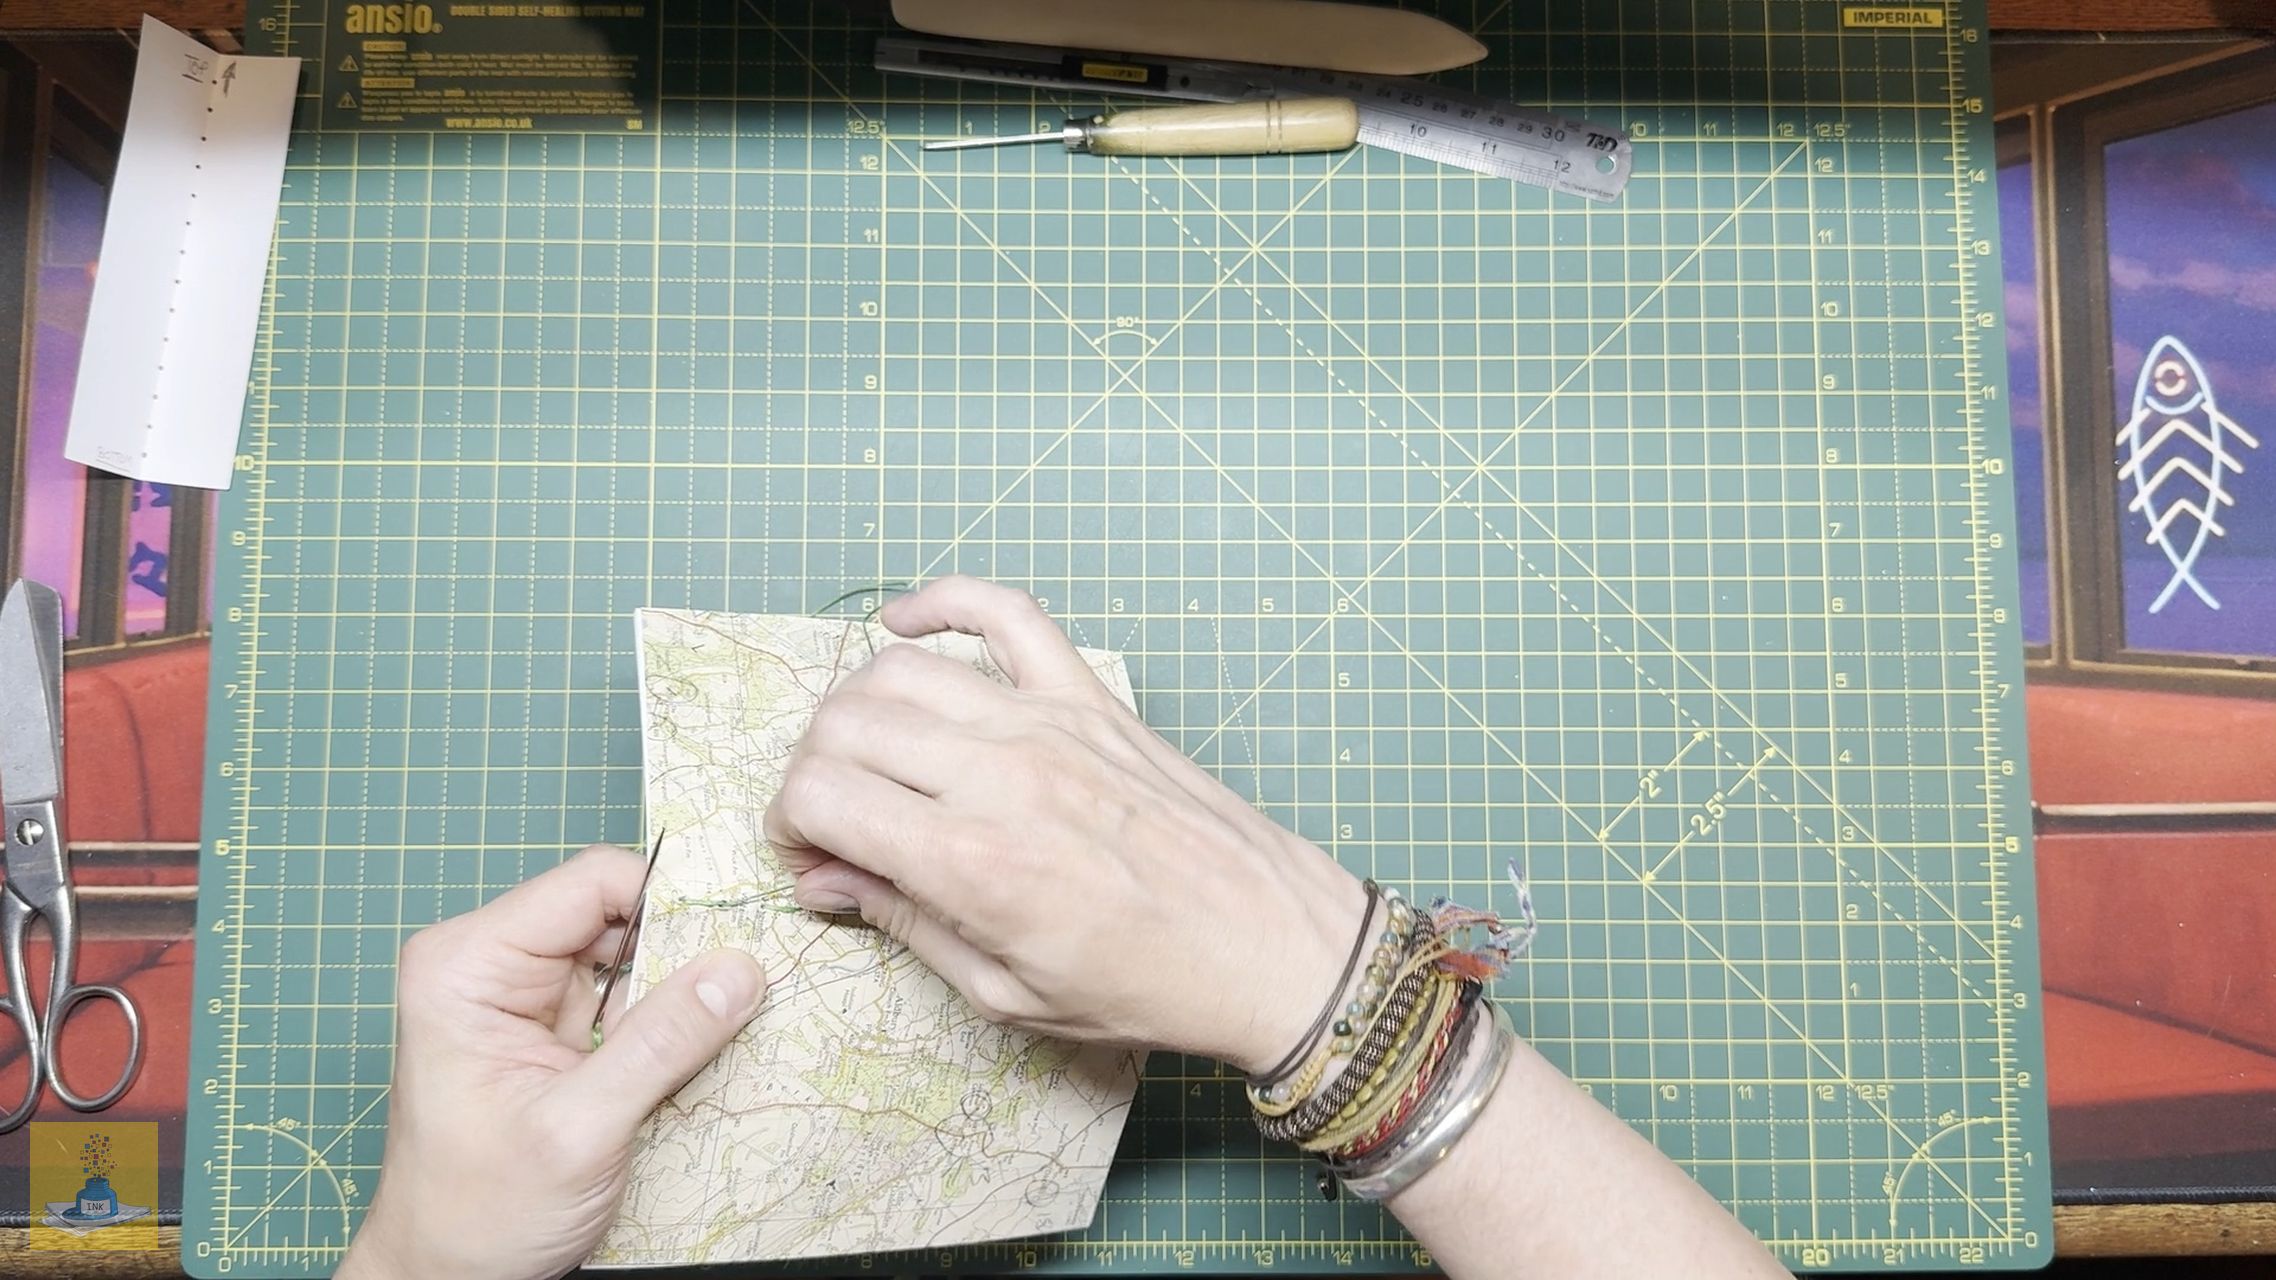
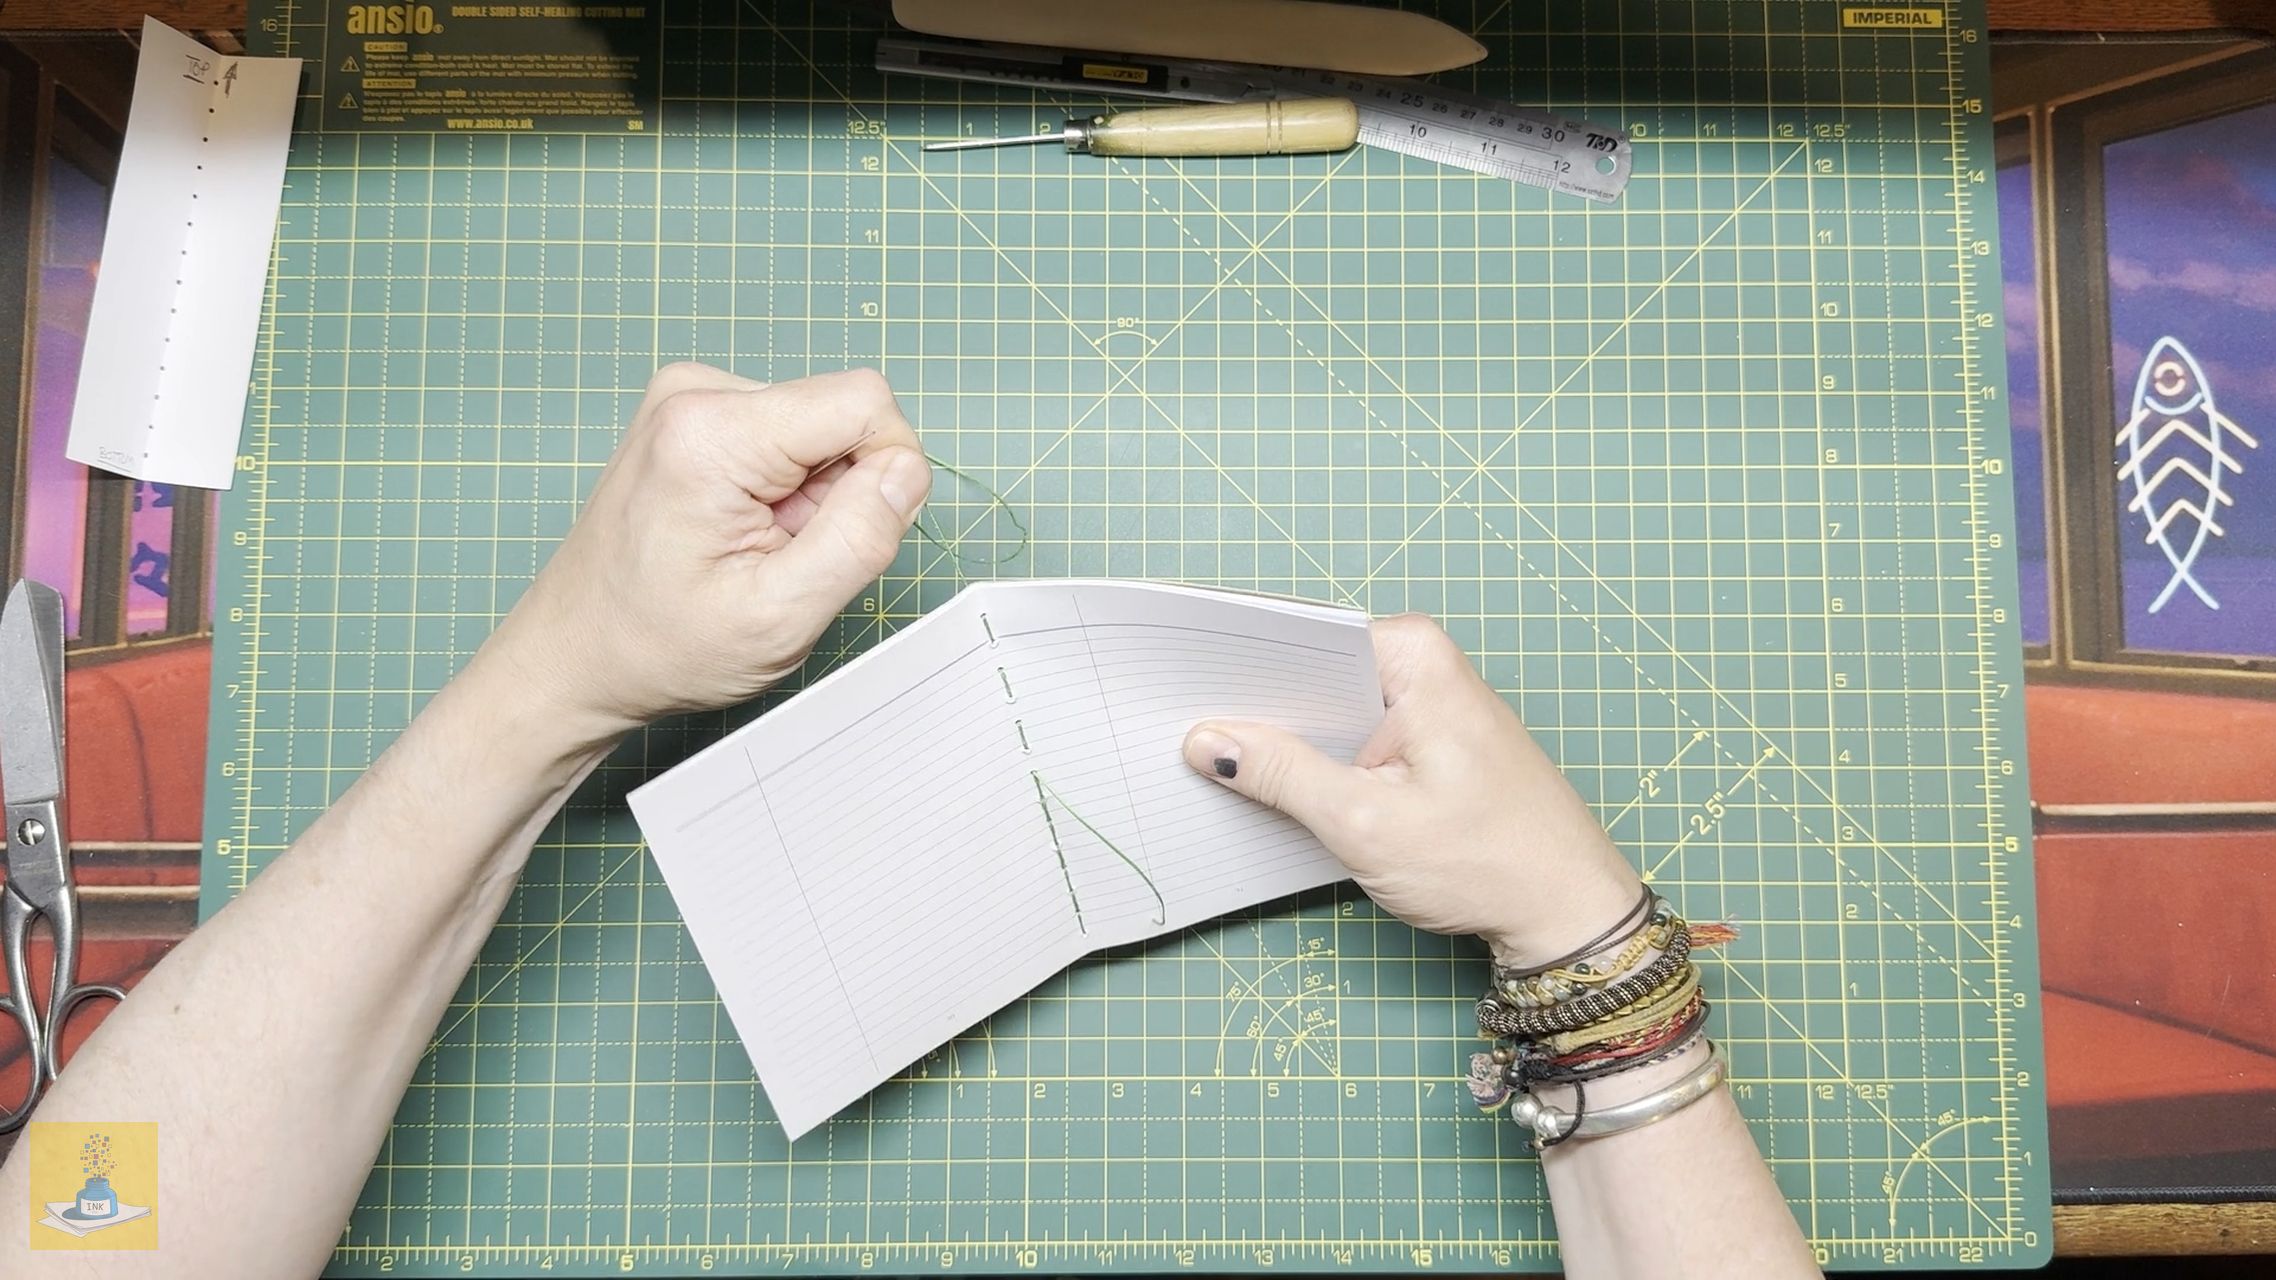
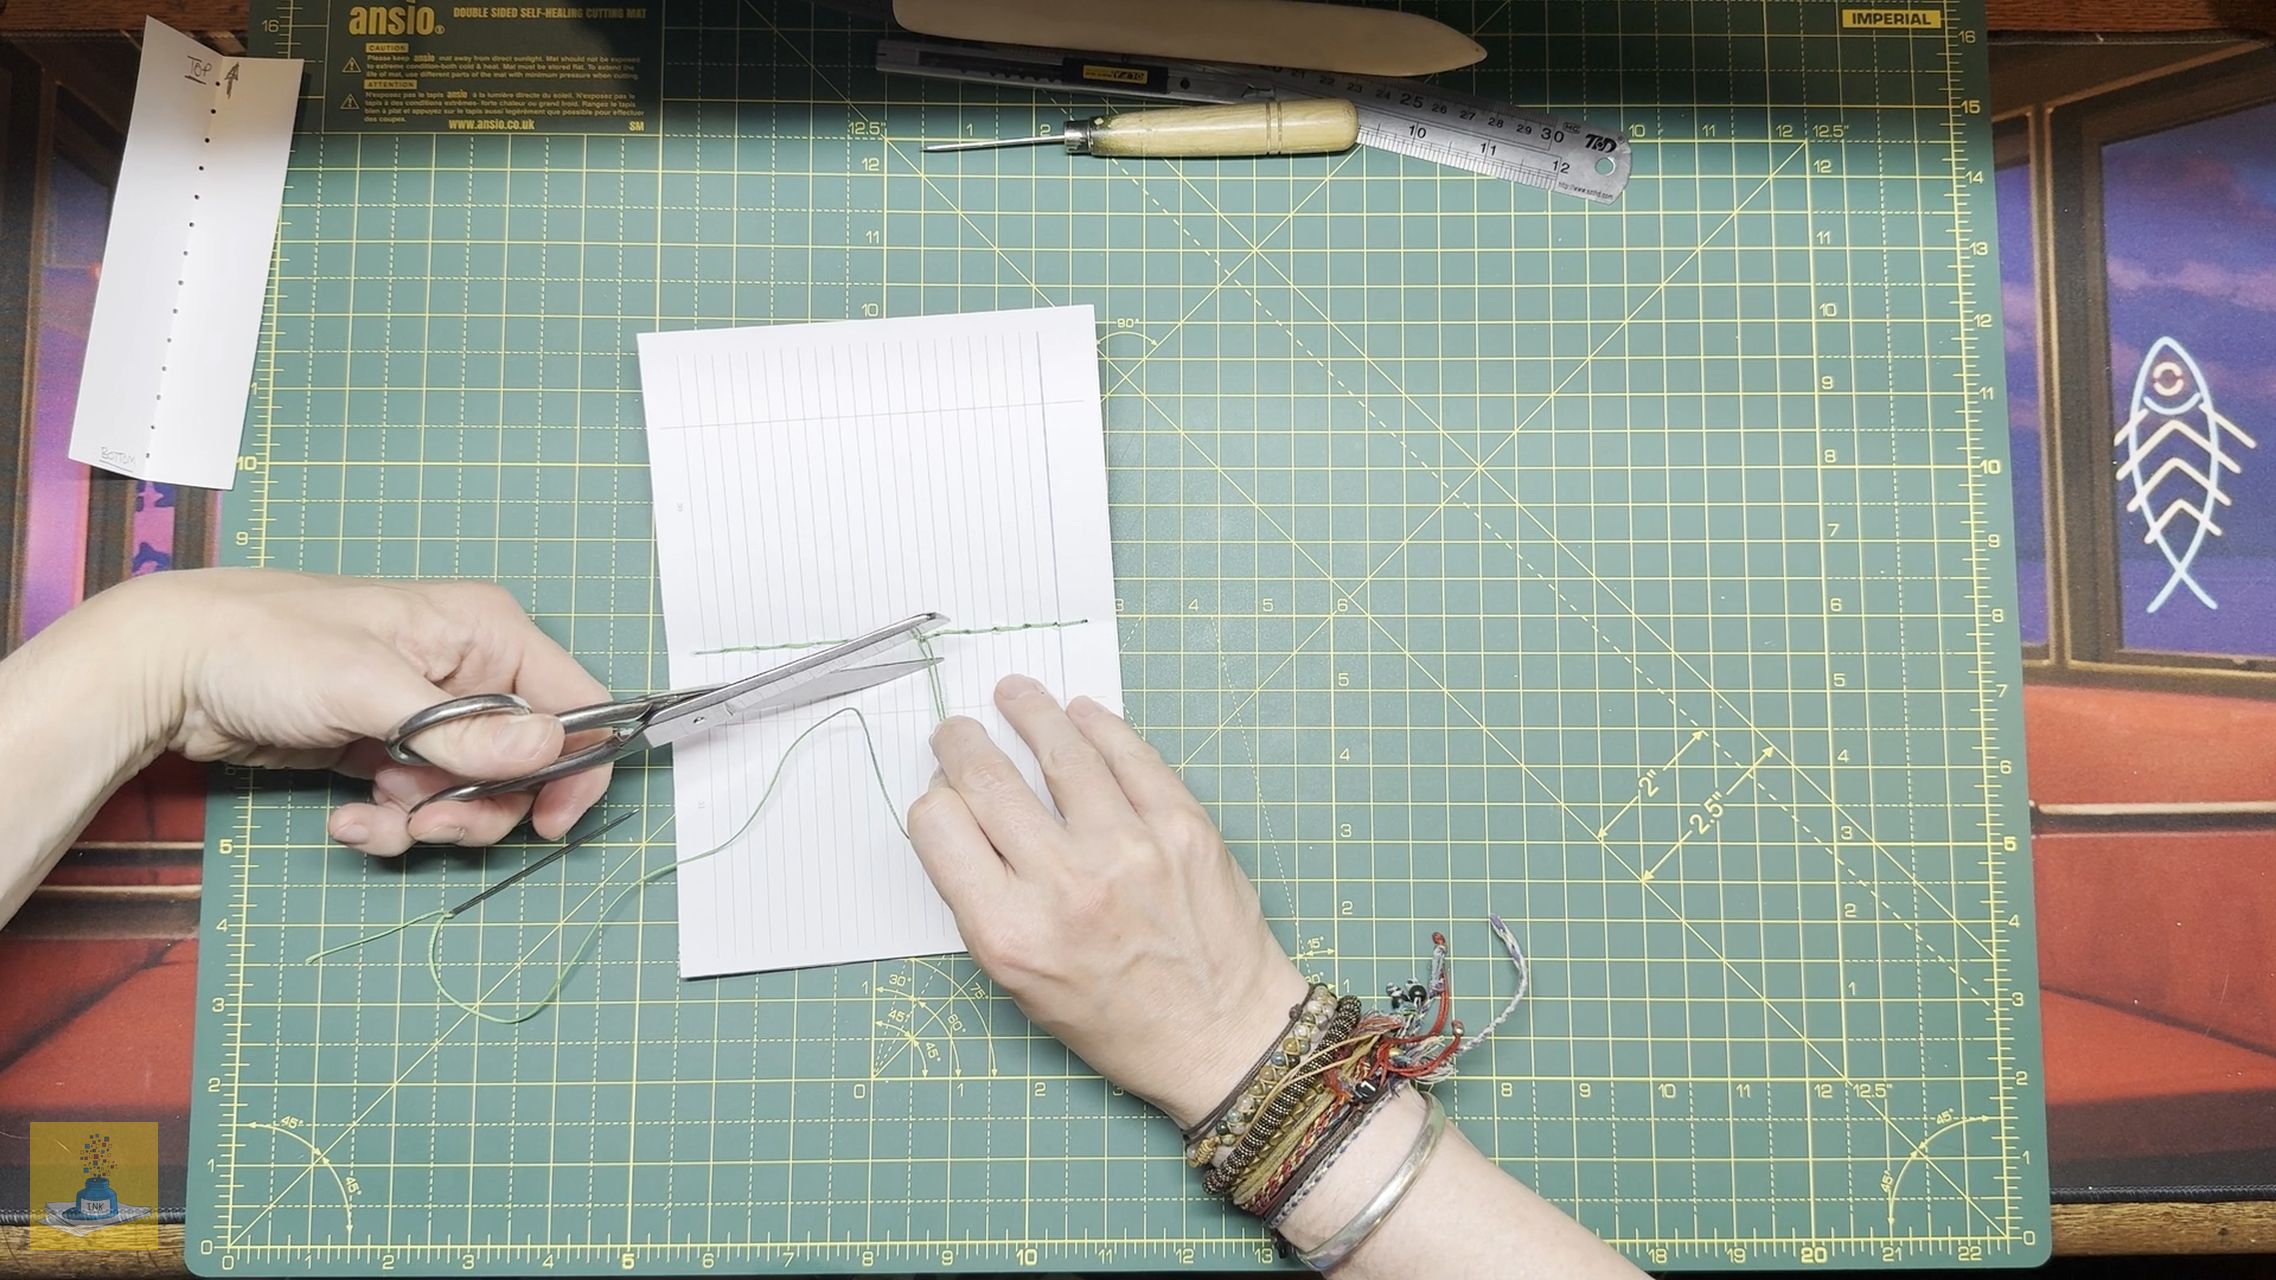
- Tie the two ends of the thread in a tight double knot. Snip off the excess thread.


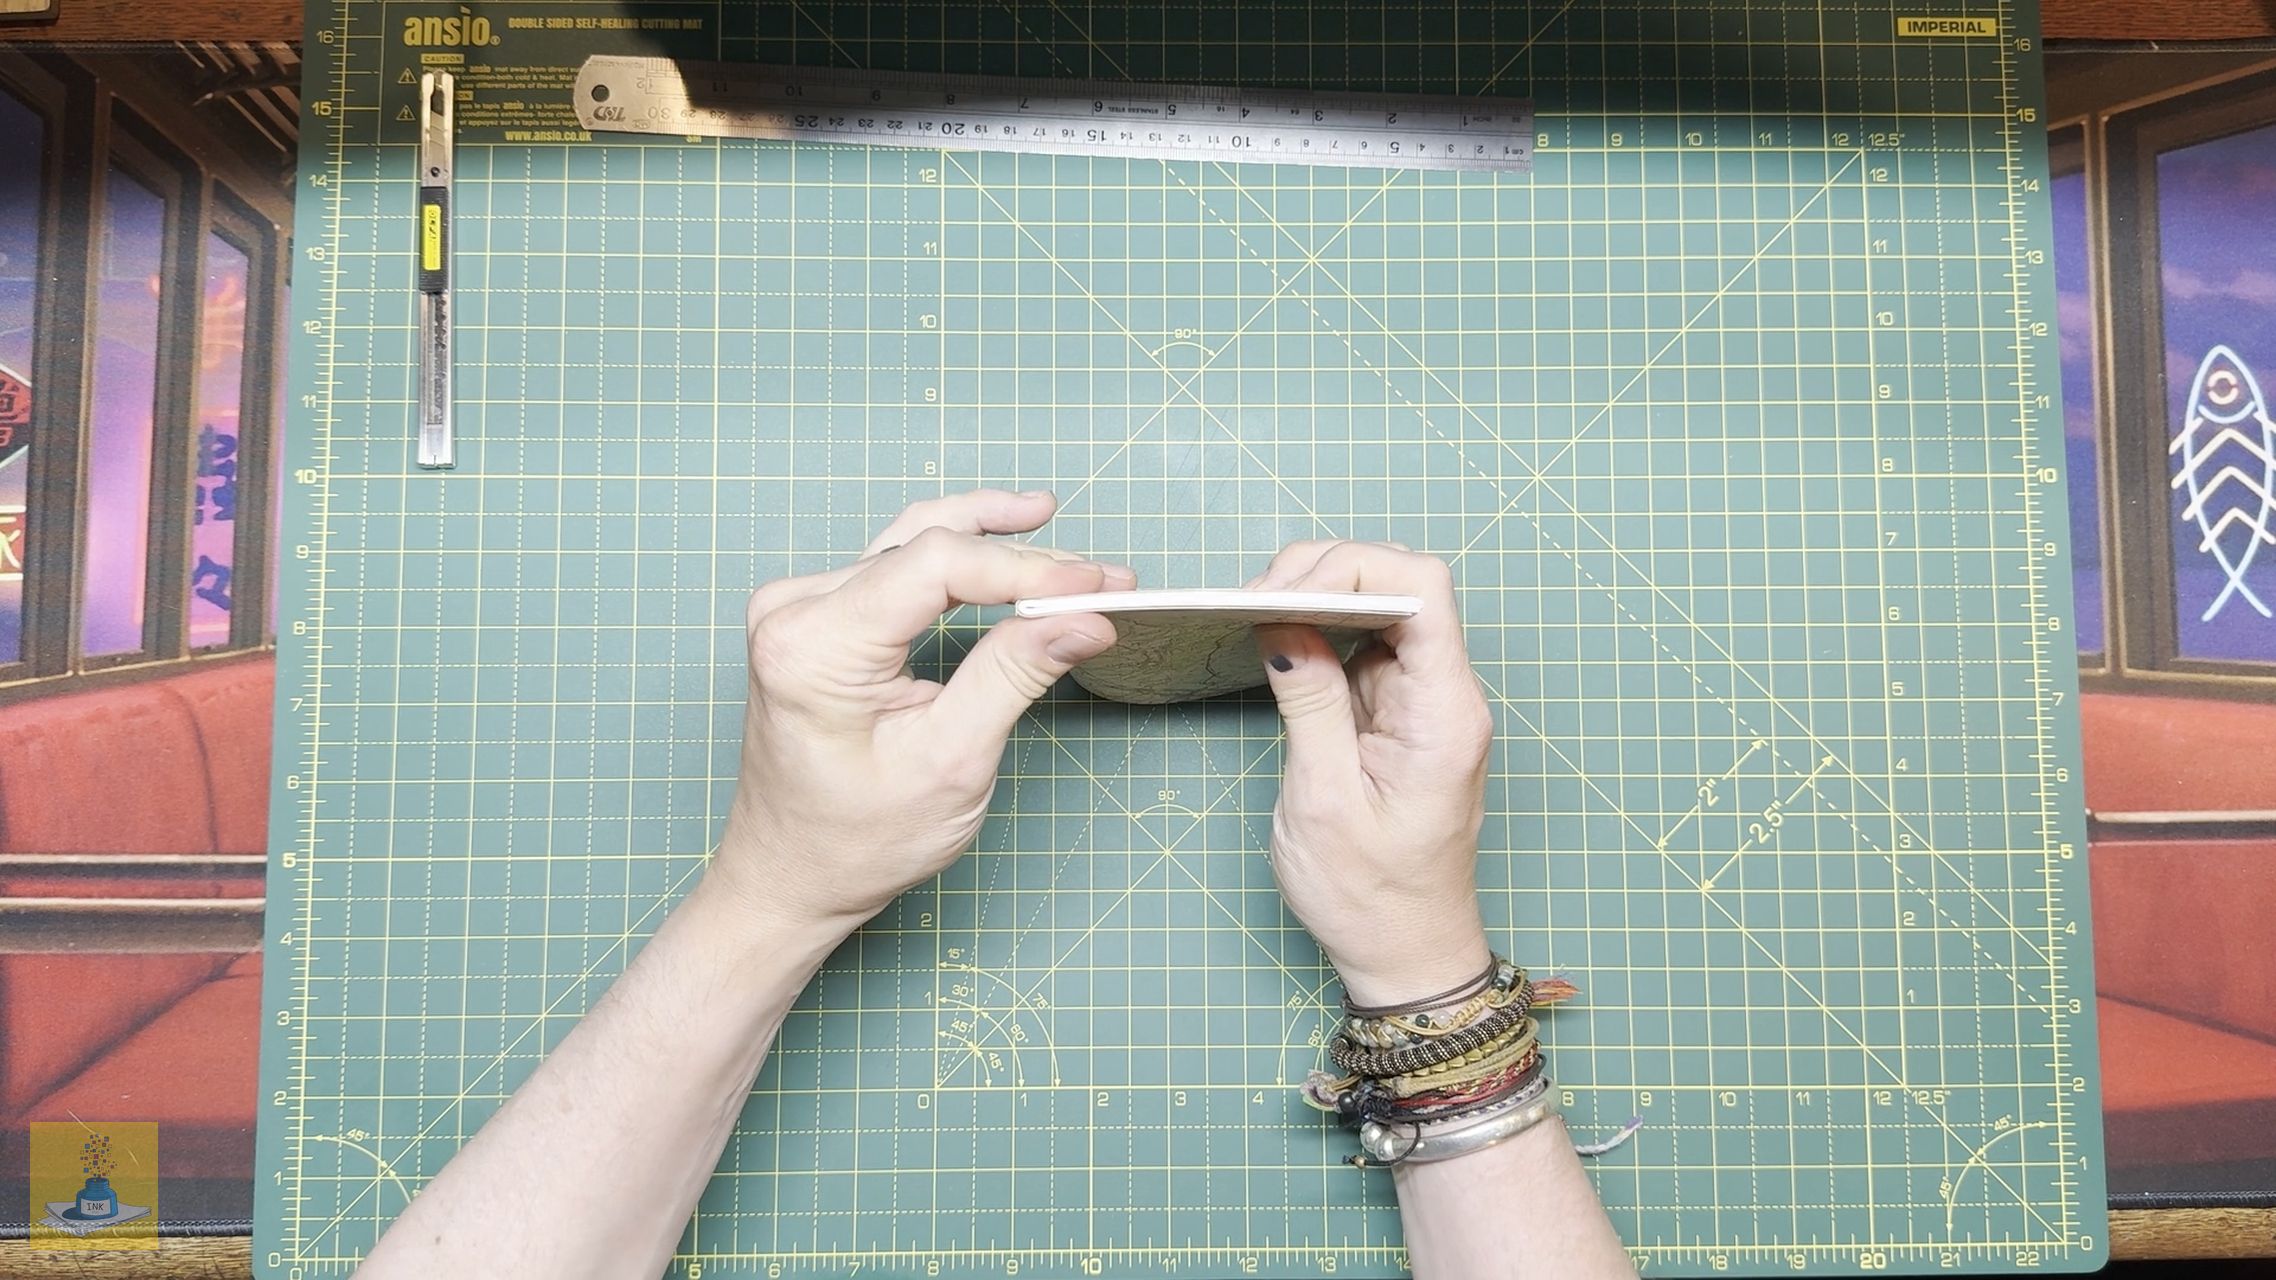
- I then like to go over the spine with my bone folder to flatten after sewing.

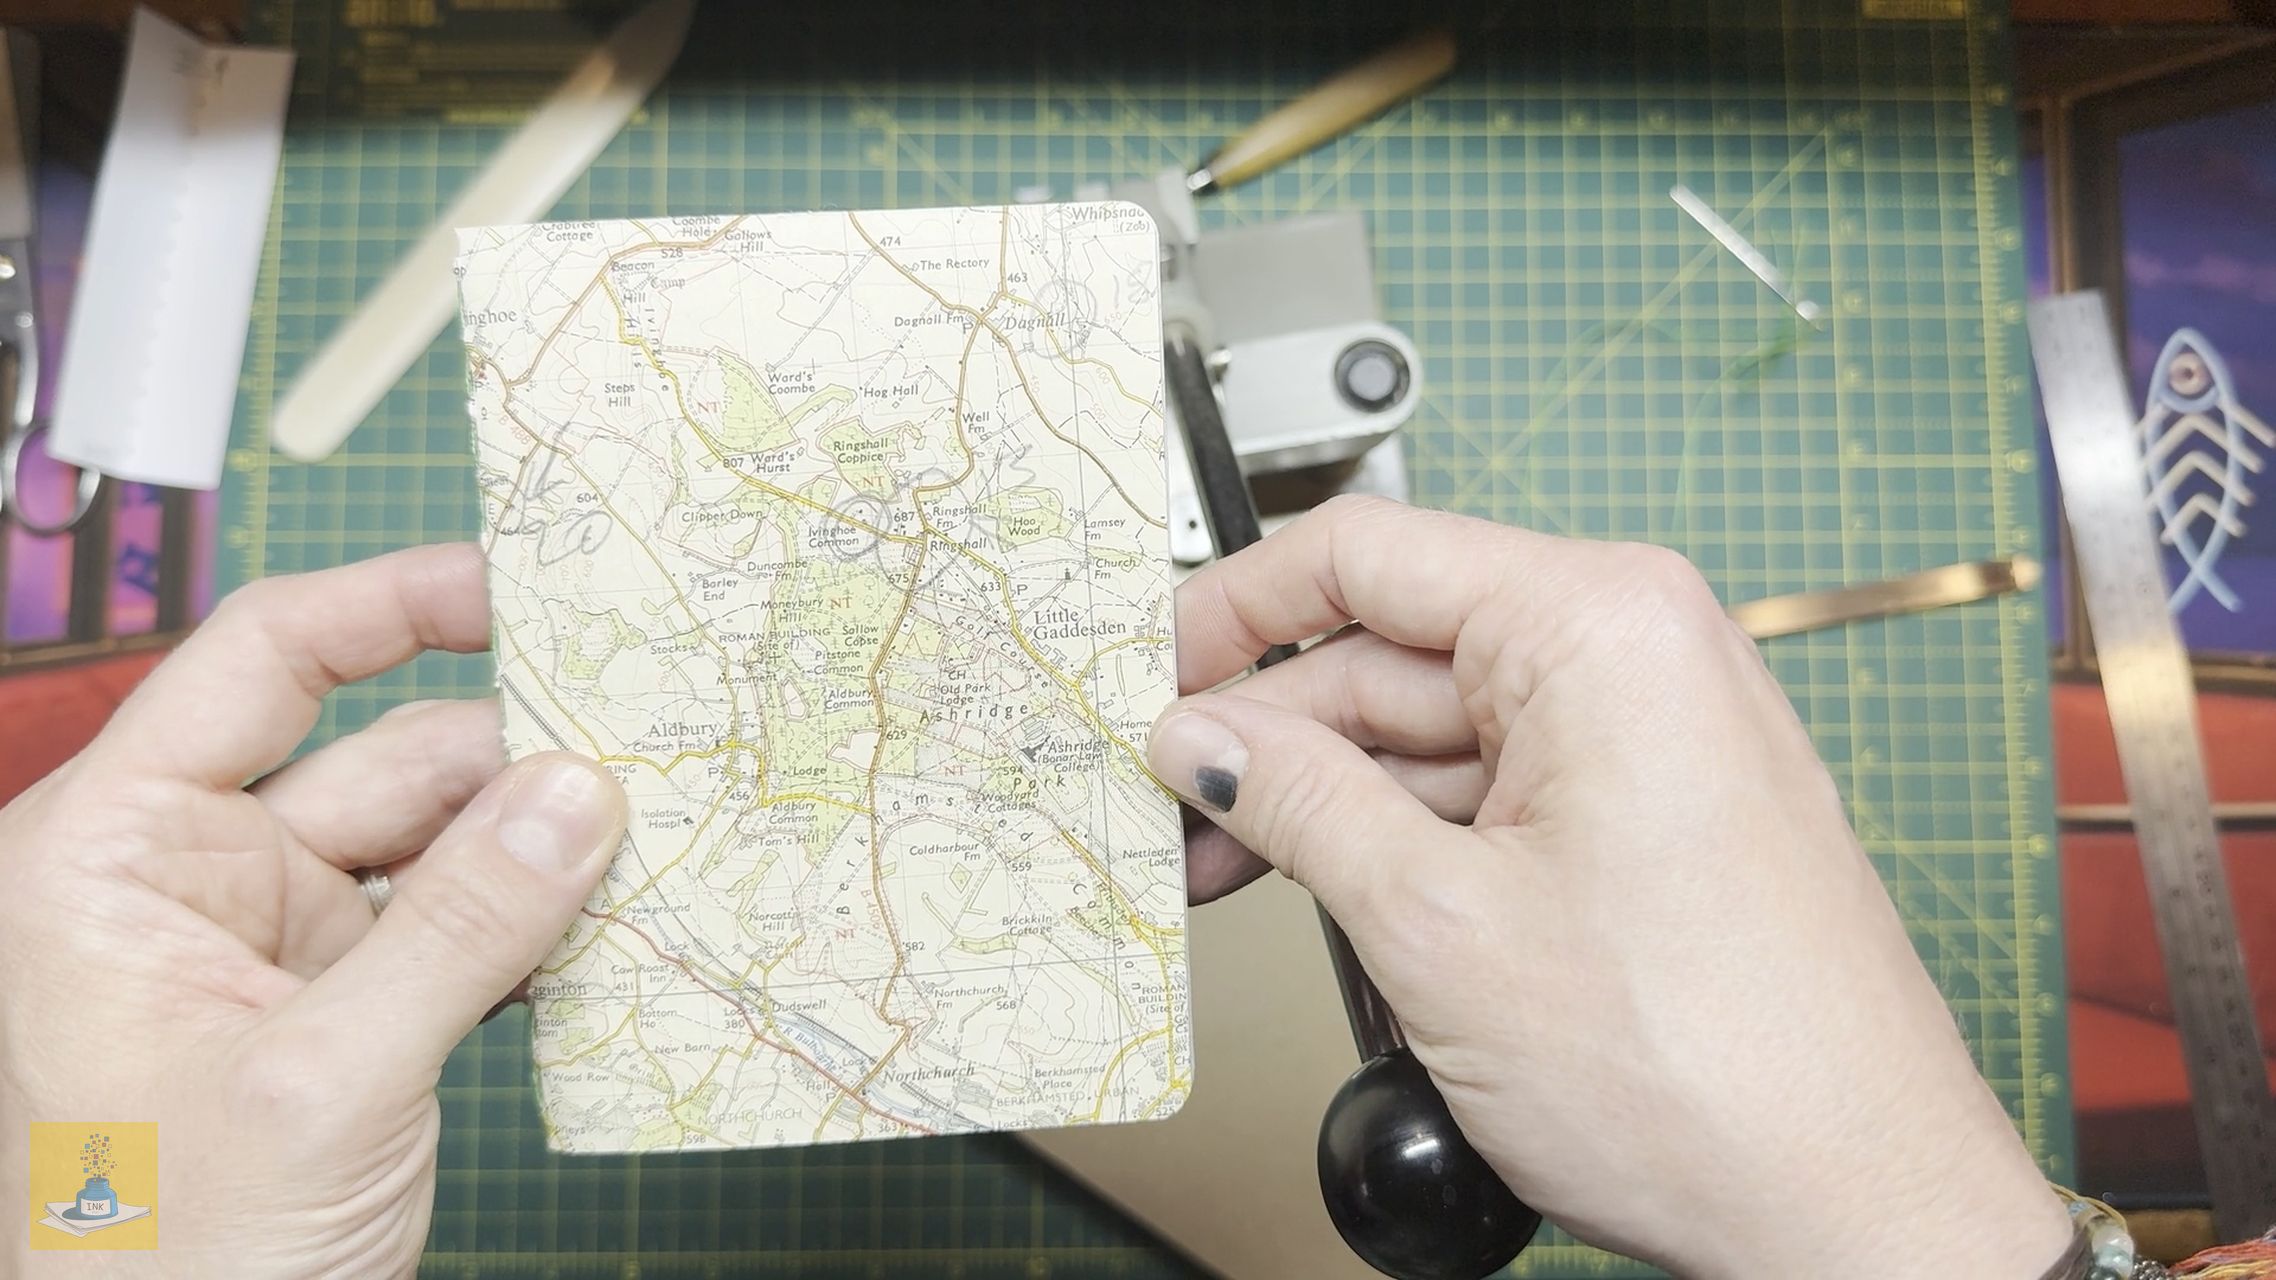
Final Touches
Once you’ve finished sewing, you’ll have a notebook with uneven edges. You can trim and straighten these using a guillotine, or with a steel ruler and a sharp craft knife.
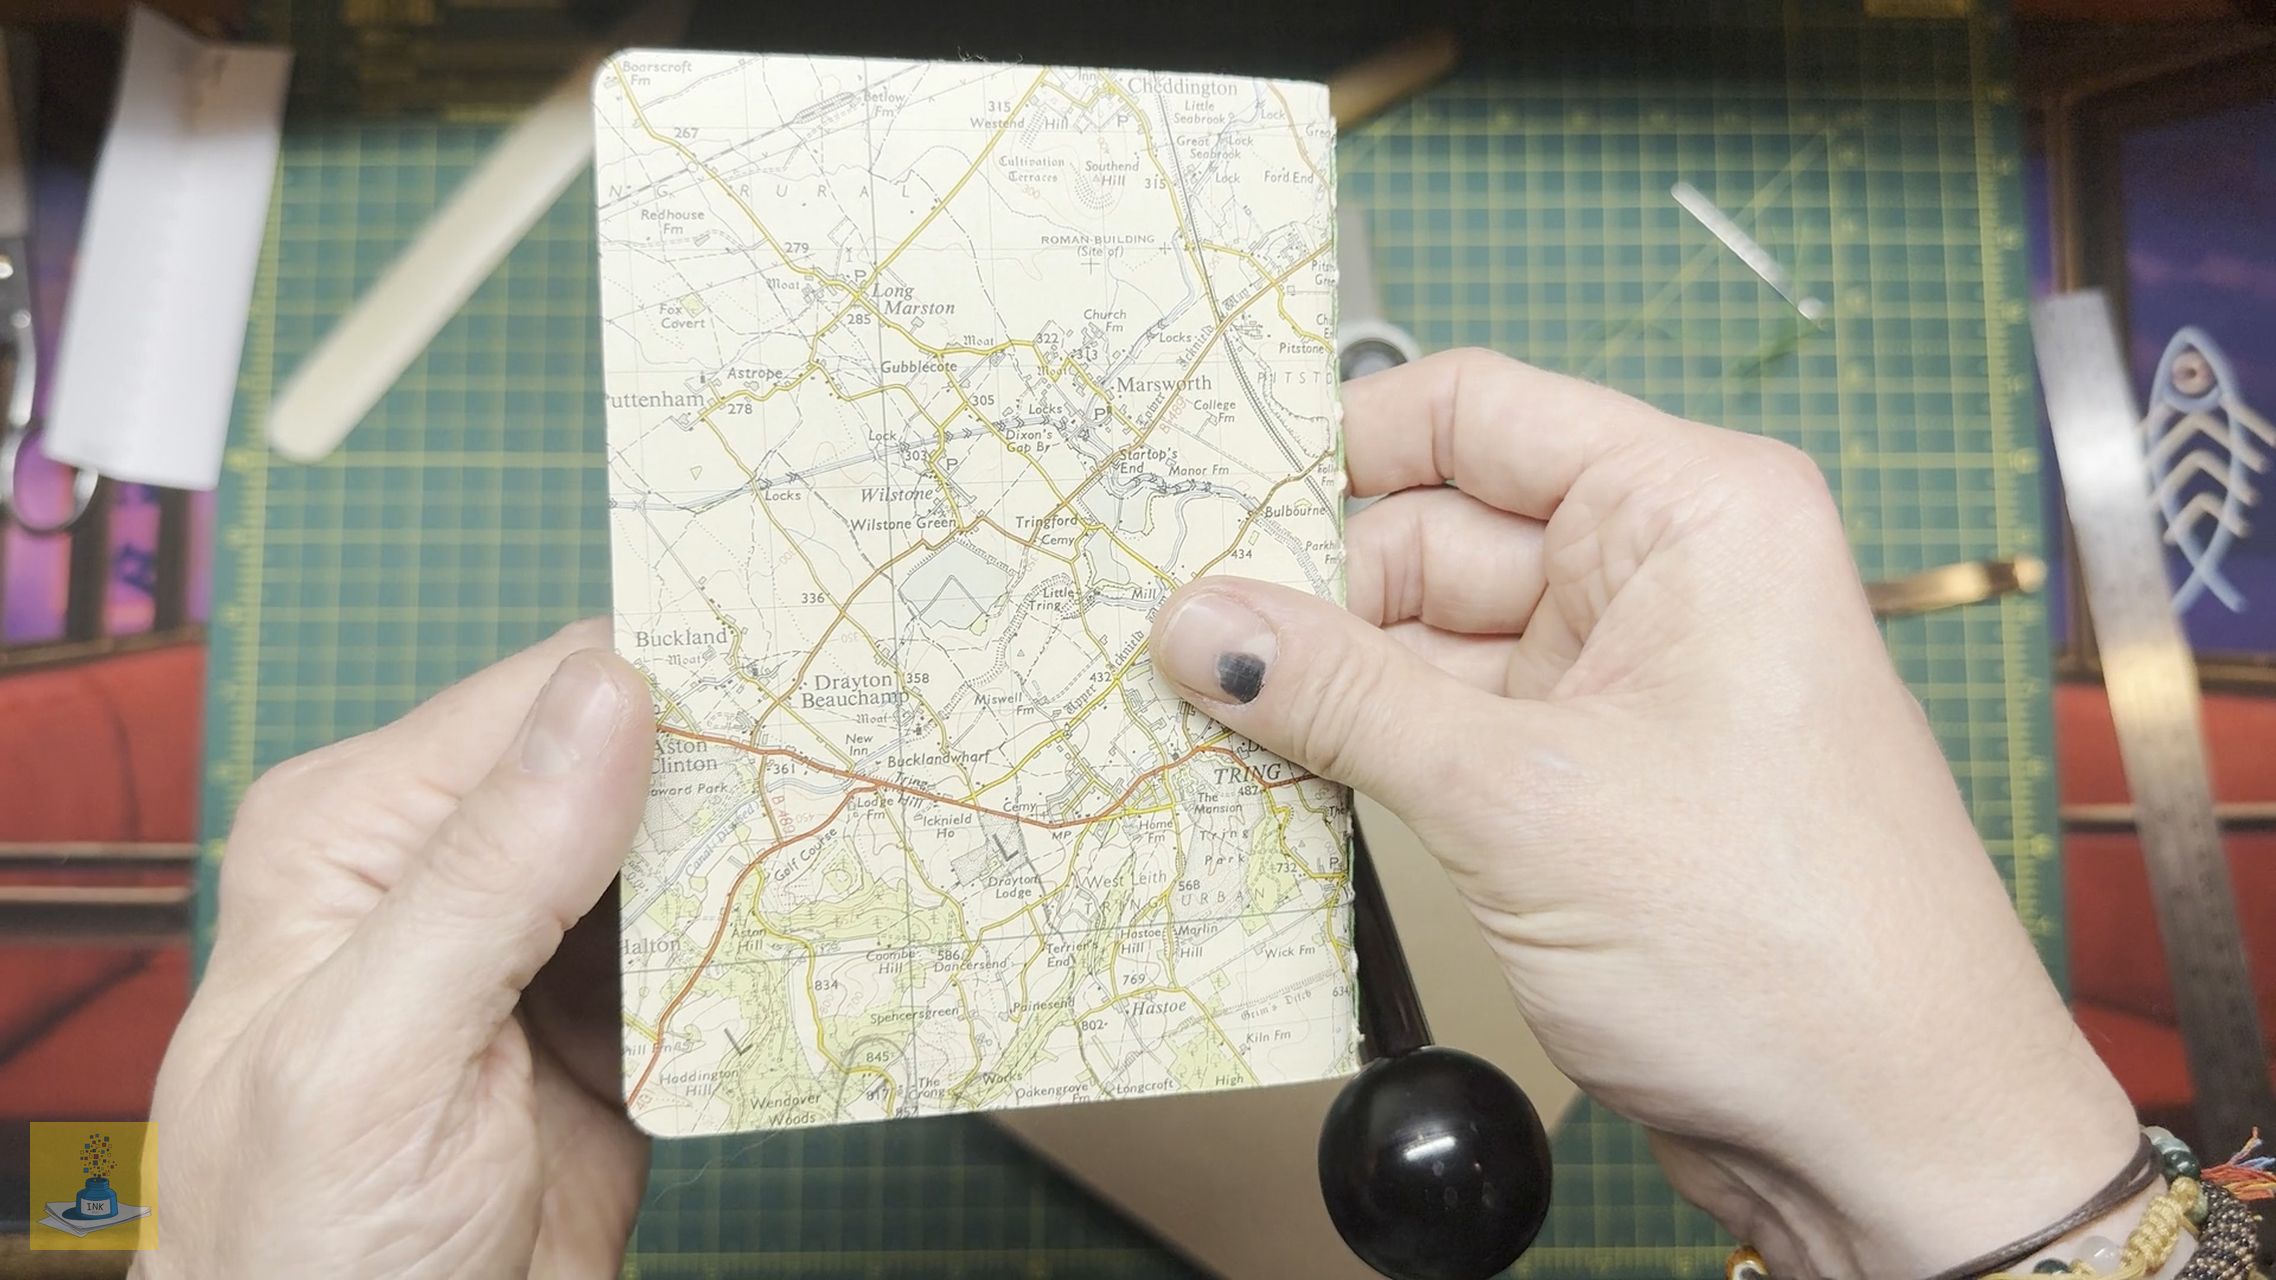
Trimming the Edges
If you don’t have a guillotine, here are the steps showing you how to use a sharp craft knife and steel ruler.
- Make sure your craft knife is sharp and that the blade is long enough to cut all the way through the notebook.
- Place your steel ruler along the fore edge of the notebook, leaving a little amount of the cover exposed and ensure it’s straight.

- Holding the ruler as tightly as possible, make shallow cuts from top to bottom. It’s important to cut through the paper gently, one sheet at a time, to avoid a messy cut, and hold the knife at a right angle to the ruler. This stops a cut being at a sloping angle.


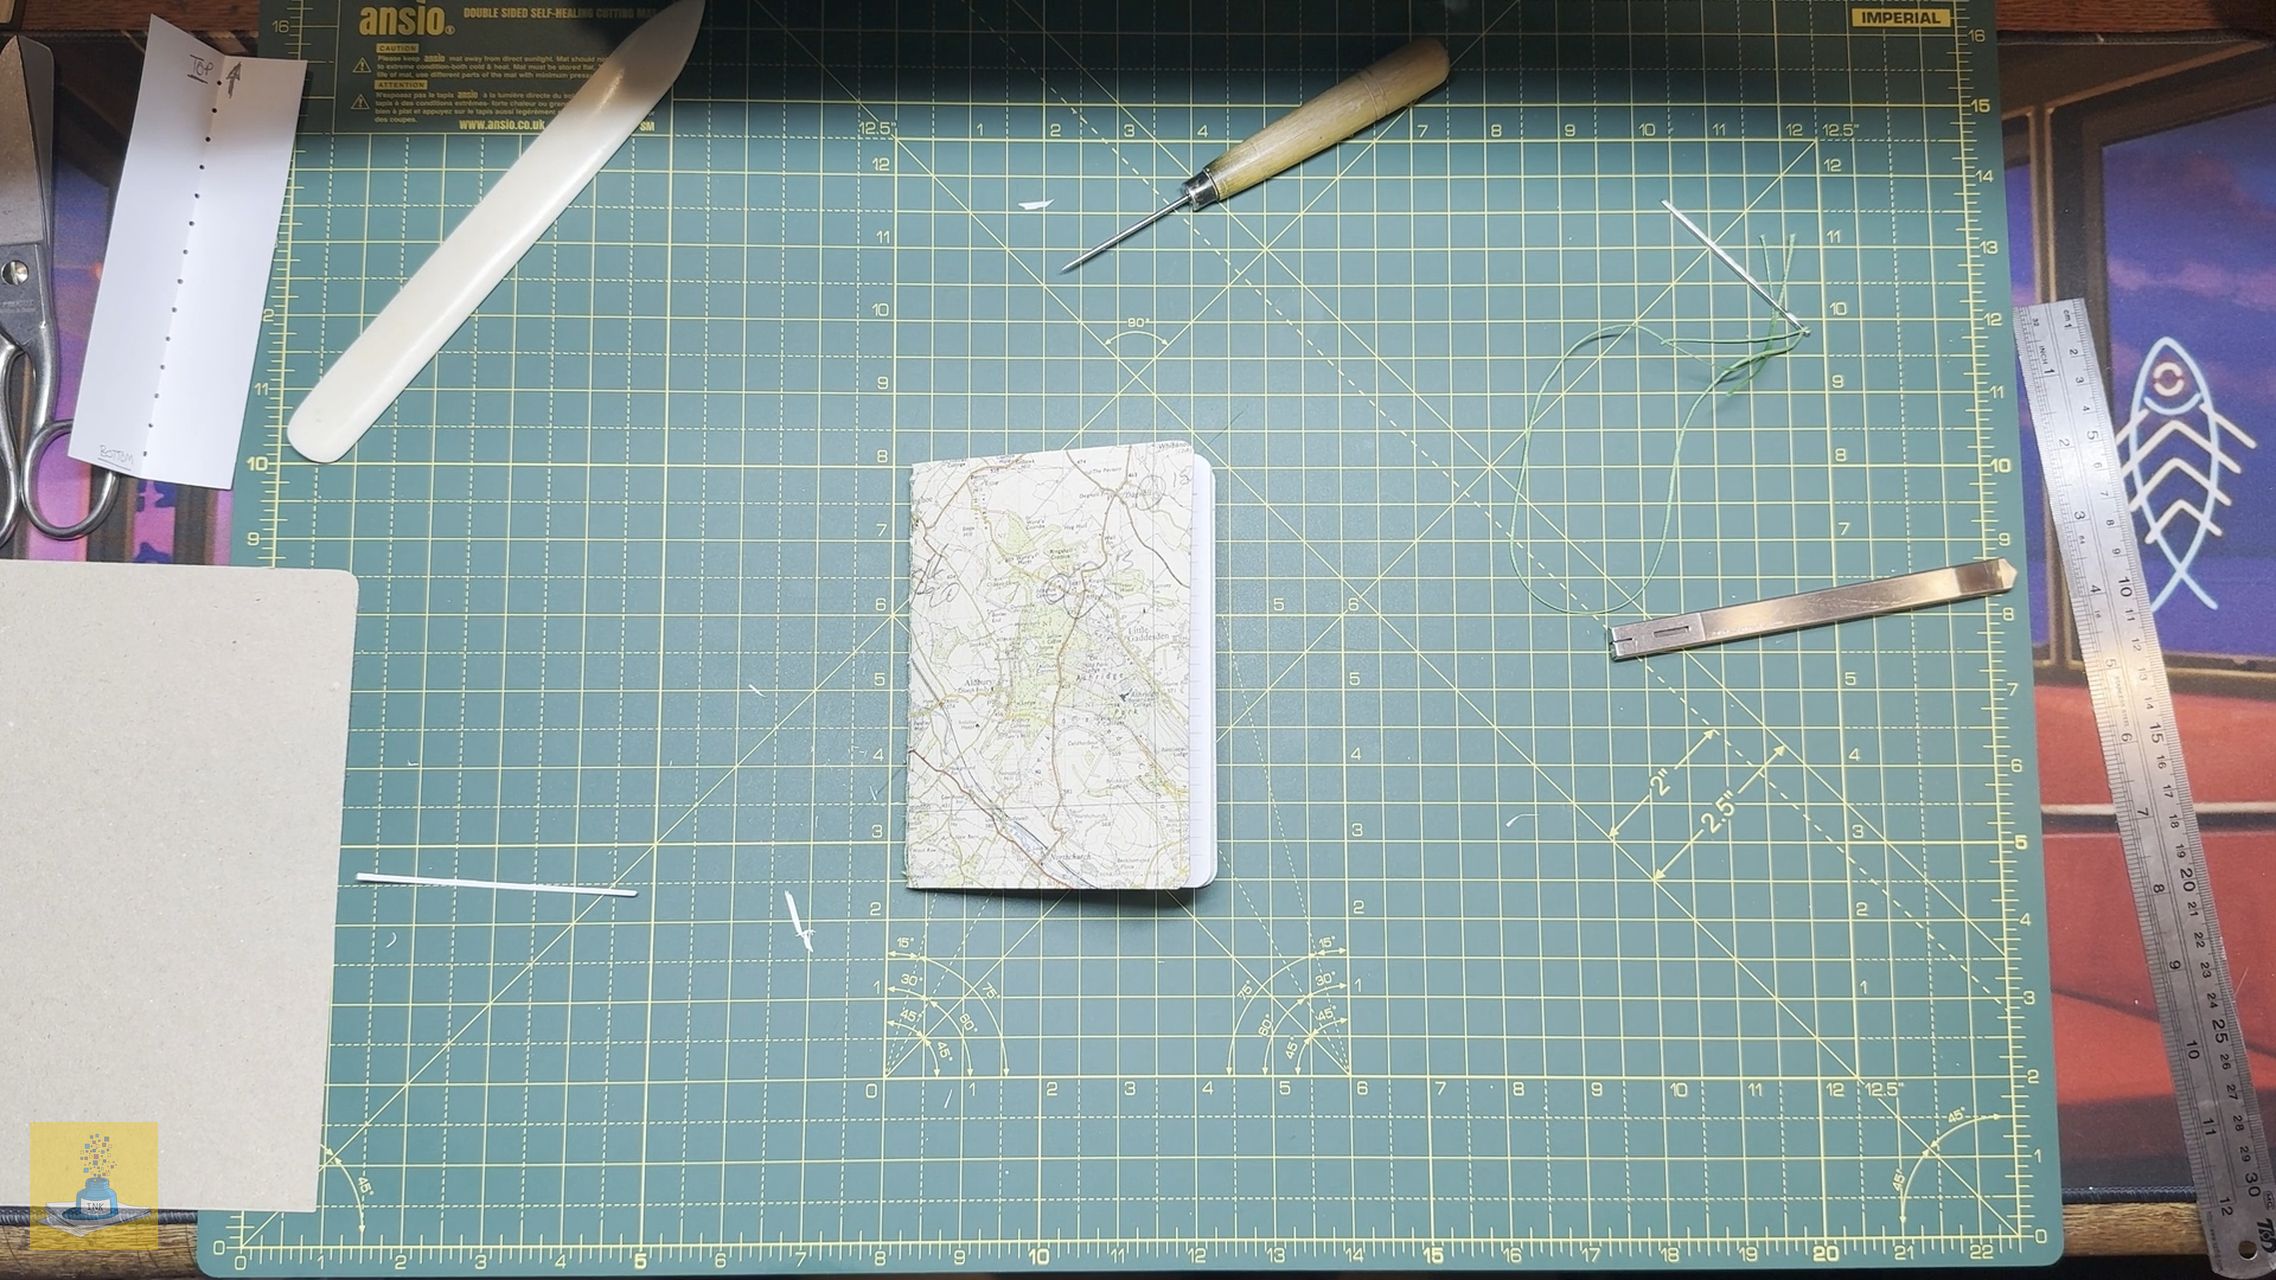
- Repeat this process for the top and bottom edges, making sure the cuts are an equal distance from the holes in the spine.


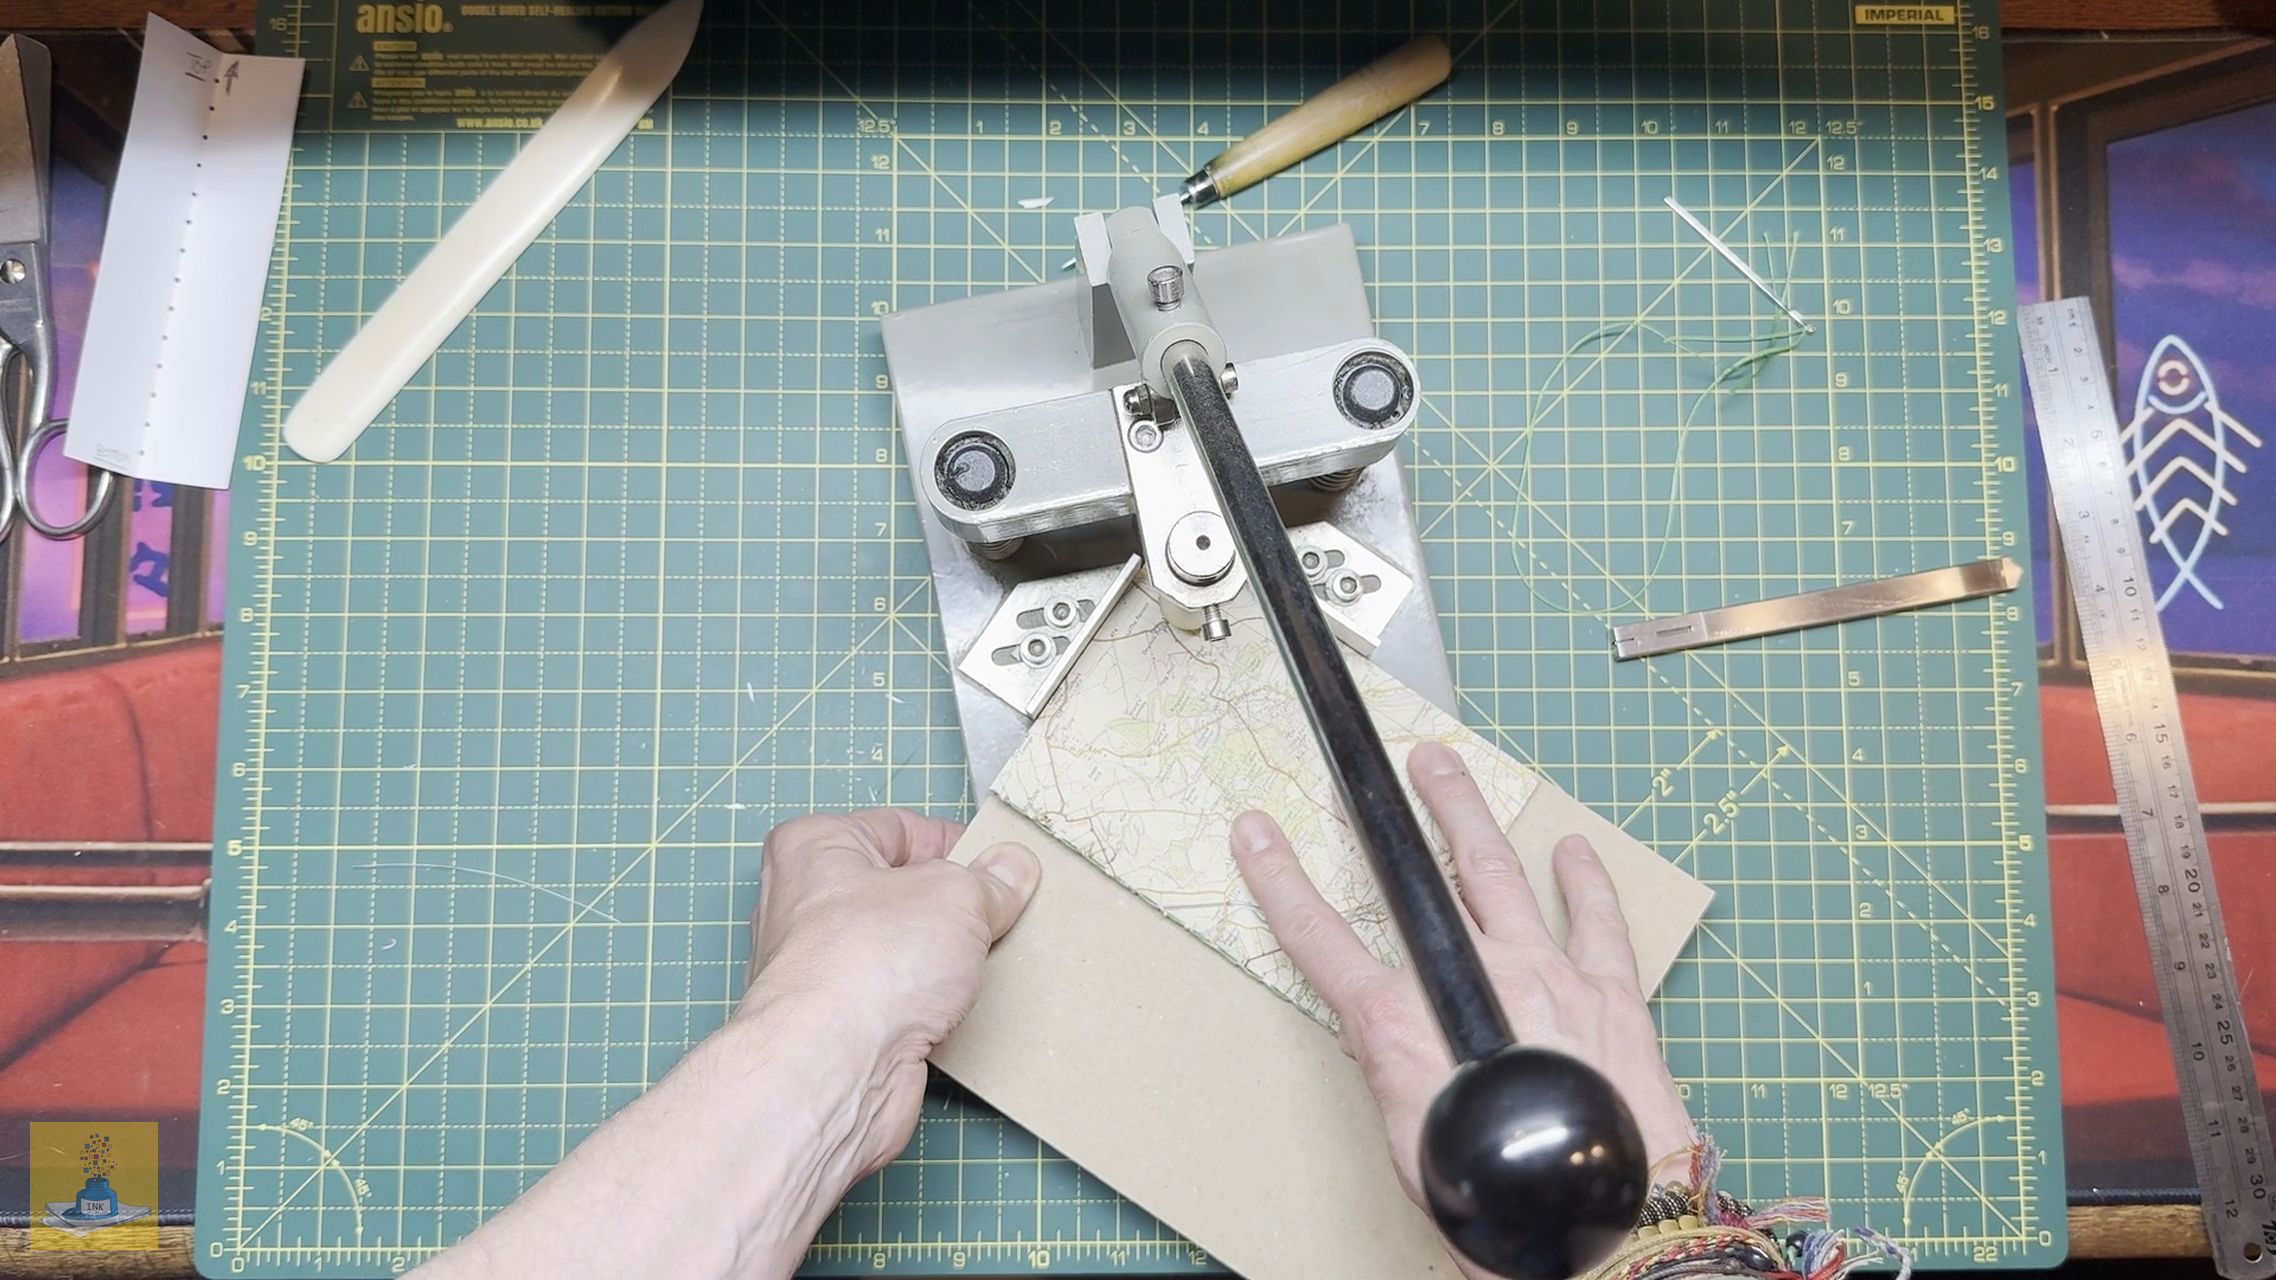
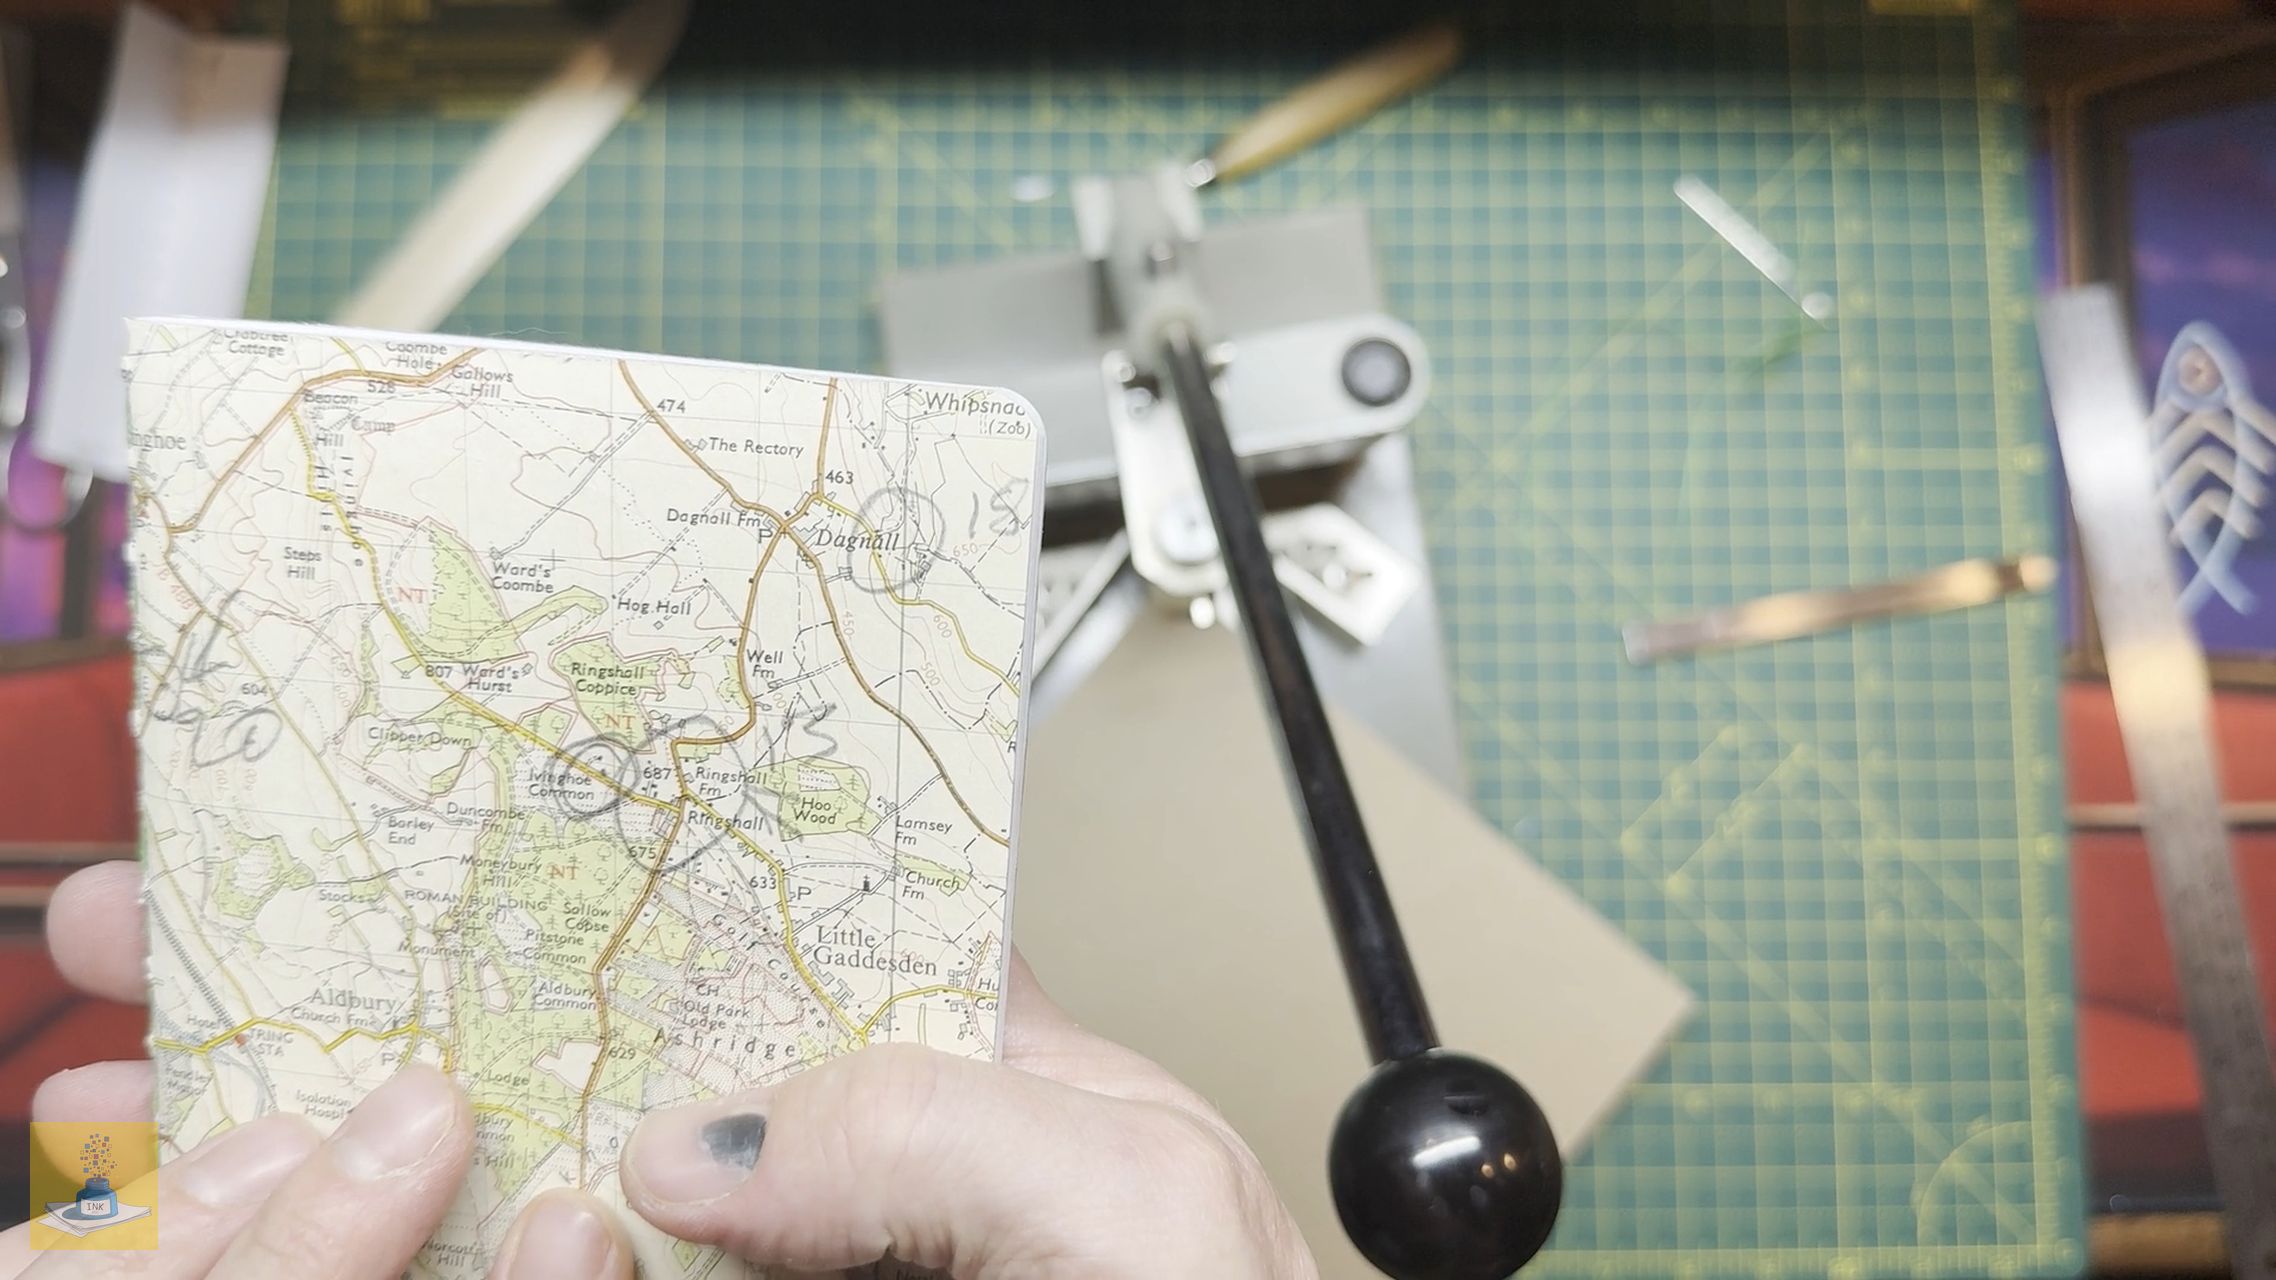
Rounding the Corners (Optional)
I like to round the corners of my notebooks. Not only do I think it looks nice, but rounded corners are less likely to get bent or “dog-eared” than square ones.
I use a heavy-duty corner punch for this, but a corner punch from a hobby or craft store will work well for a few sheets at a time.


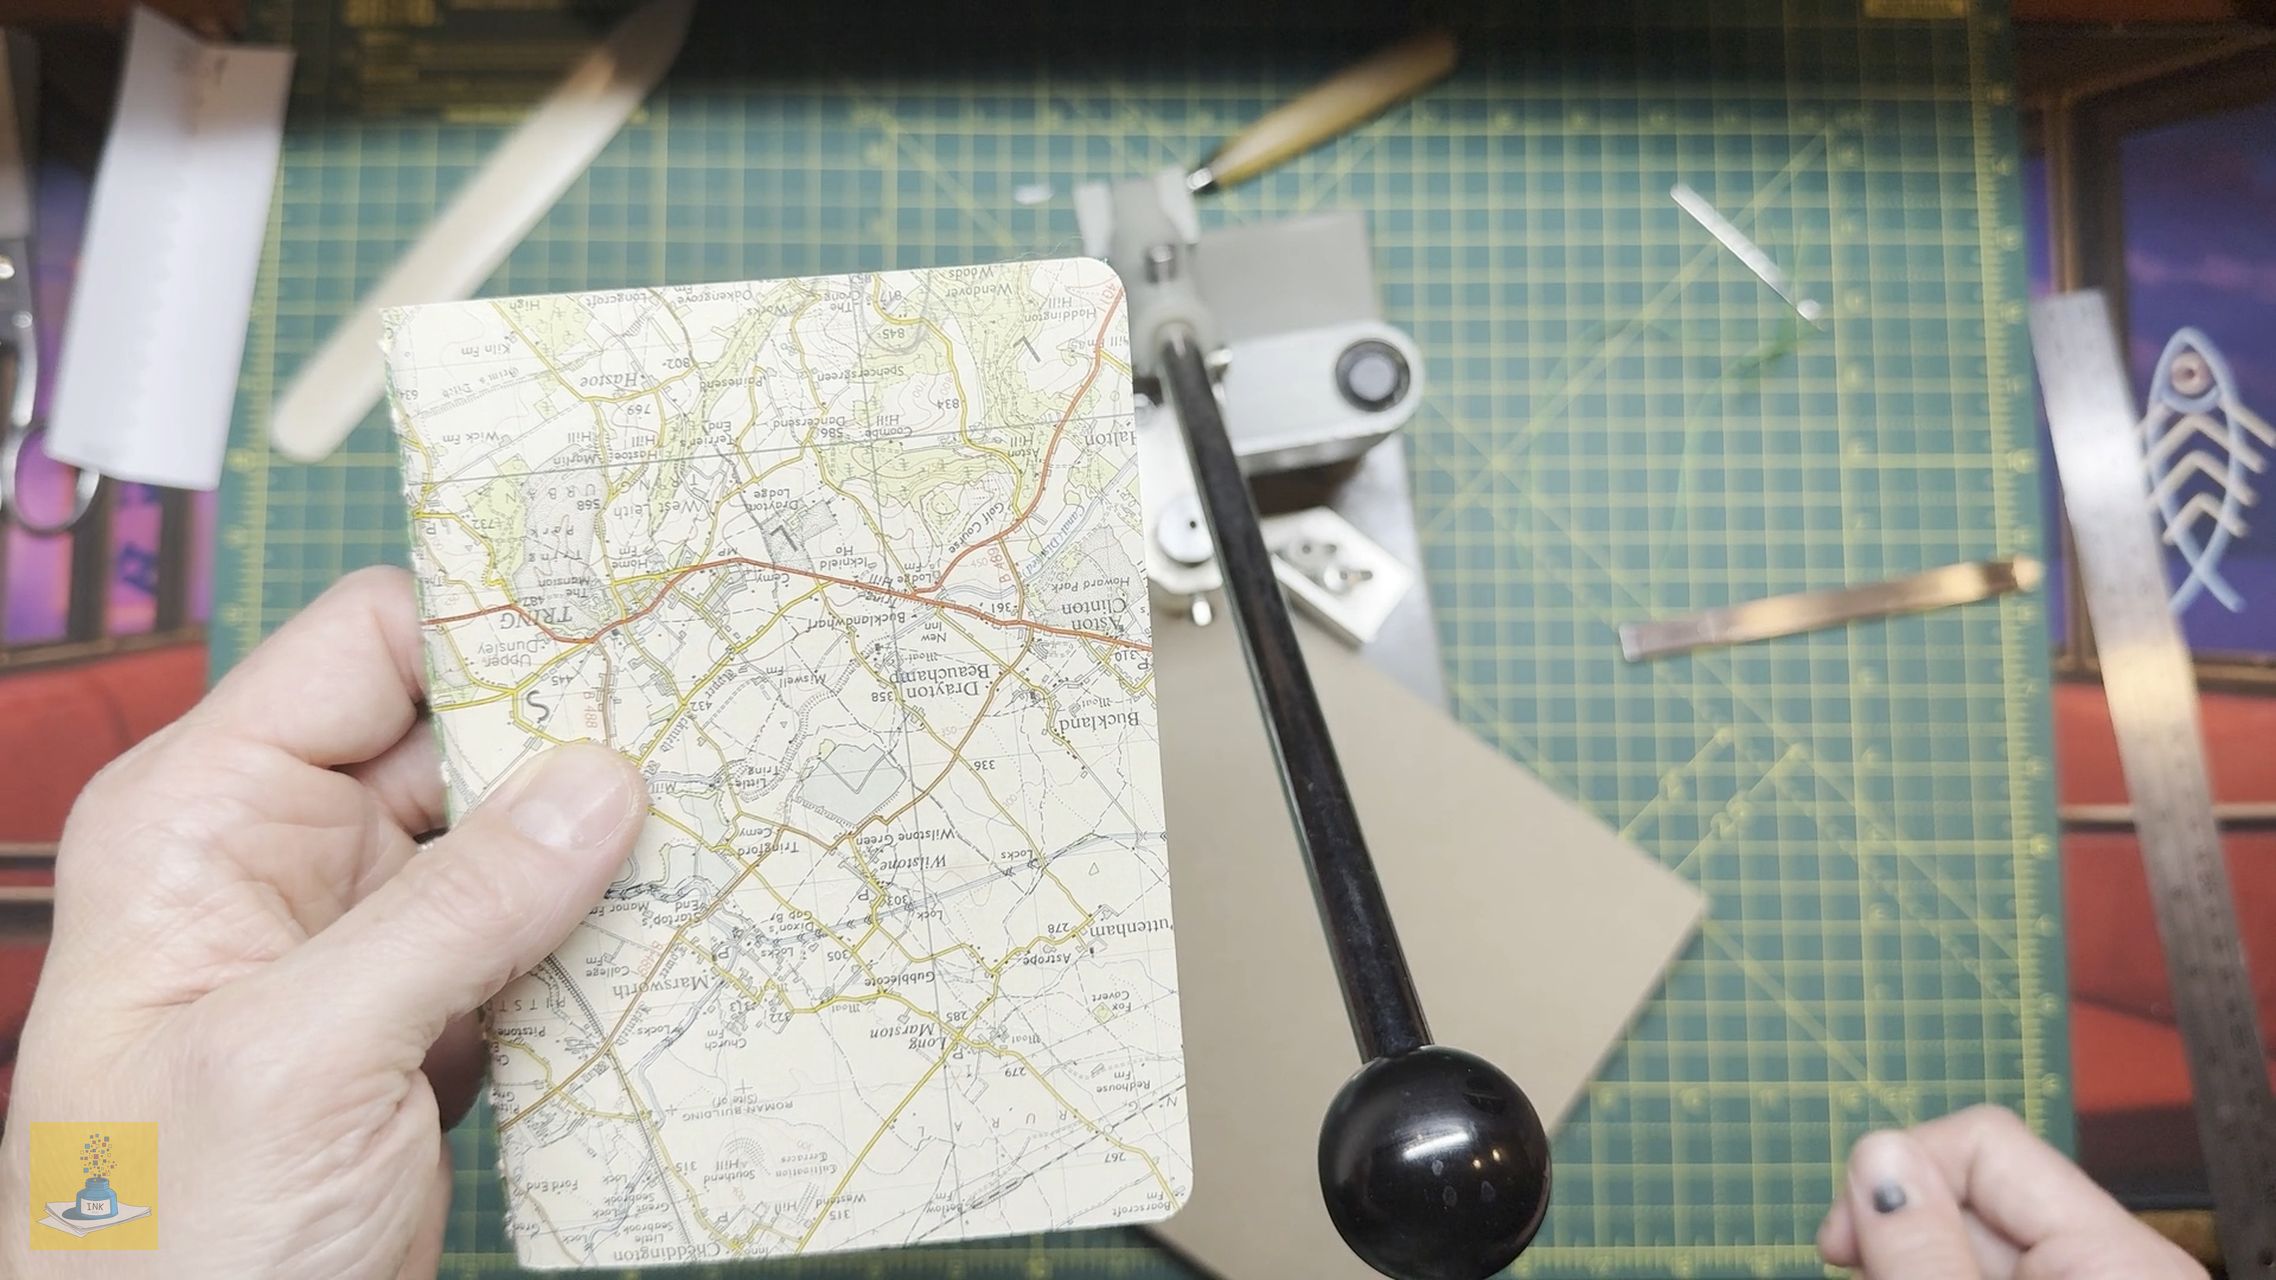
Once you’ve completed these steps, your notebook is finished and ready to use. Enjoy it! How did you get on? I’d love to see your finished notebook, via Instagram @inkpaperpixels. Otherwise, let me know down in the comments below.


