So, I’ve finally finished the book restoration! I must admit, it’s taken me much, much longer than I’d originally intended, and I’ll explain why.
How Did It Turn Out?
Honestly, the result could have been better. I’m not entirely happy with how it turned out. I think the main issue stemmed from gluing kozo paper strips to both sides of each page’s spine for the first four signatures. This made the paper thicker and harder to fold, which, in hindsight, I believe worsened the overall outcome. For the remaining signatures, I only used one strip of kozo paper, making them thinner and easier to work with. That’s really where things started to go downhill. I could see the text block’s spine was all out of alignment, especially when it came to rounding it.
At that point, I knew this wasn’t going to be a perfect binding. I genuinely wondered whether to give up and write it off as a failure. But I decided to push through, partly to see if it would turn out okay, but mainly to learn from my mistakes and understand what not to do next time. After all, it’s only a failure if you don’t learn from it, right?
The Cover: A New Skill Ticked Off!
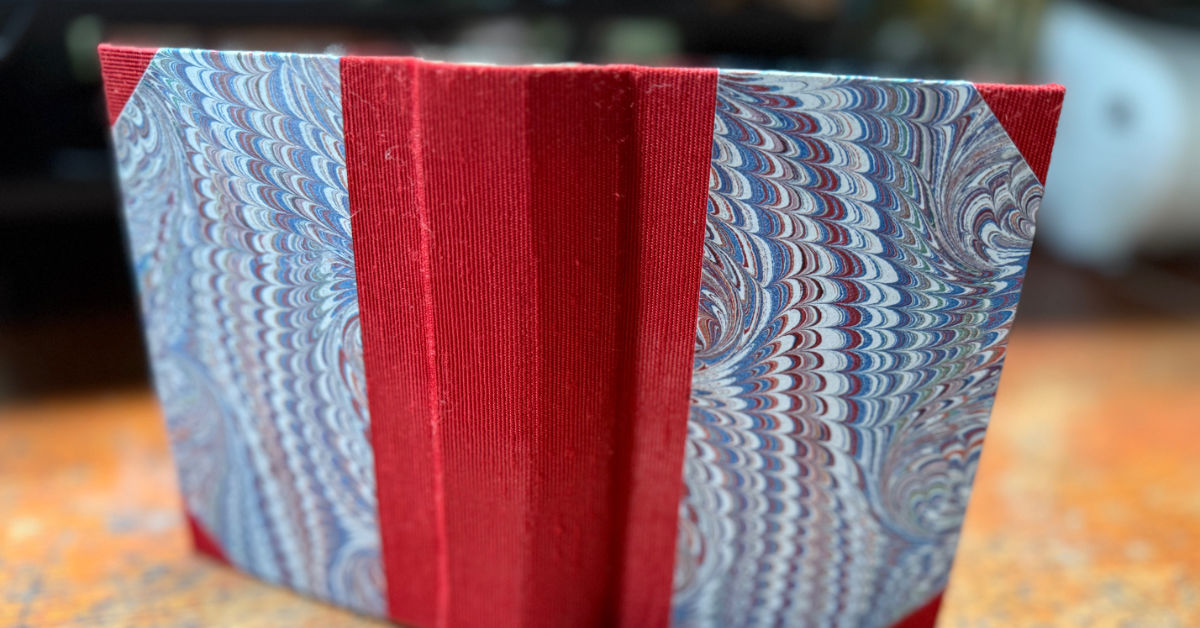
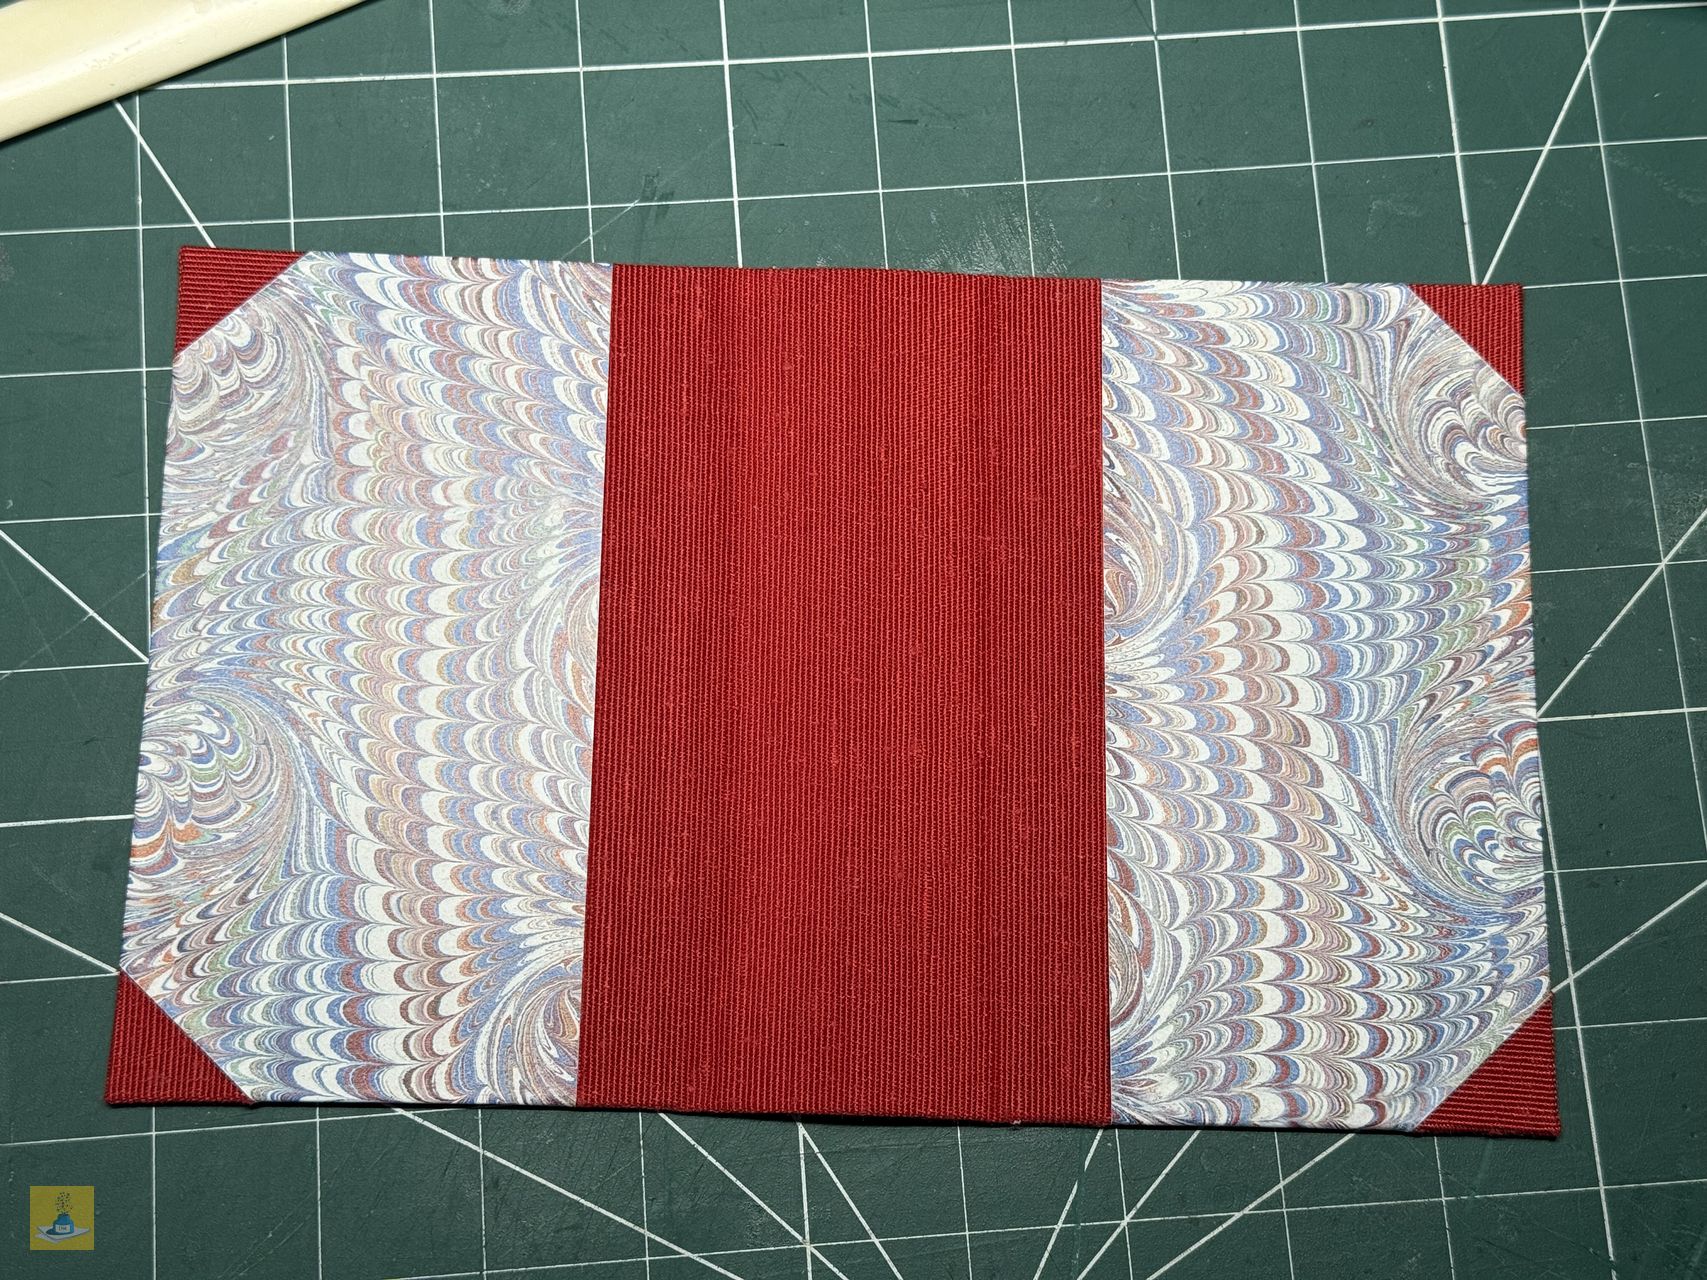
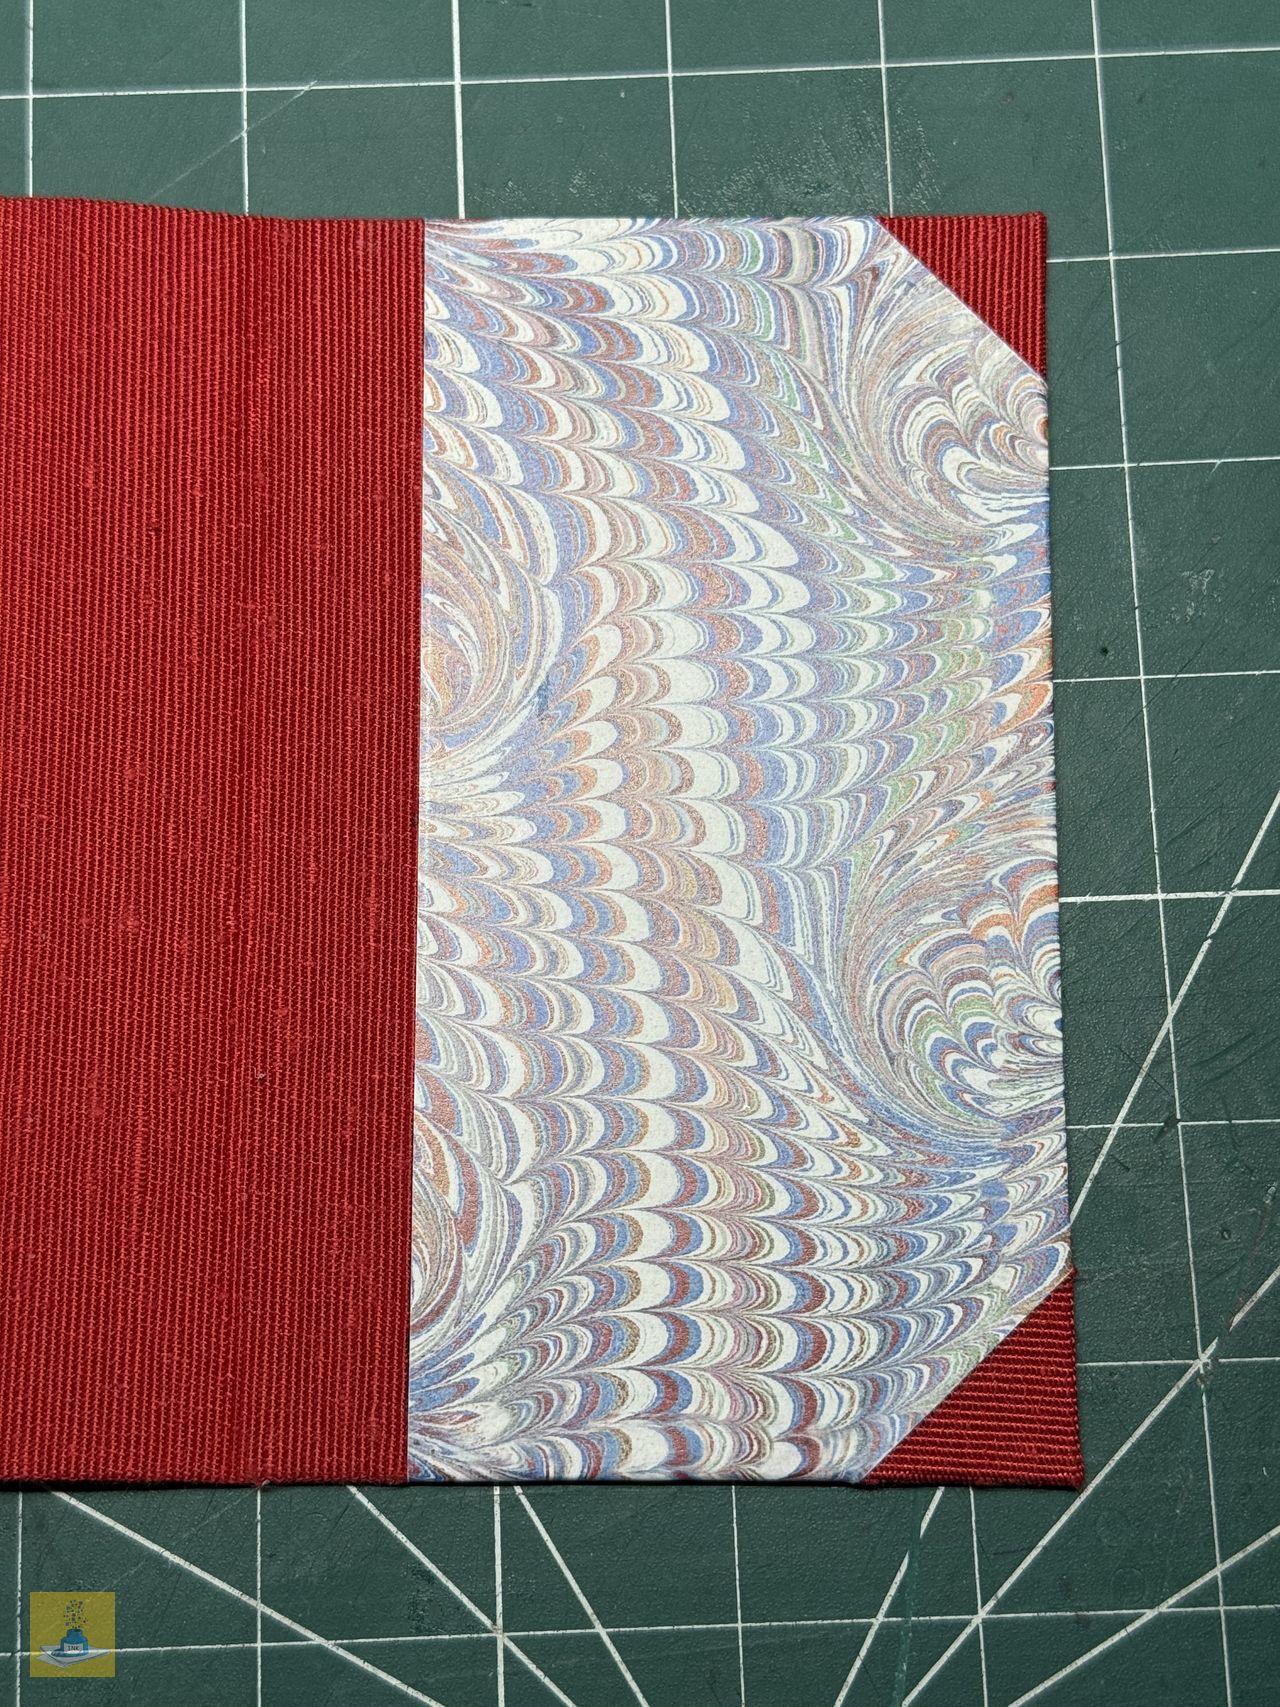
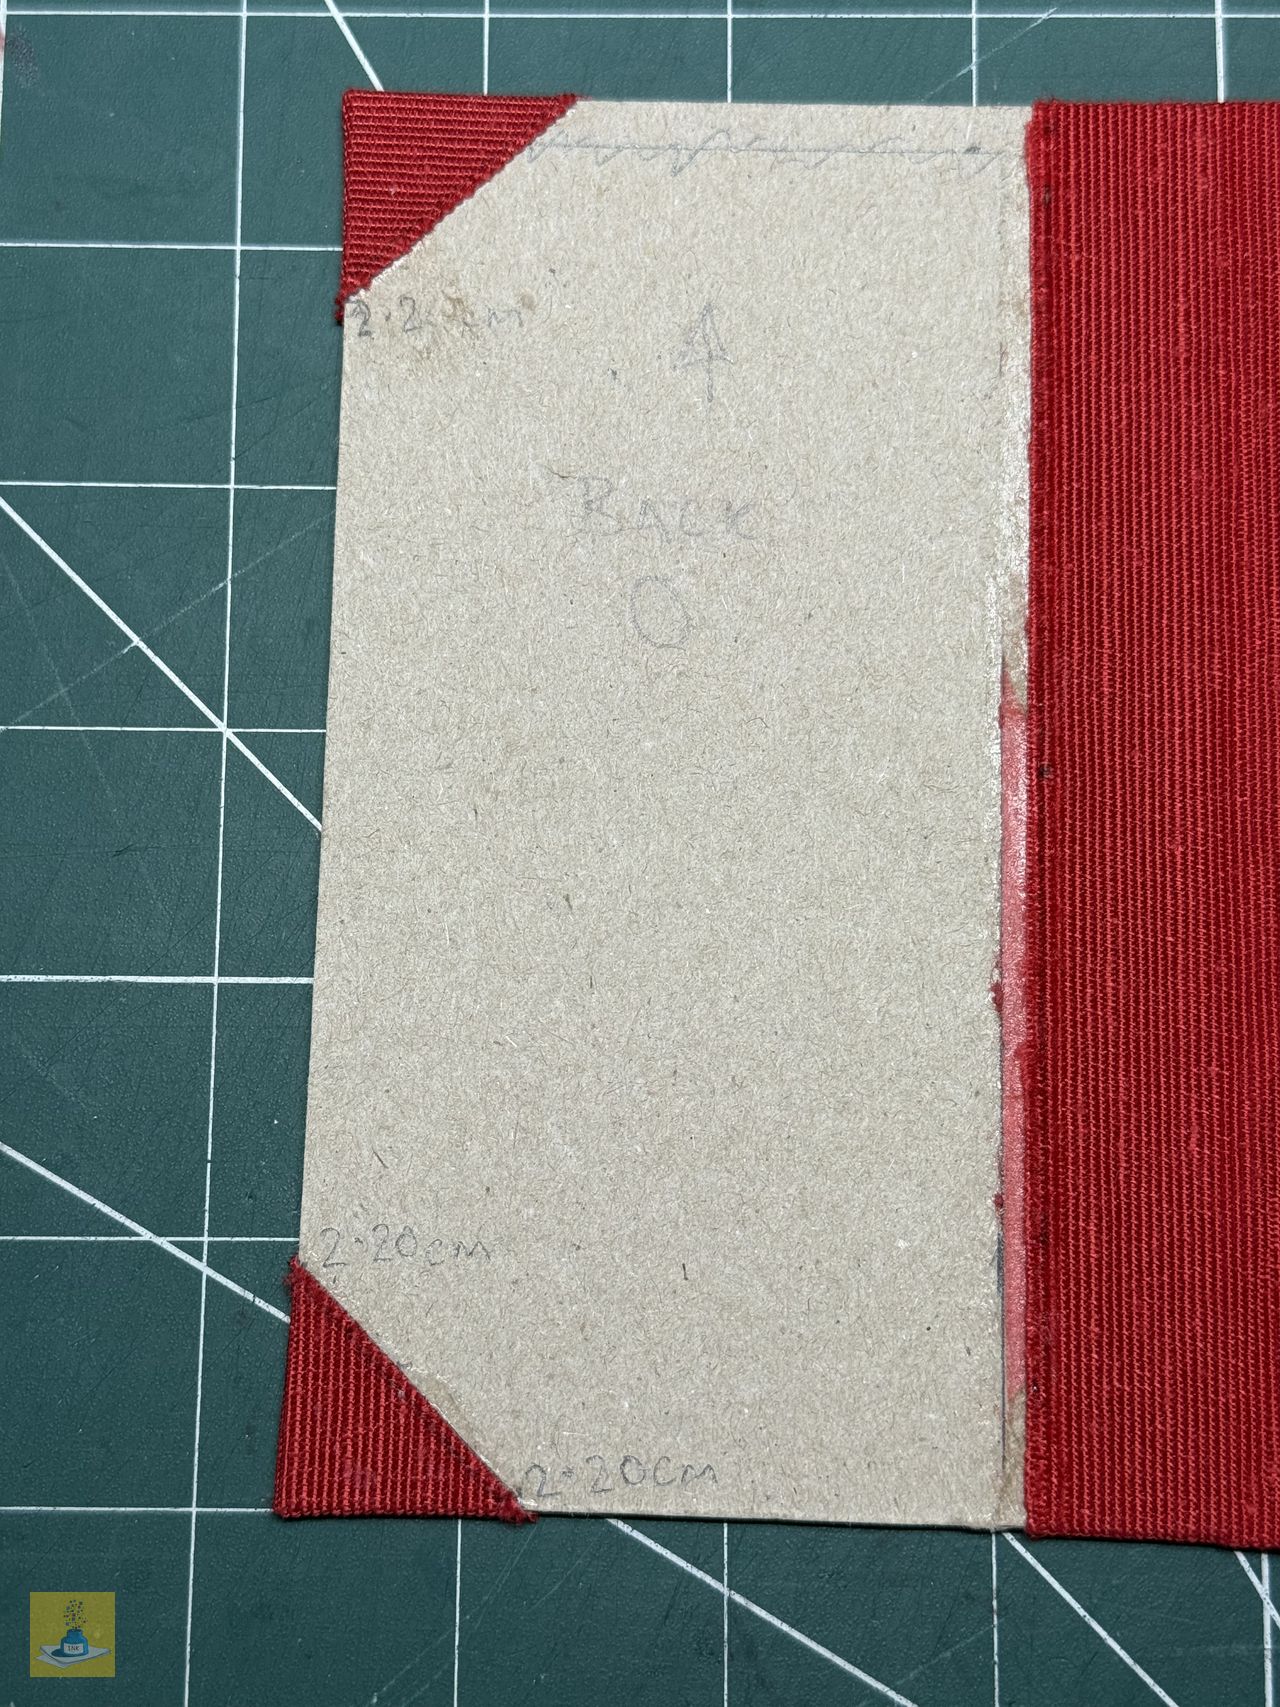
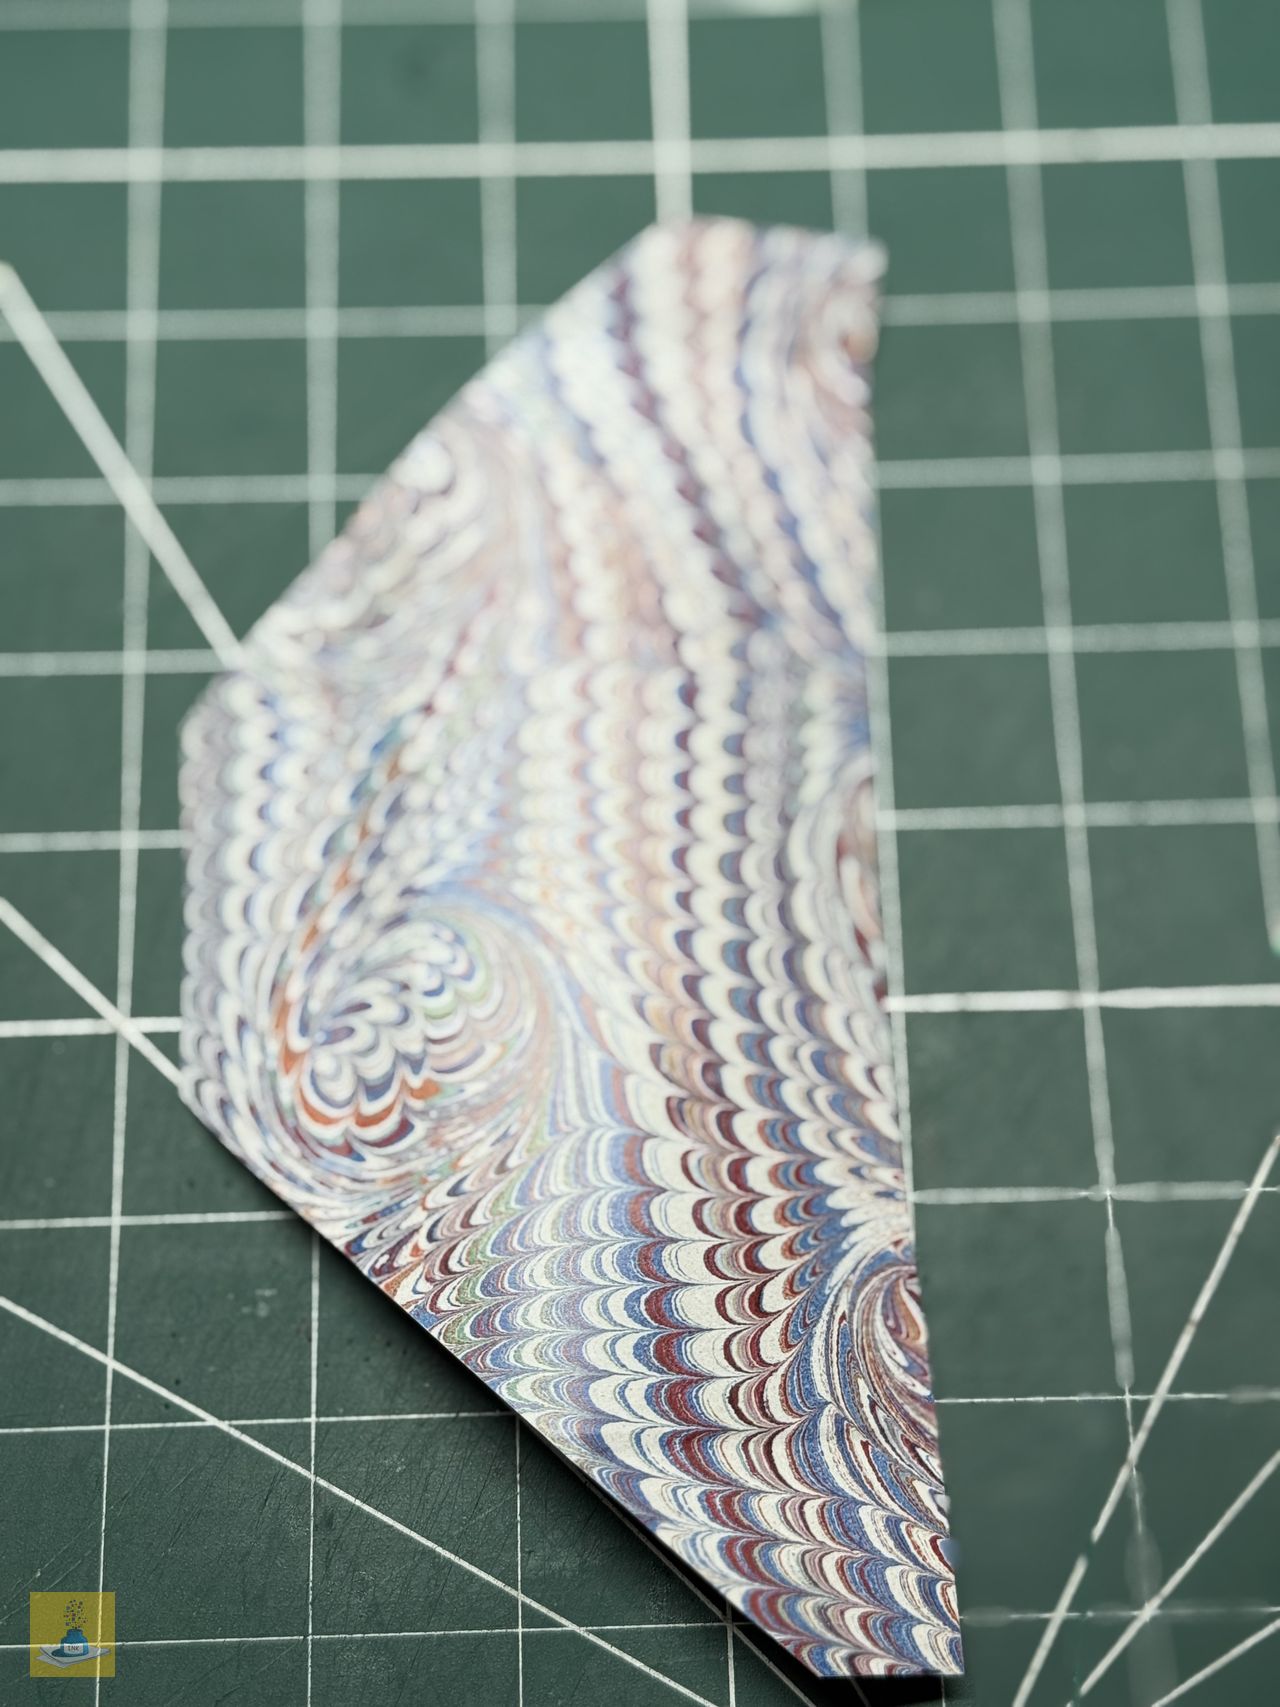
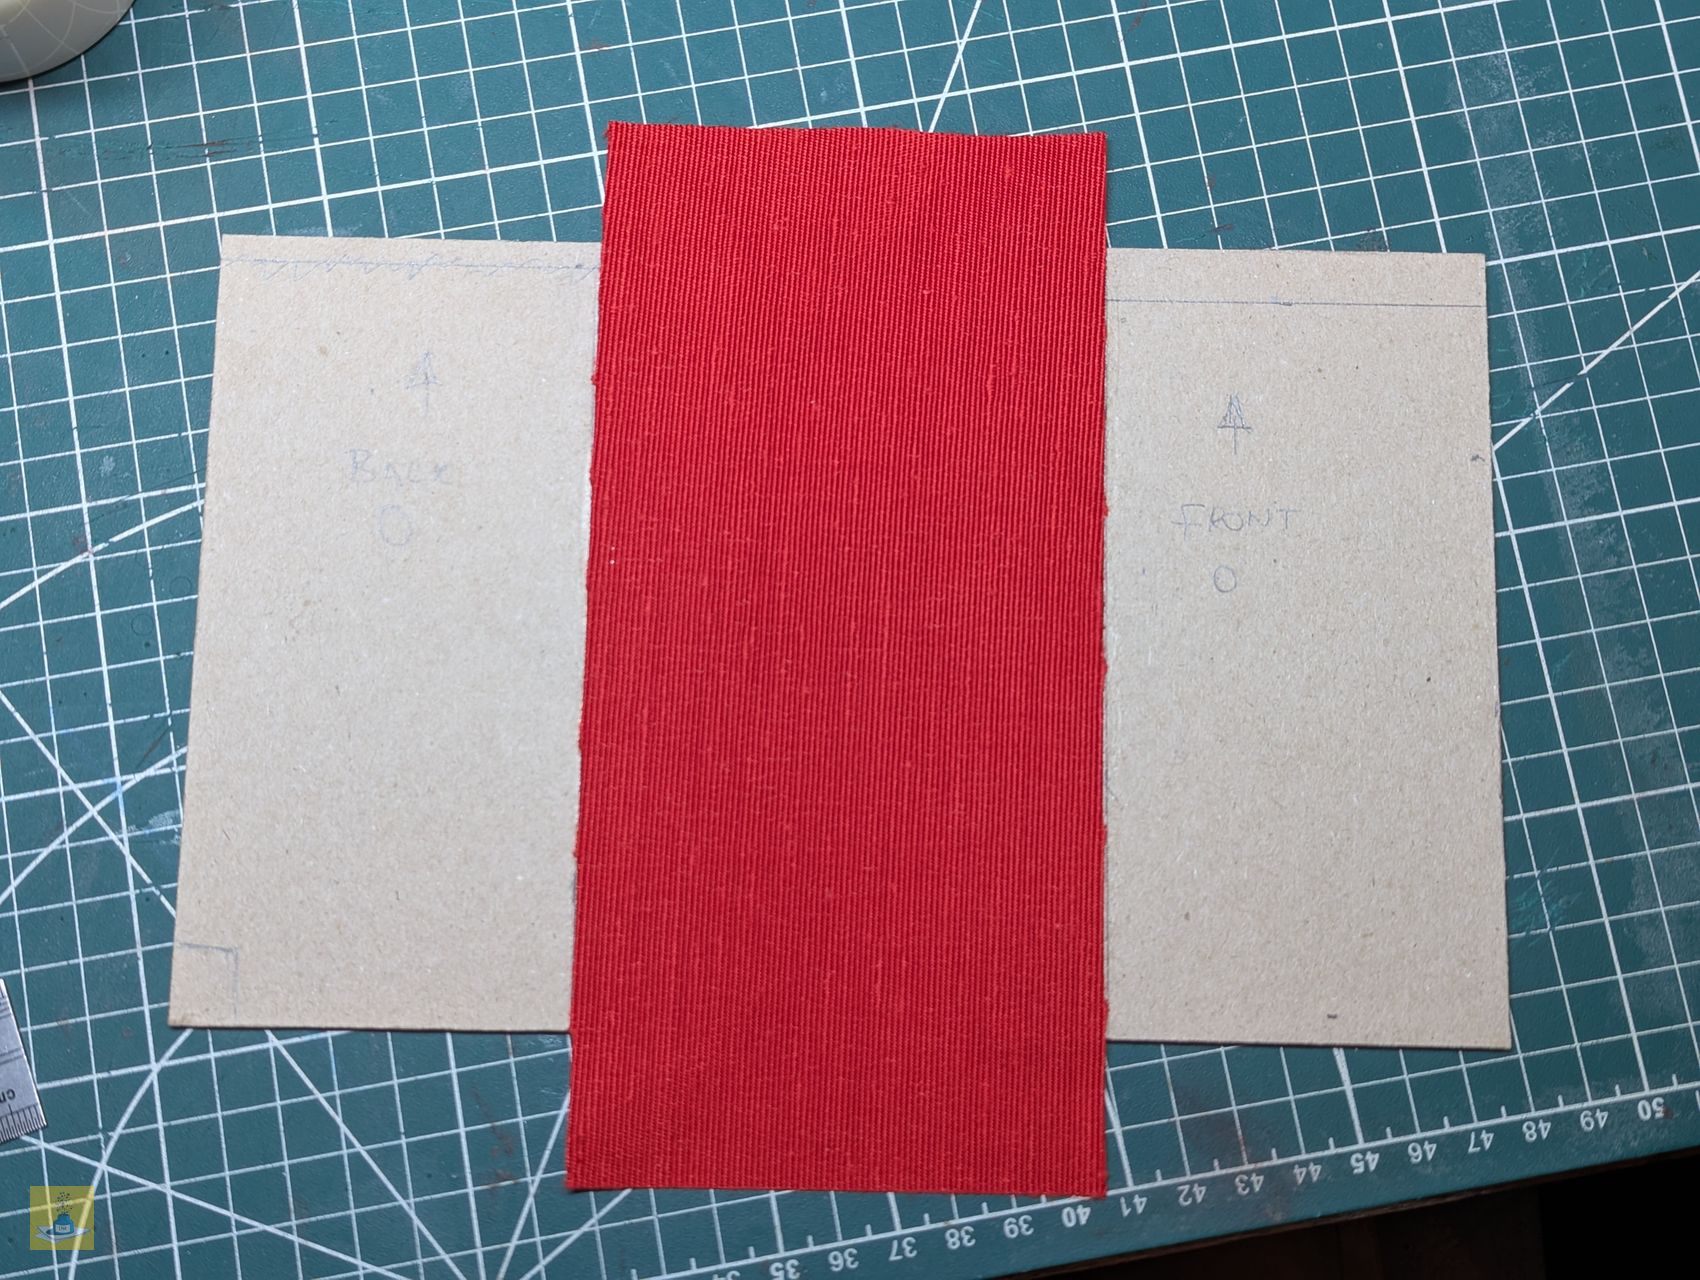
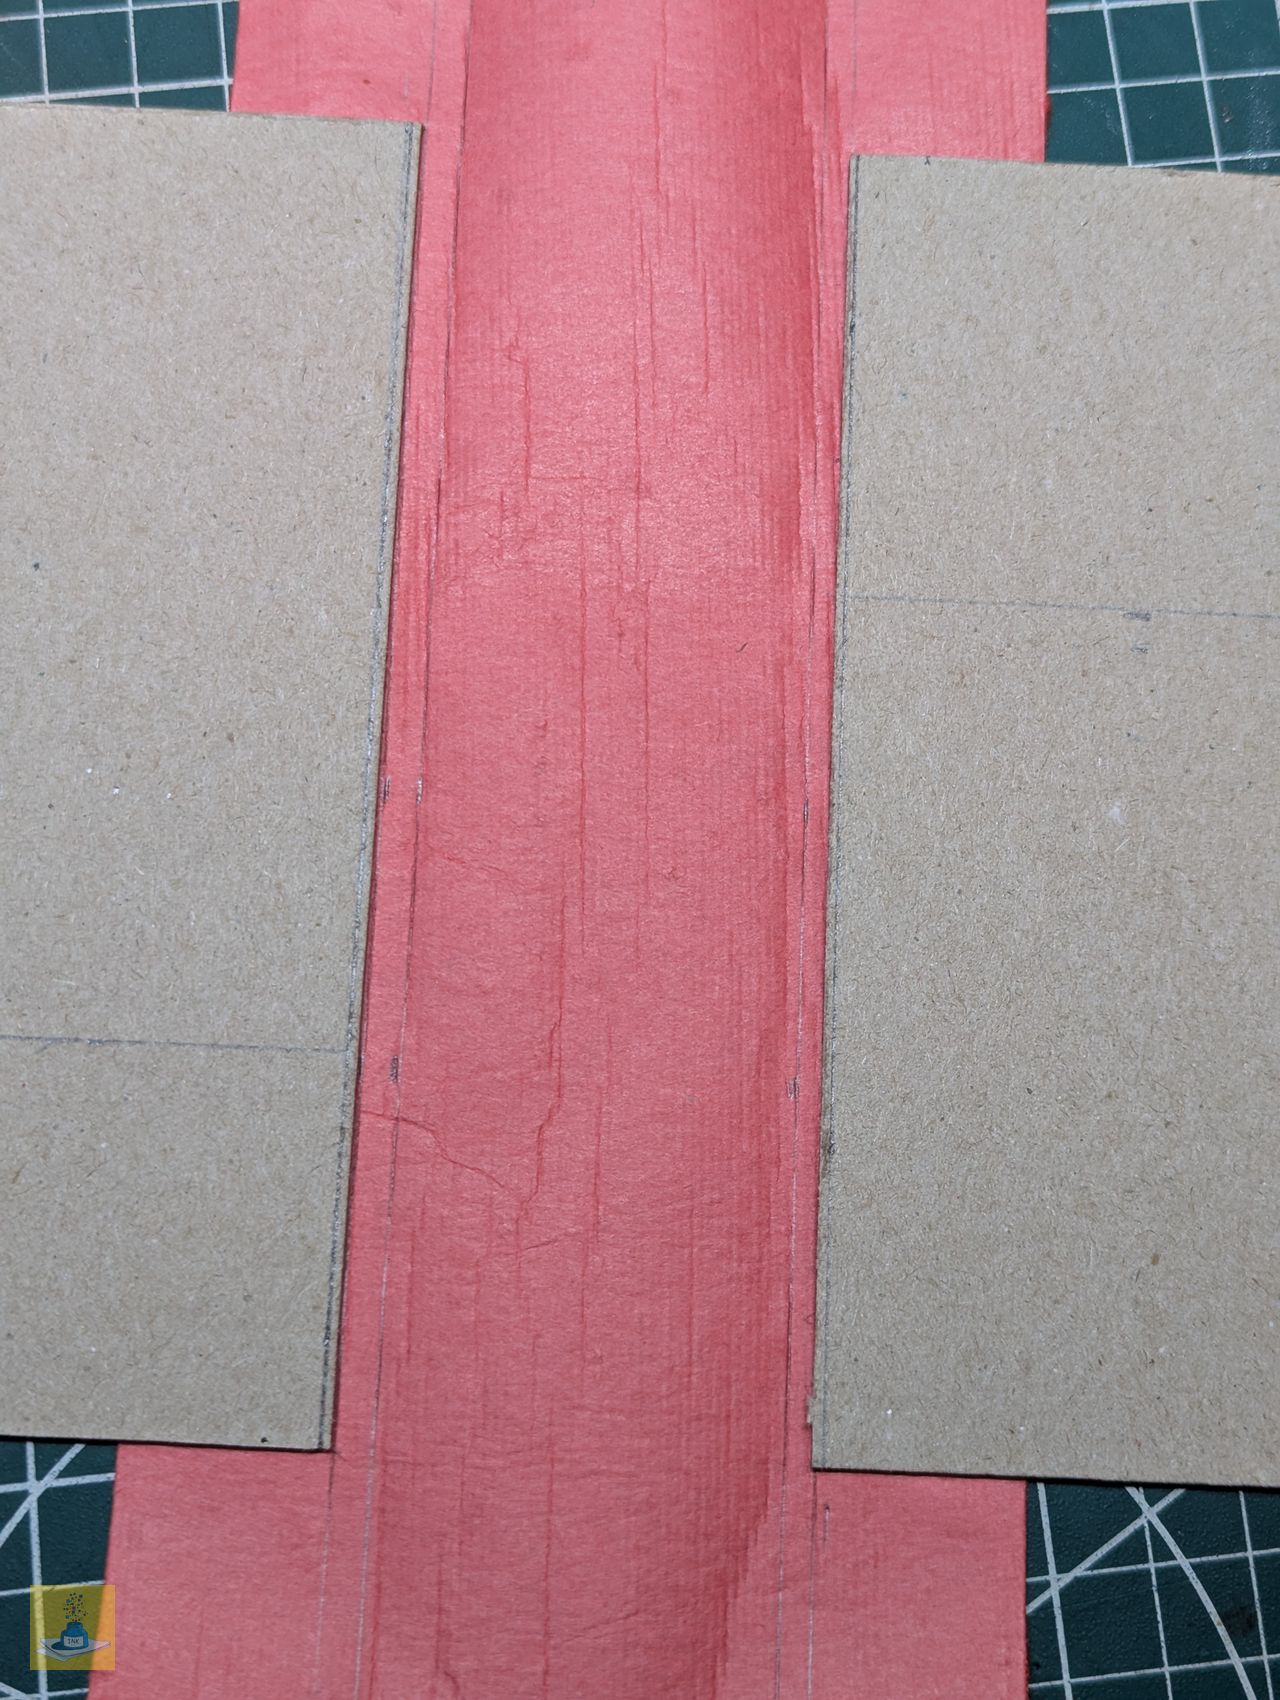
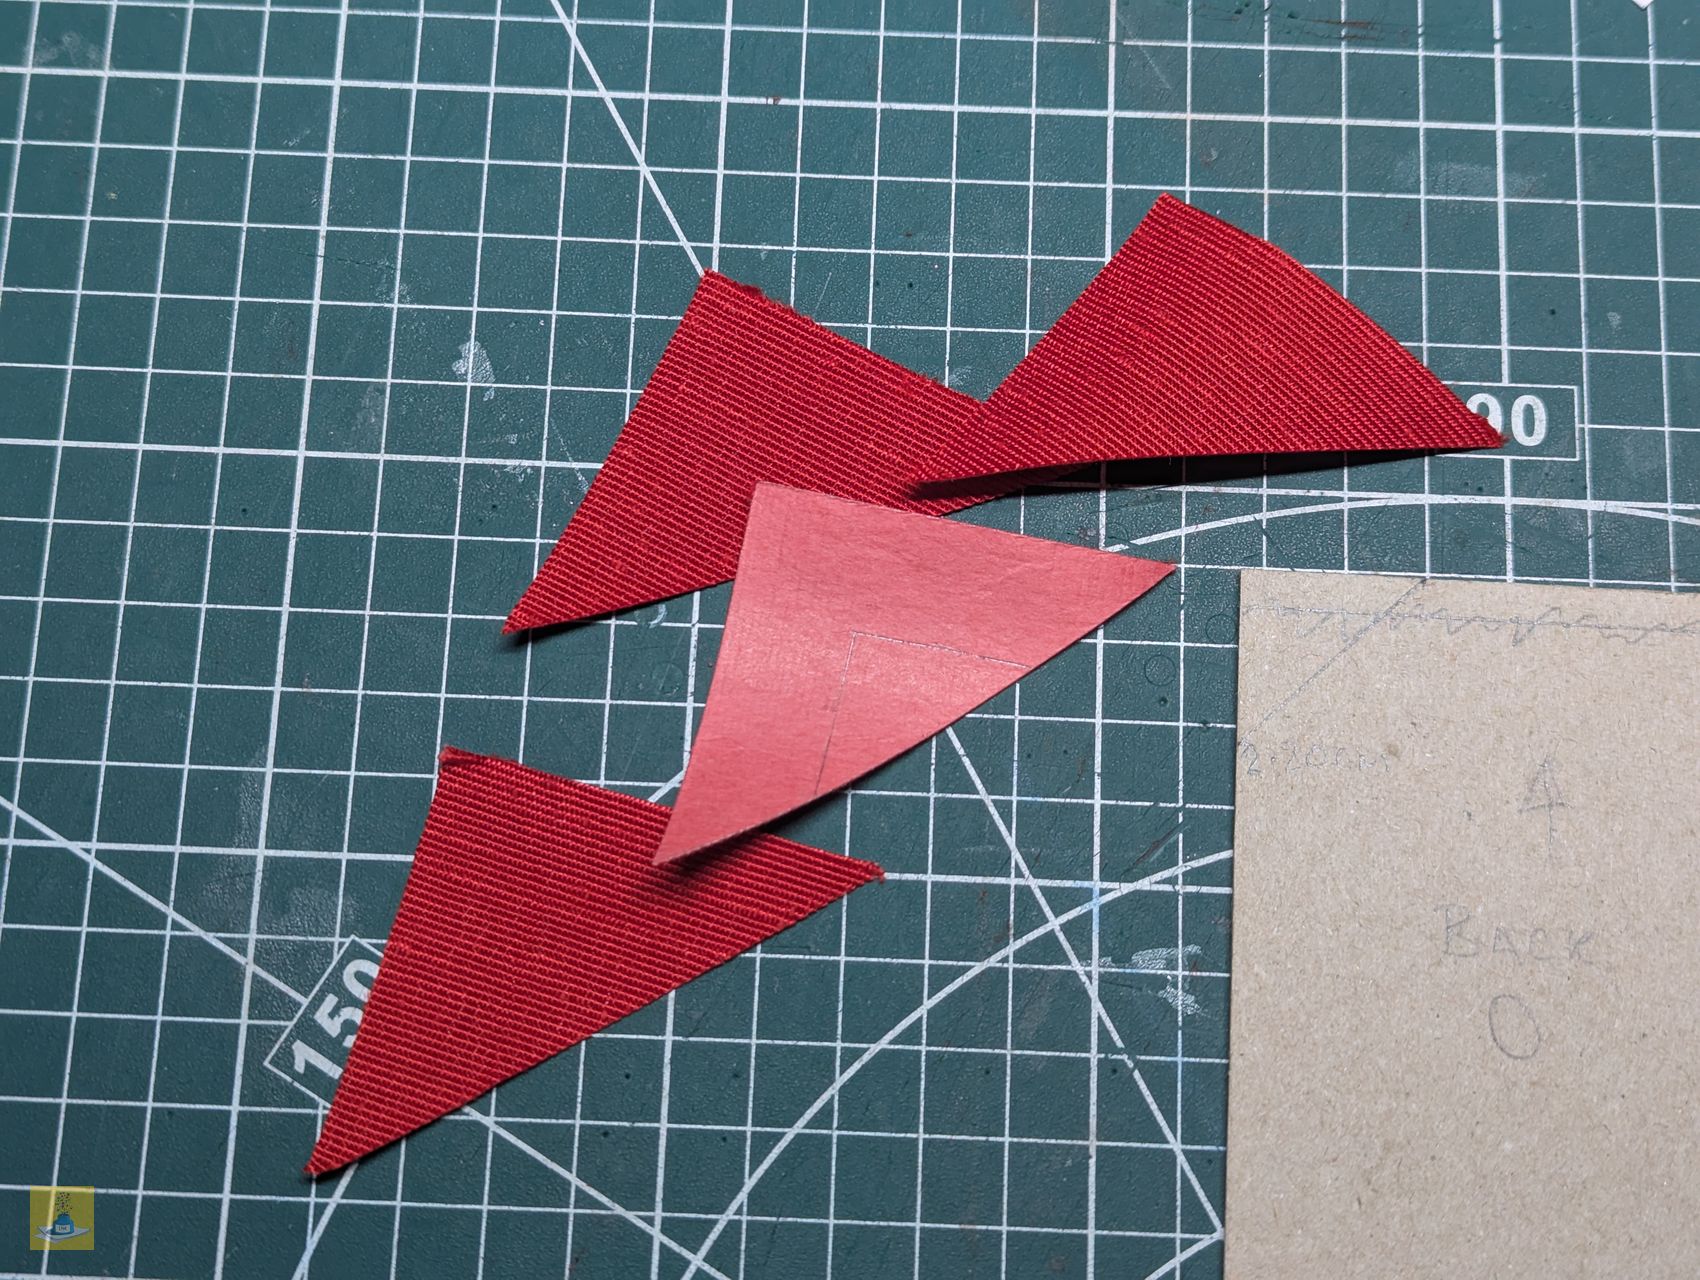
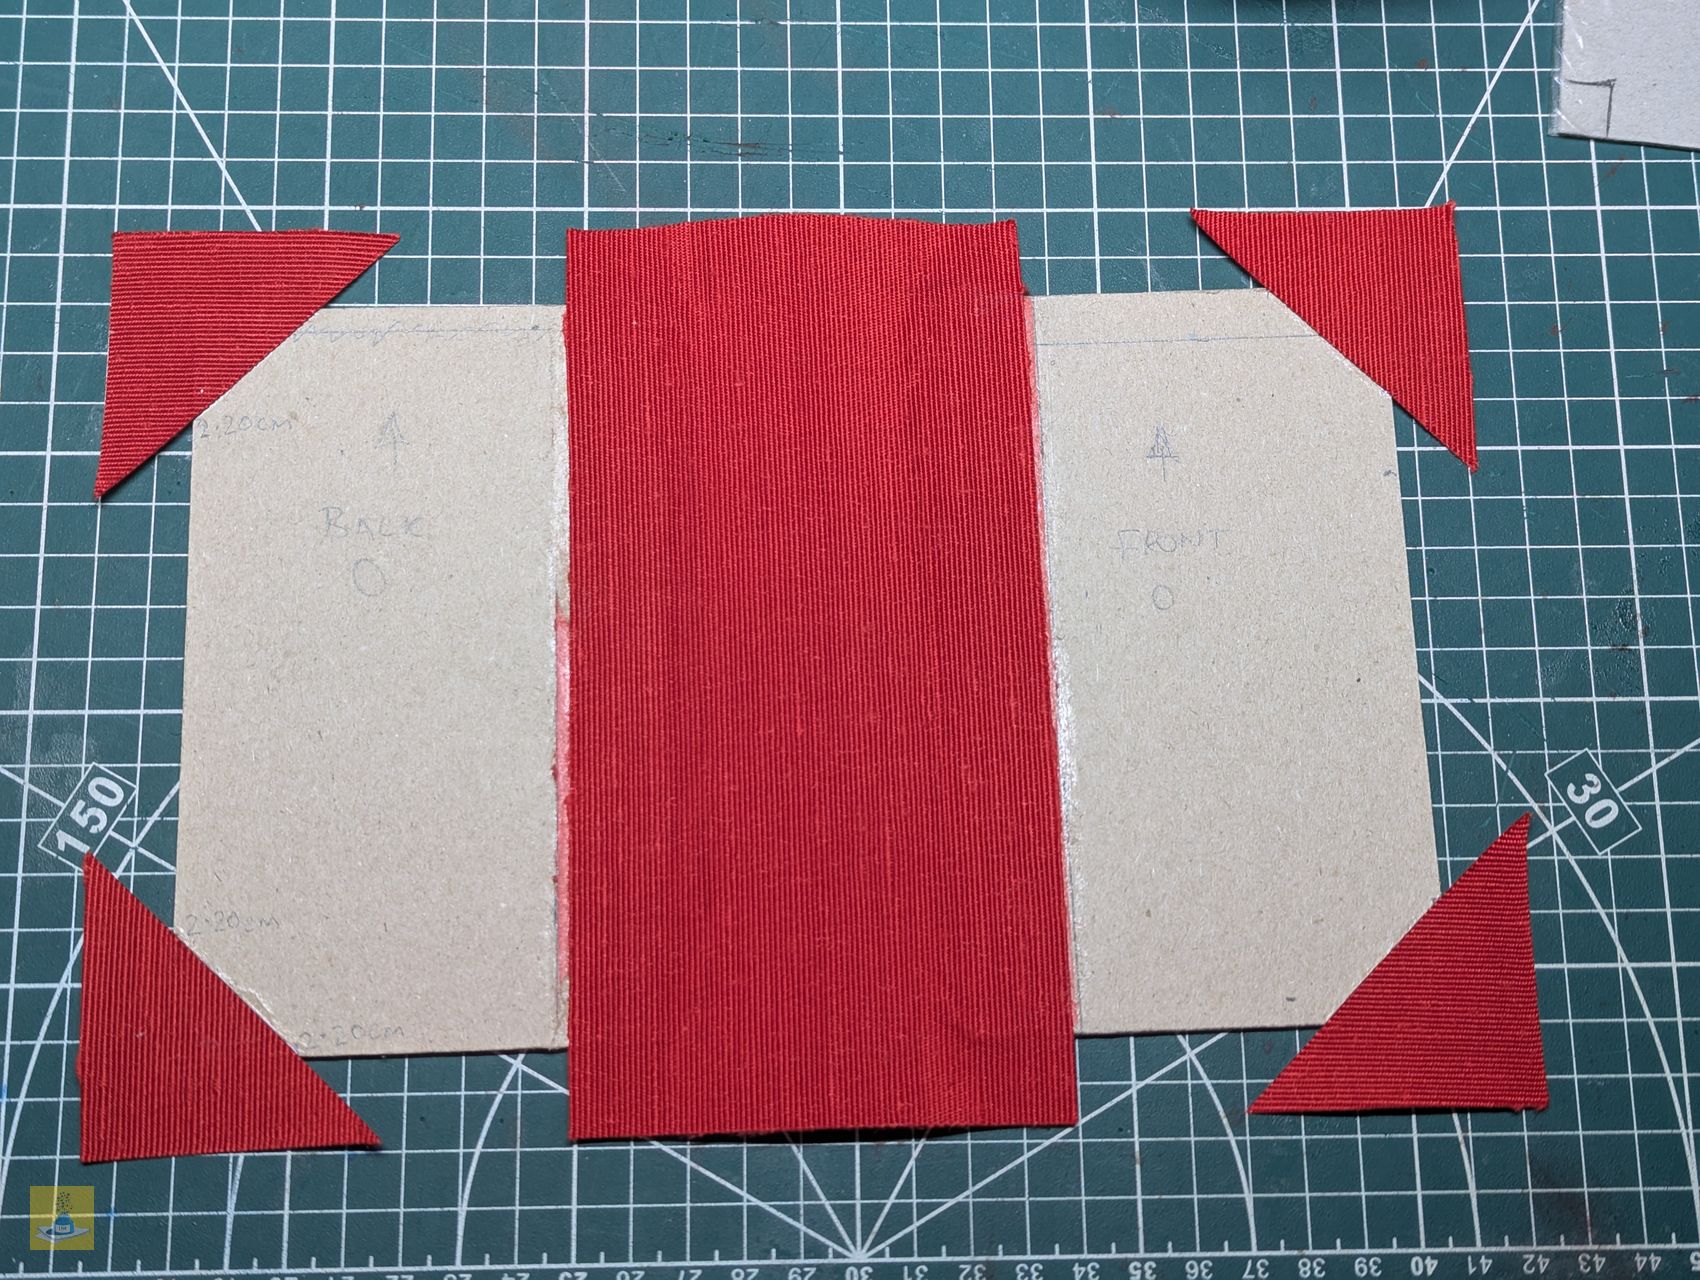
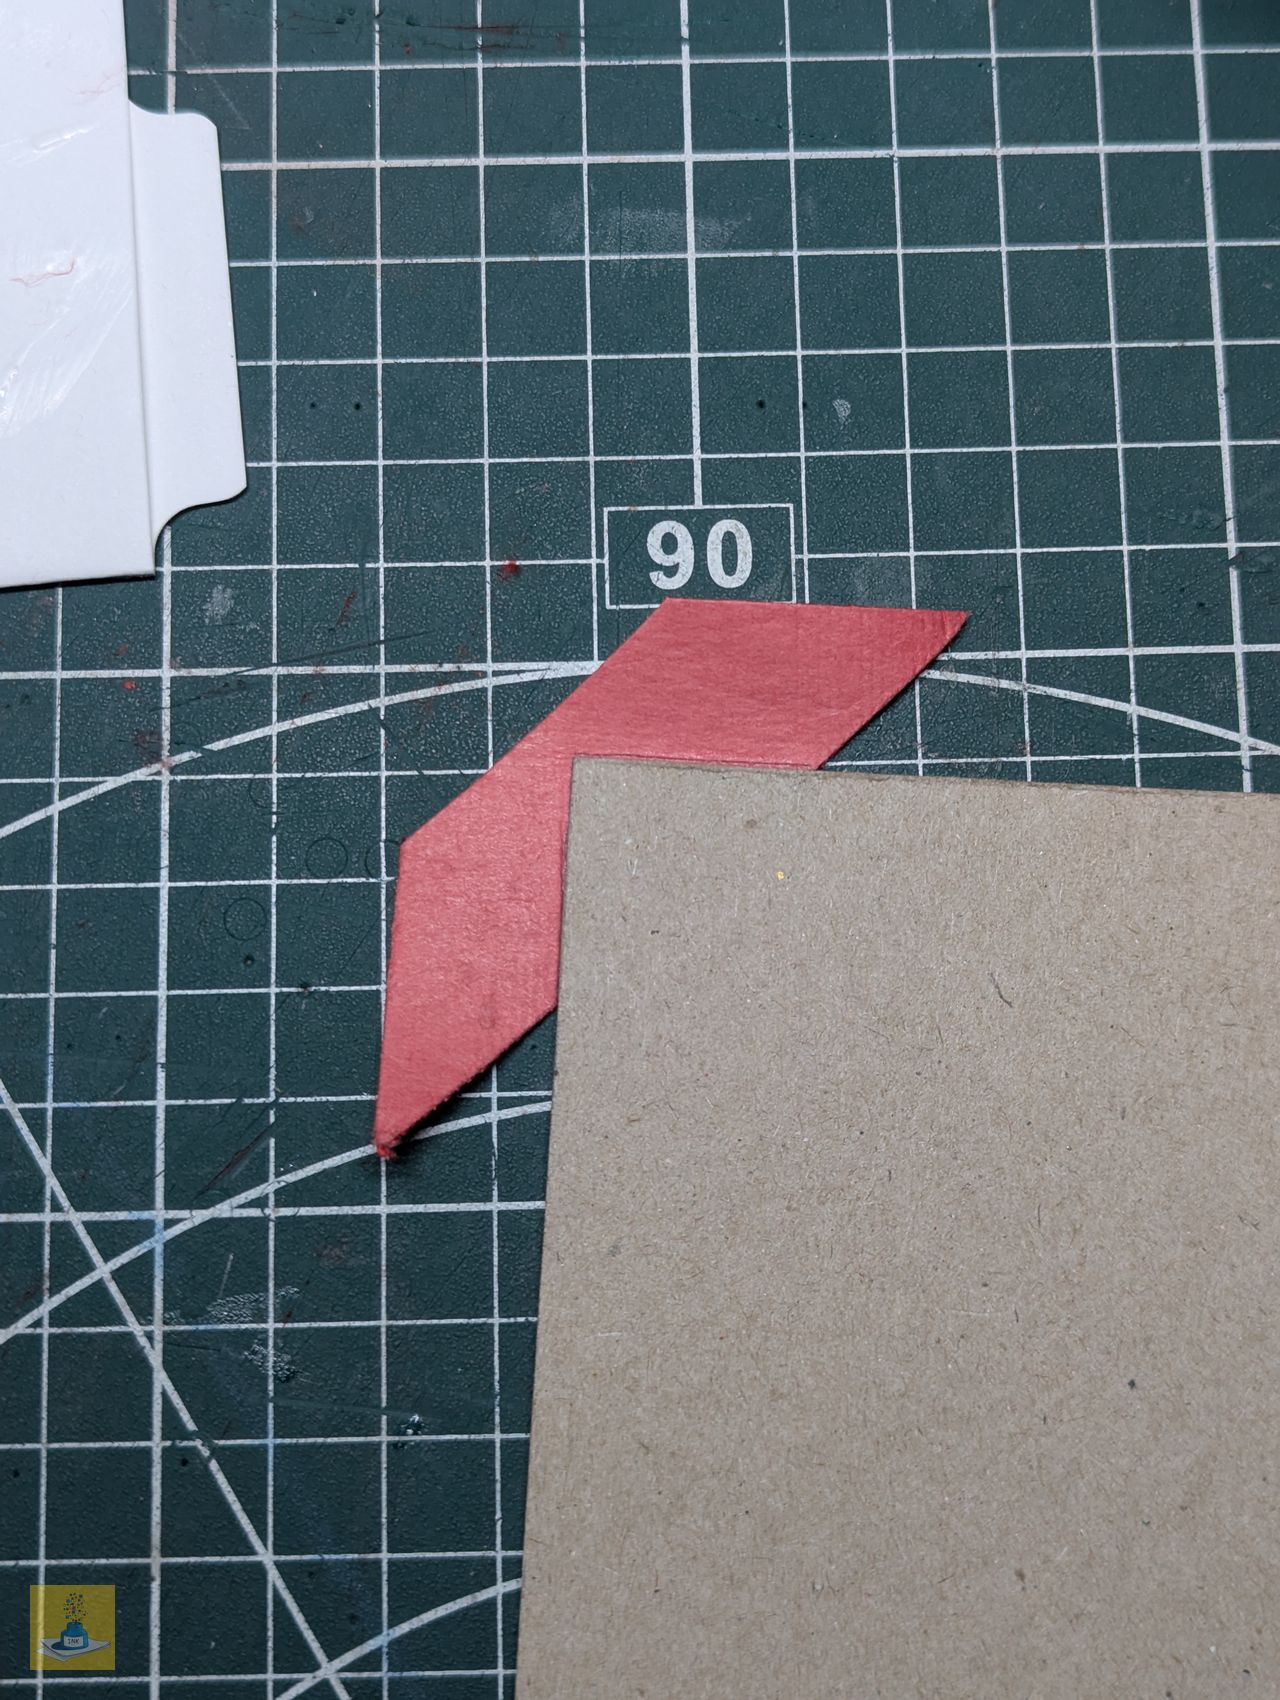
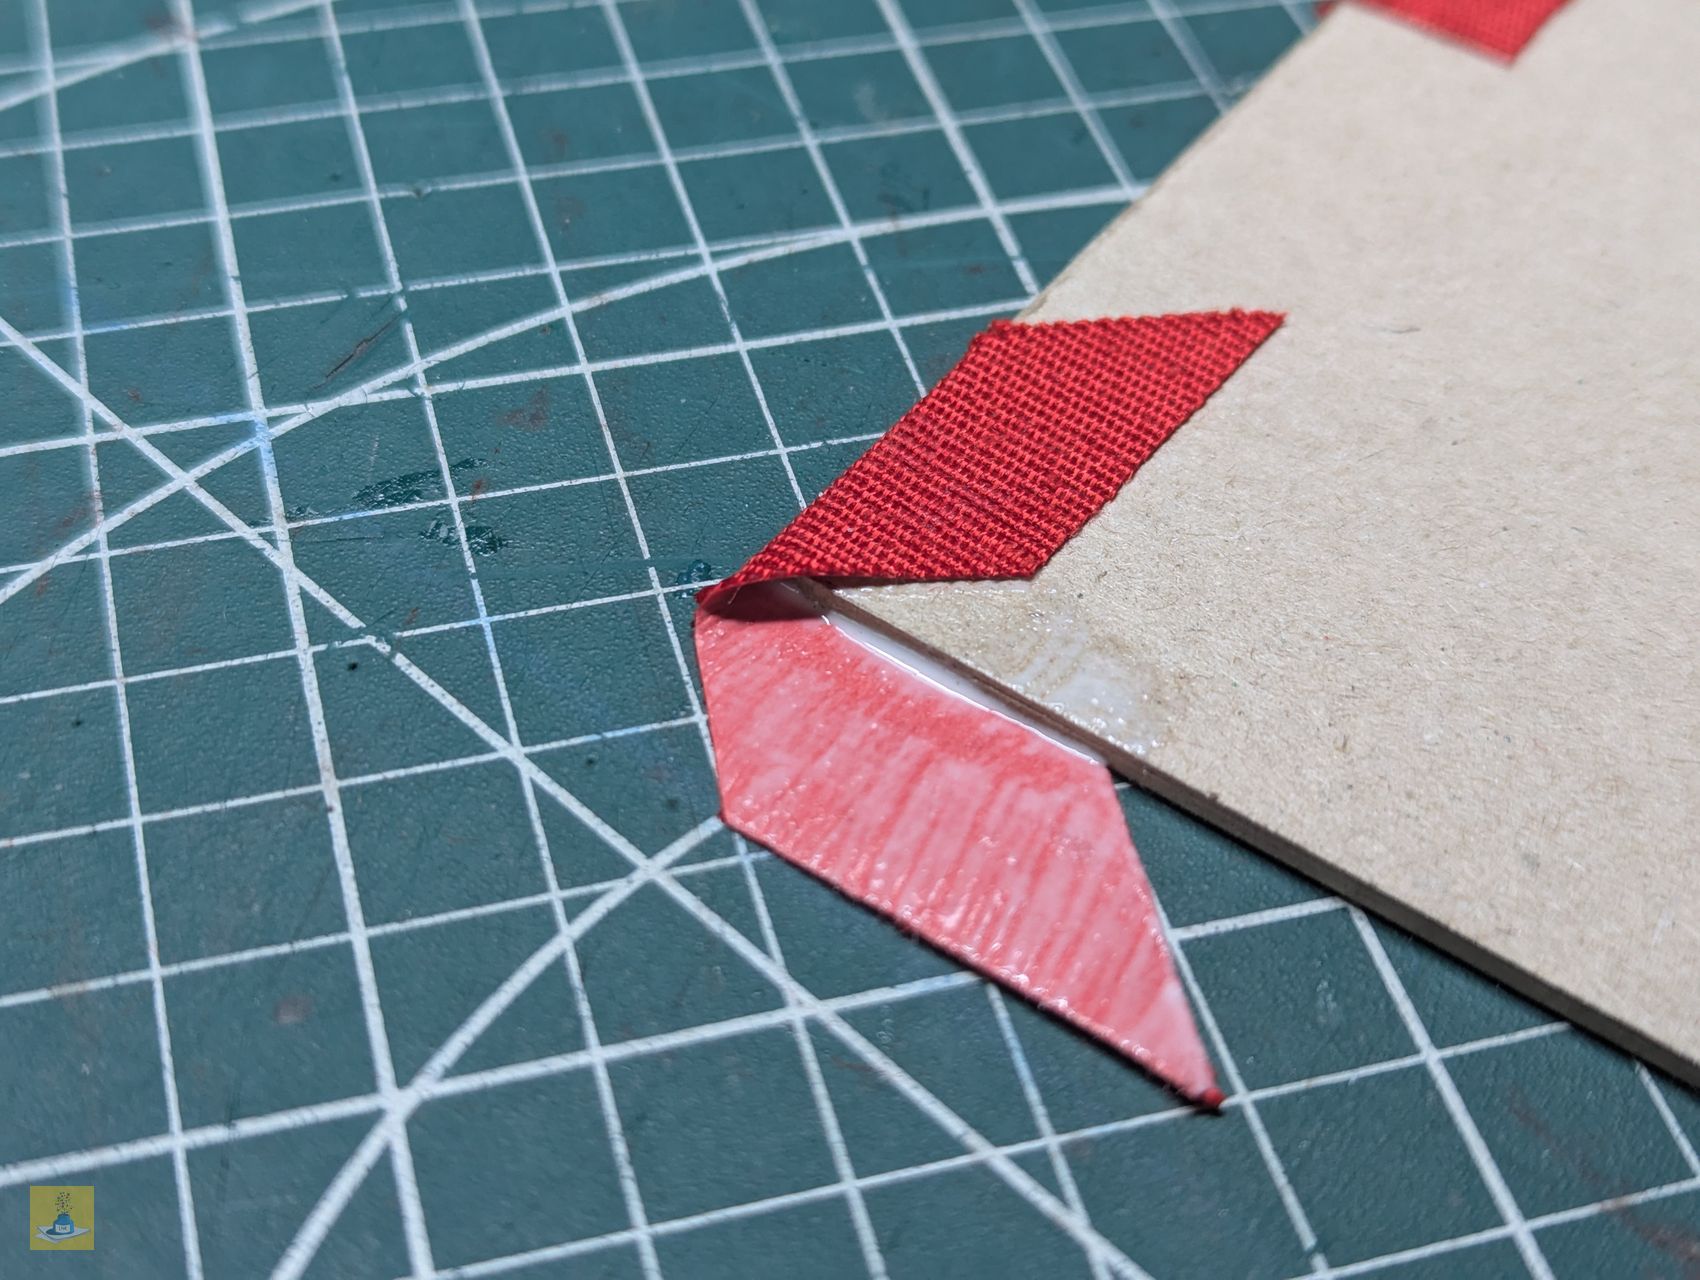
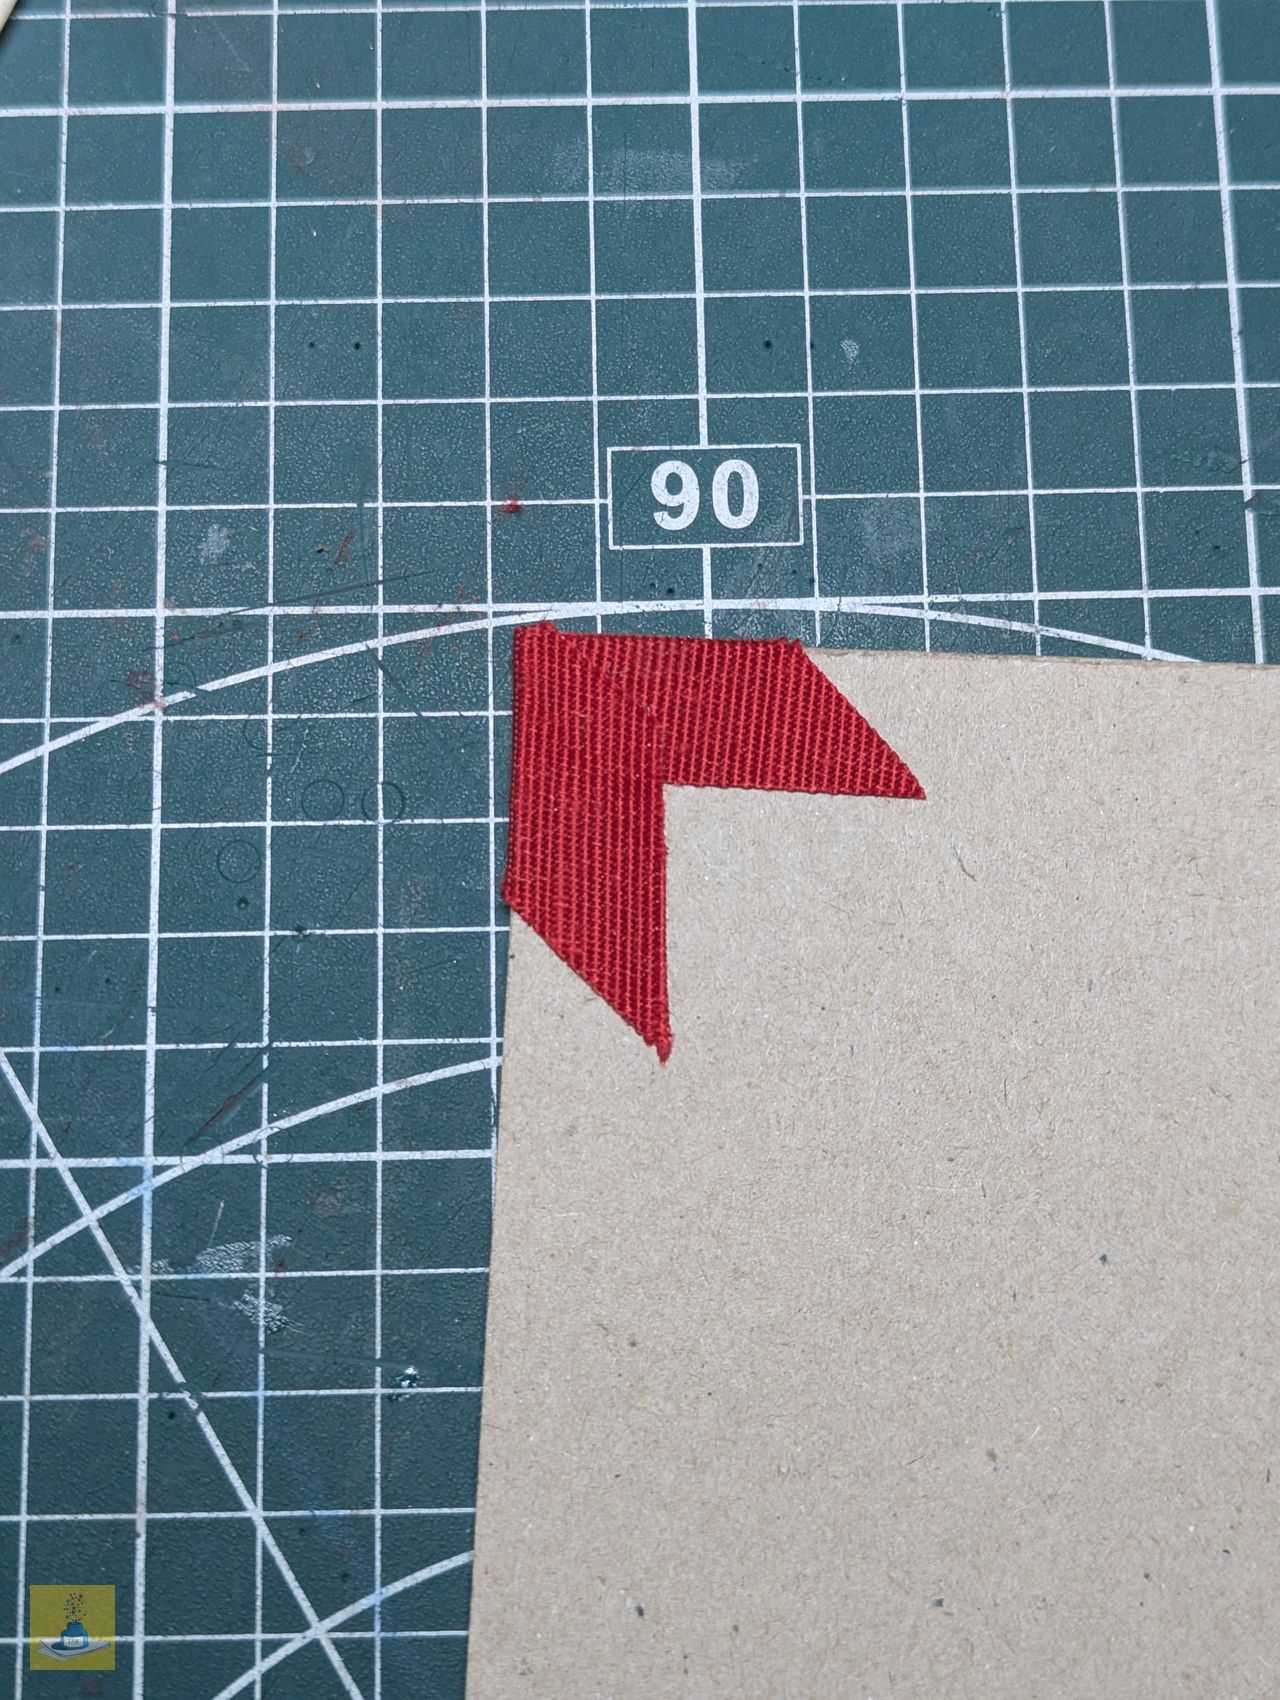
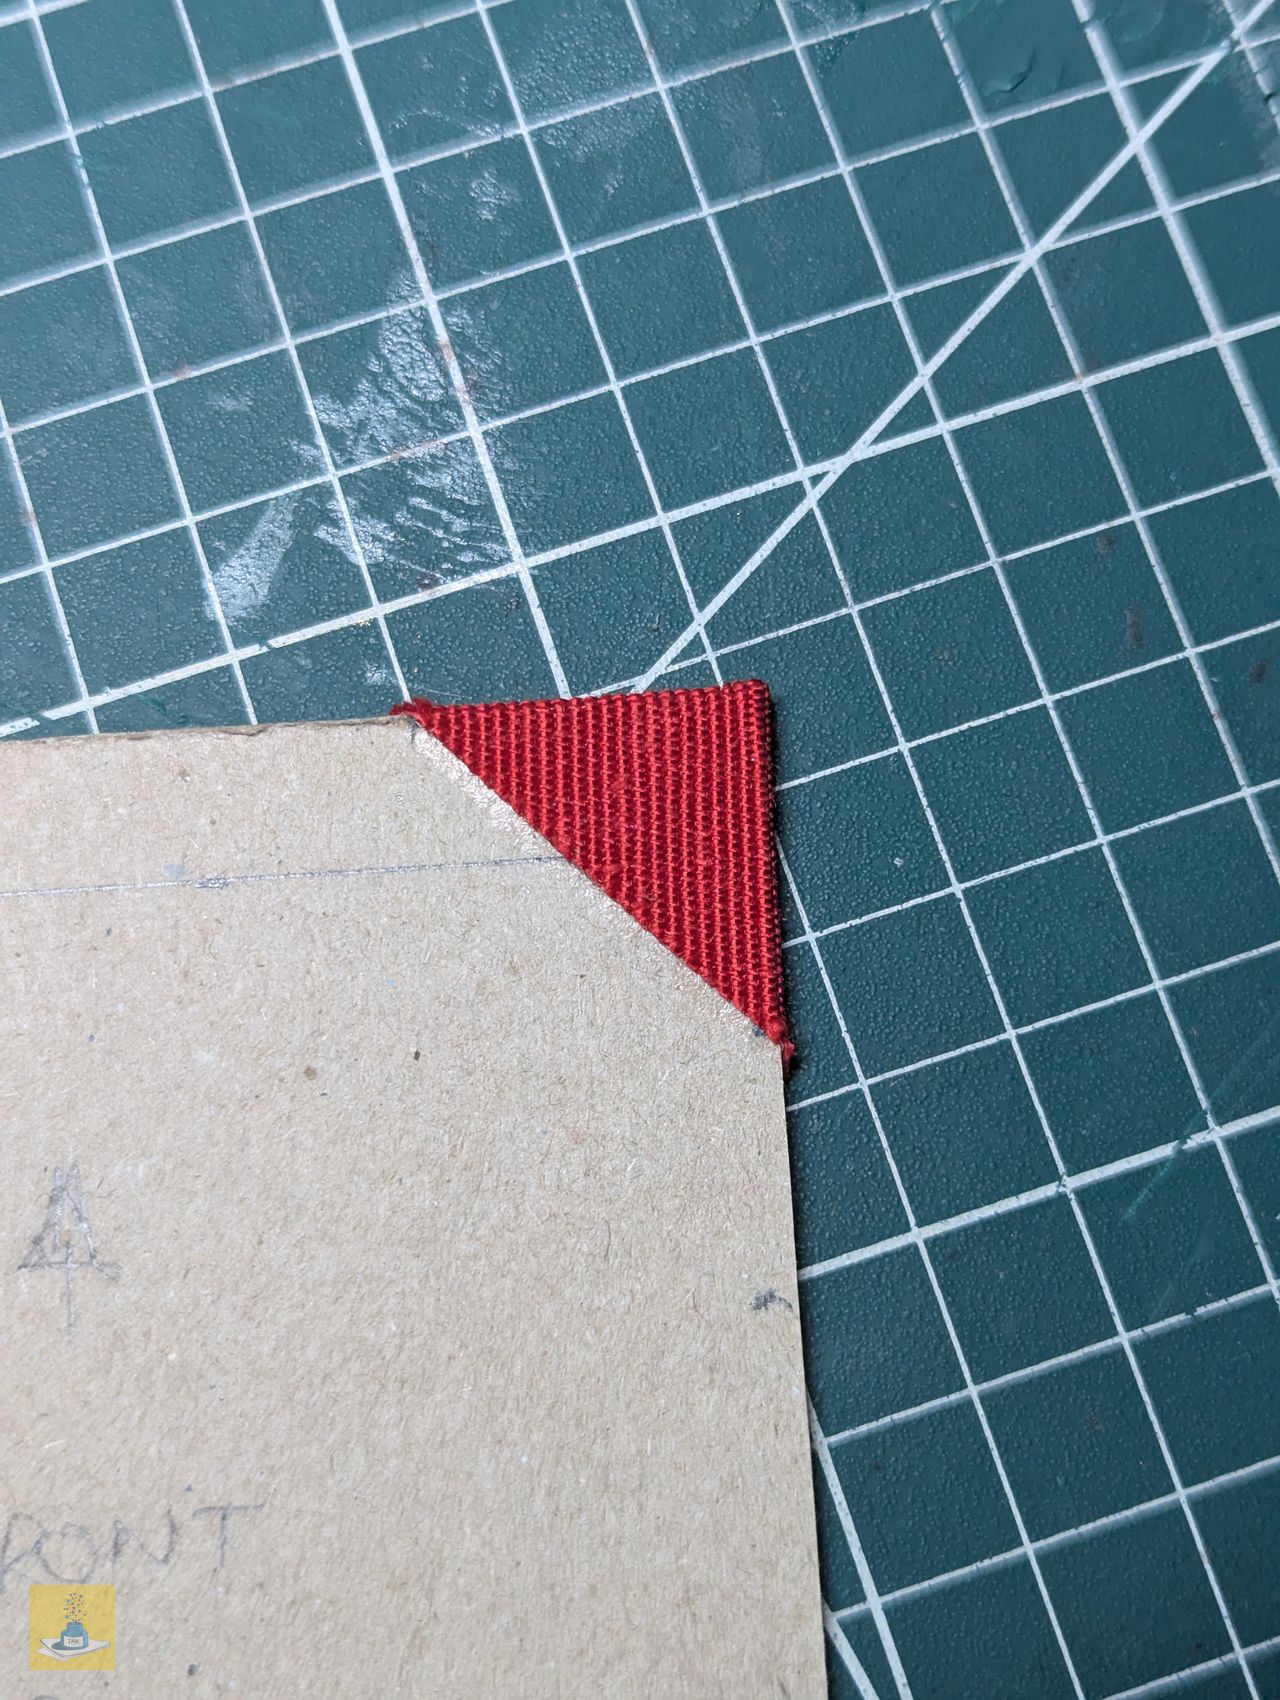
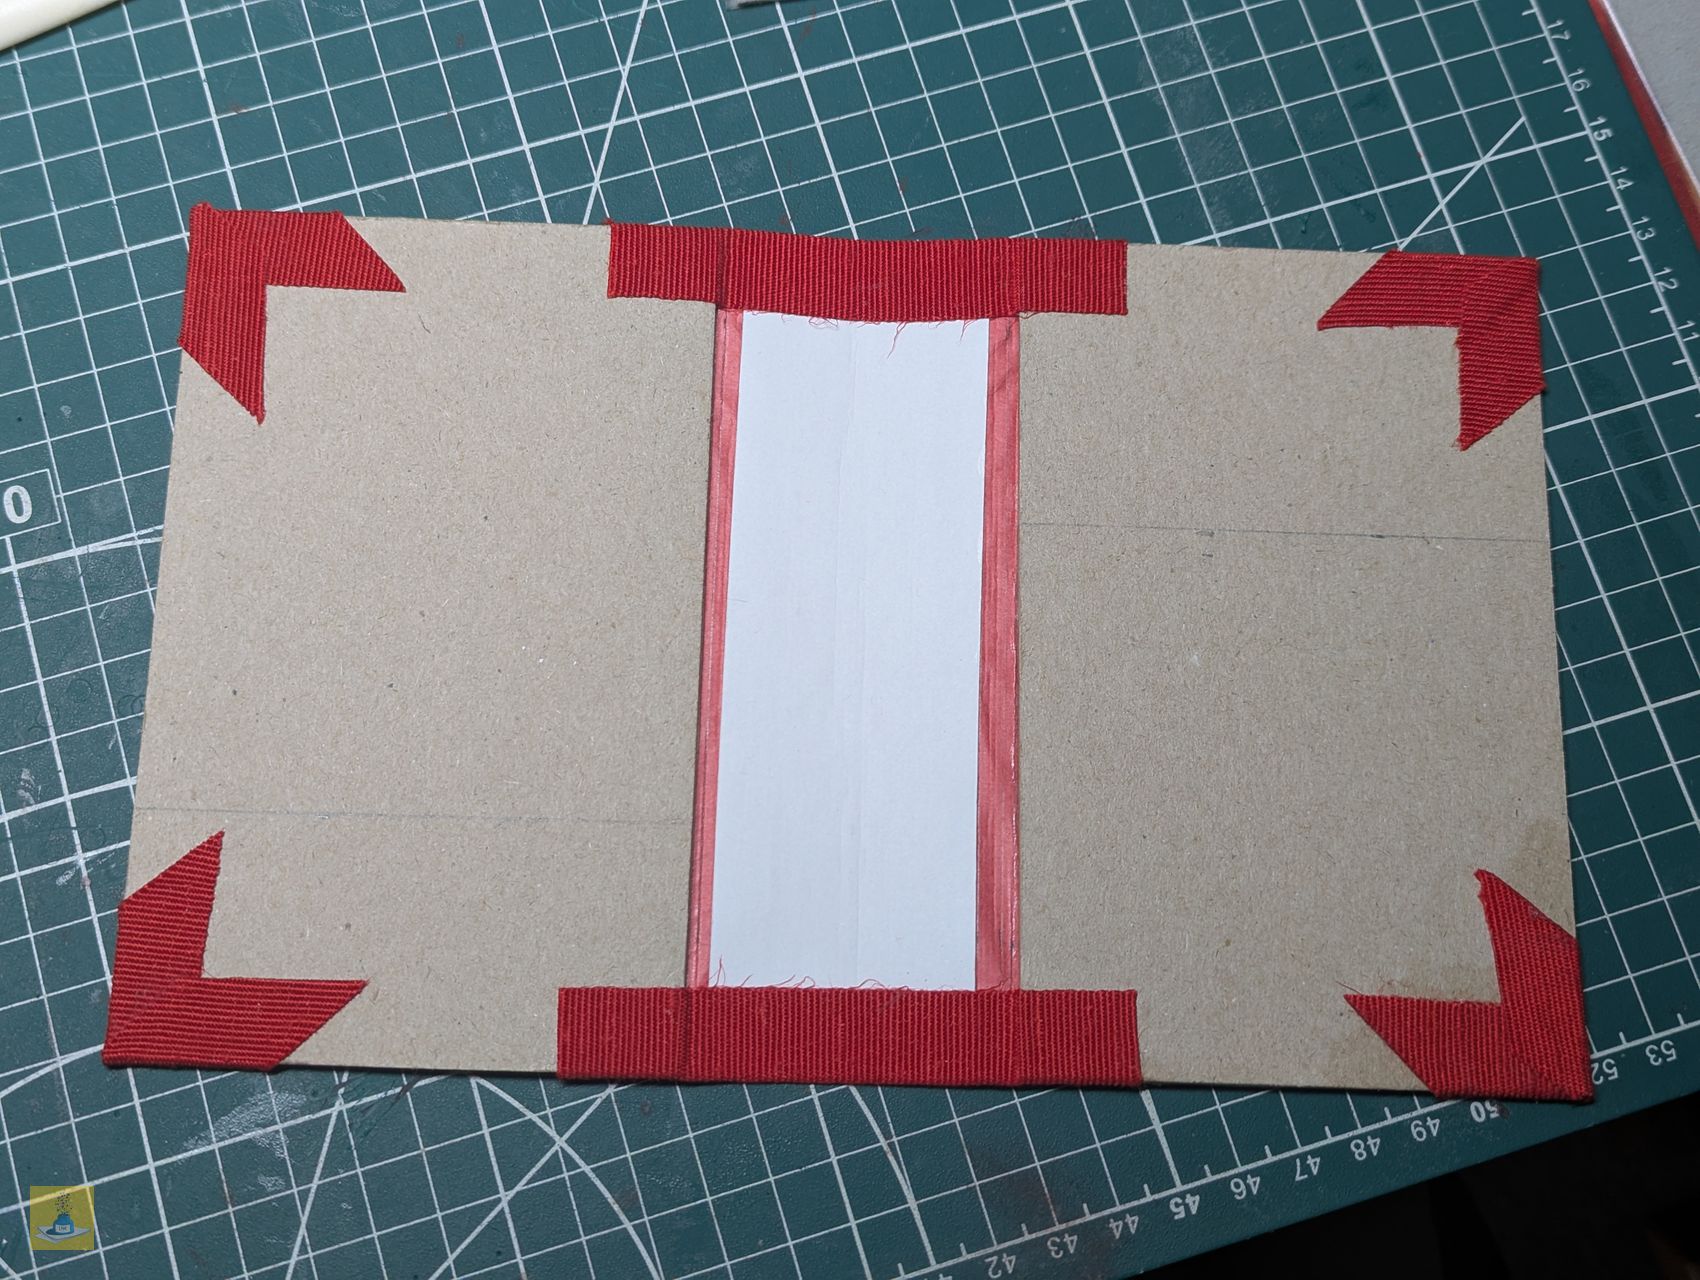
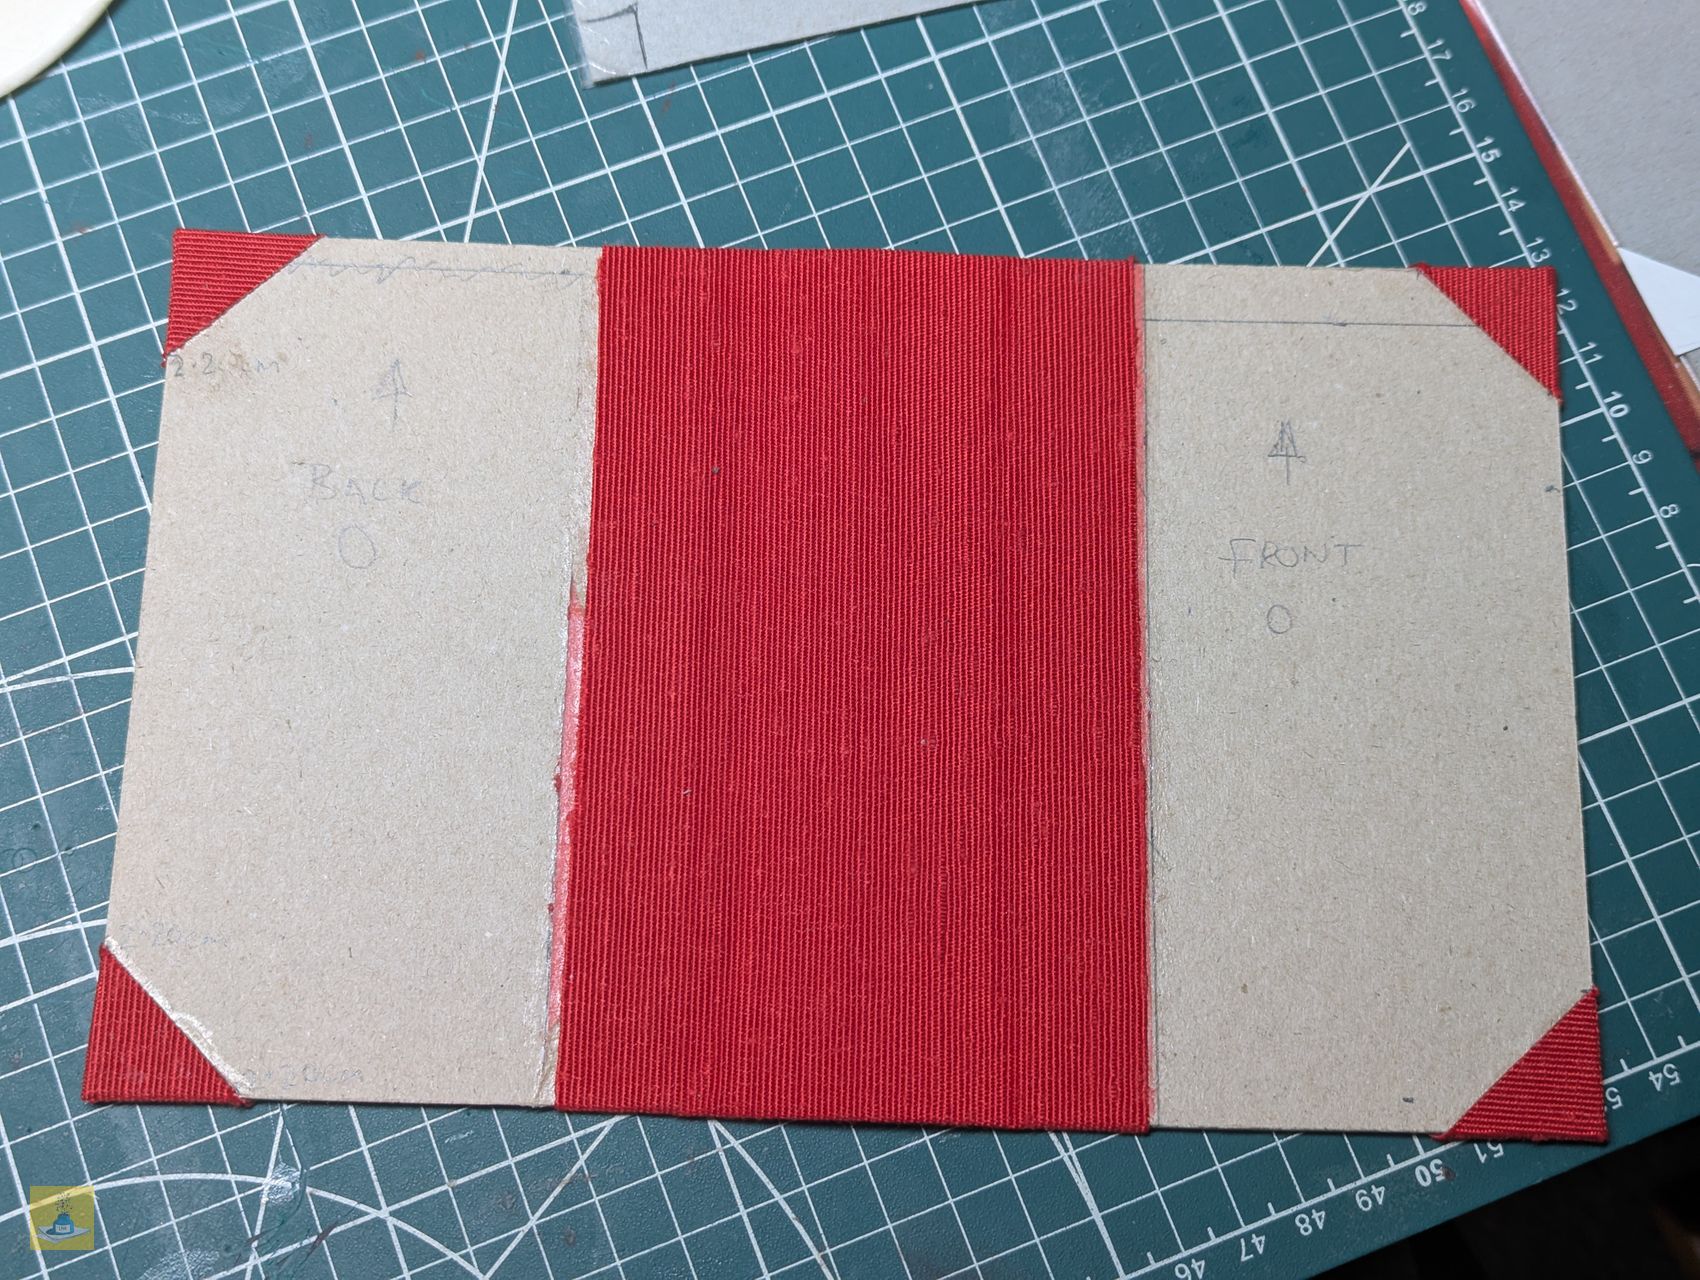
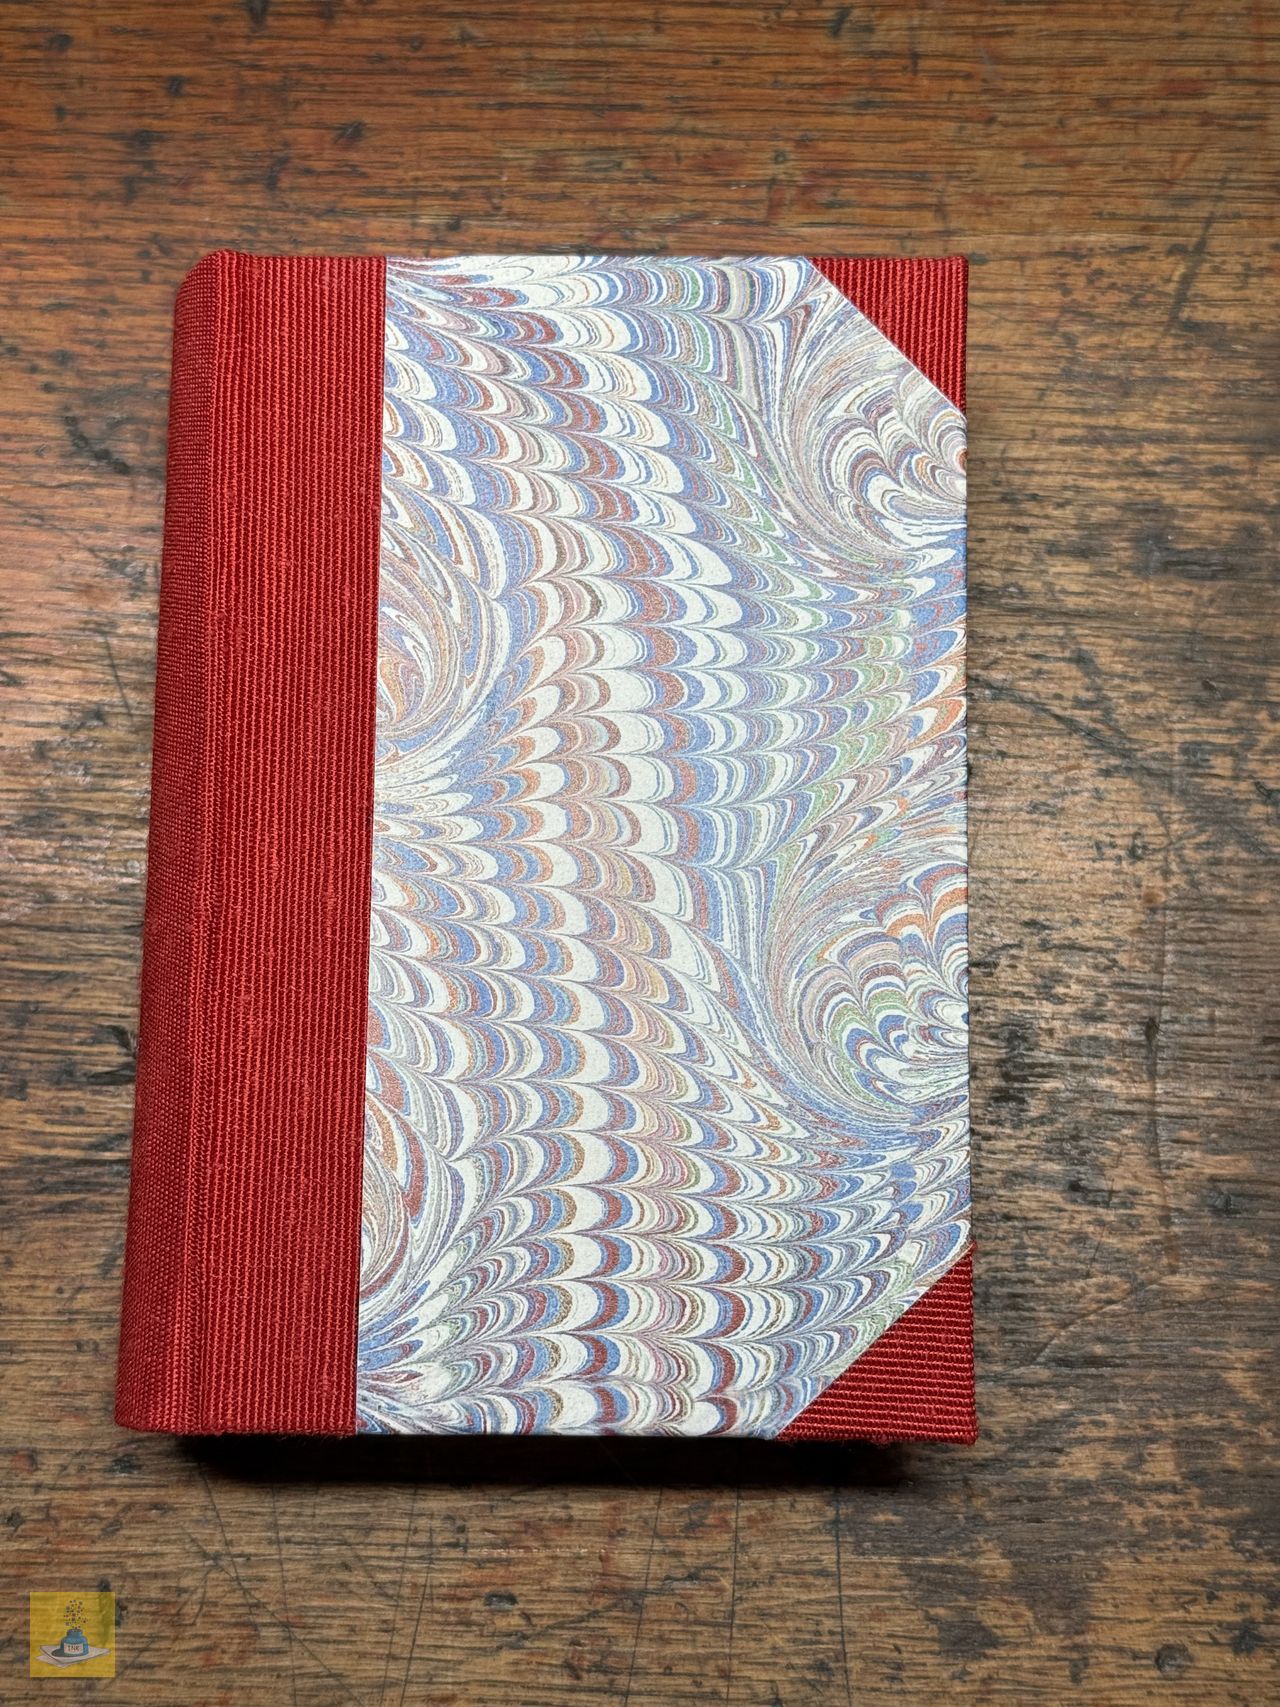
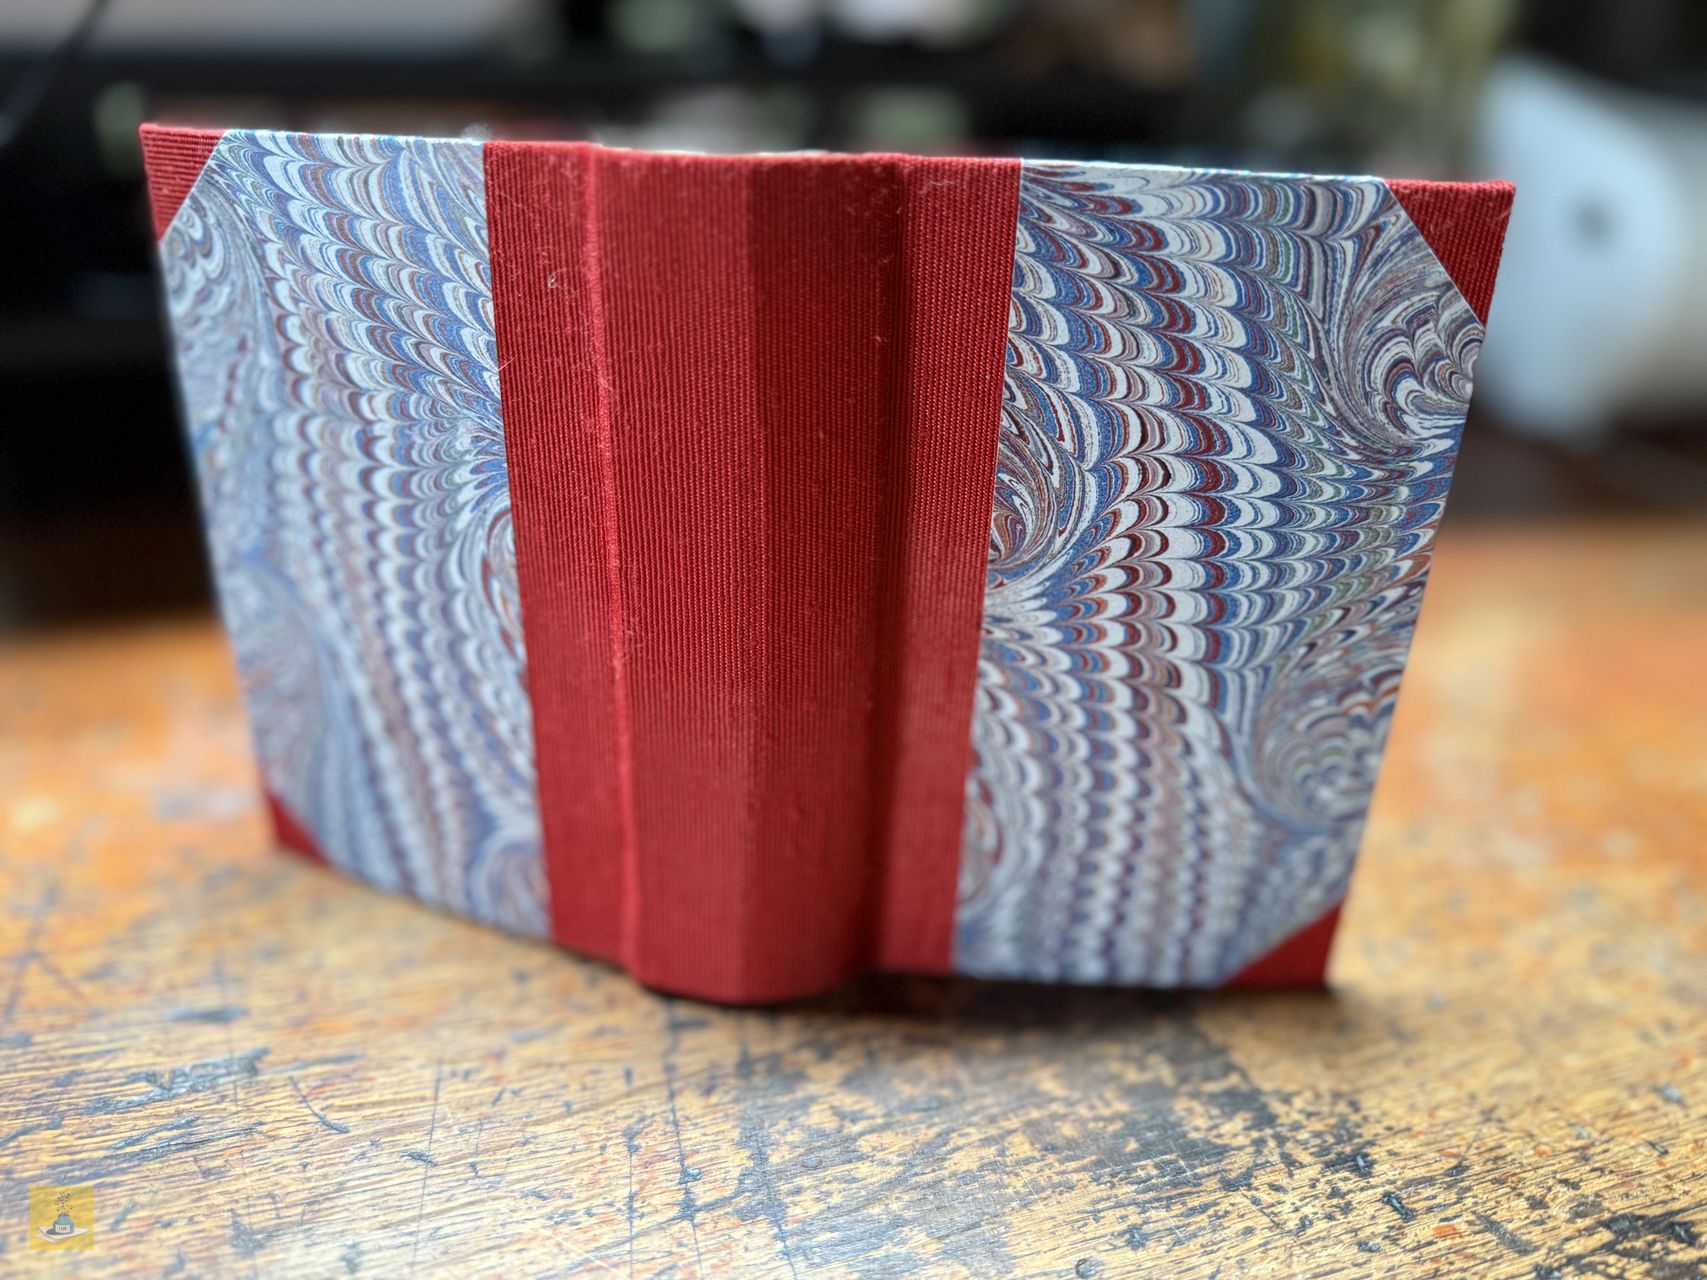
For the book’s cover, I had initially planned to use leather. However, because of the problems with the text block, I felt it would be a waste. So, I opted for cloth and paper instead, and I tried a three-quarter binding – something entirely new for me! I’ve done quarter bindings before, but the corner triangle sections were a first.


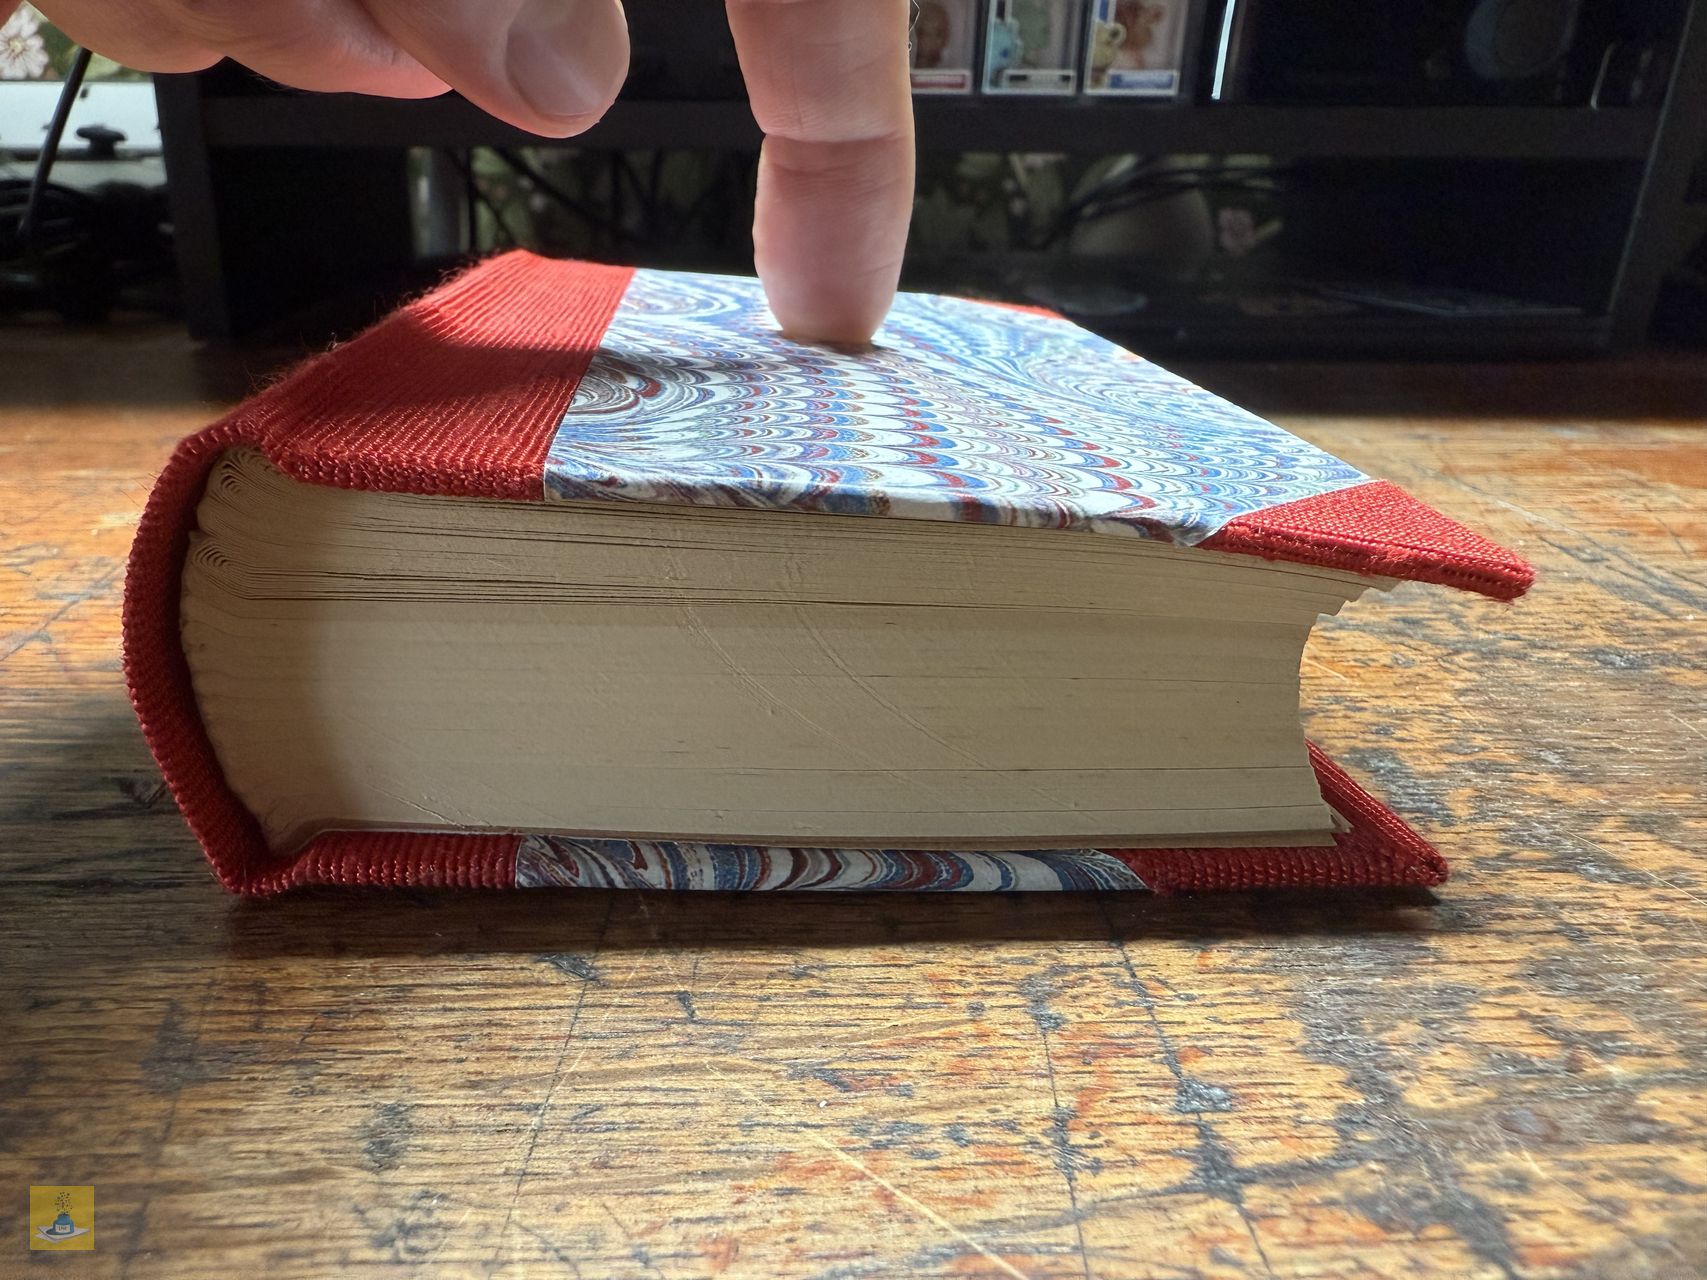
I was actually really pleased with how the cover came out. So, I can happily tick “three-quarter binding” off my bookbinding bucket list! As you can see, I’ve used a vibrant red cloth for the spine and corners, paired with a beautiful blue marbled paper for the rest of the cover. Attaching the cover to the text block went okay, though it’s still not perfect.


What Have I Learned?
I’ve learned a few important things from this project, and the main culprit behind most of the issues was my use of the kozo paper.
Now, don’t get me wrong – kozo paper isn’t to blame if you use it correctly!
- Don’t apply kozo to both sides of the page’s spines. In hindsight, perhaps I should have continued applying kozo paper to both sides for the entire text block, rather than stopping after the fourth signature. At least that might have made things consistent, so to speak? But the method I chose caused significant swelling in the spine area, resulting in a spine that’s thicker at the top and tapers towards the fore-edge. Going forward, I’ll know to only apply kozo paper to one side of the paper’s spine.
- Rounding the spine. When I was rounding the spine, it wasn’t quite evenly shaped. Again, this could be due to those first four signatures being too thick because of the double-sided kozo application.
- Fore-edge “steps”. This unevenness subsequently caused noticeable “steps” on the fore-edge once the spine was rounded. This is something that can be easily fixed by gently sanding down the fore-edge, perhaps by wrapping a bit of sandpaper around a dowel.
As you’ve read, it was literally my mistake with the kozo paper that cascaded into several issues throughout the entire project.
Final Thoughts
I must admit, I considered putting off finishing this project altogether – even writing this post. I’m a perfectionist, and for something like this, I tend to see it as a failure when it doesn’t go according to plan, which is a big weakness for me. However, I was determined not to view this as a weakness, but rather as a learning curve to grow from my mistakes.
Has it put me off trying another book restoration? No, not at all! I’m hoping next time I’ll have learned from these specific errors and will achieve a much better result. So, watch this space!
Have you ever had a craft project go completely off-plan, but still taught you valuable lessons? Share your experiences in the comments below!


