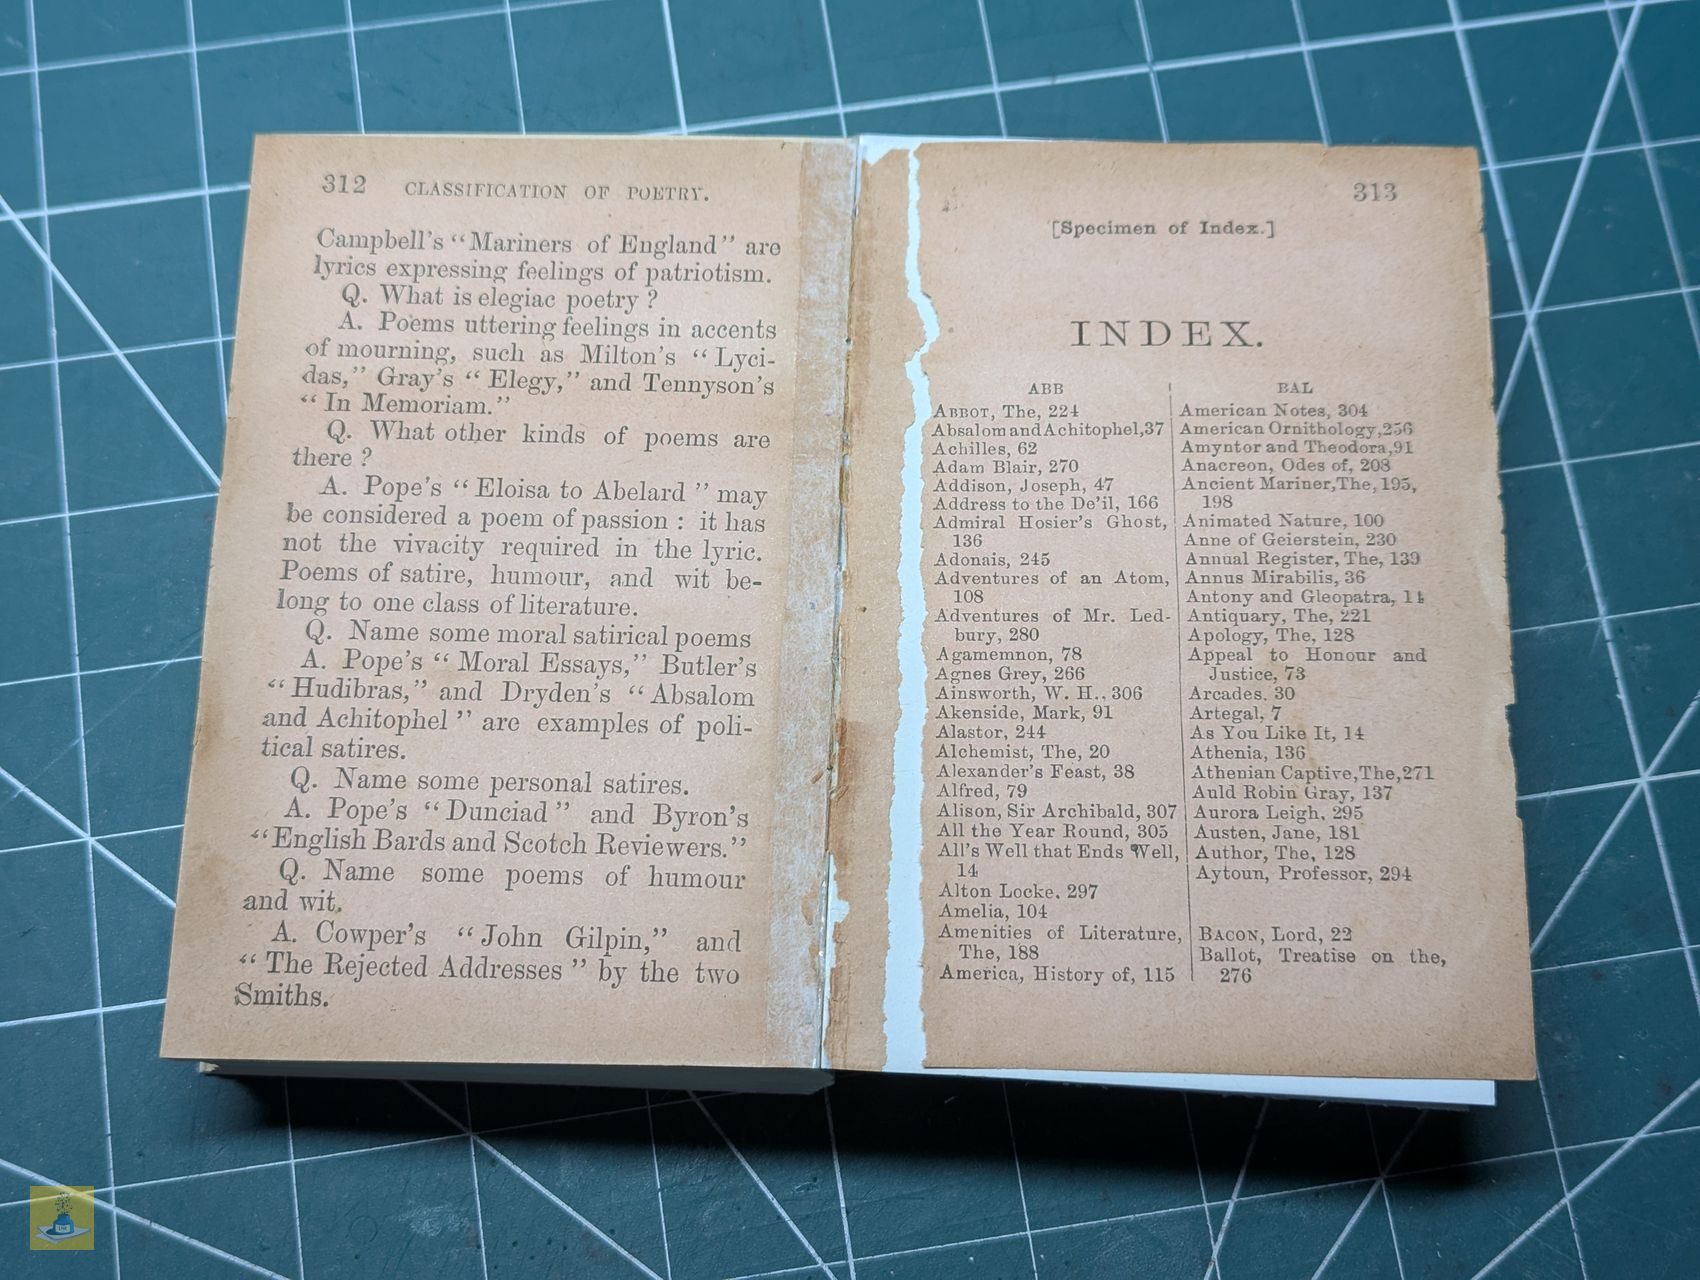
Continuing the book restoration from Part 1, I previously dismantled the book, which dates back to 1892.
Sewing the Signatures
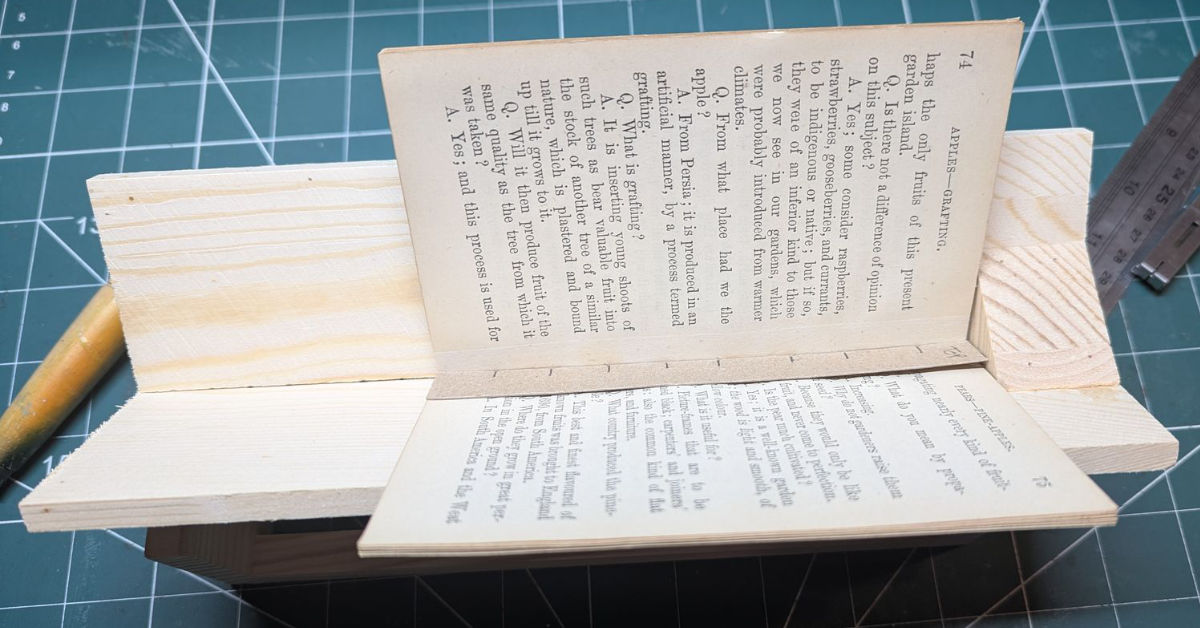
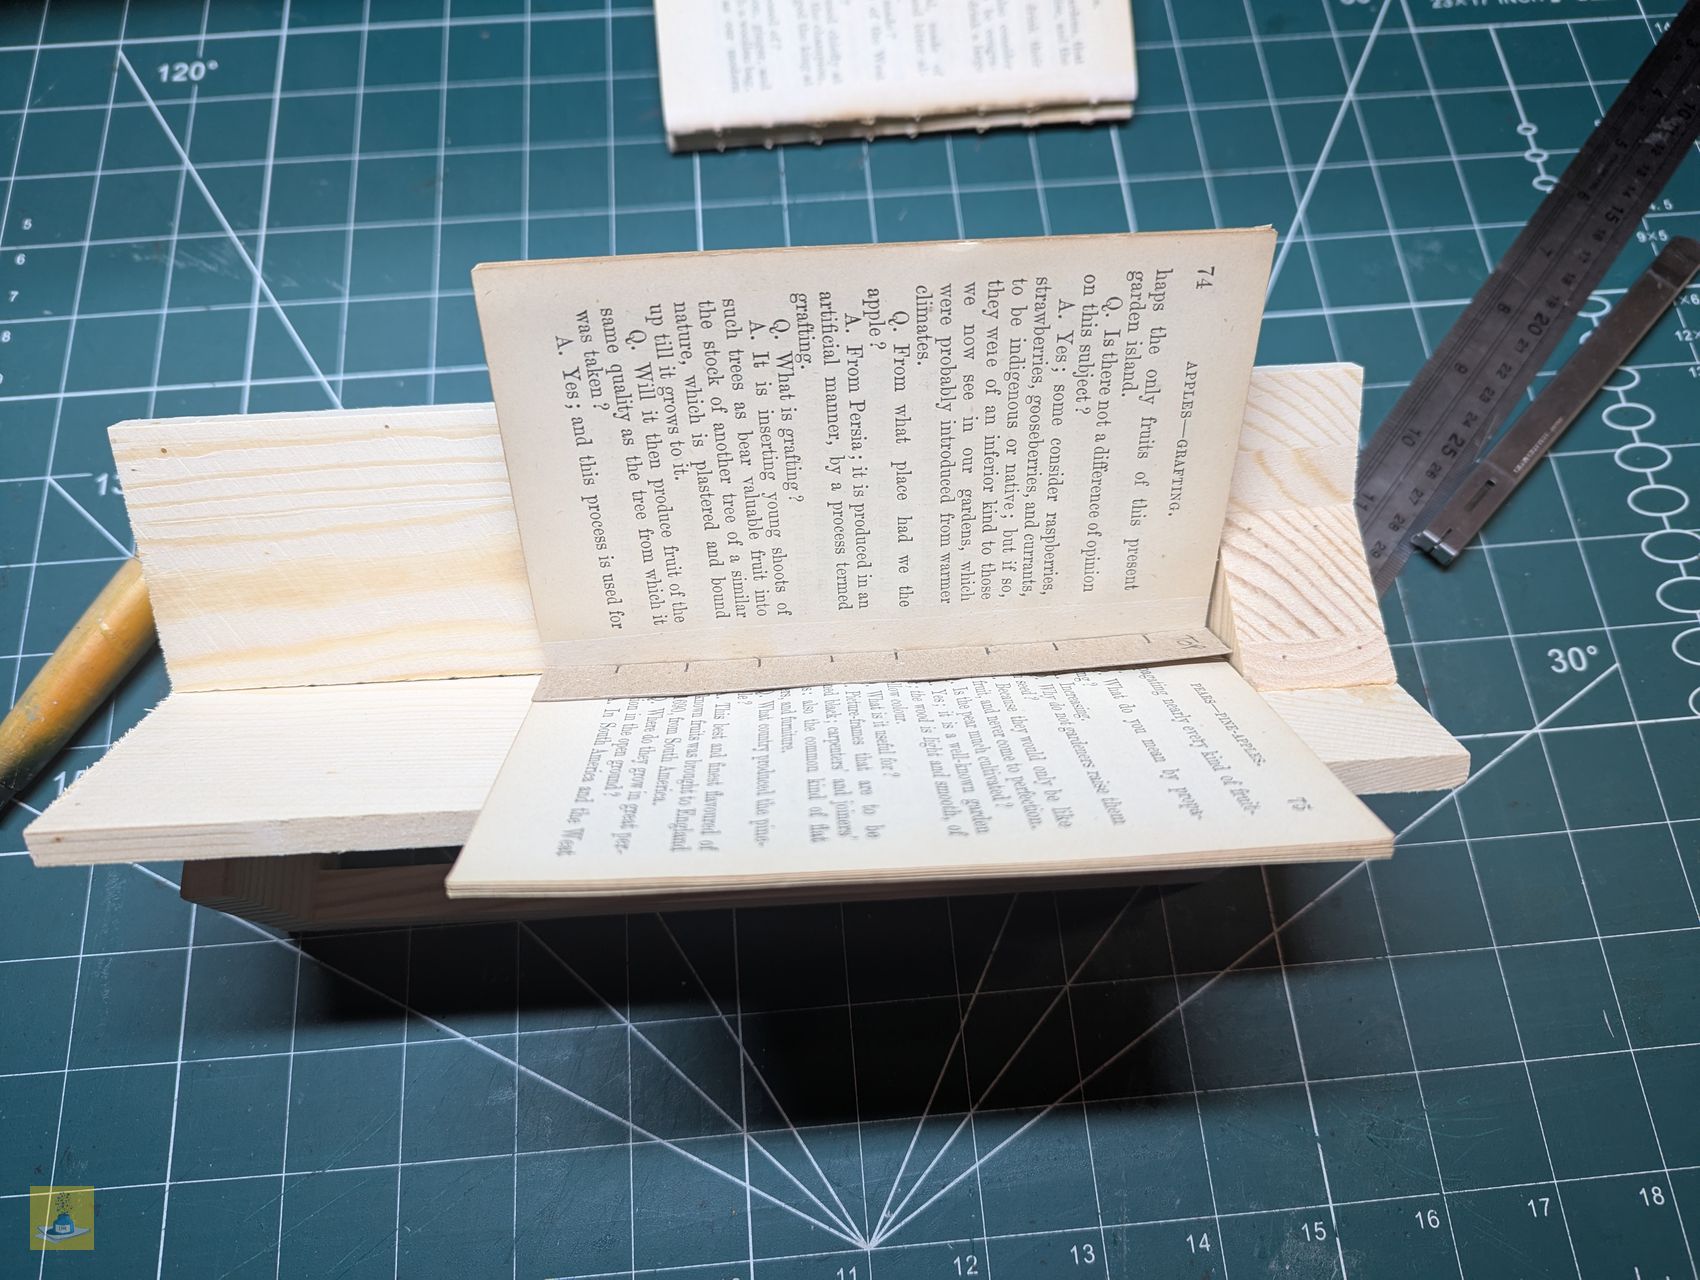
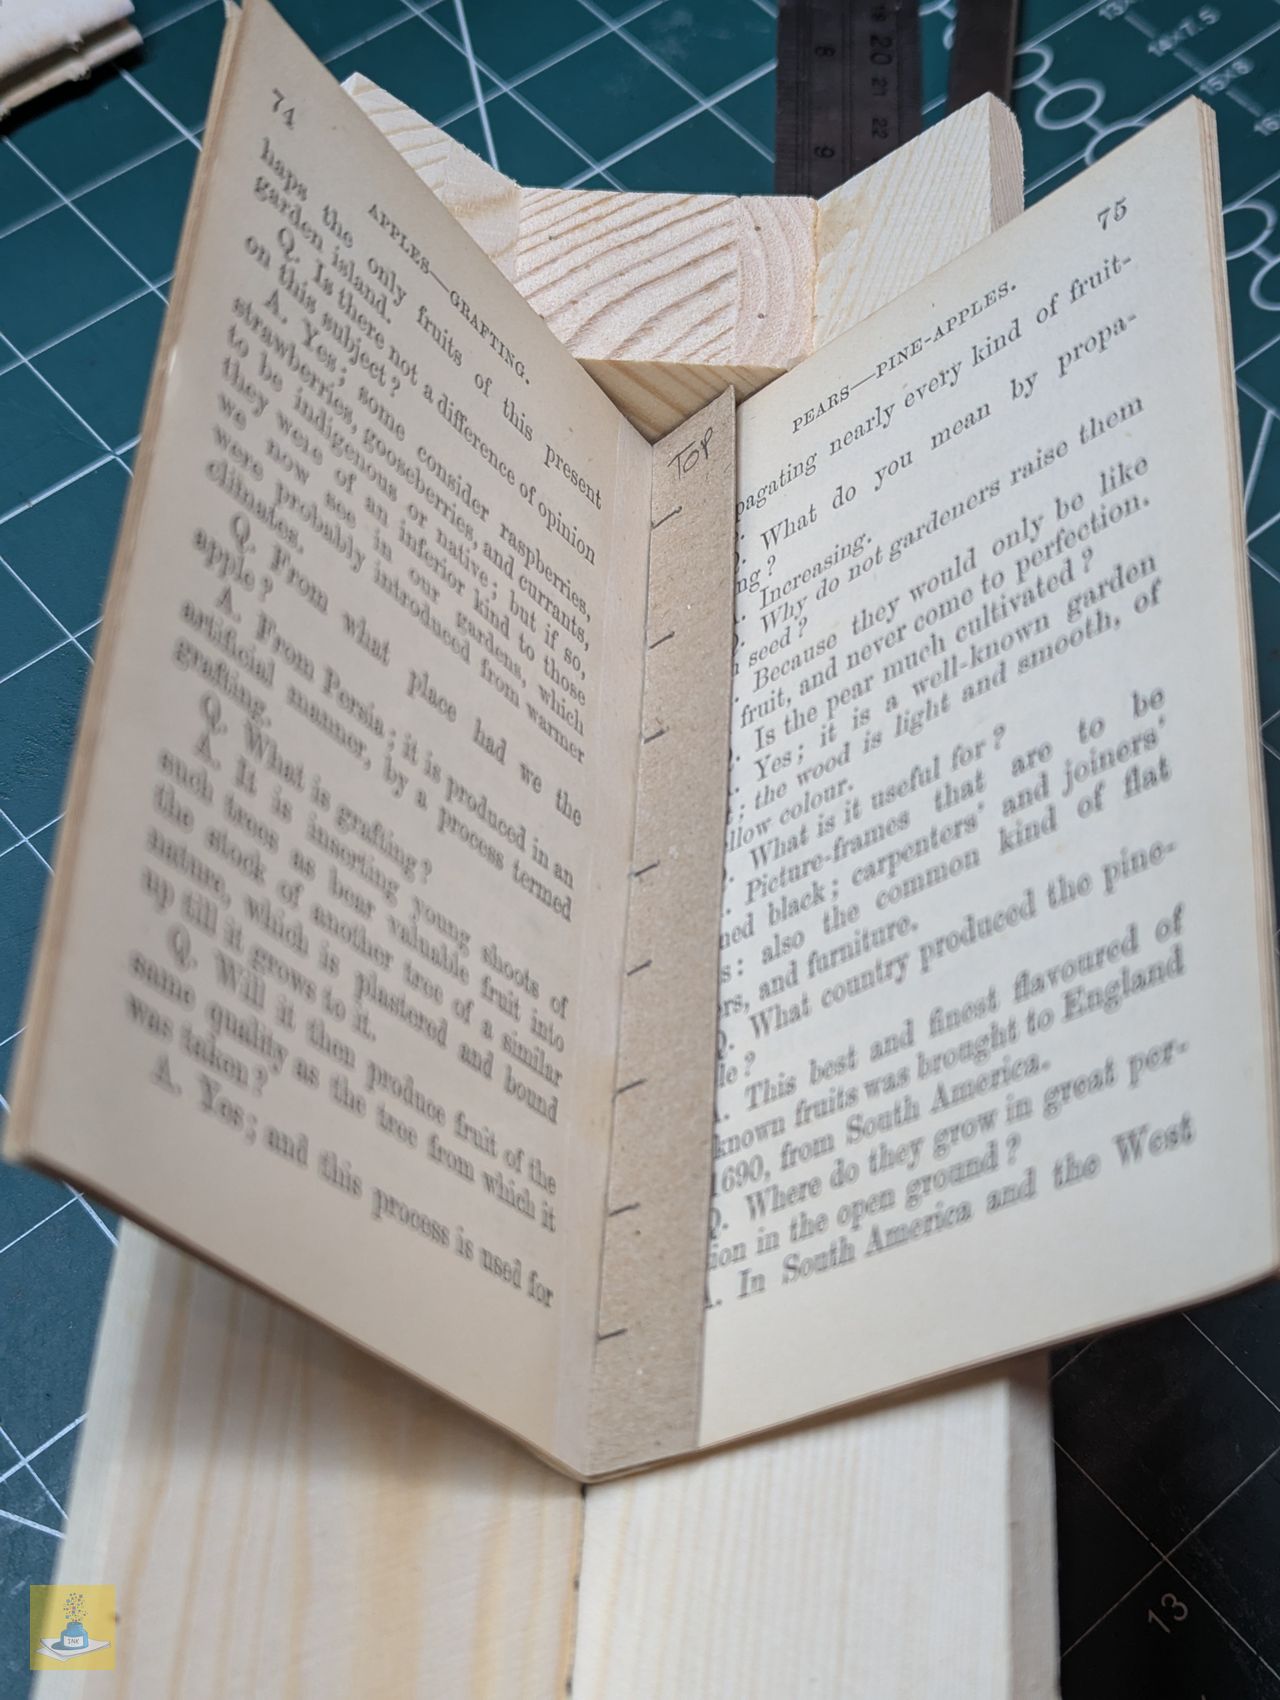
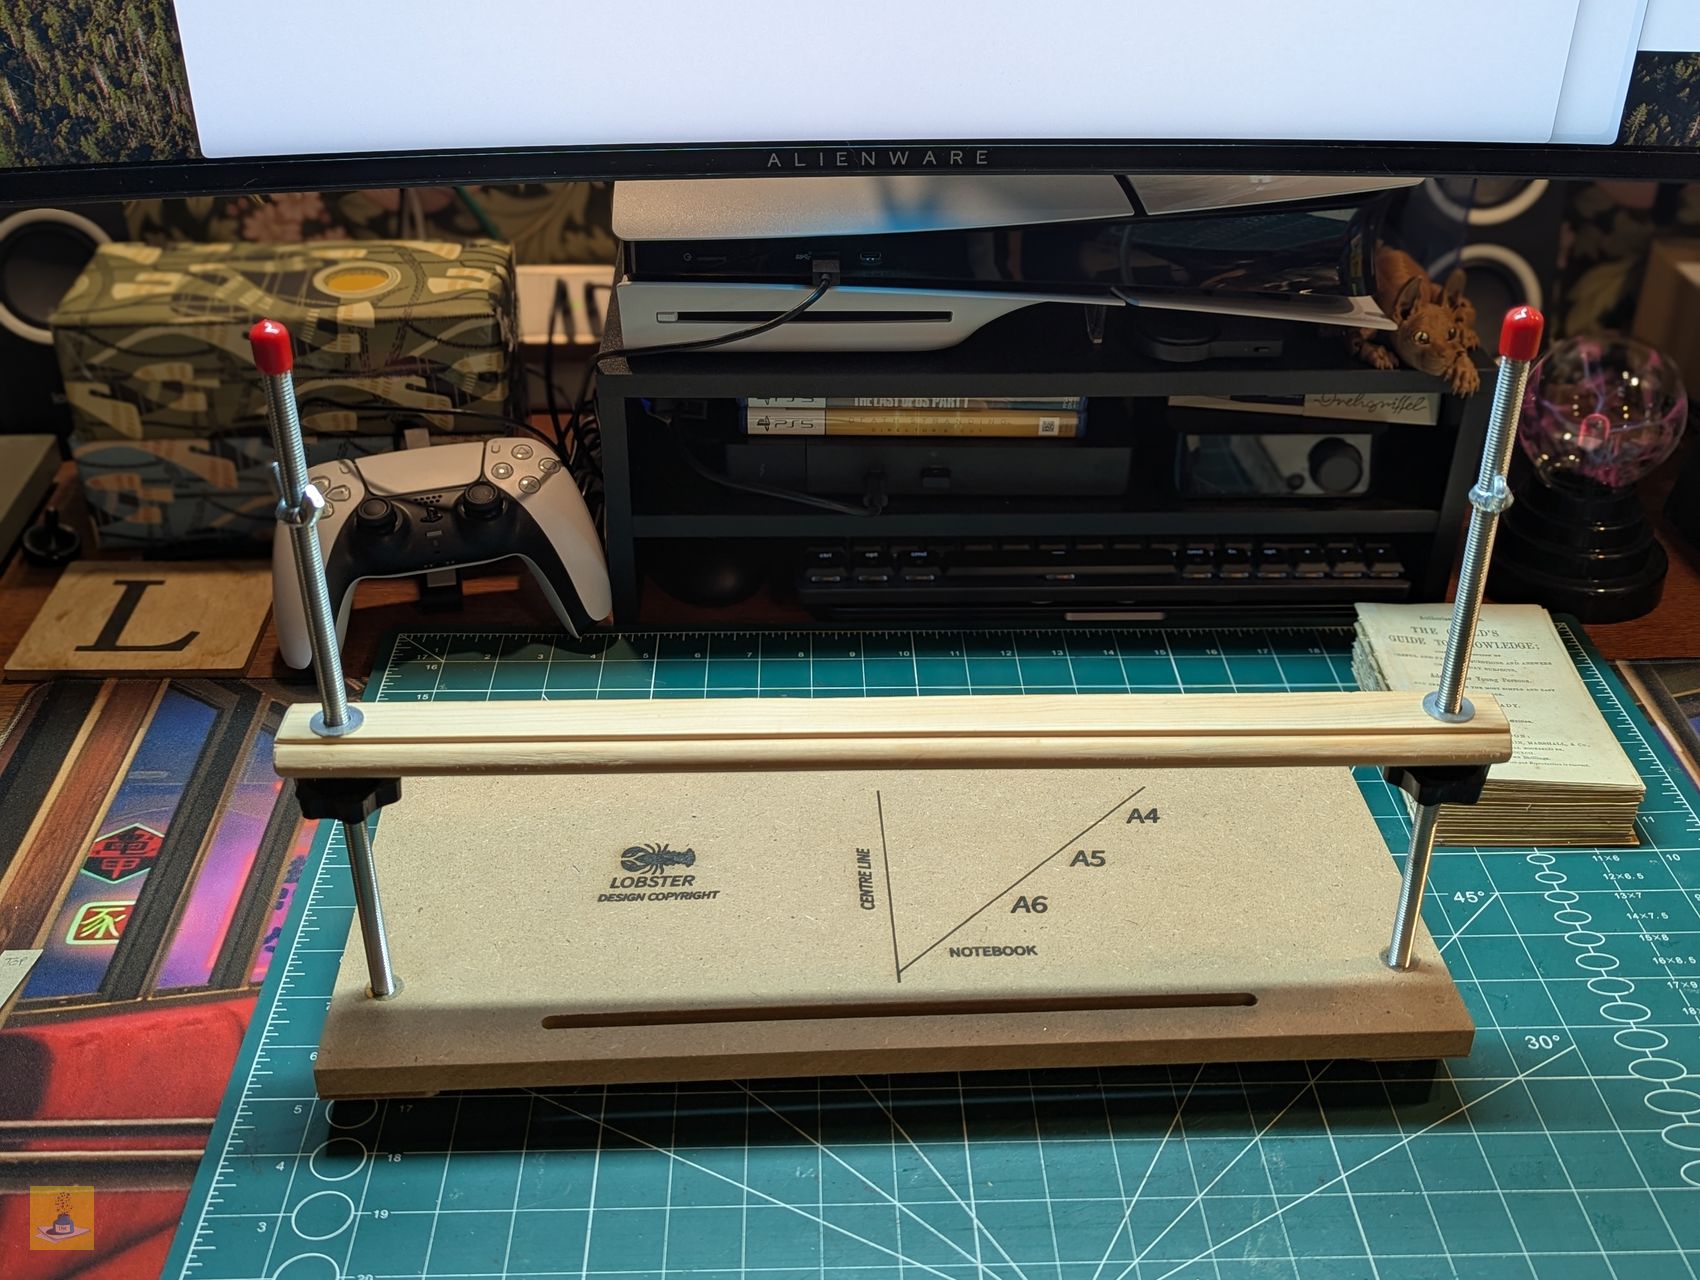
Before sewing, I needed to punch the holes in the signatures. I created a template using one of the original signatures, utilizing the existing holes from the original sewing.

Then, I took each signature and placed it in my punching cradle. I carefully aligned the template and punched the holes. It was surprising to see how much the original punched holes varied across the text block.


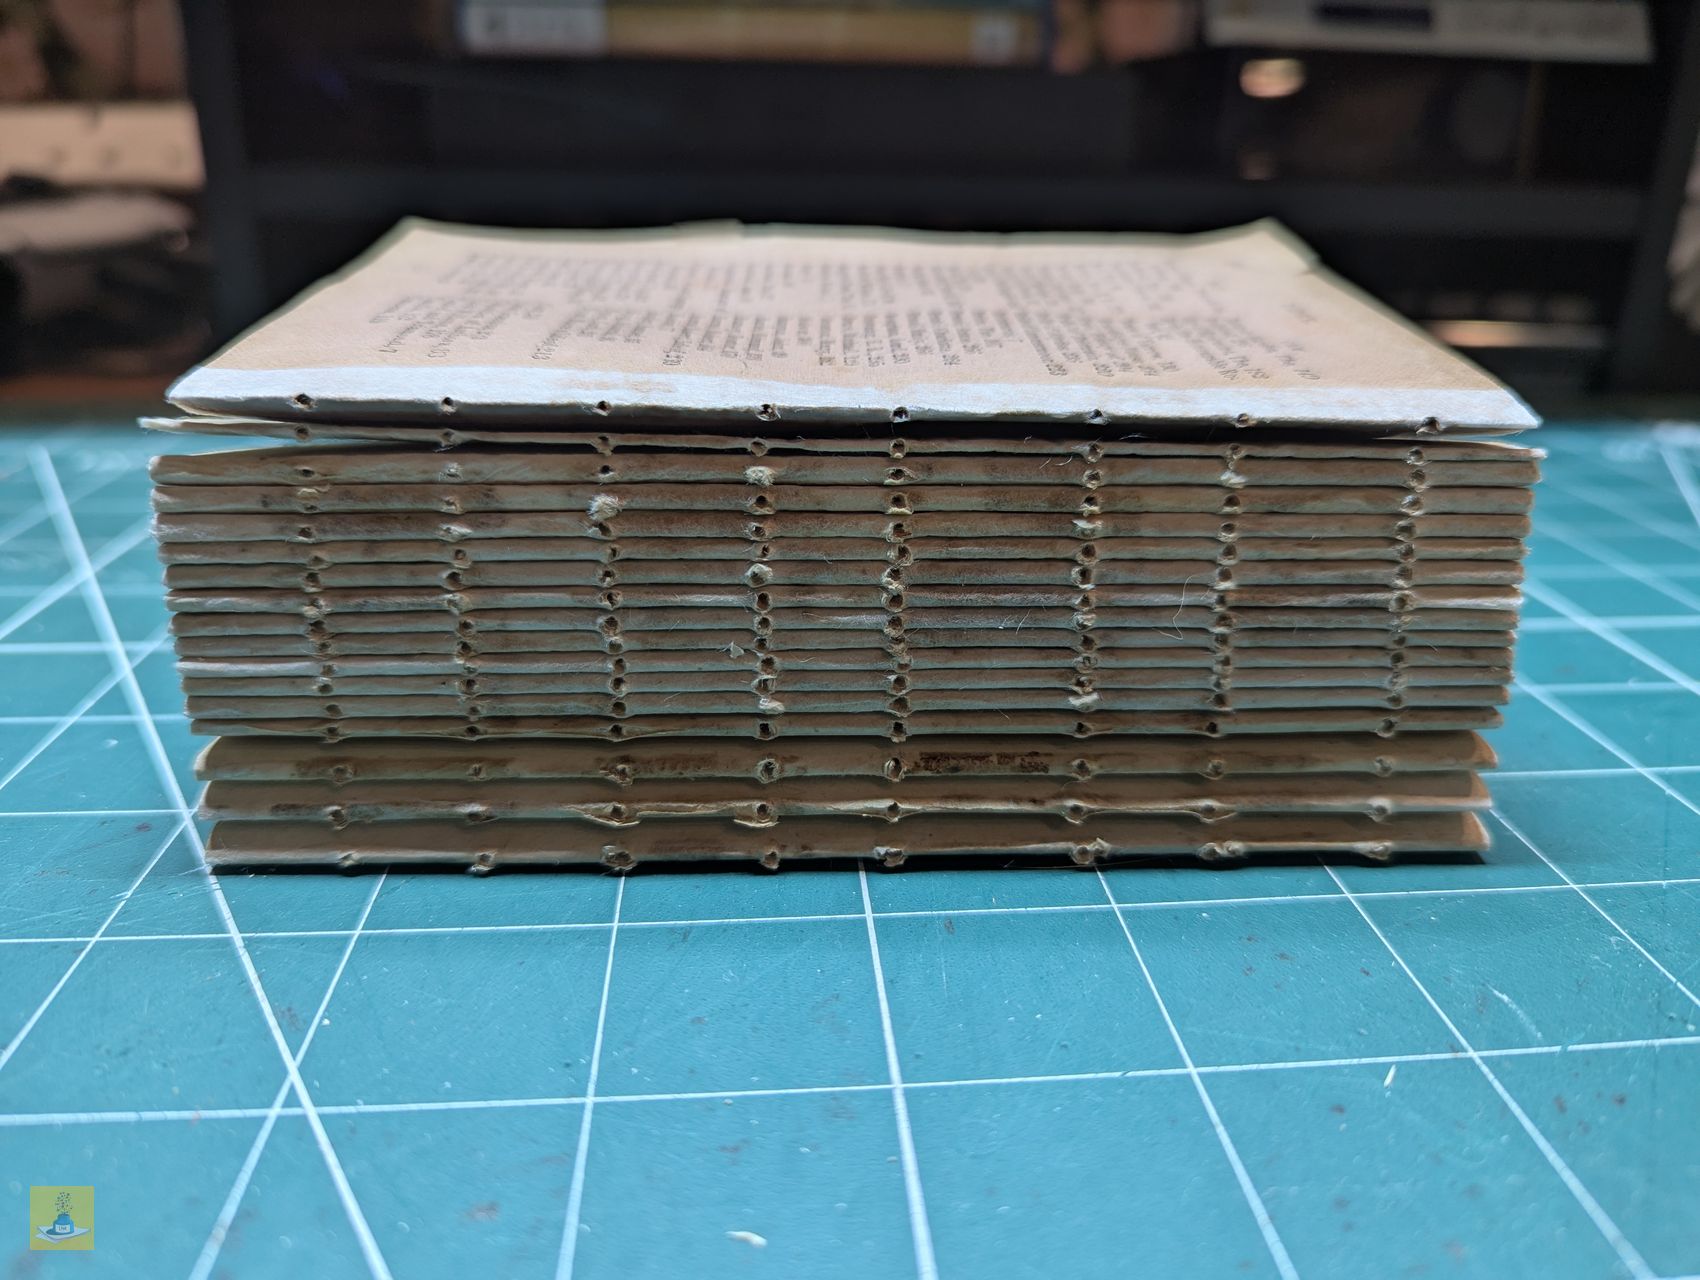
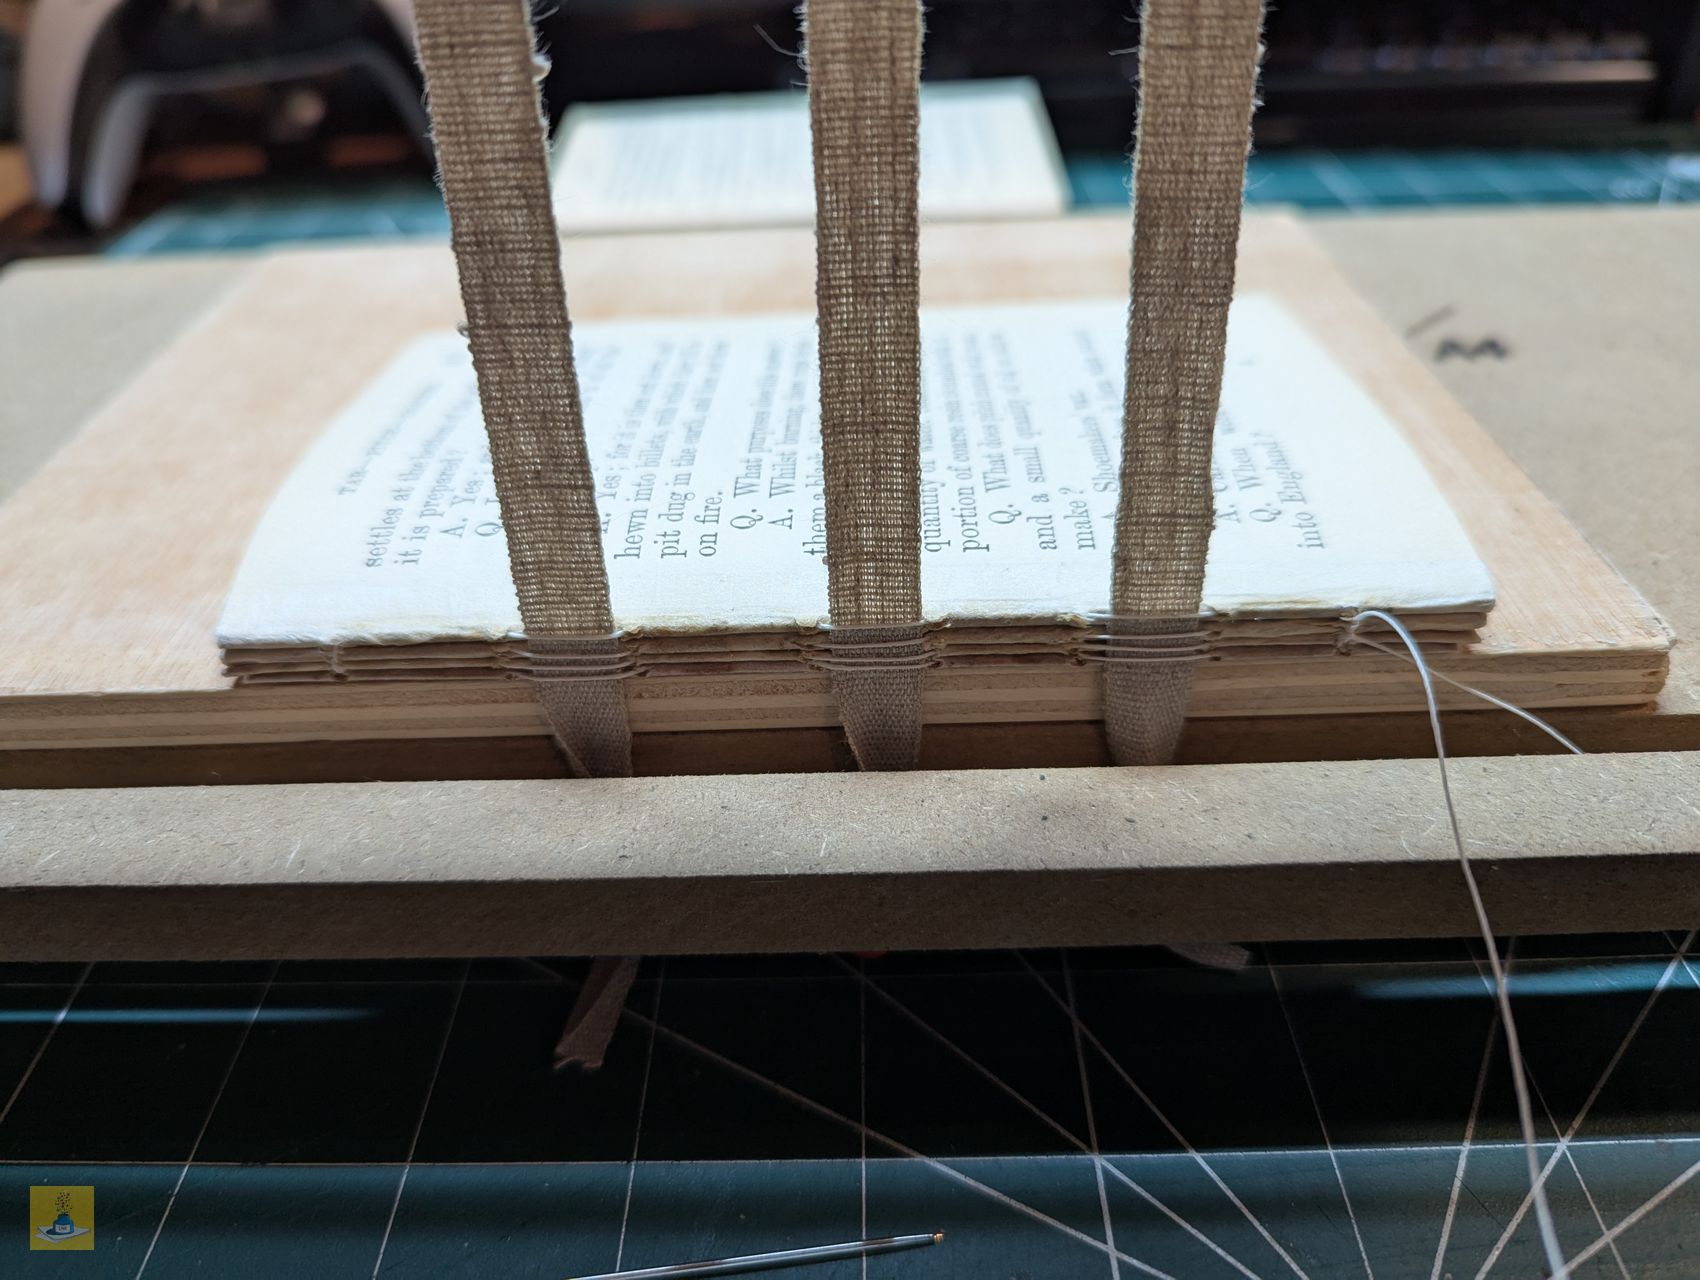
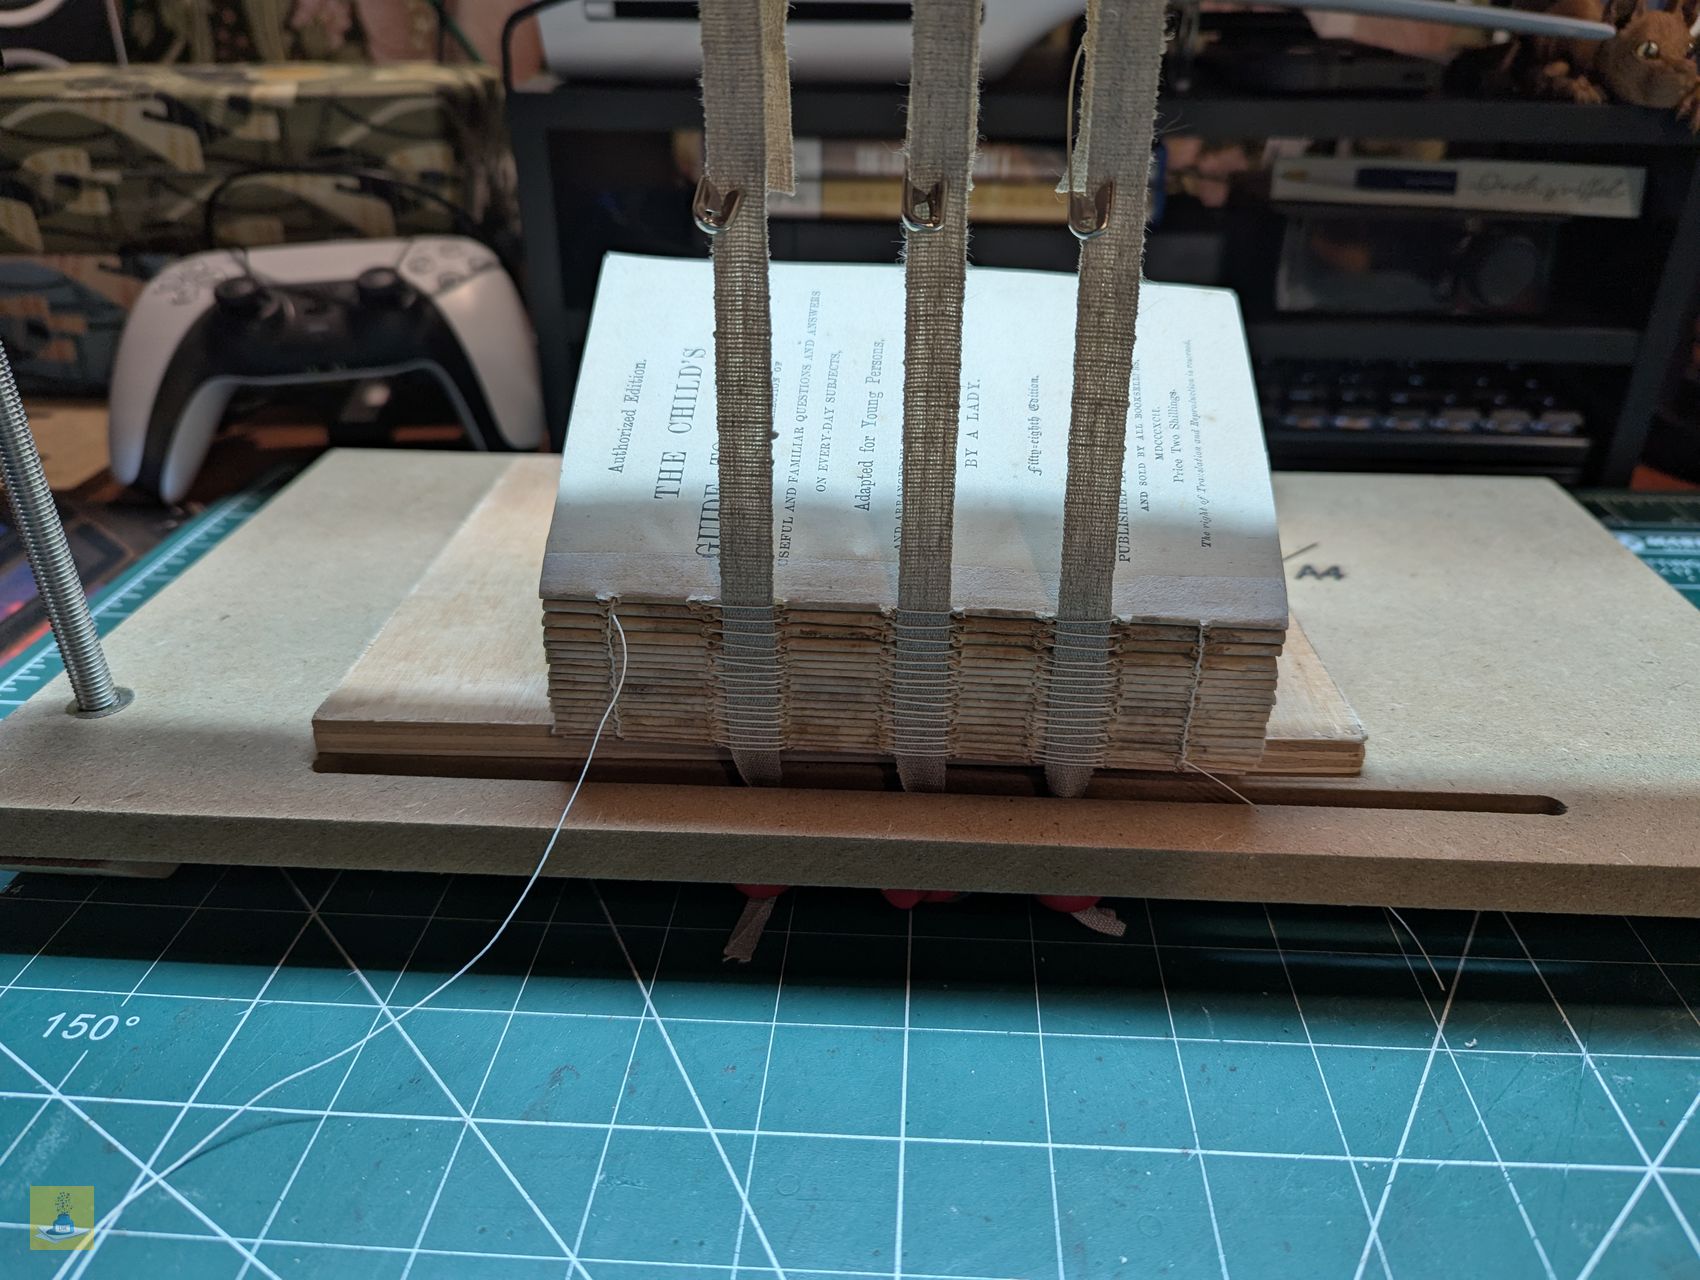
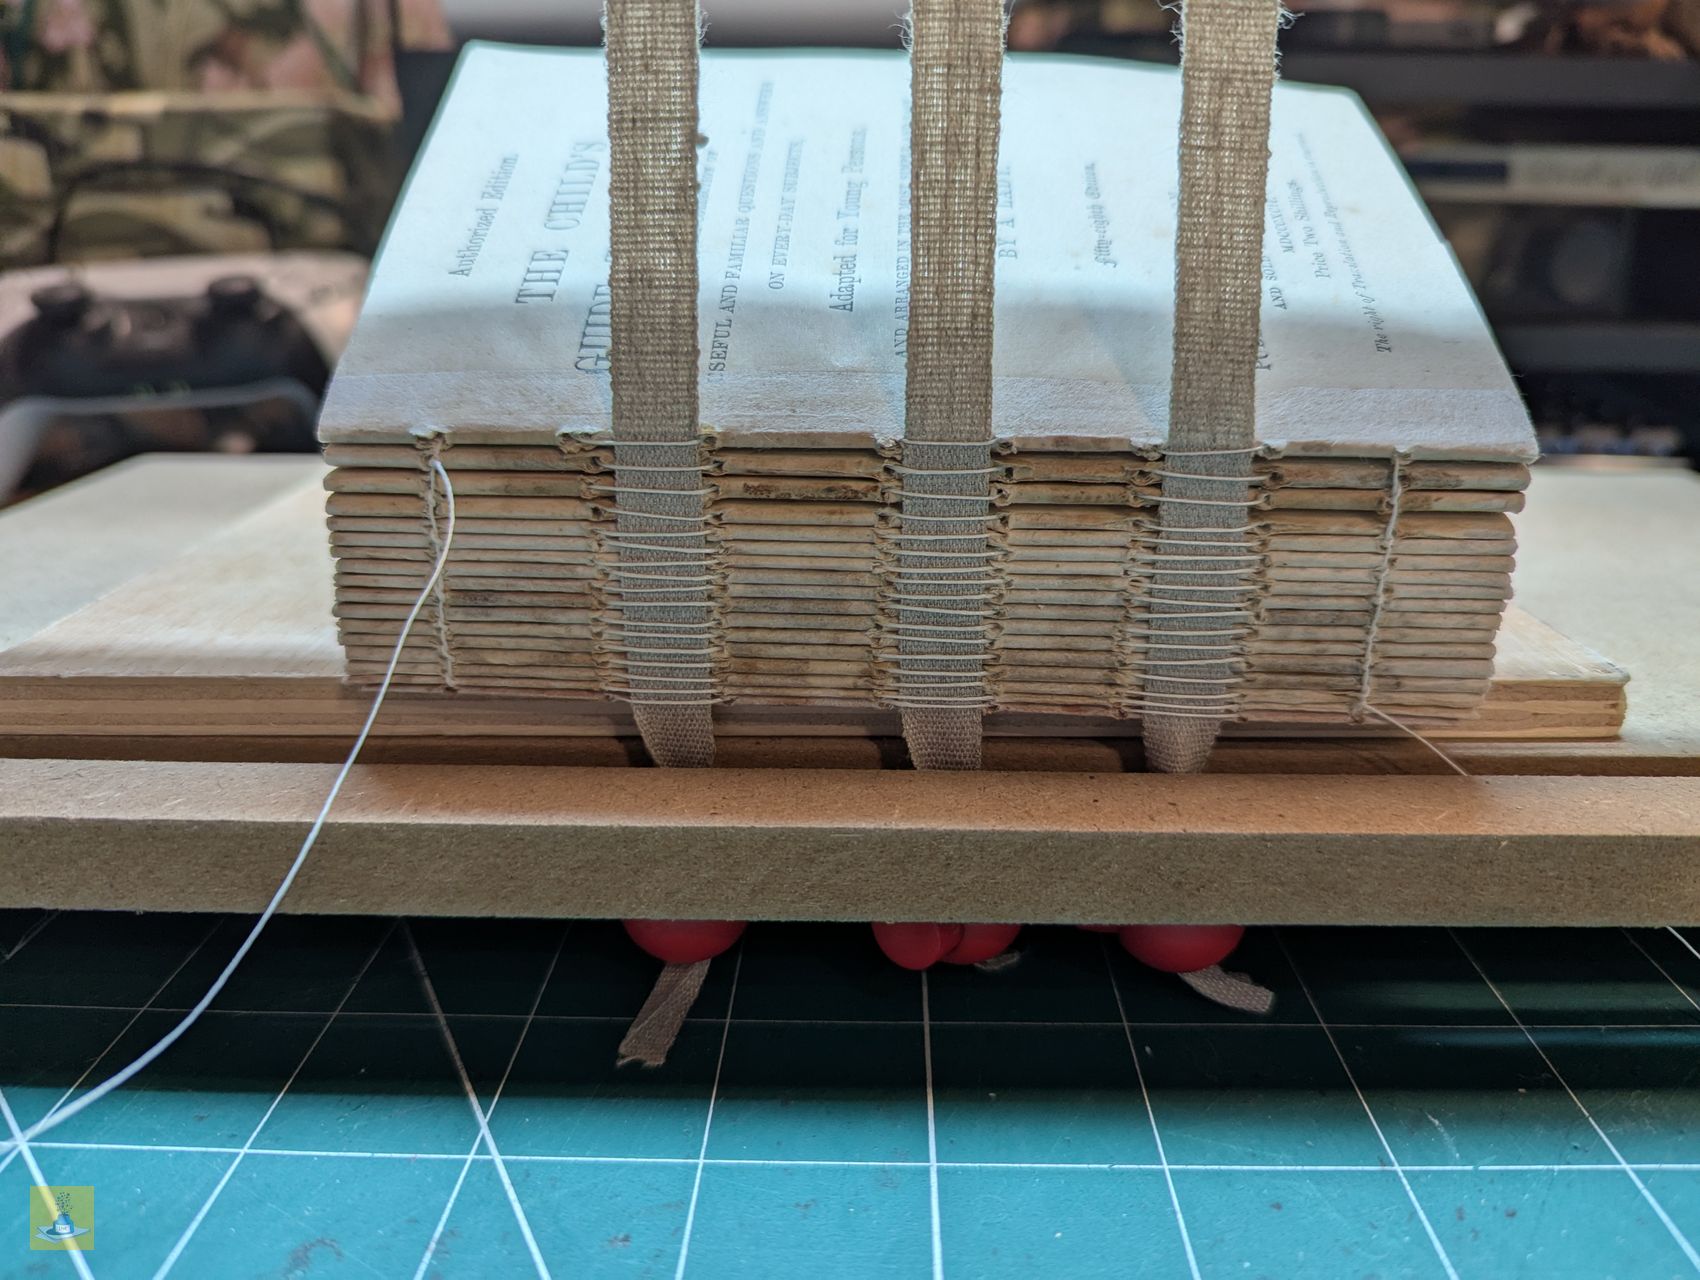
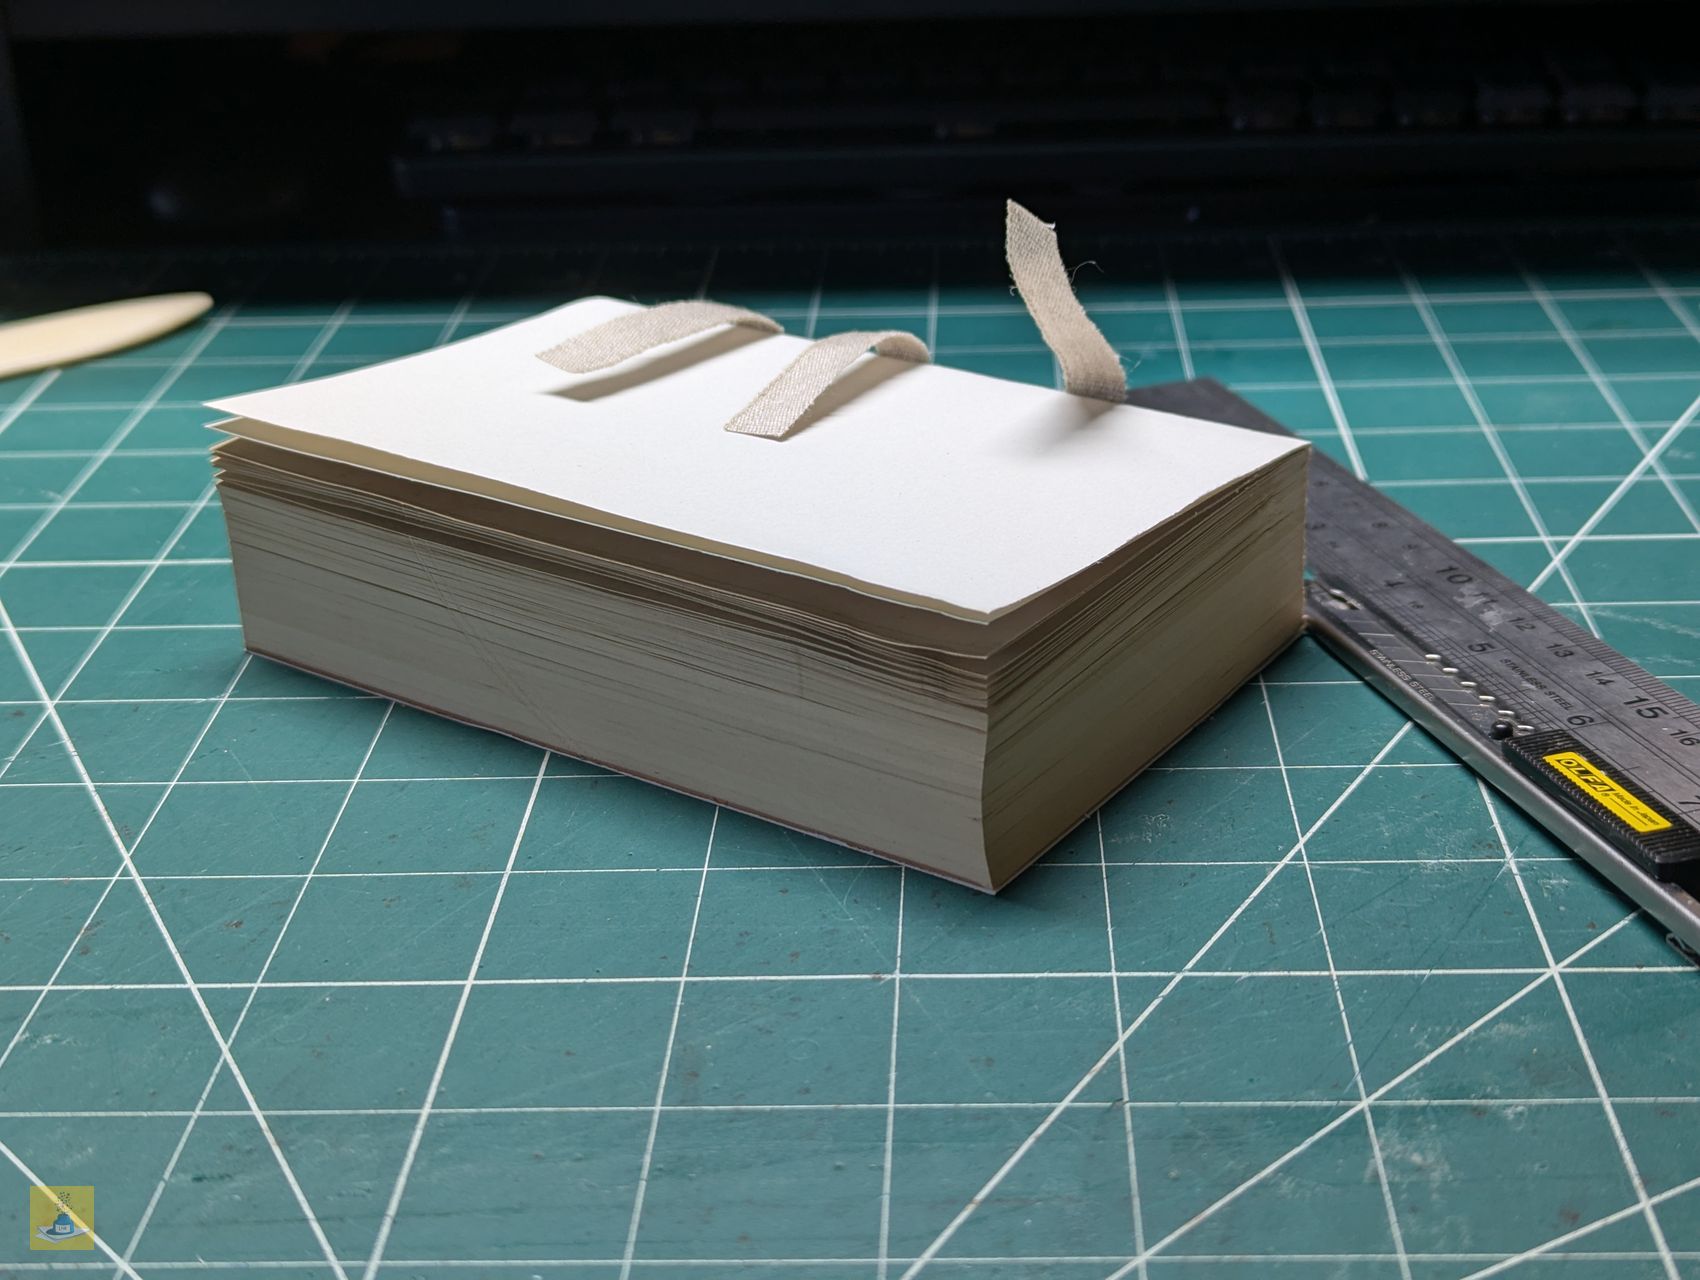
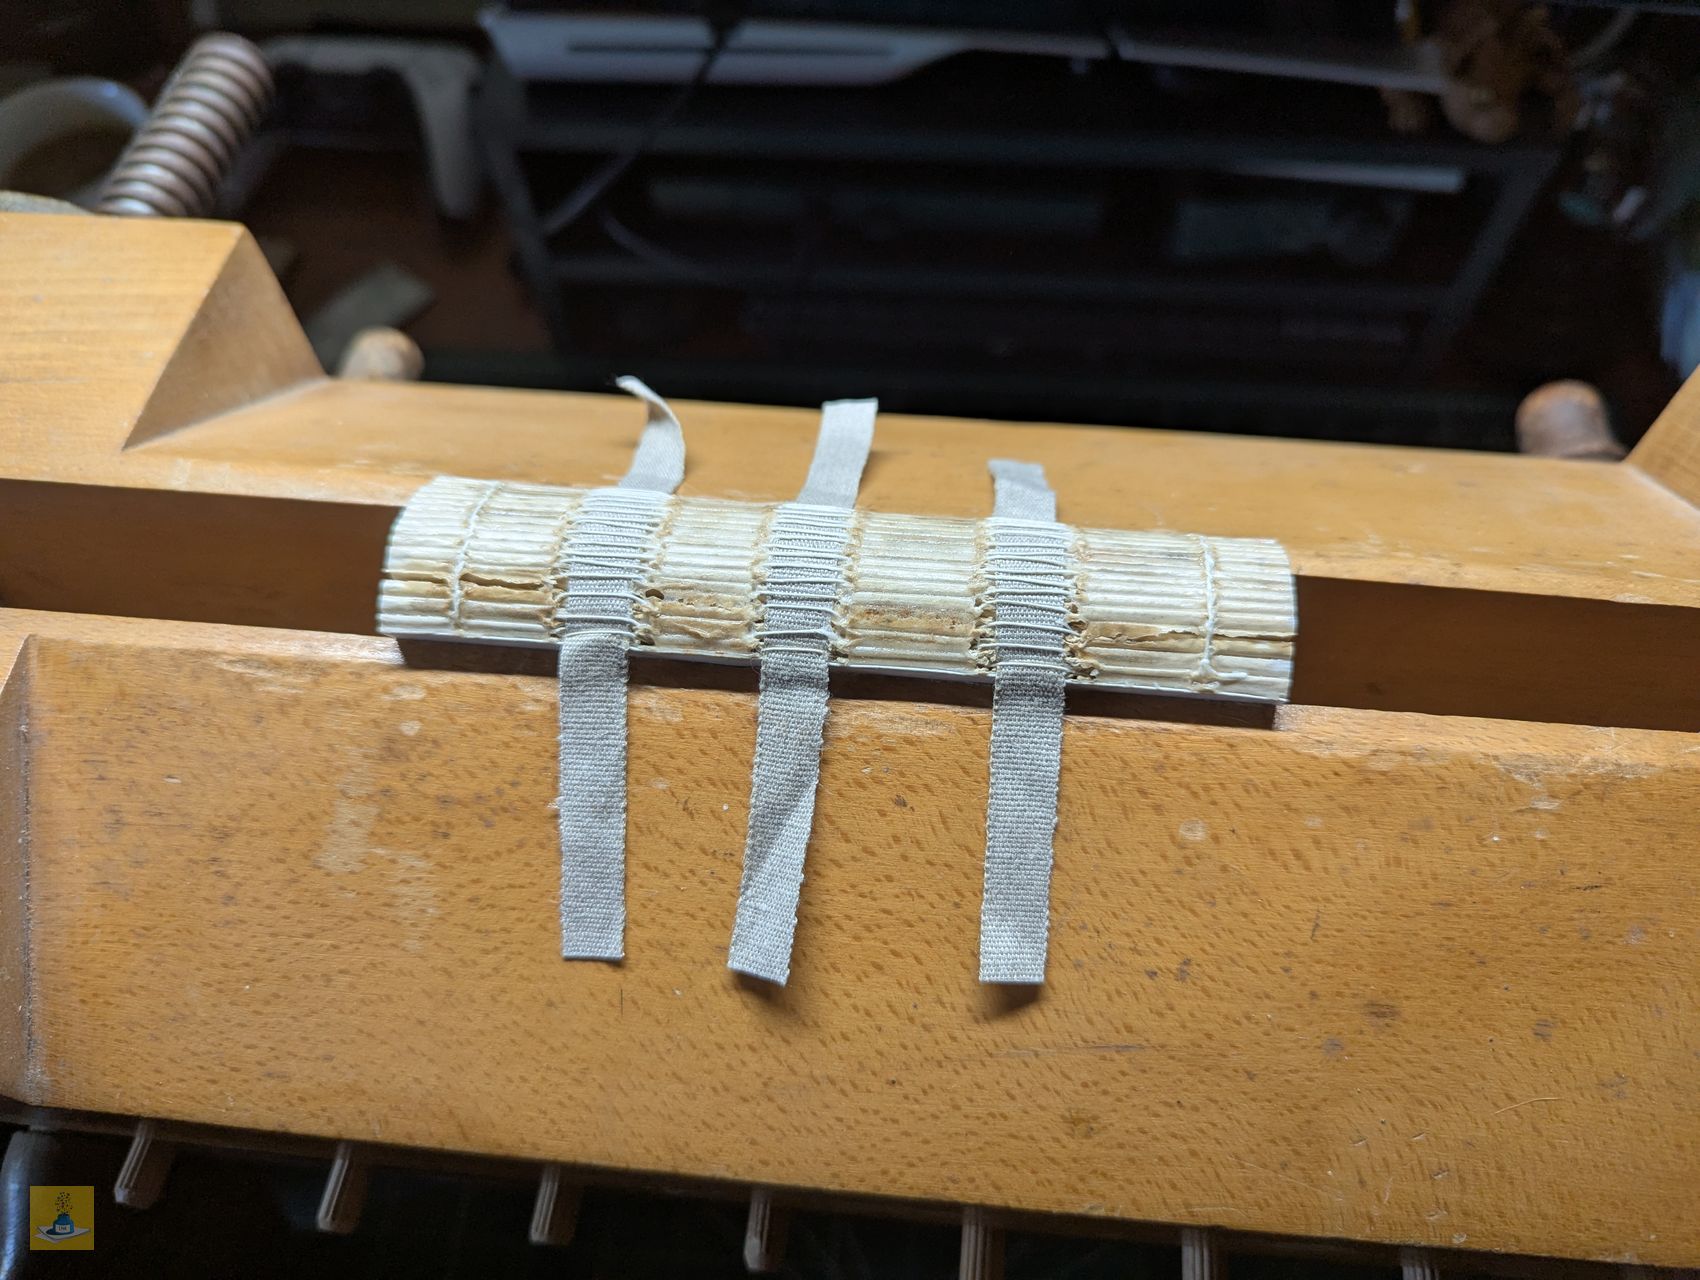
Using my sewing frame, I sewed all the signatures together, incorporating the sewing tapes. These tapes will provide extra support to the spine and will be helpful later when rounding it.


I did need to start a new thread a couple of times during the sewing process, but using a weaver’s knot made this straightforward.
Gluing the Spine
Once the stitching was complete, I glued the spine. I applied glue to the spine area, being careful to avoid the sections where the sewing tapes are situated. These tapes need to remain loose for the spine rounding stage.

Adding End Papers
I found some 135gsm A4 paper, which I folded in half and then used my knife to separate the two halves. These new A5 sheets were then folded in half again and glued to the front and back of the text block.

I placed the text block under some weight for about 30 minutes to allow the glue to dry. Afterward, I trimmed the edges of the end papers to be roughly flush with the head, tail, and fore-edge of the block.
Trimming the Text Block
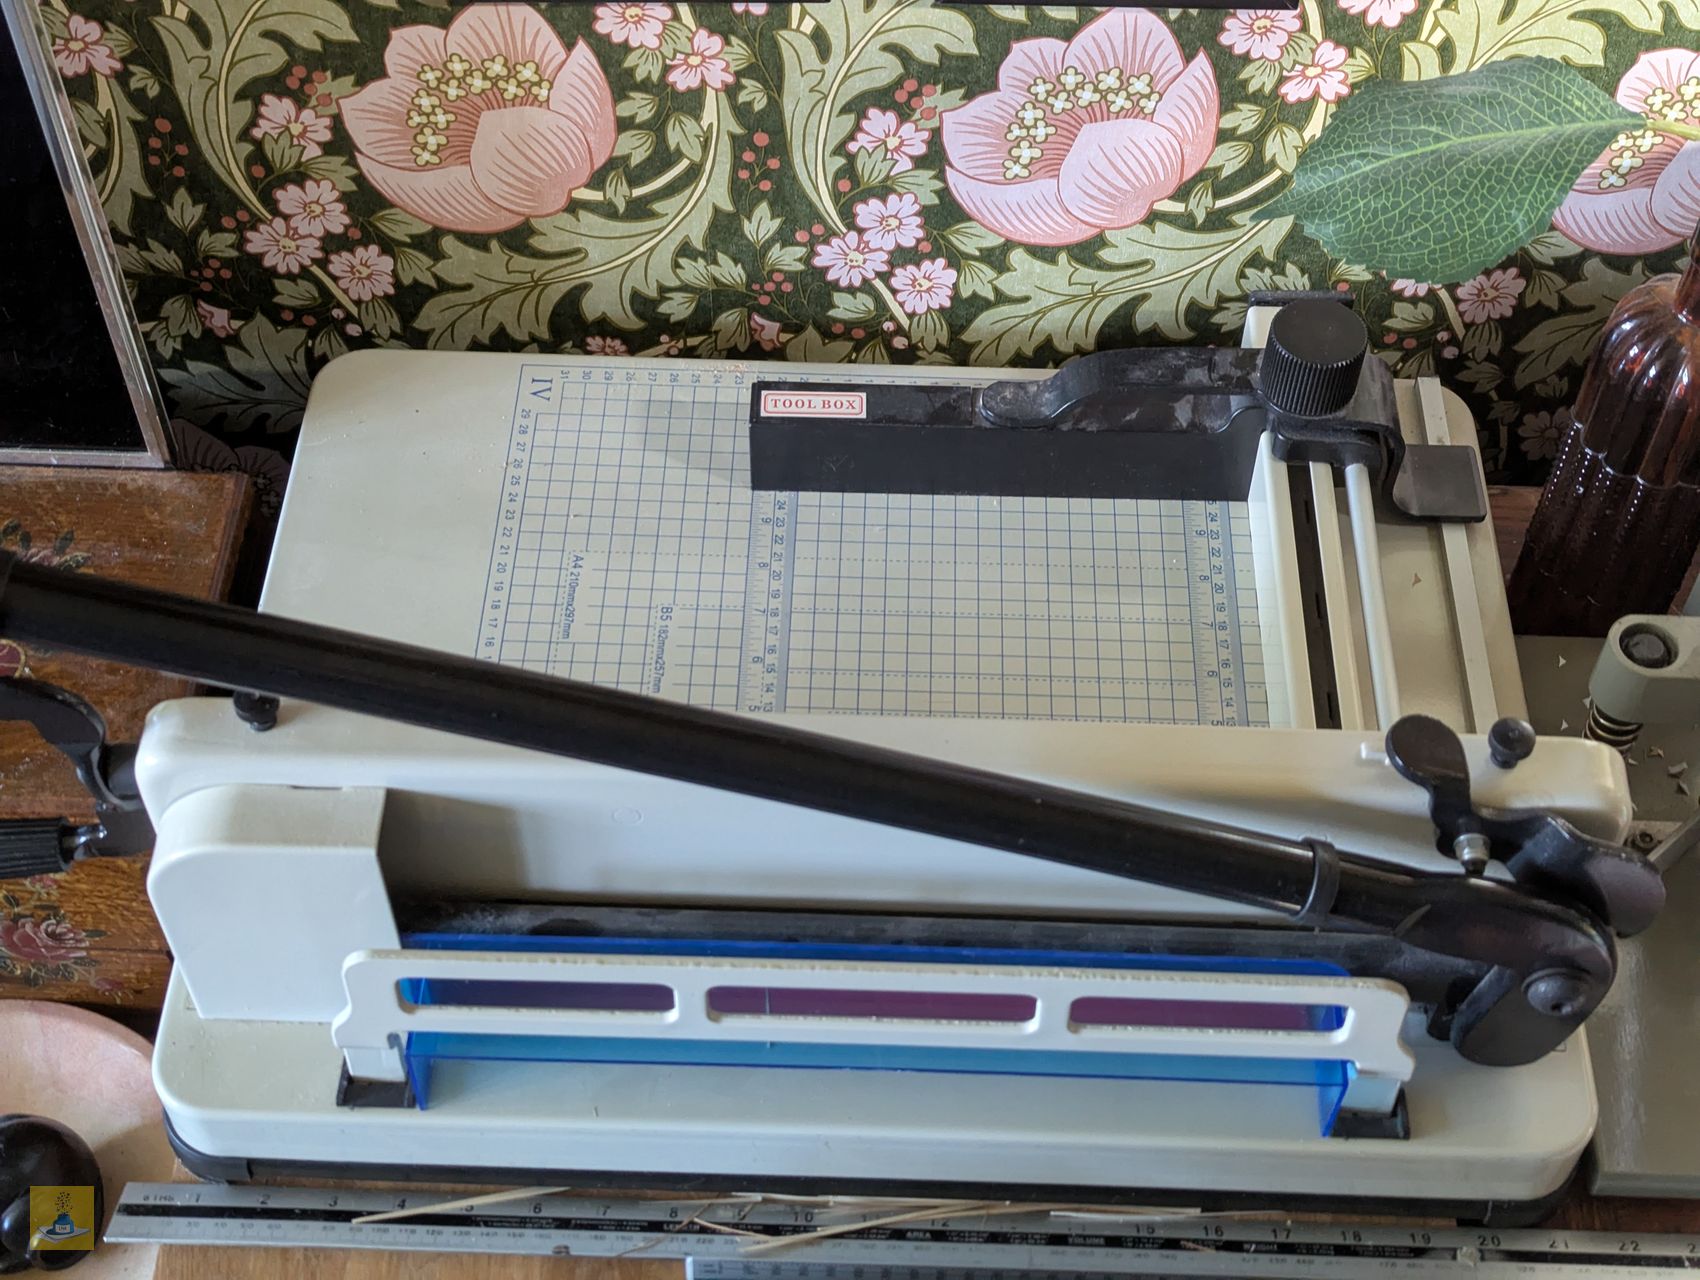
With the glue on the spine fully dried, it was time to trim the head, tail, and fore-edge of the text block. As mentioned in Part 1, the text block wasn’t square, so this was my opportunity to rectify that issue and create a cleaner edge for the book.
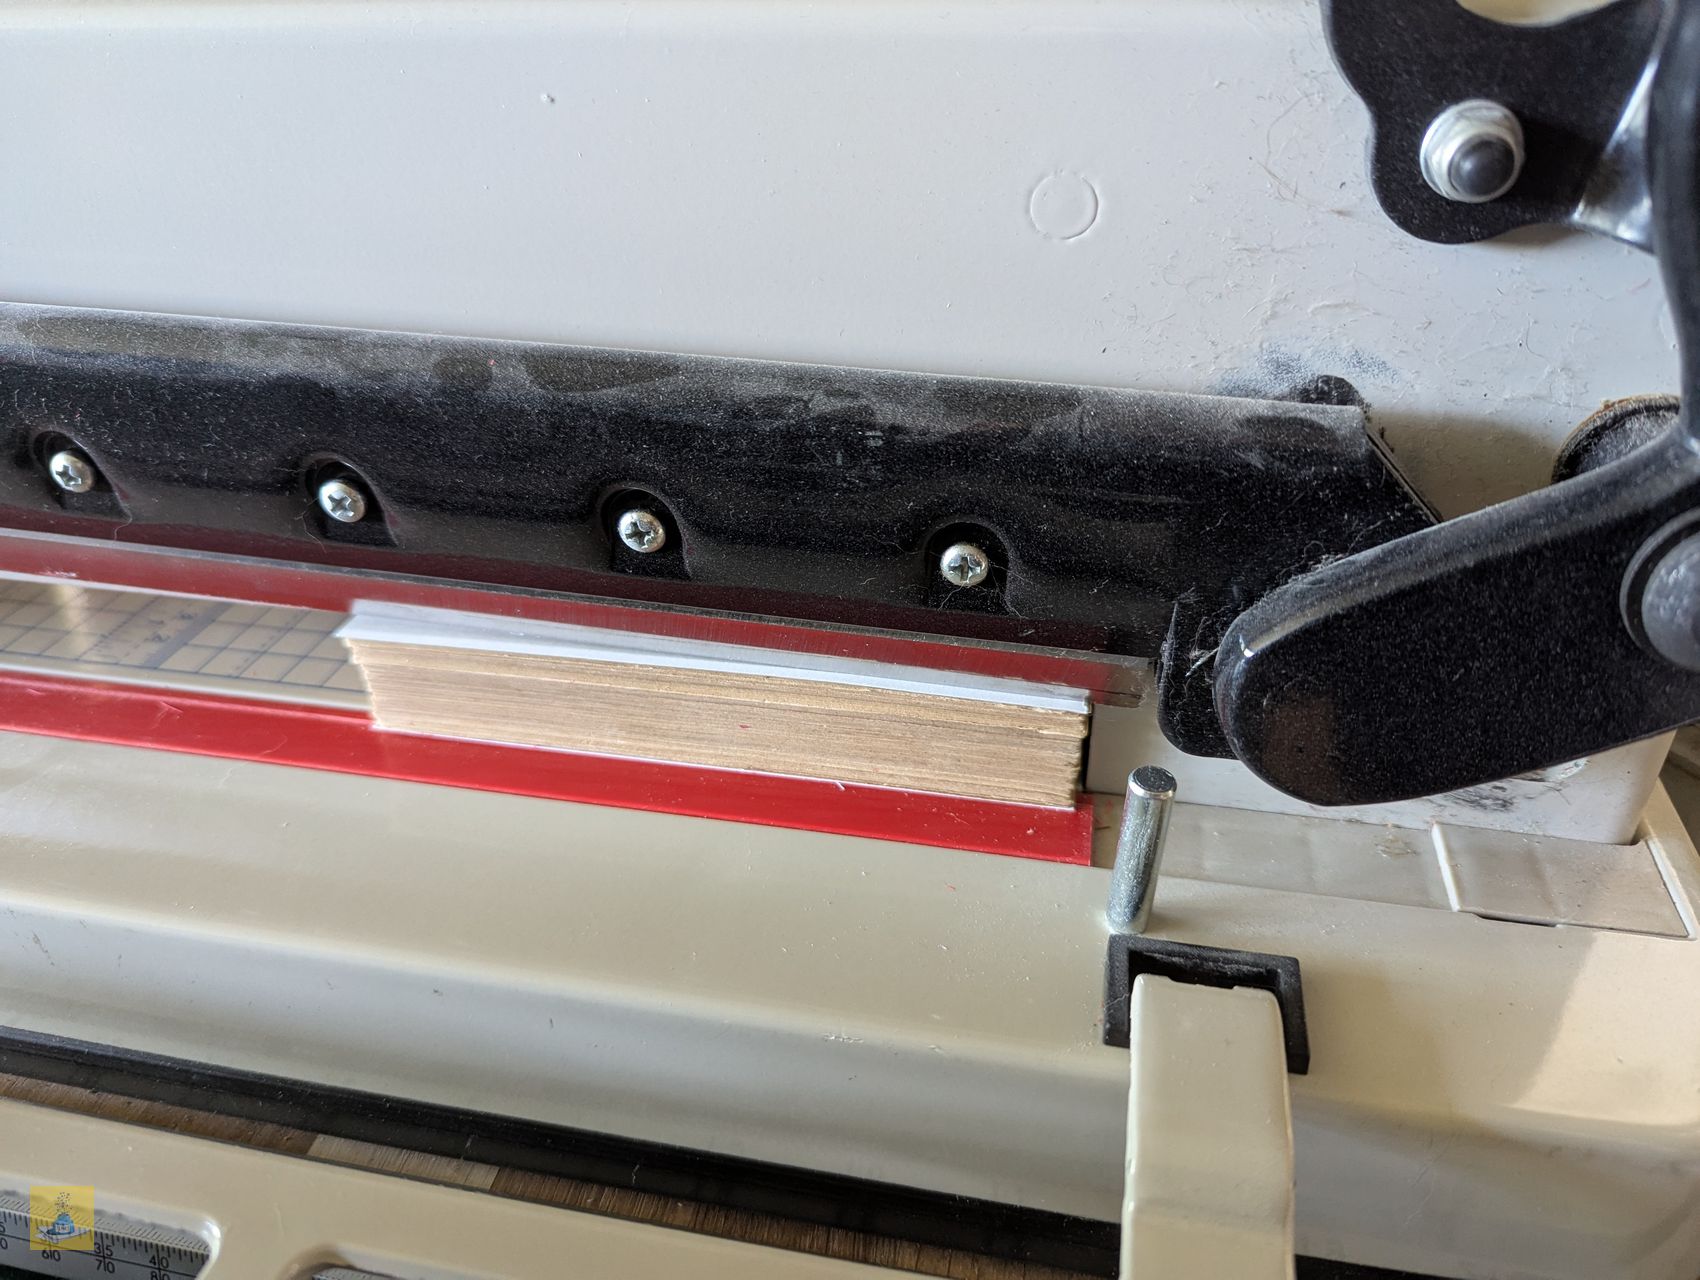
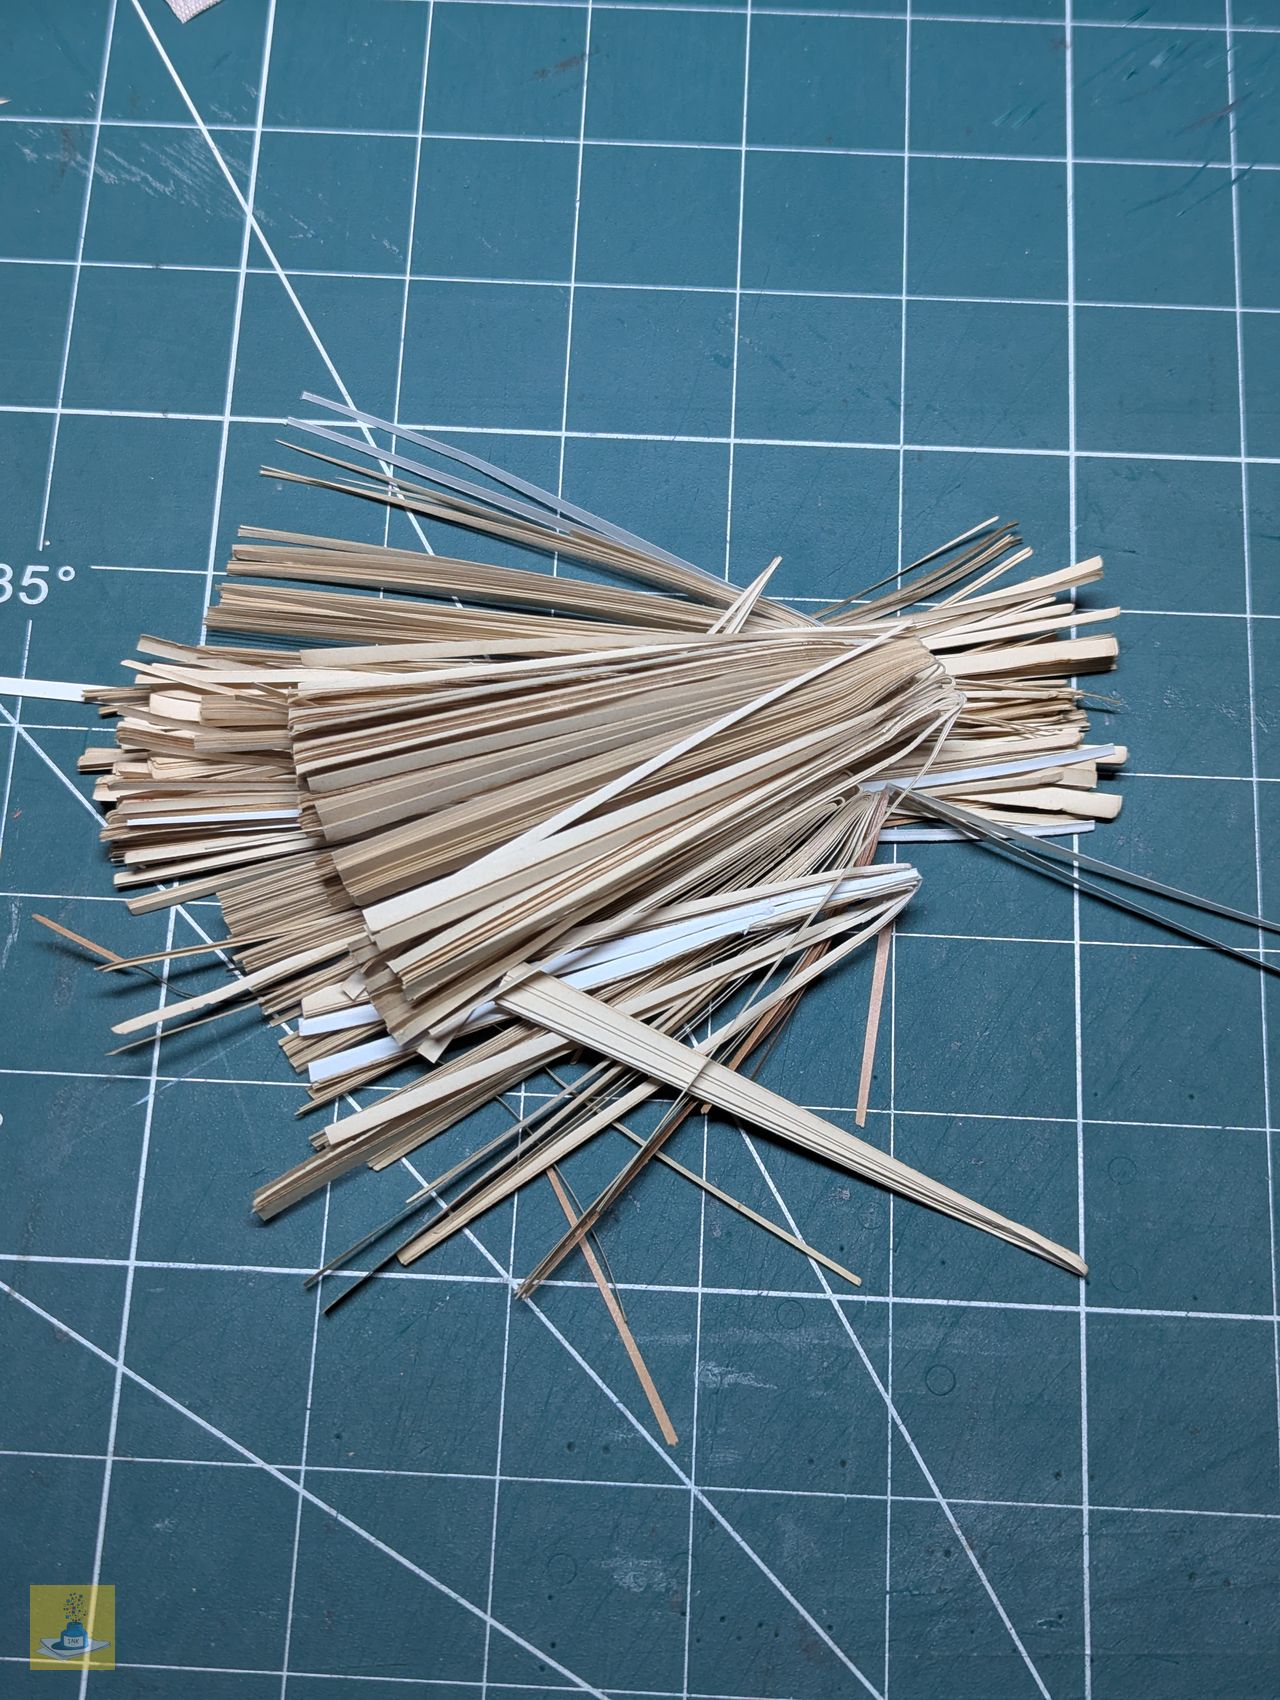
I have a heavy-duty guillotine that can easily cut through 500 sheets of paper. I positioned the spine against the right-angled straight edges, clamped it securely, and made the cut. I repeated this process for the head and tail, always ensuring that a freshly cut edge was against the right-angled straight edges to guarantee a square cut every time. Once all the cuts were done, I checked to make sure everything was square… and it was! Phew!


Rounding and Backing the Spine
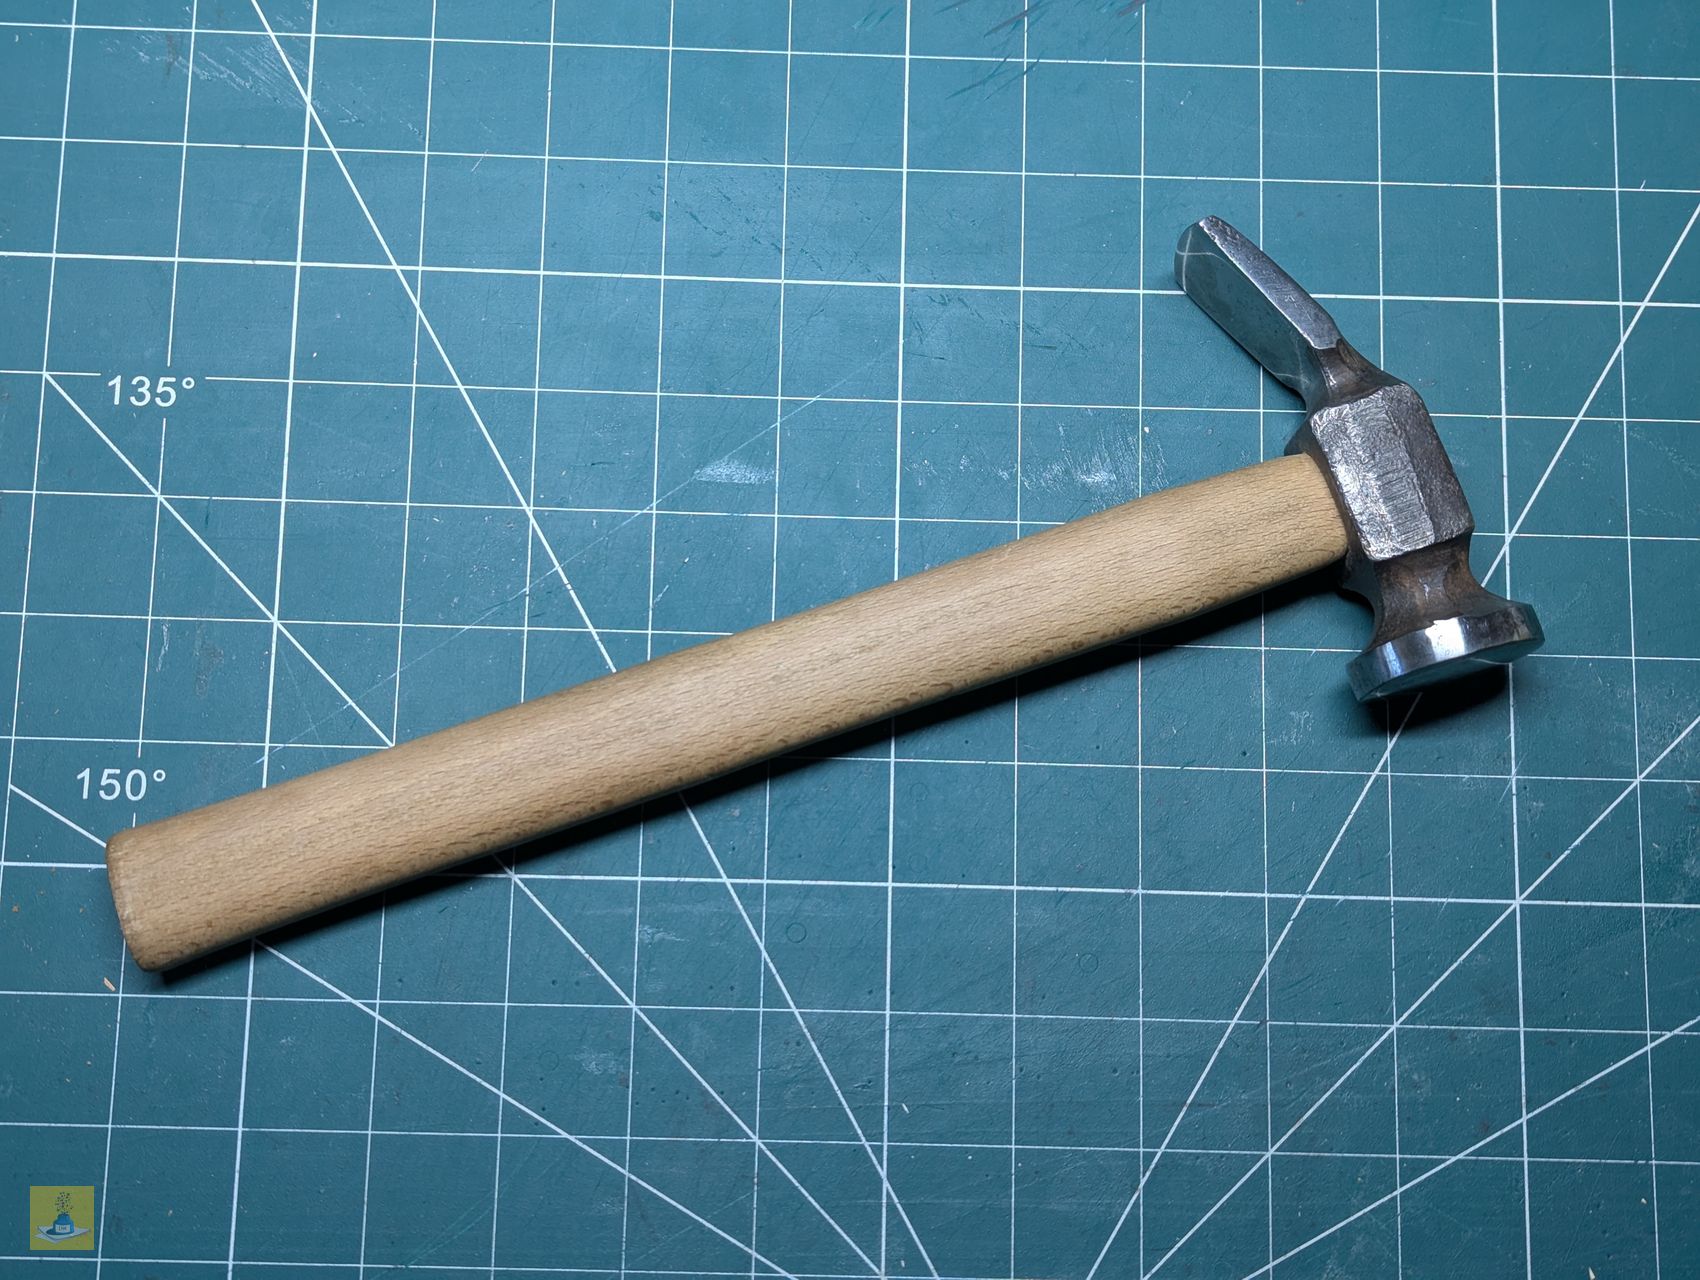
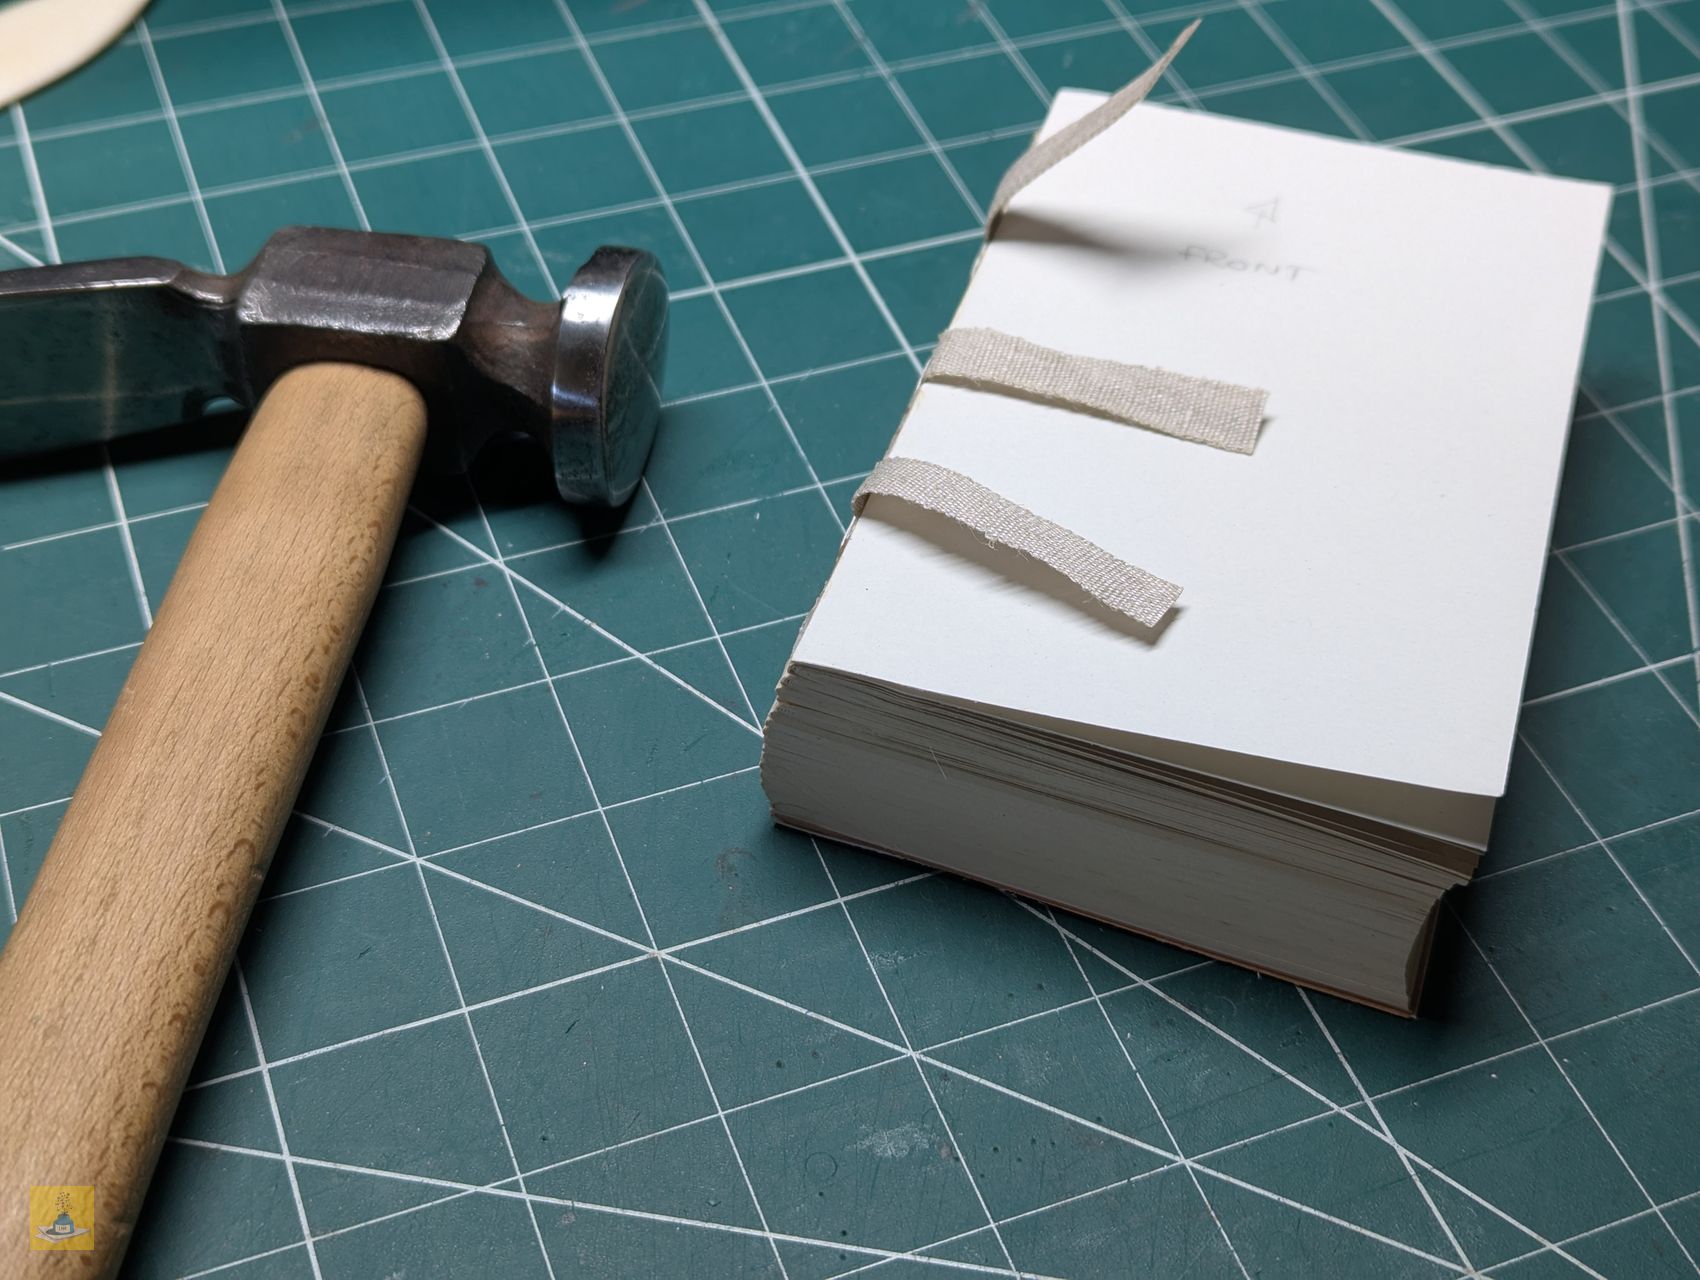
Rounding
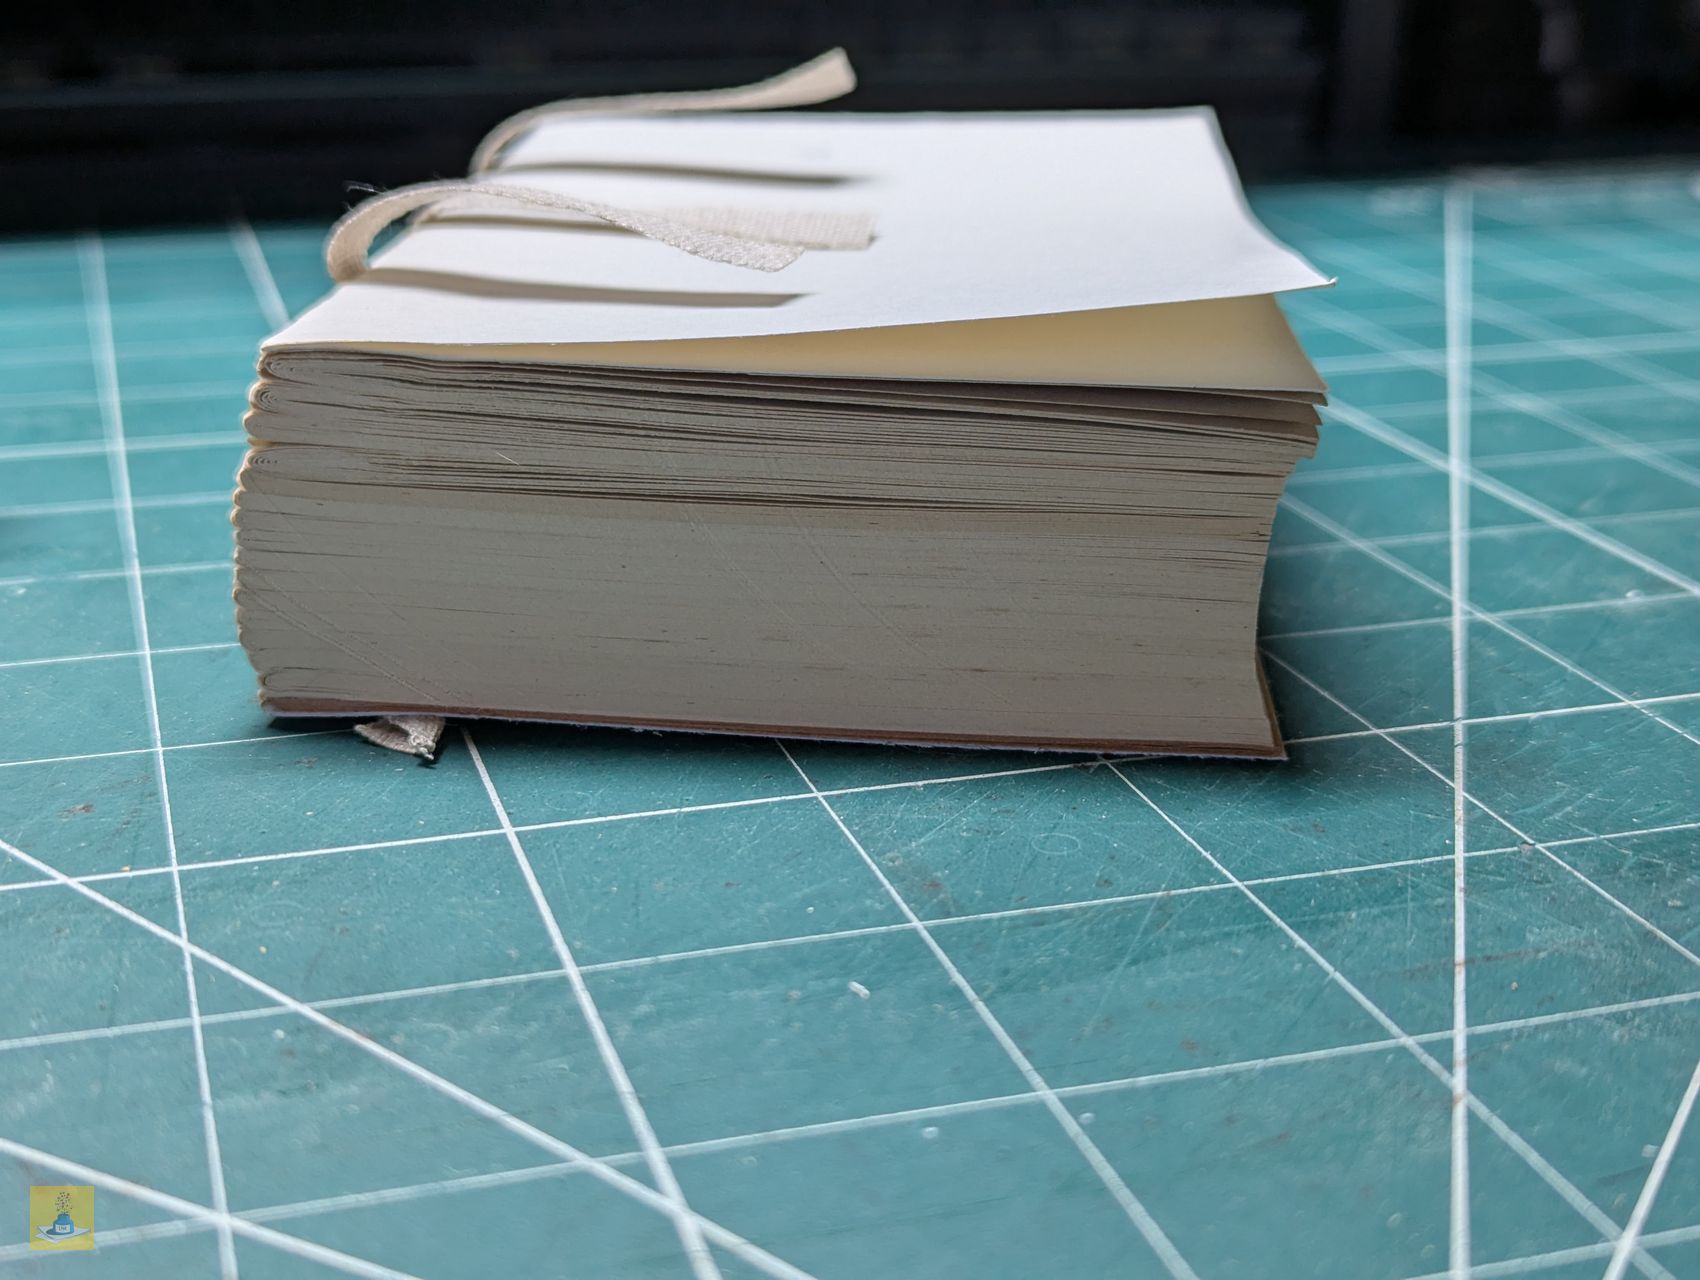
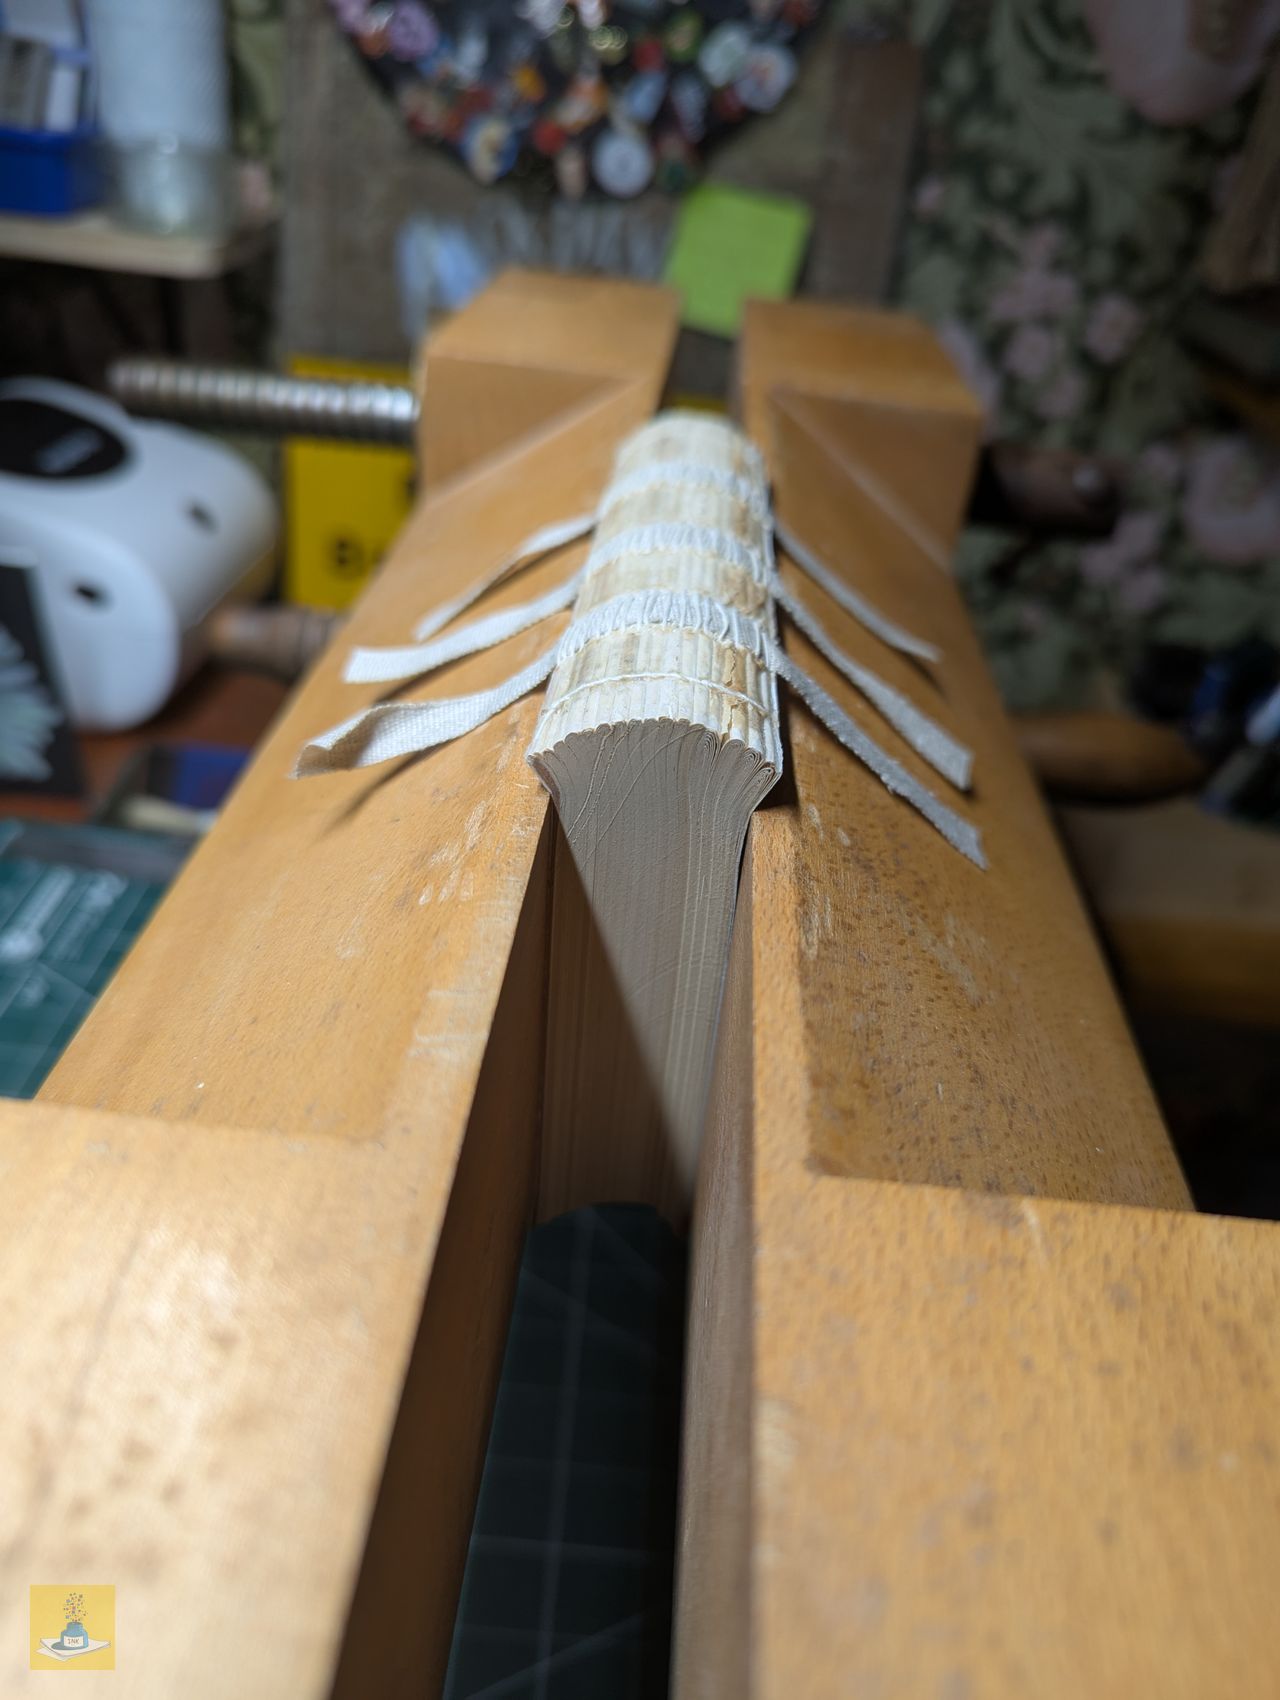
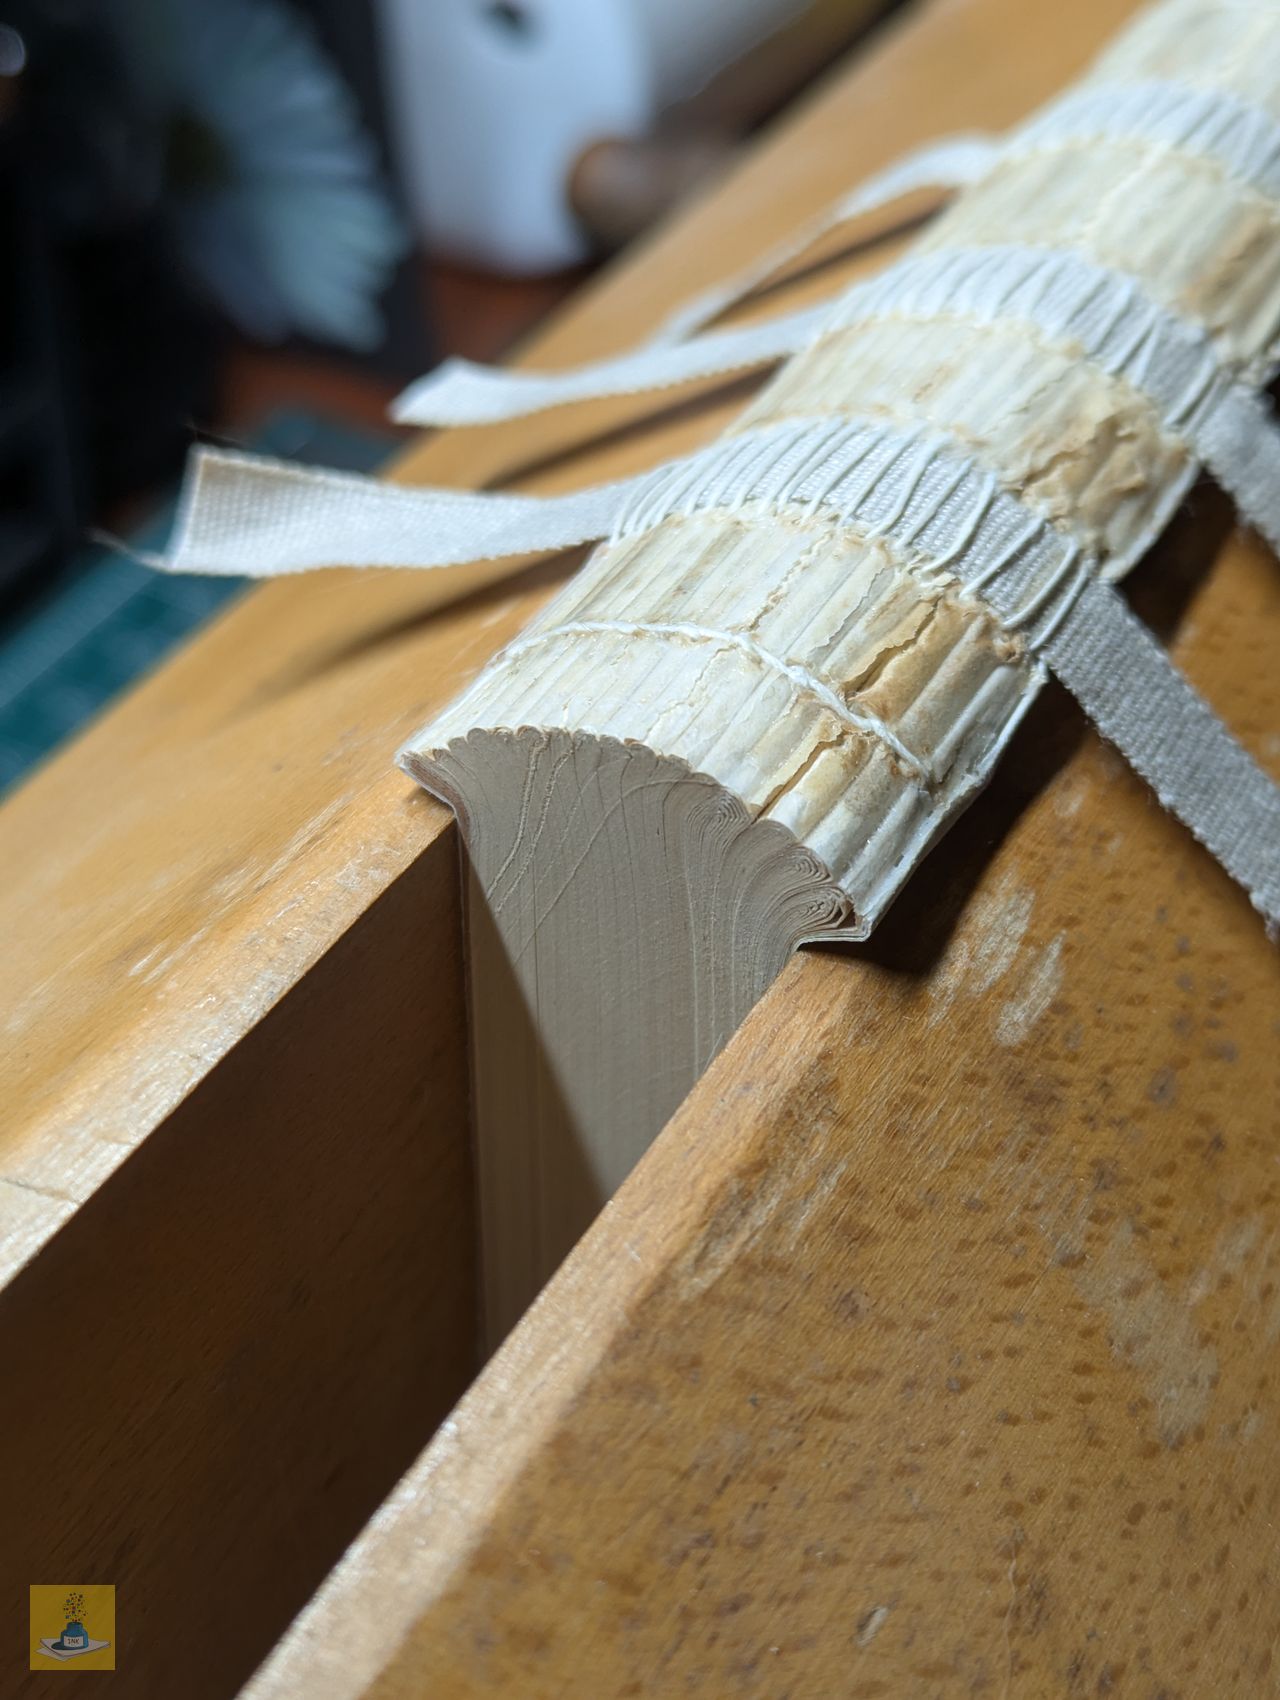
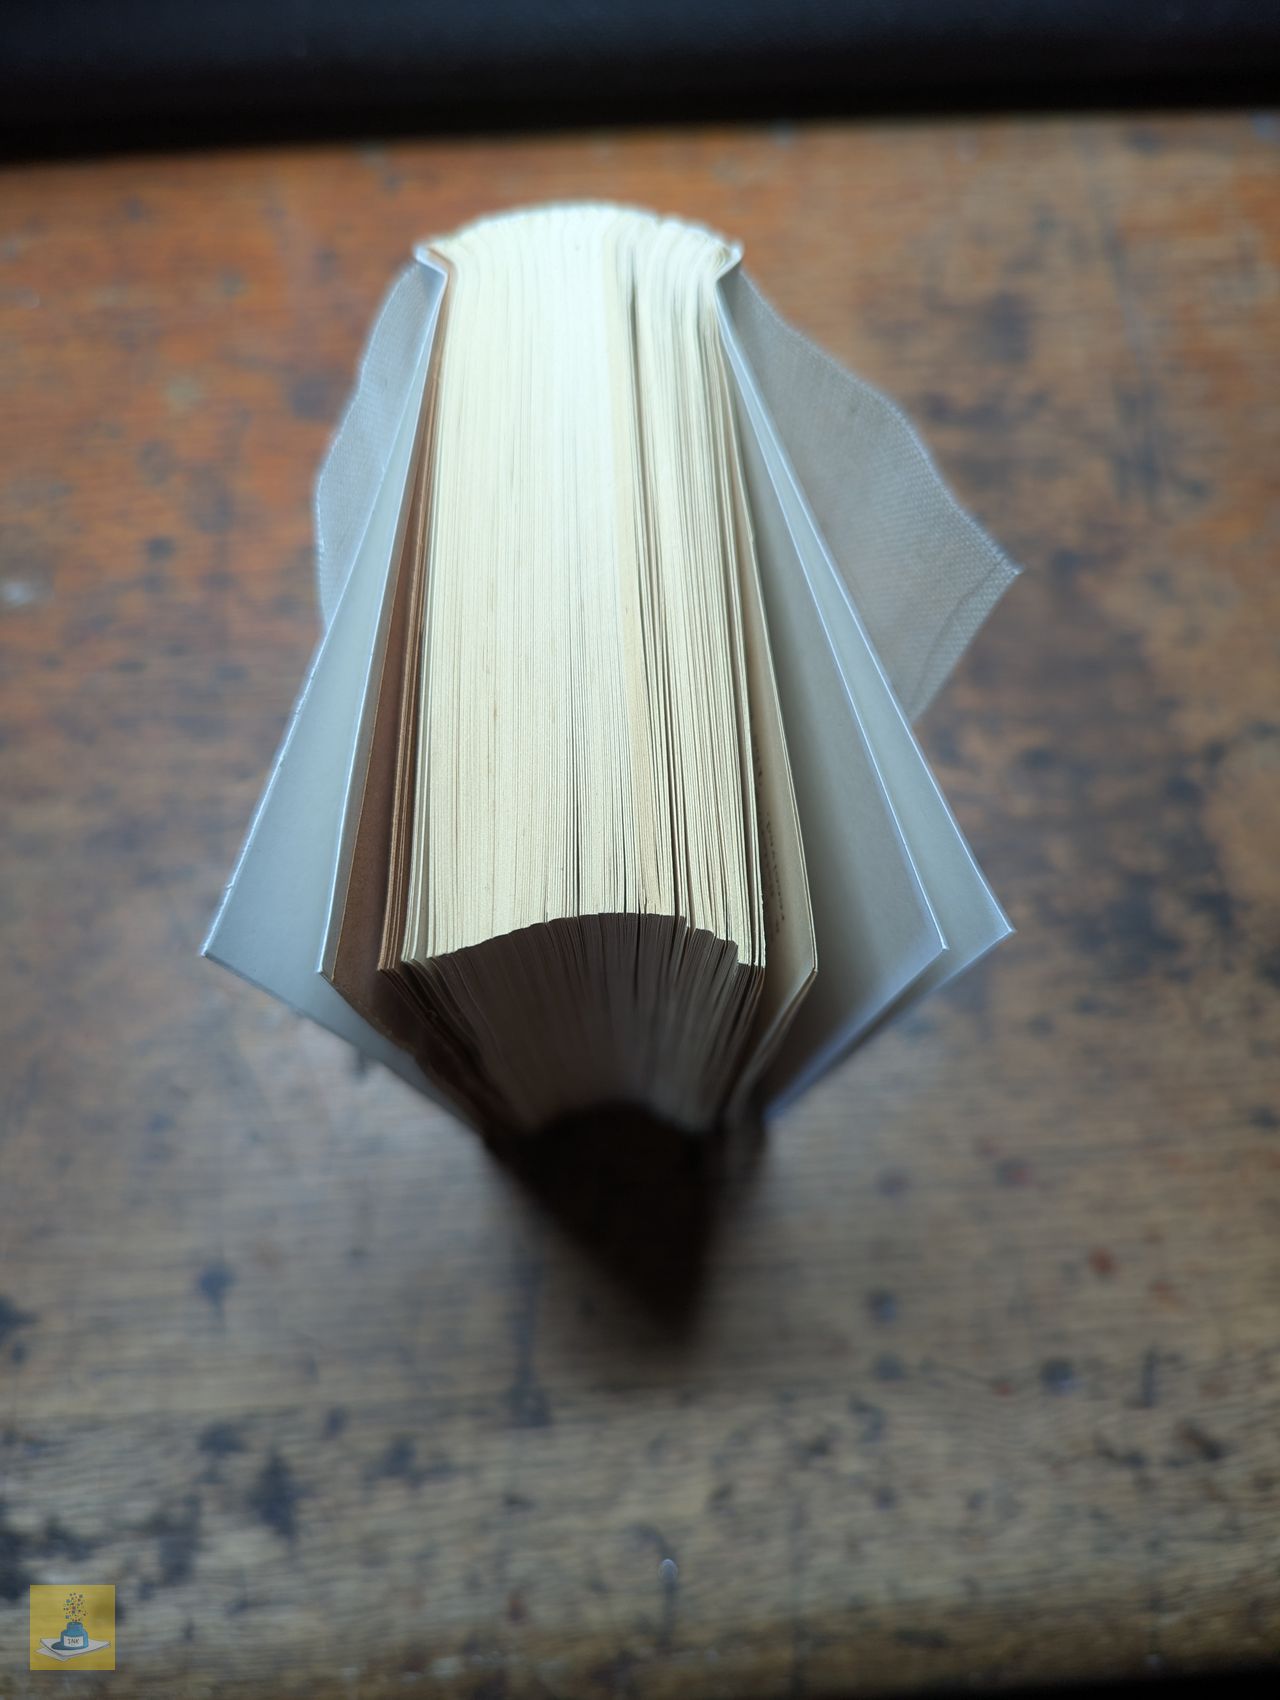
To begin the rounding process, I used my hammer on the spine while gently curling the fore-edge up on my desk area. I did discover afterwards that the Kozo paper I had adhered to each side of the spine of the first four signatures in a previous step made those sections thicker. Now, instead of a smooth rounding concave on the fore-edge, they look more like steps. I plan to try and resolve this using sandpaper. Also, I noticed that the very back page had torn away, this is due to the paper being so thin and fragile.


Once I had rounded the spine to my liking, I placed the text block in my finishing press to complete the rounding process and to create the shoulders on the front and back of the text block for the covers to fit against.


Once the rounding was finished, I applied more glue to the entire spine, including the sewing tapes. This is to ensure that the spine retains its rounded shape.

Backing
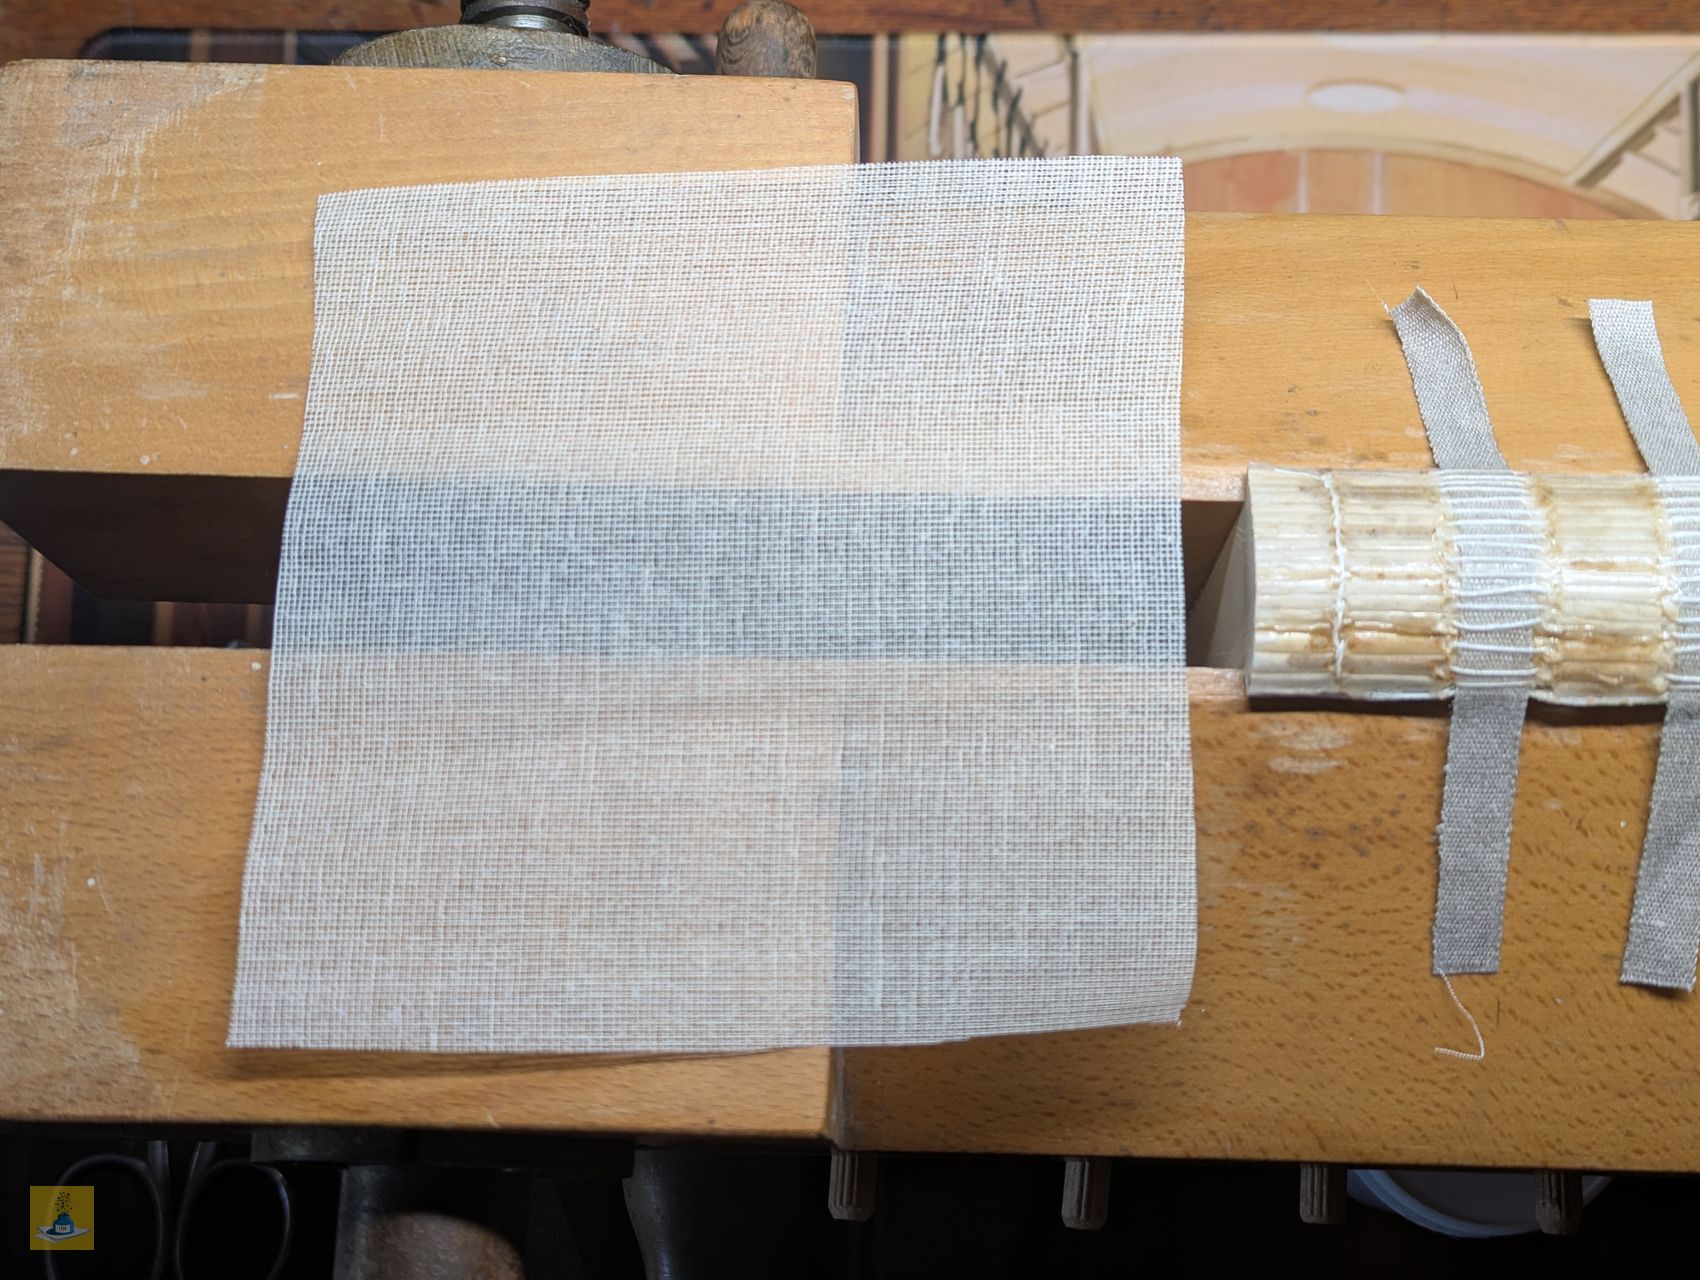
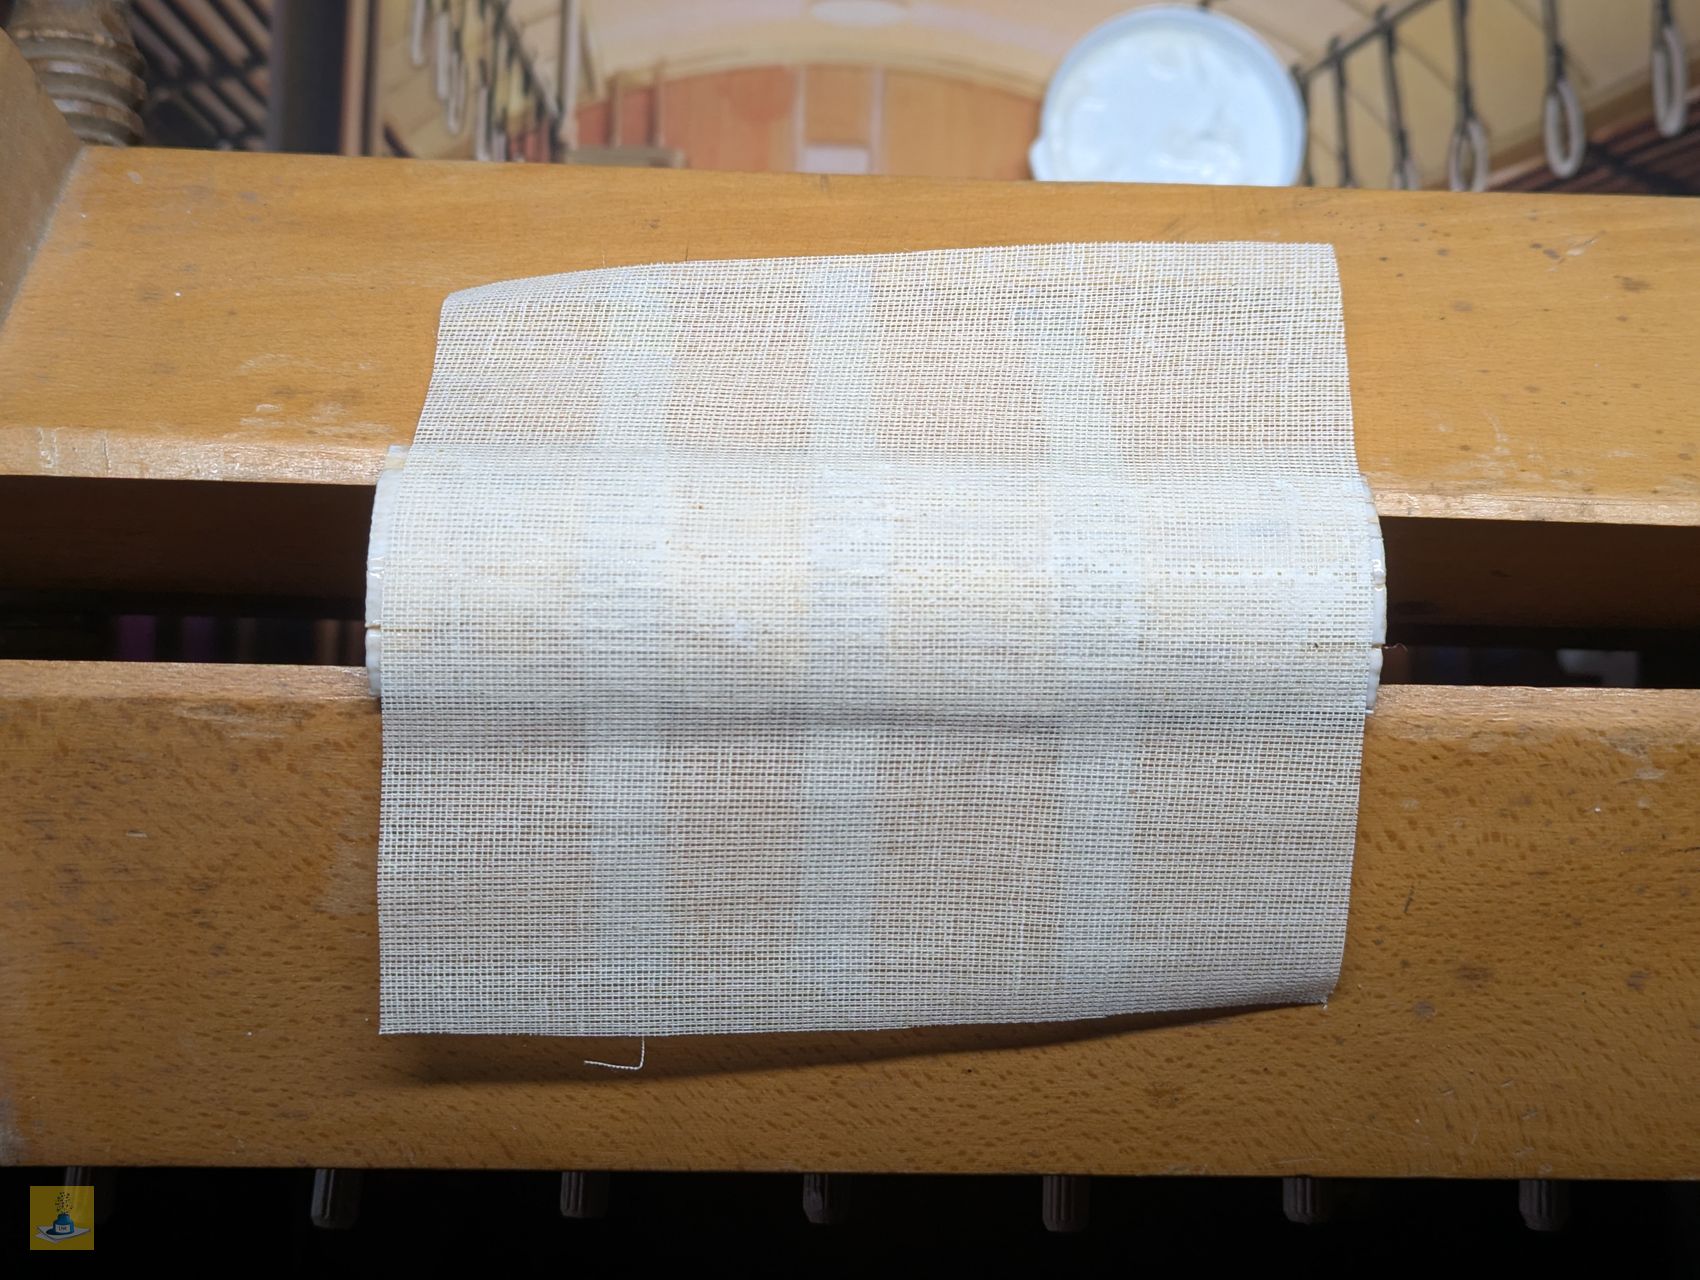
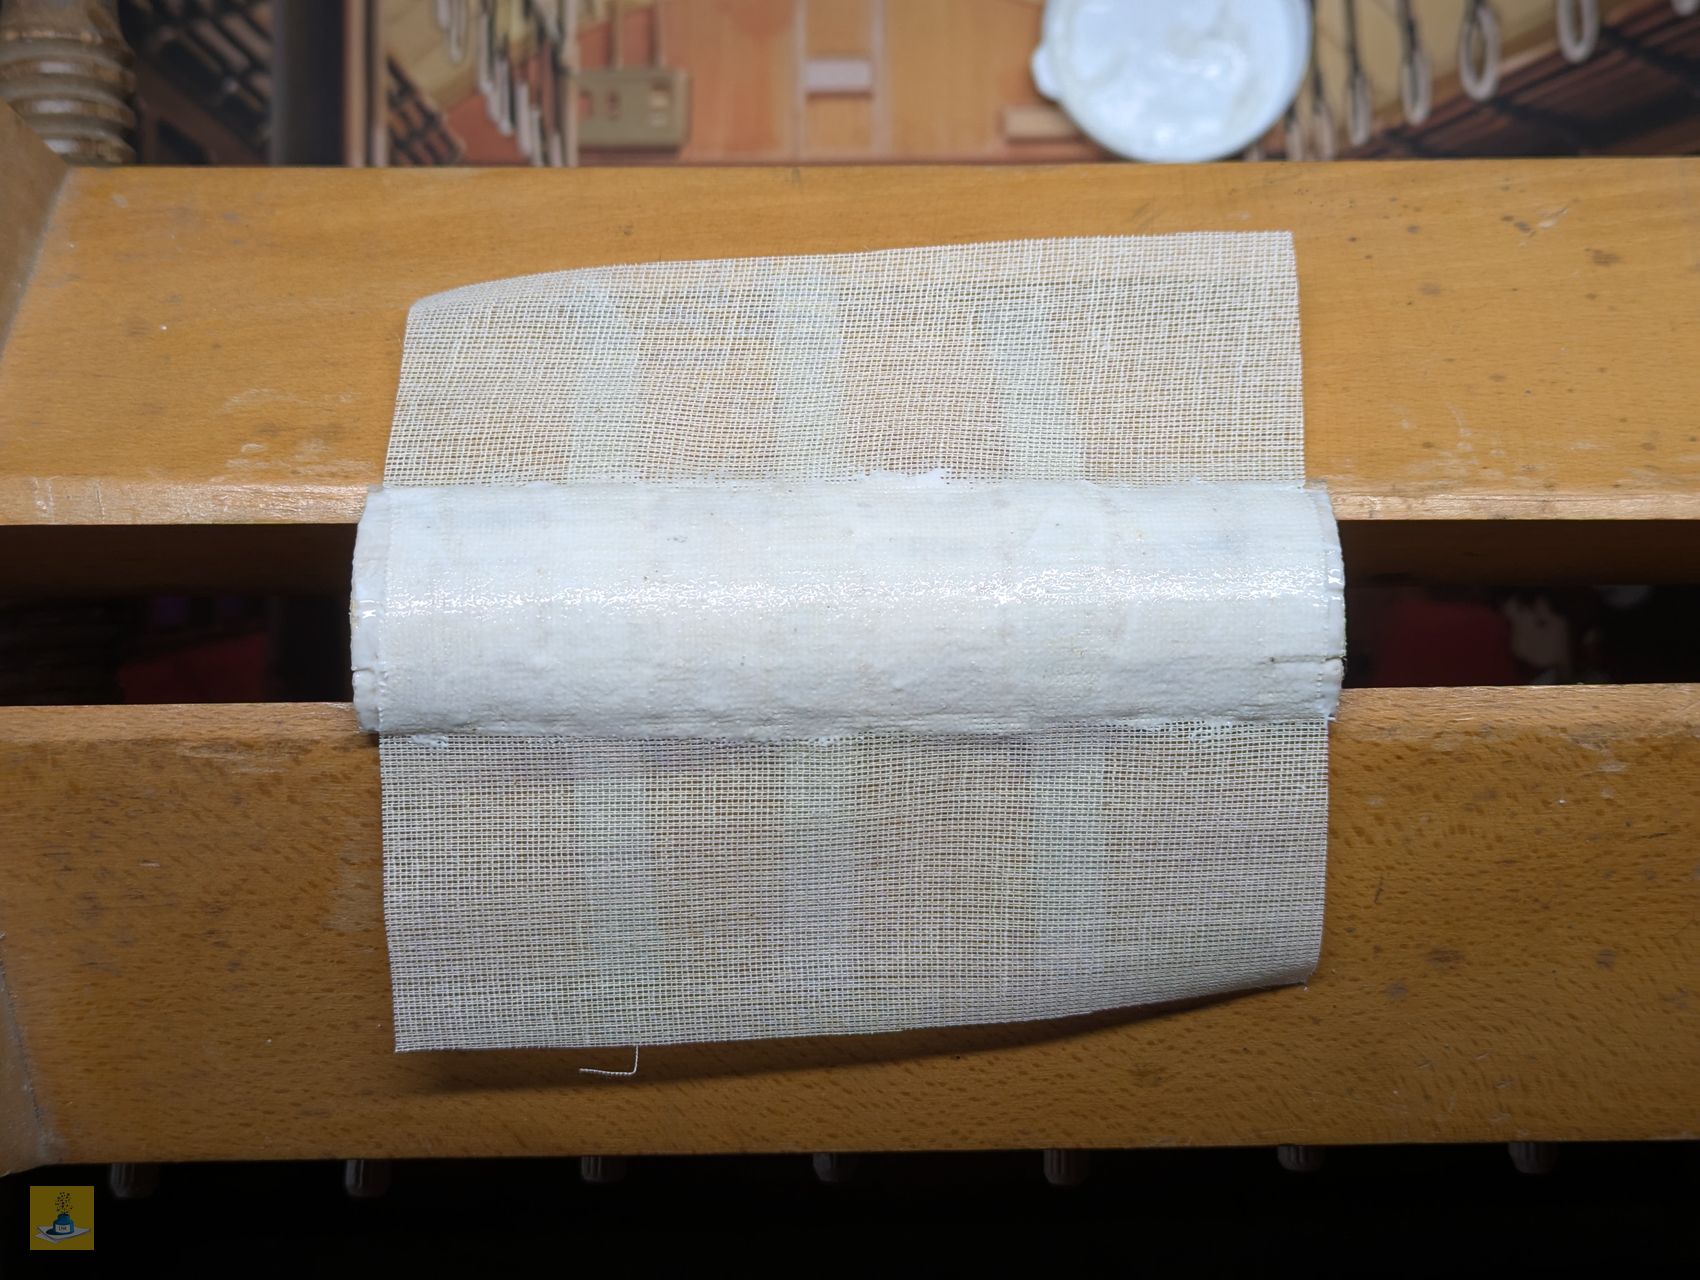
After the glue on the spine had dried while still in the finishing press, I cut out some mull. The mull needs to be slightly shorter than the height of the spine and the same width as the spread of the sewing tapes on the front and back of the text block. These will be trimmed later when preparing the covers.


I need to complete more backing to the spine which will be completed in the next part of this chapter in the book restoration.


