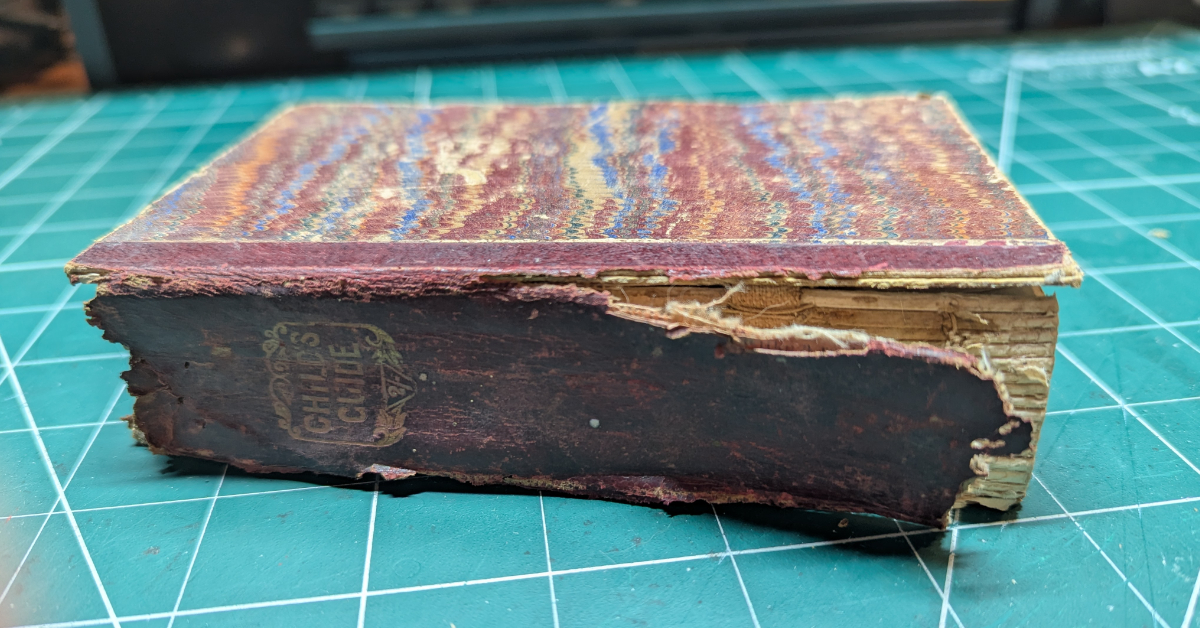
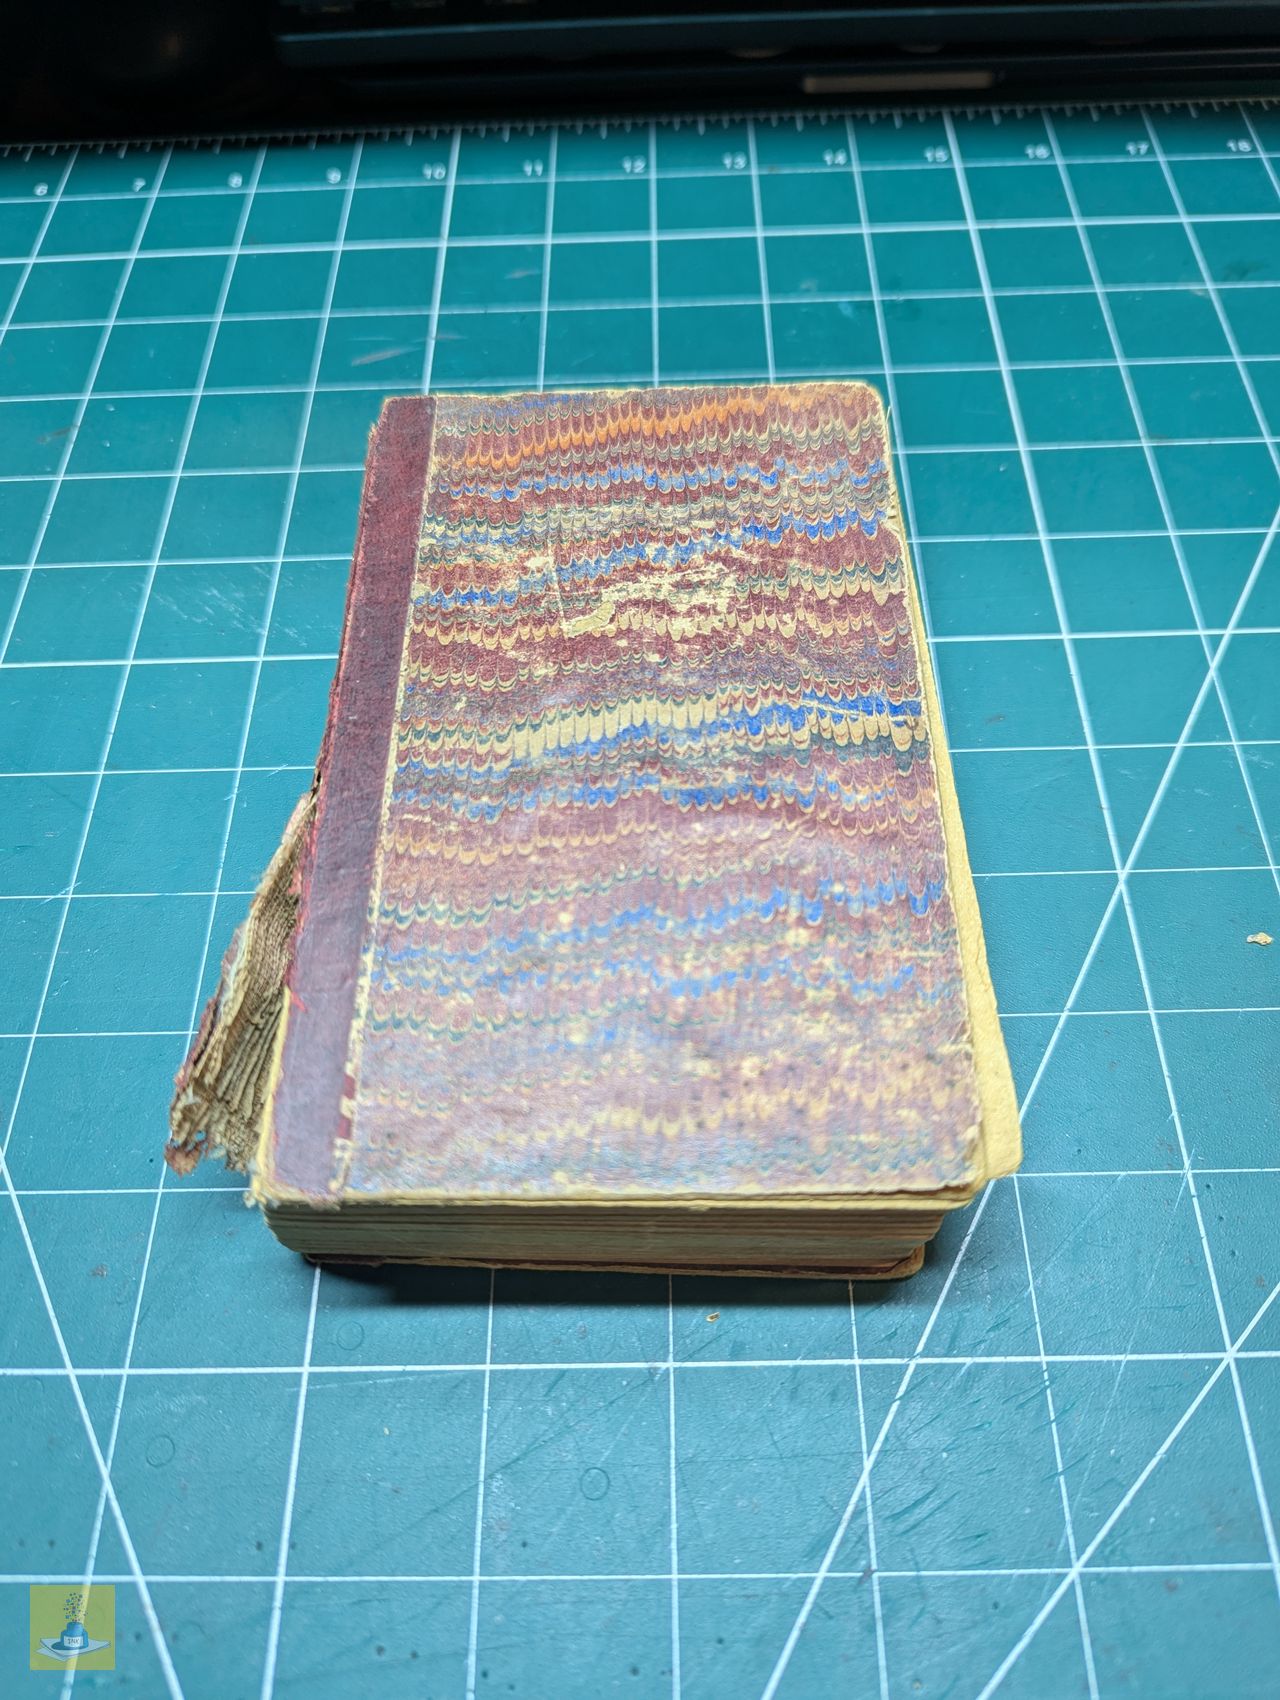
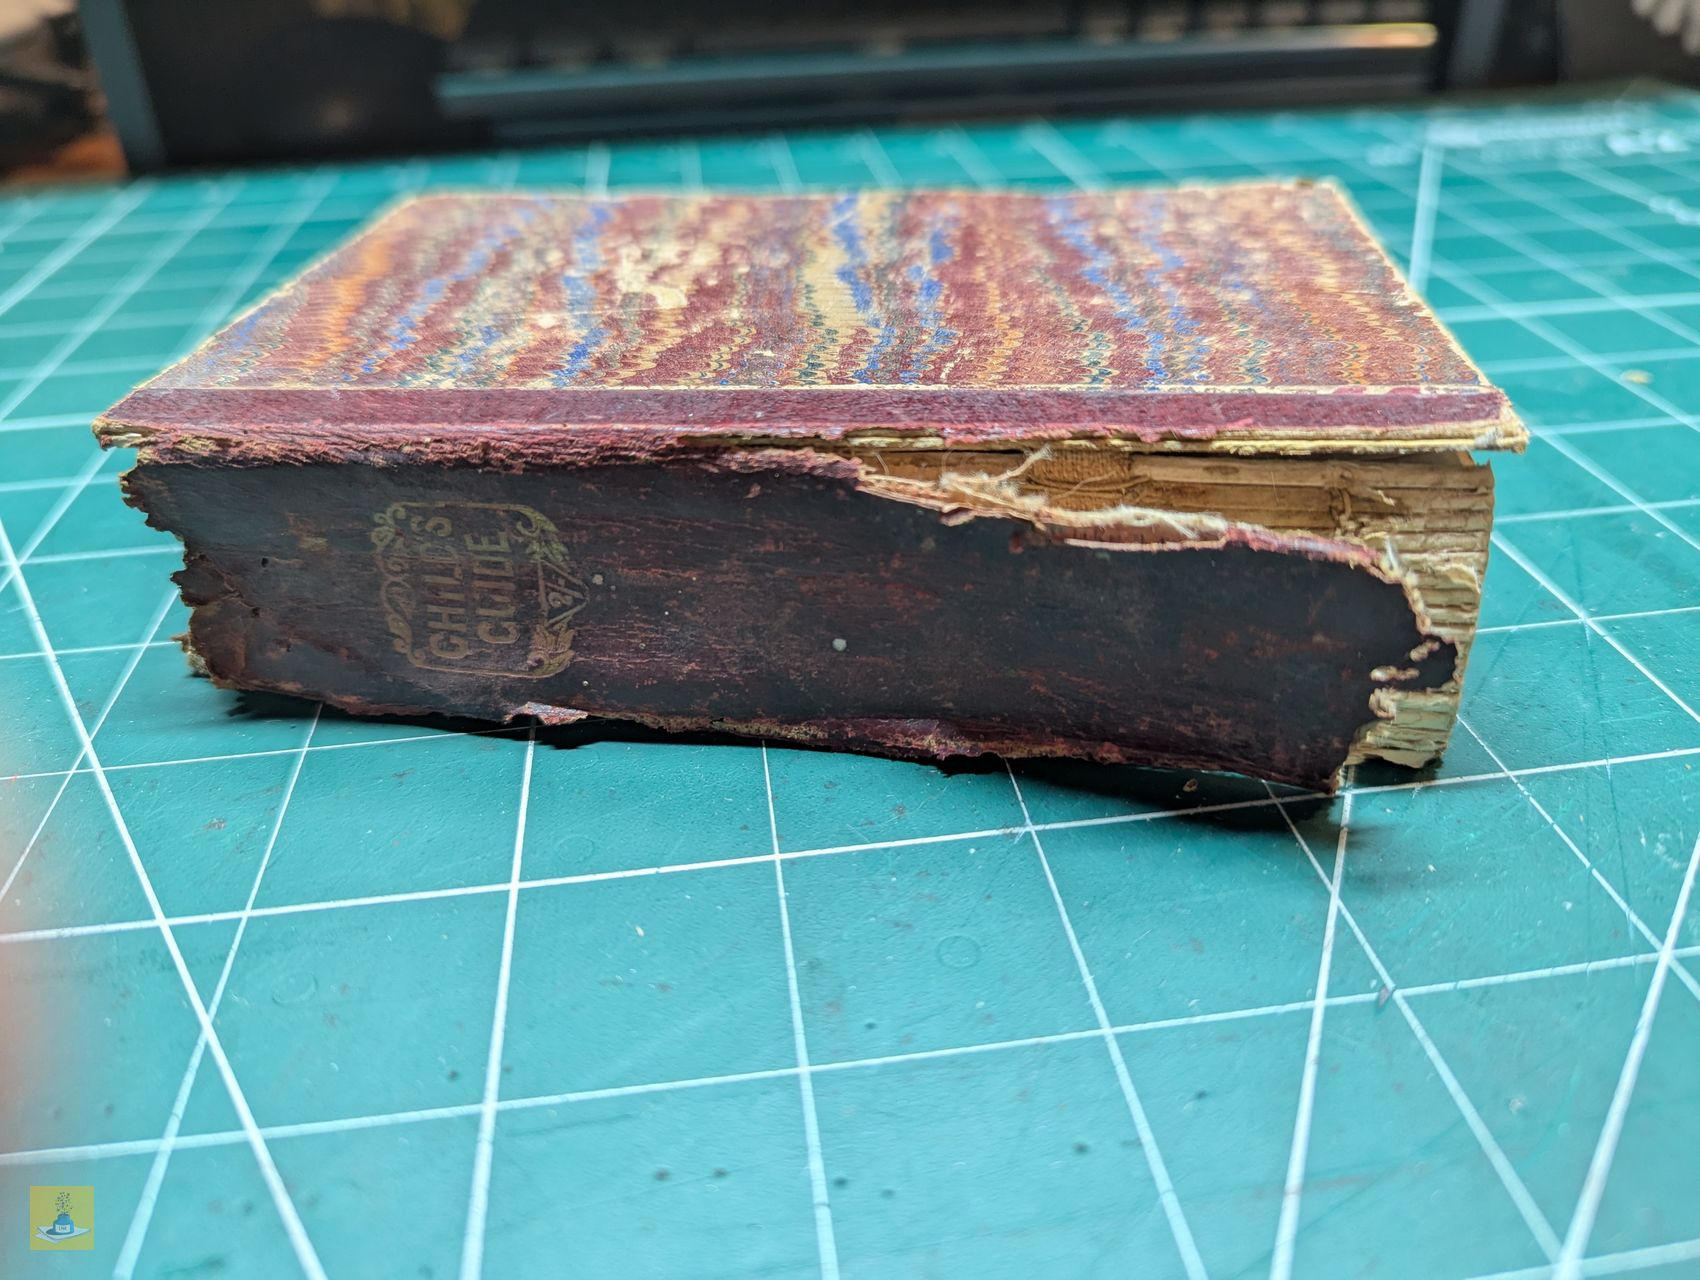
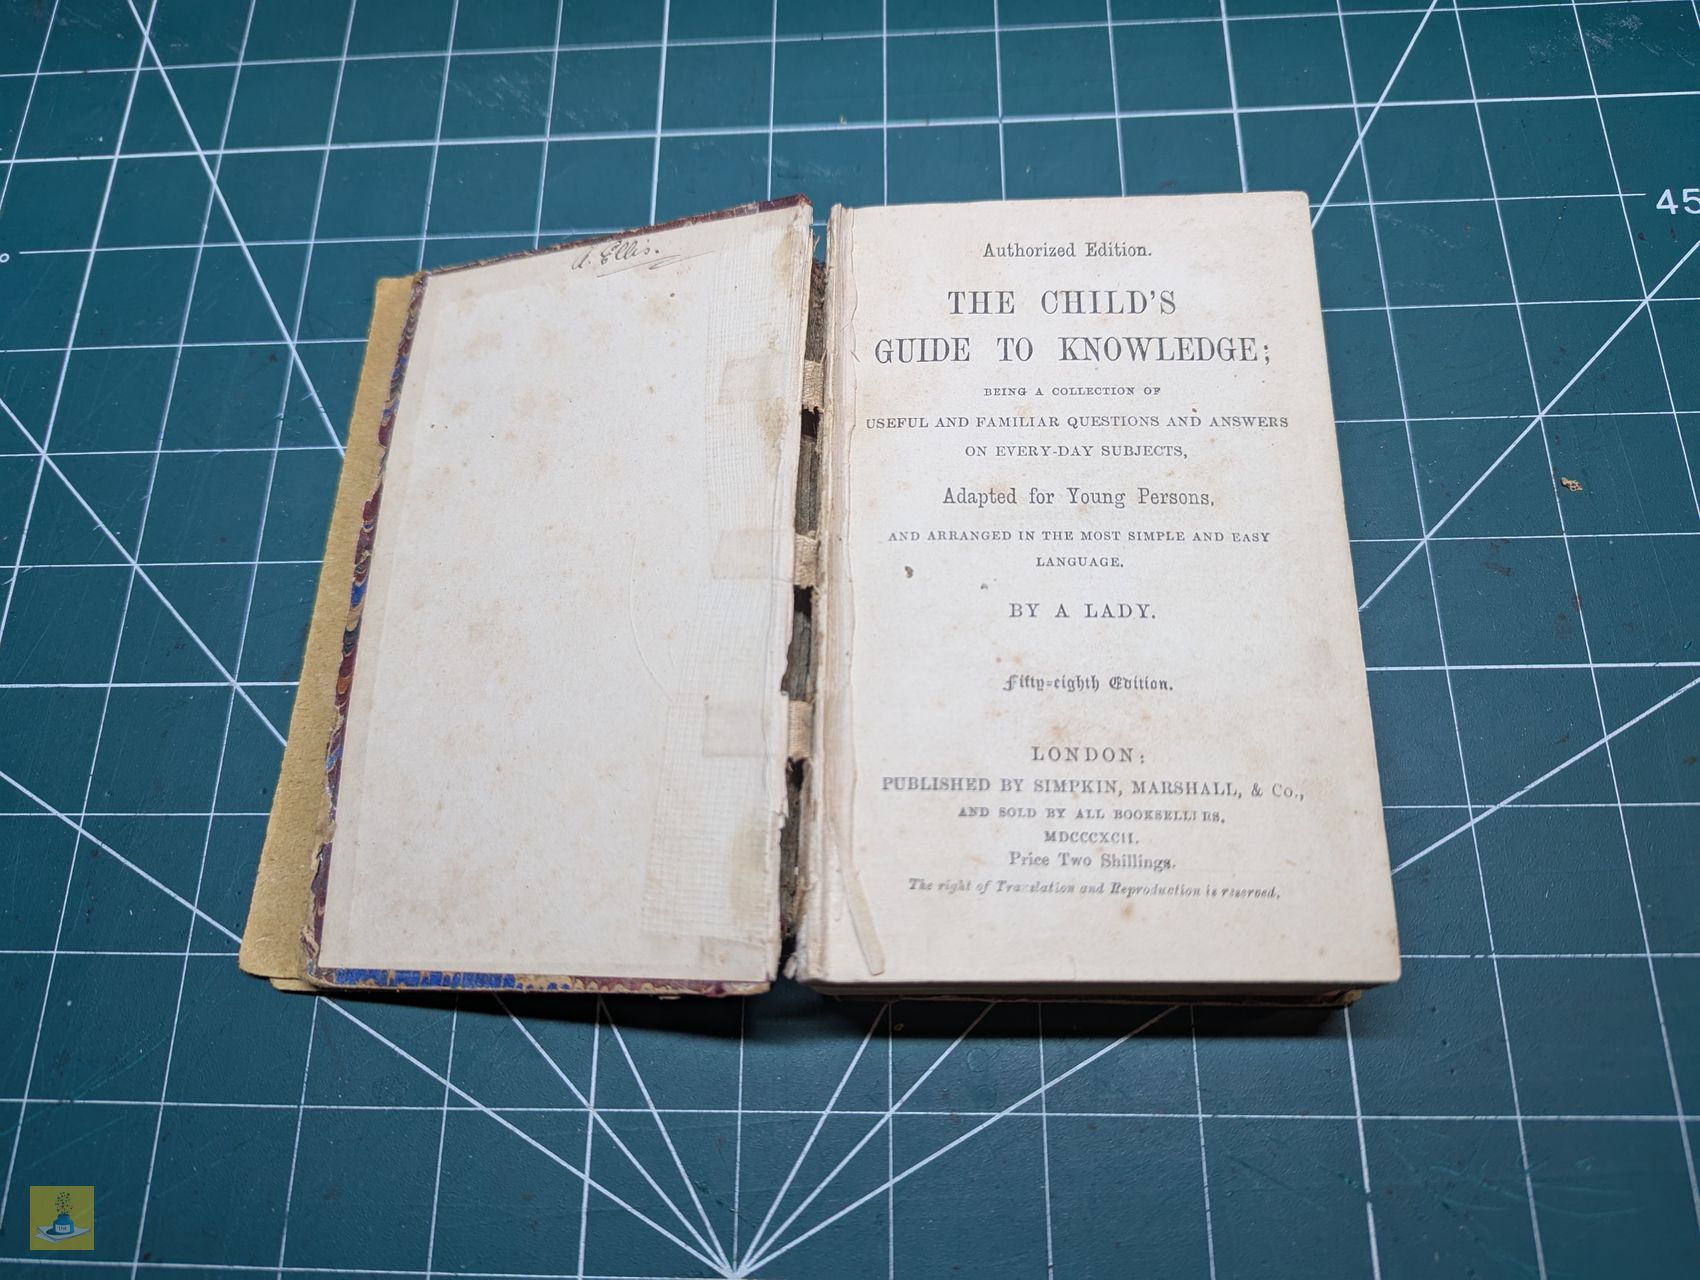
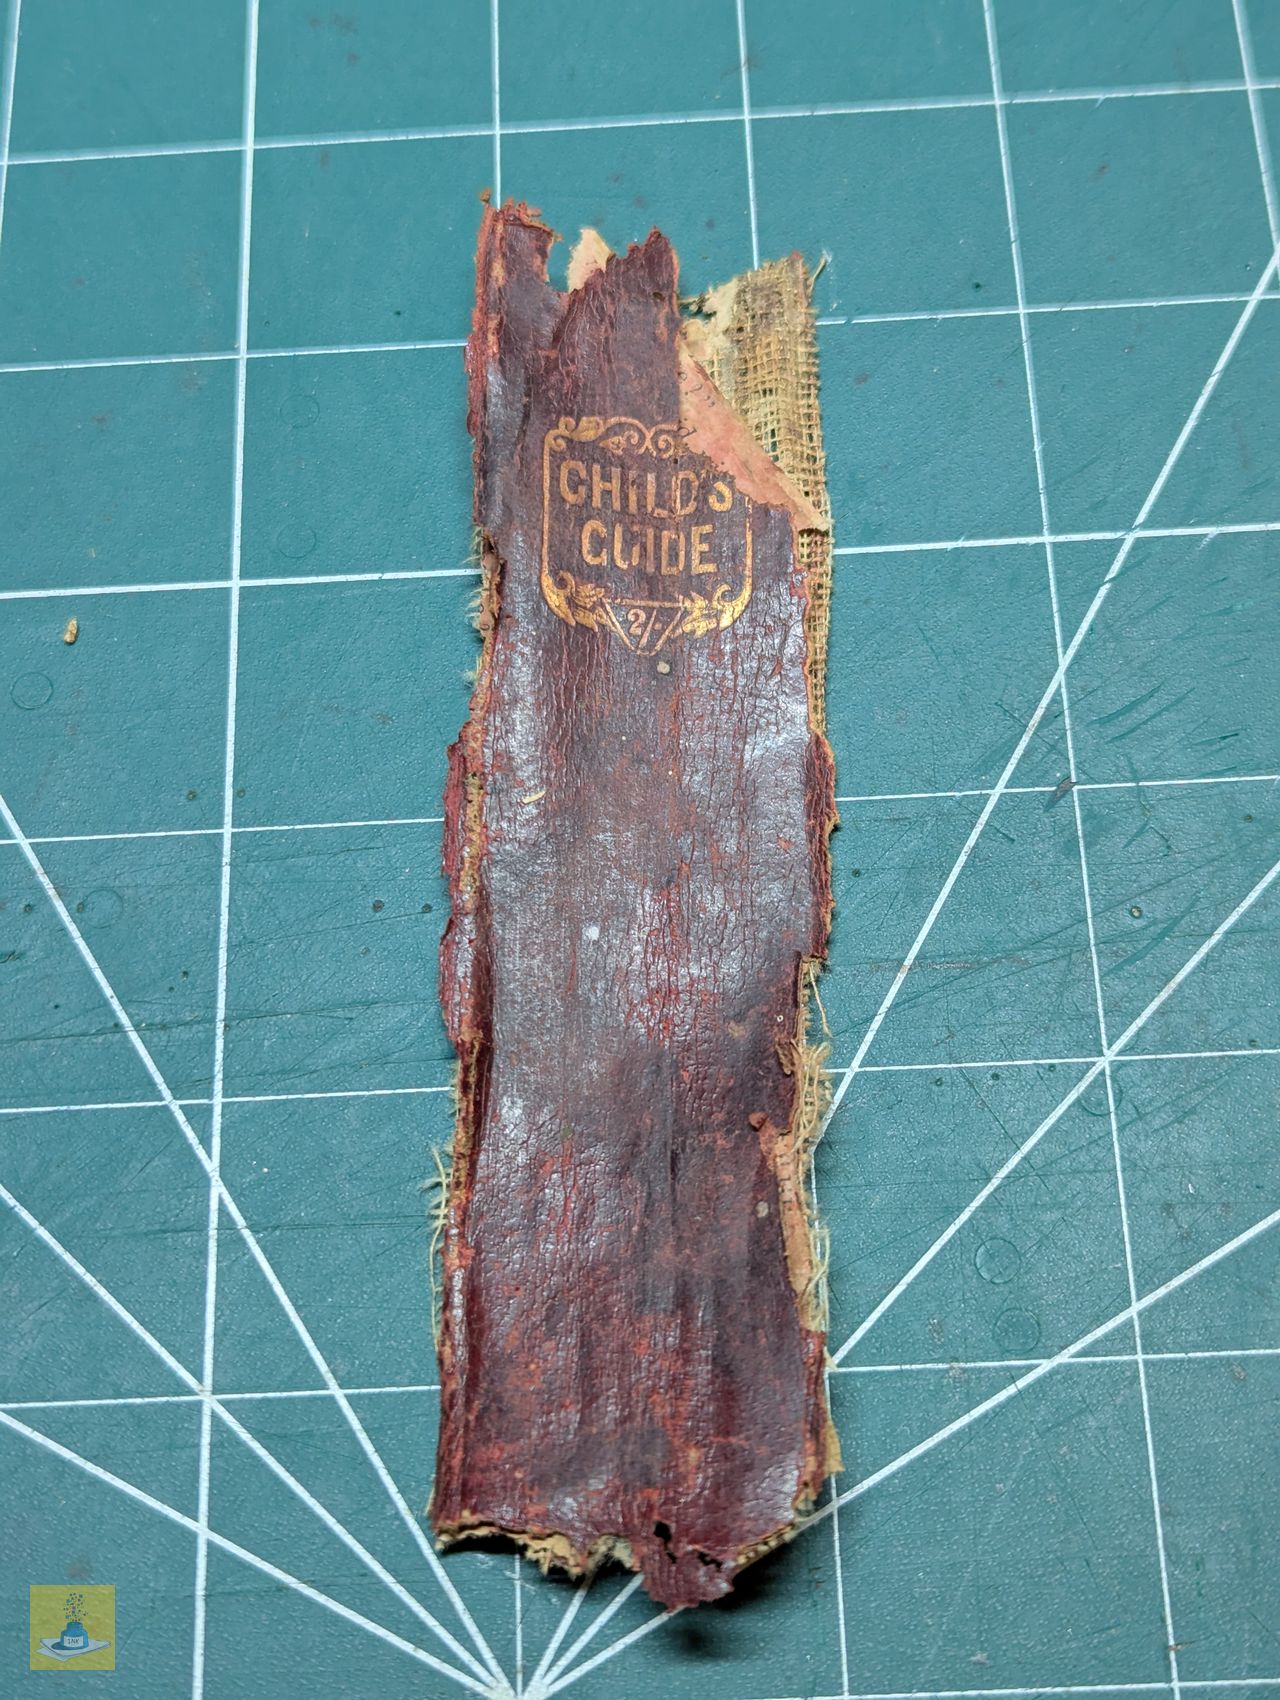
In this chapter (and a couple that will follow), I’ll be embarking on the rewarding process of restoring an old, dilapidated book. Despite being from 1892, its lack of monetary value makes it the perfect candidate for a hands-on restoration project.


Taking the book apart
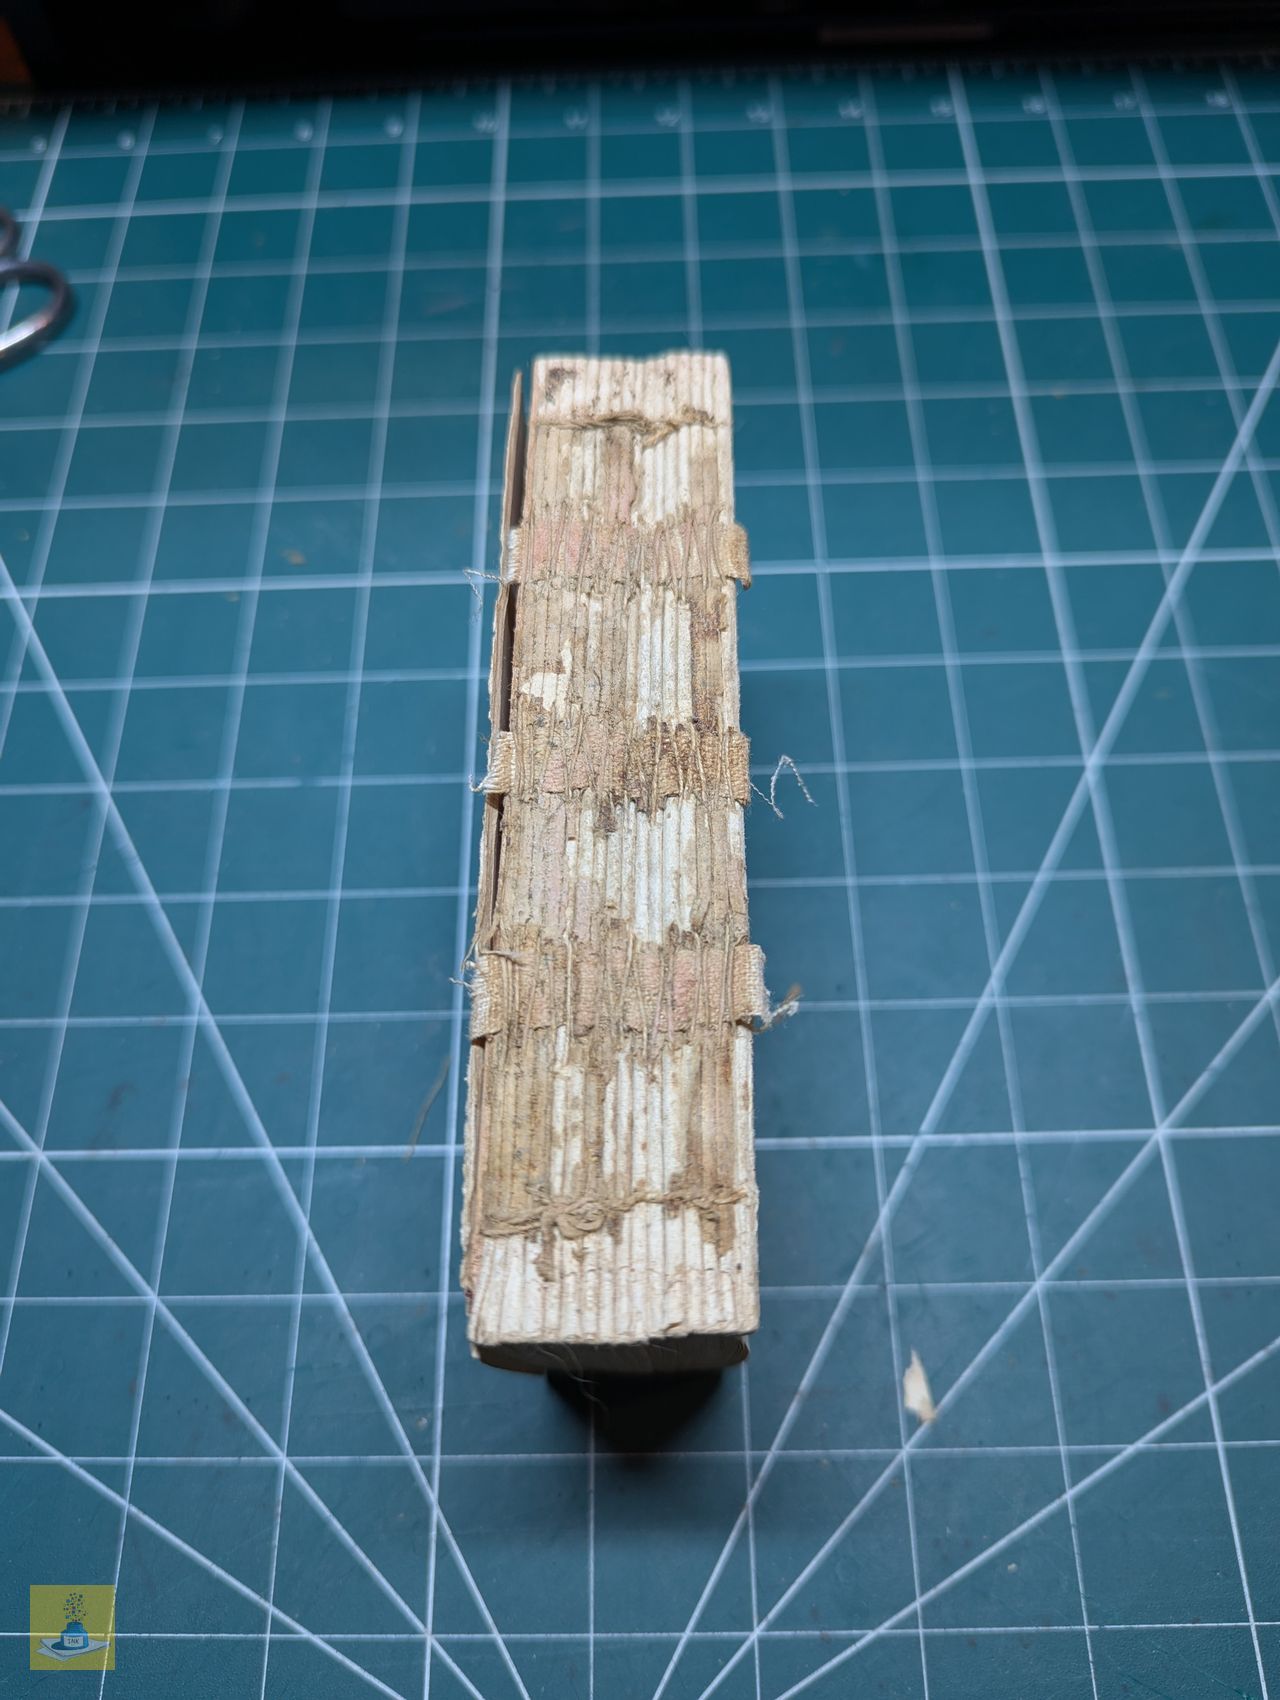
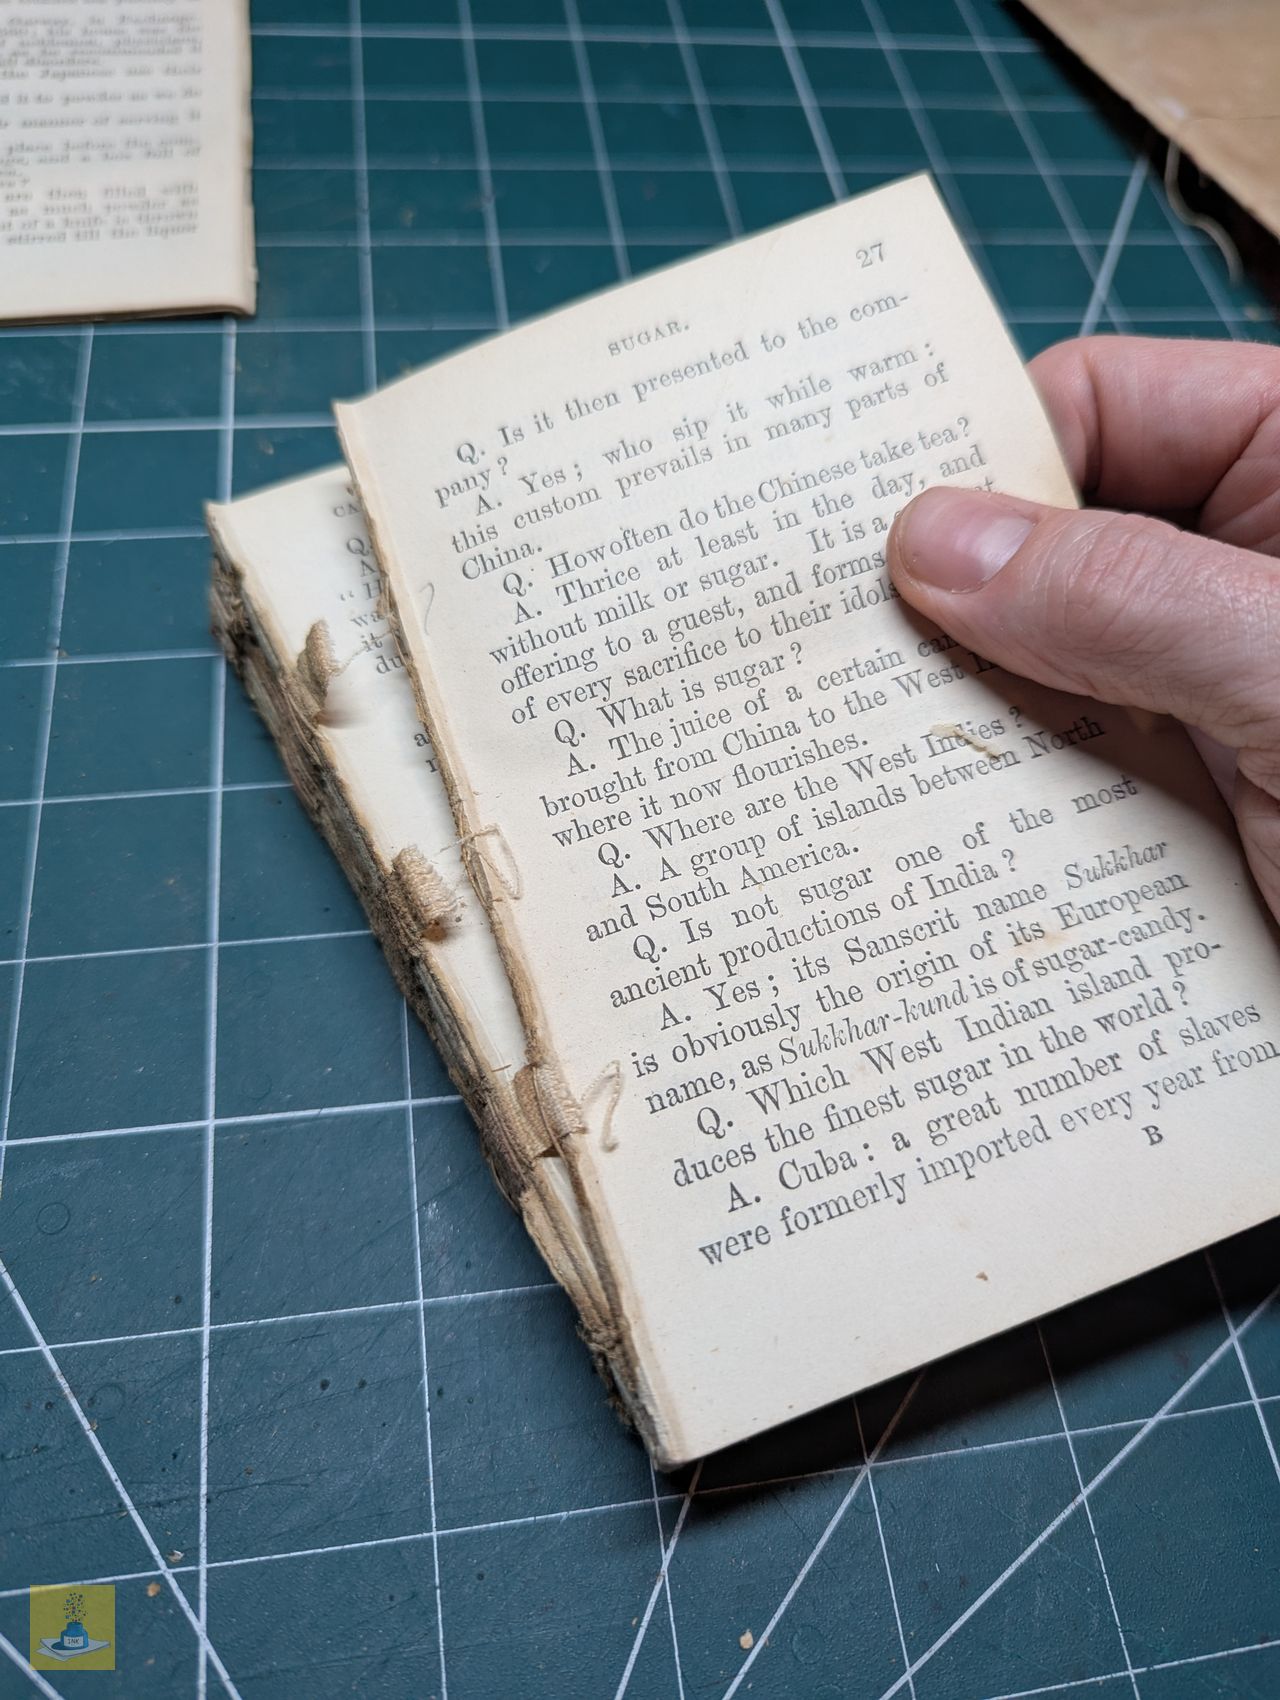
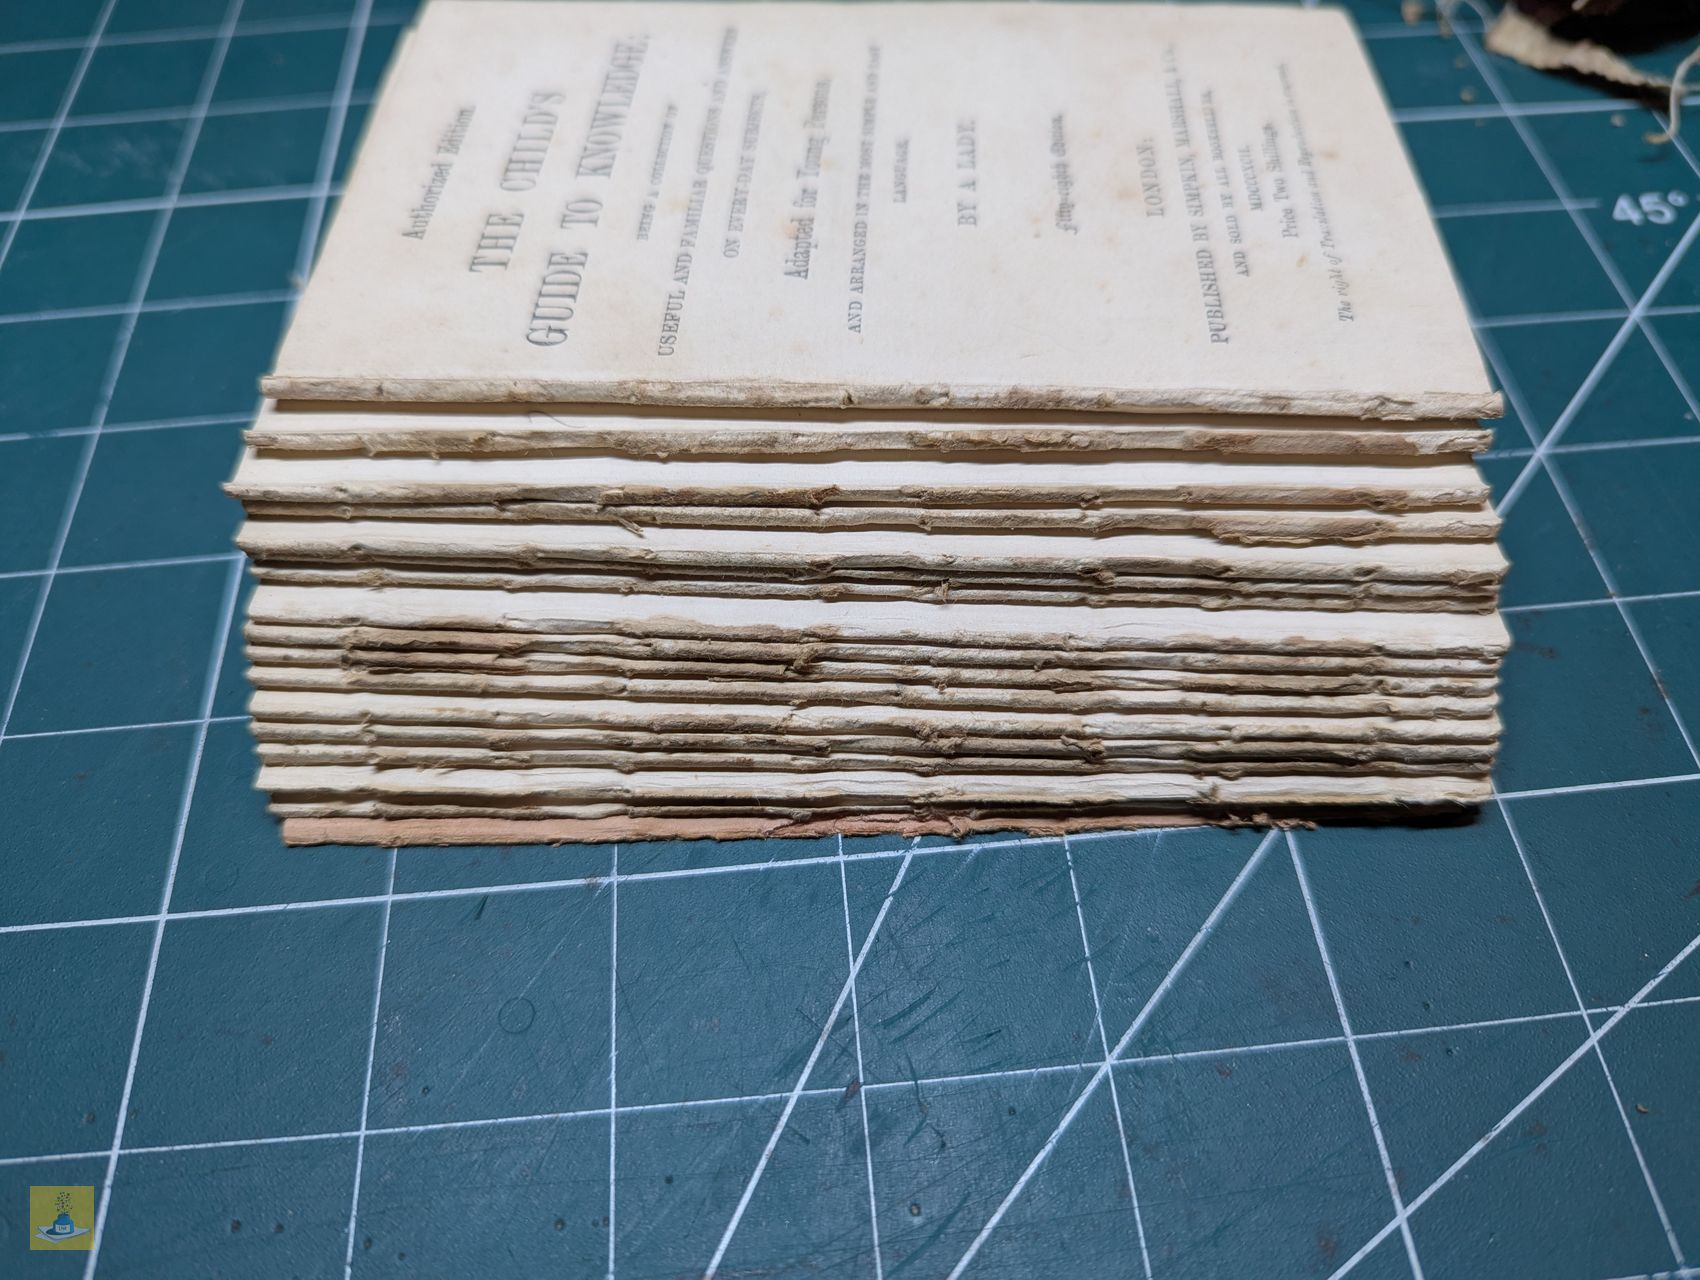
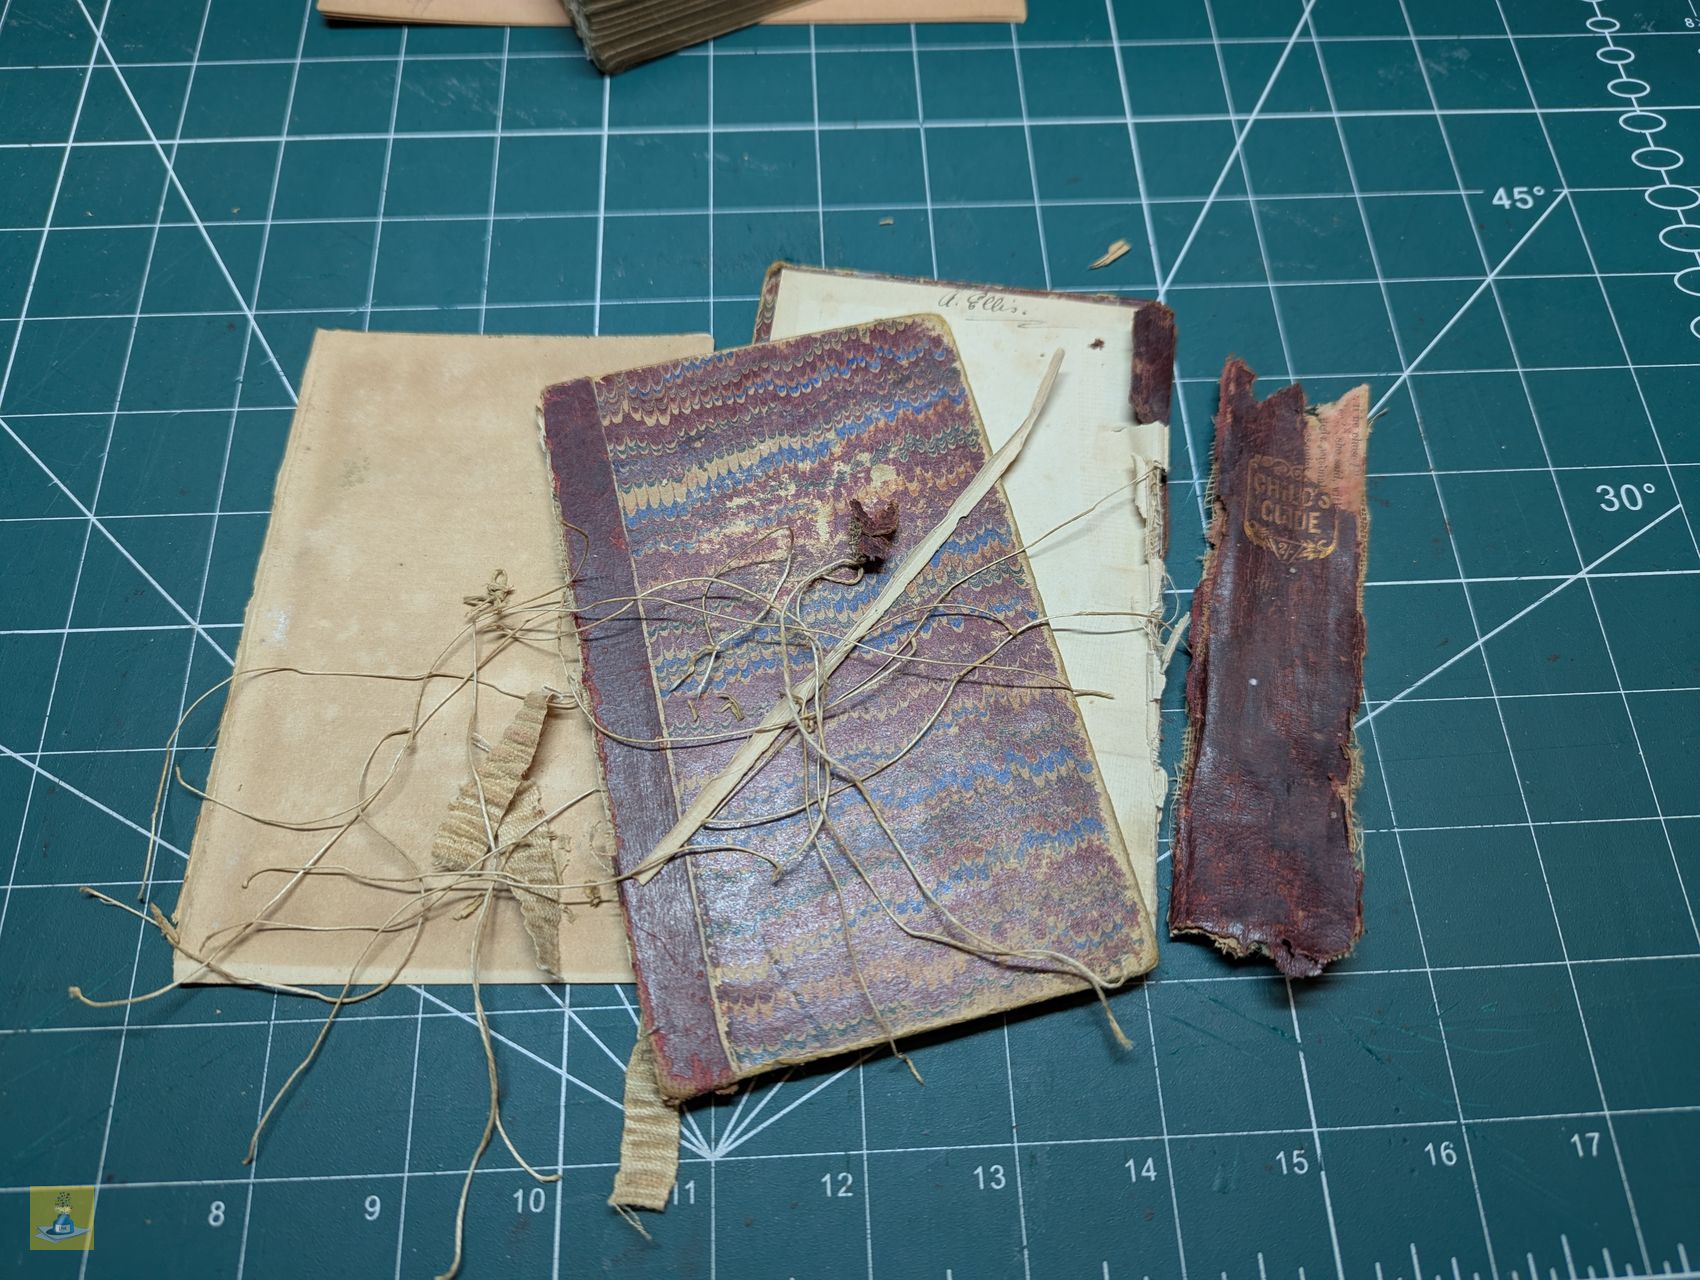
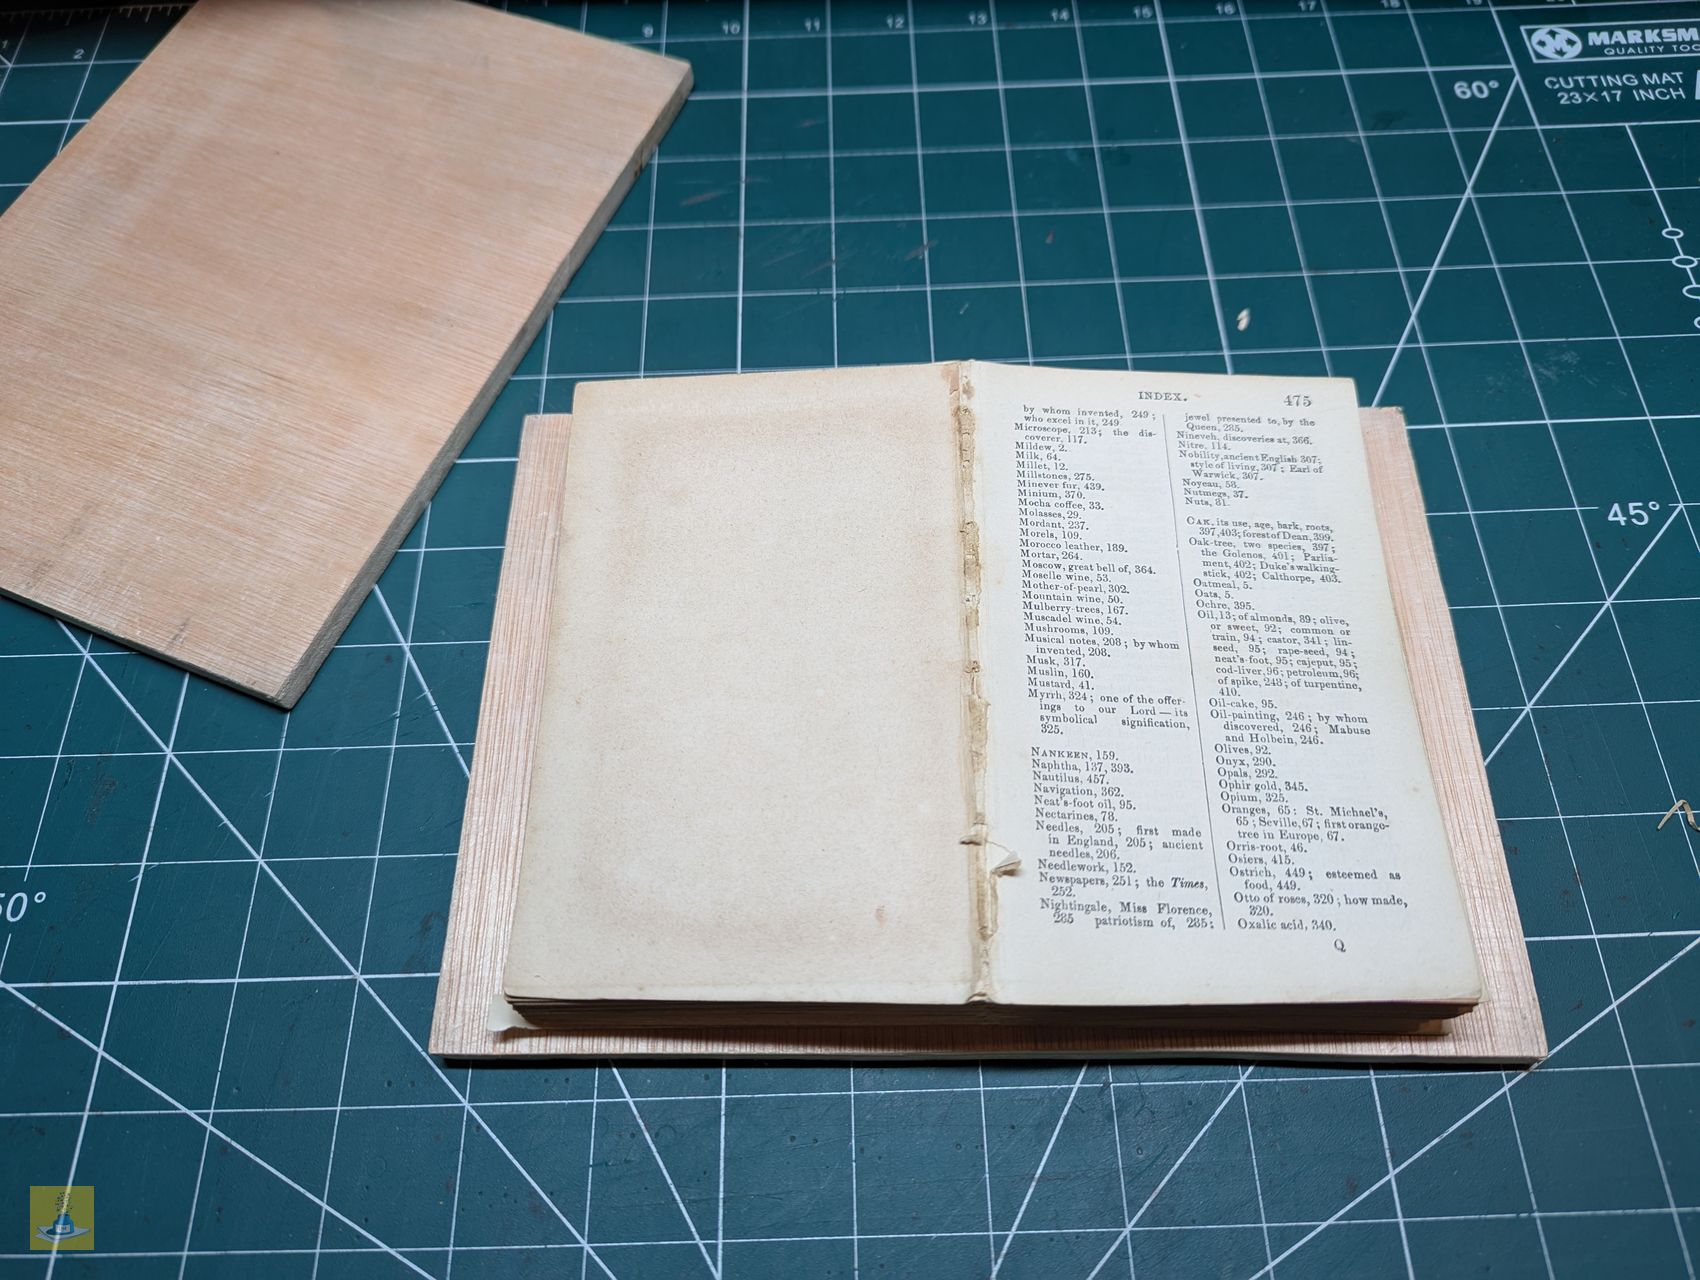
I began by carefully separating the text block from the cover using a blade. Next, I meticulously removed any remaining glue and backing from the spine, taking care not to cause further damage. To detach each signature, I carefully cut the binding thread and then gently removed it from each section to avoid tearing the paper.


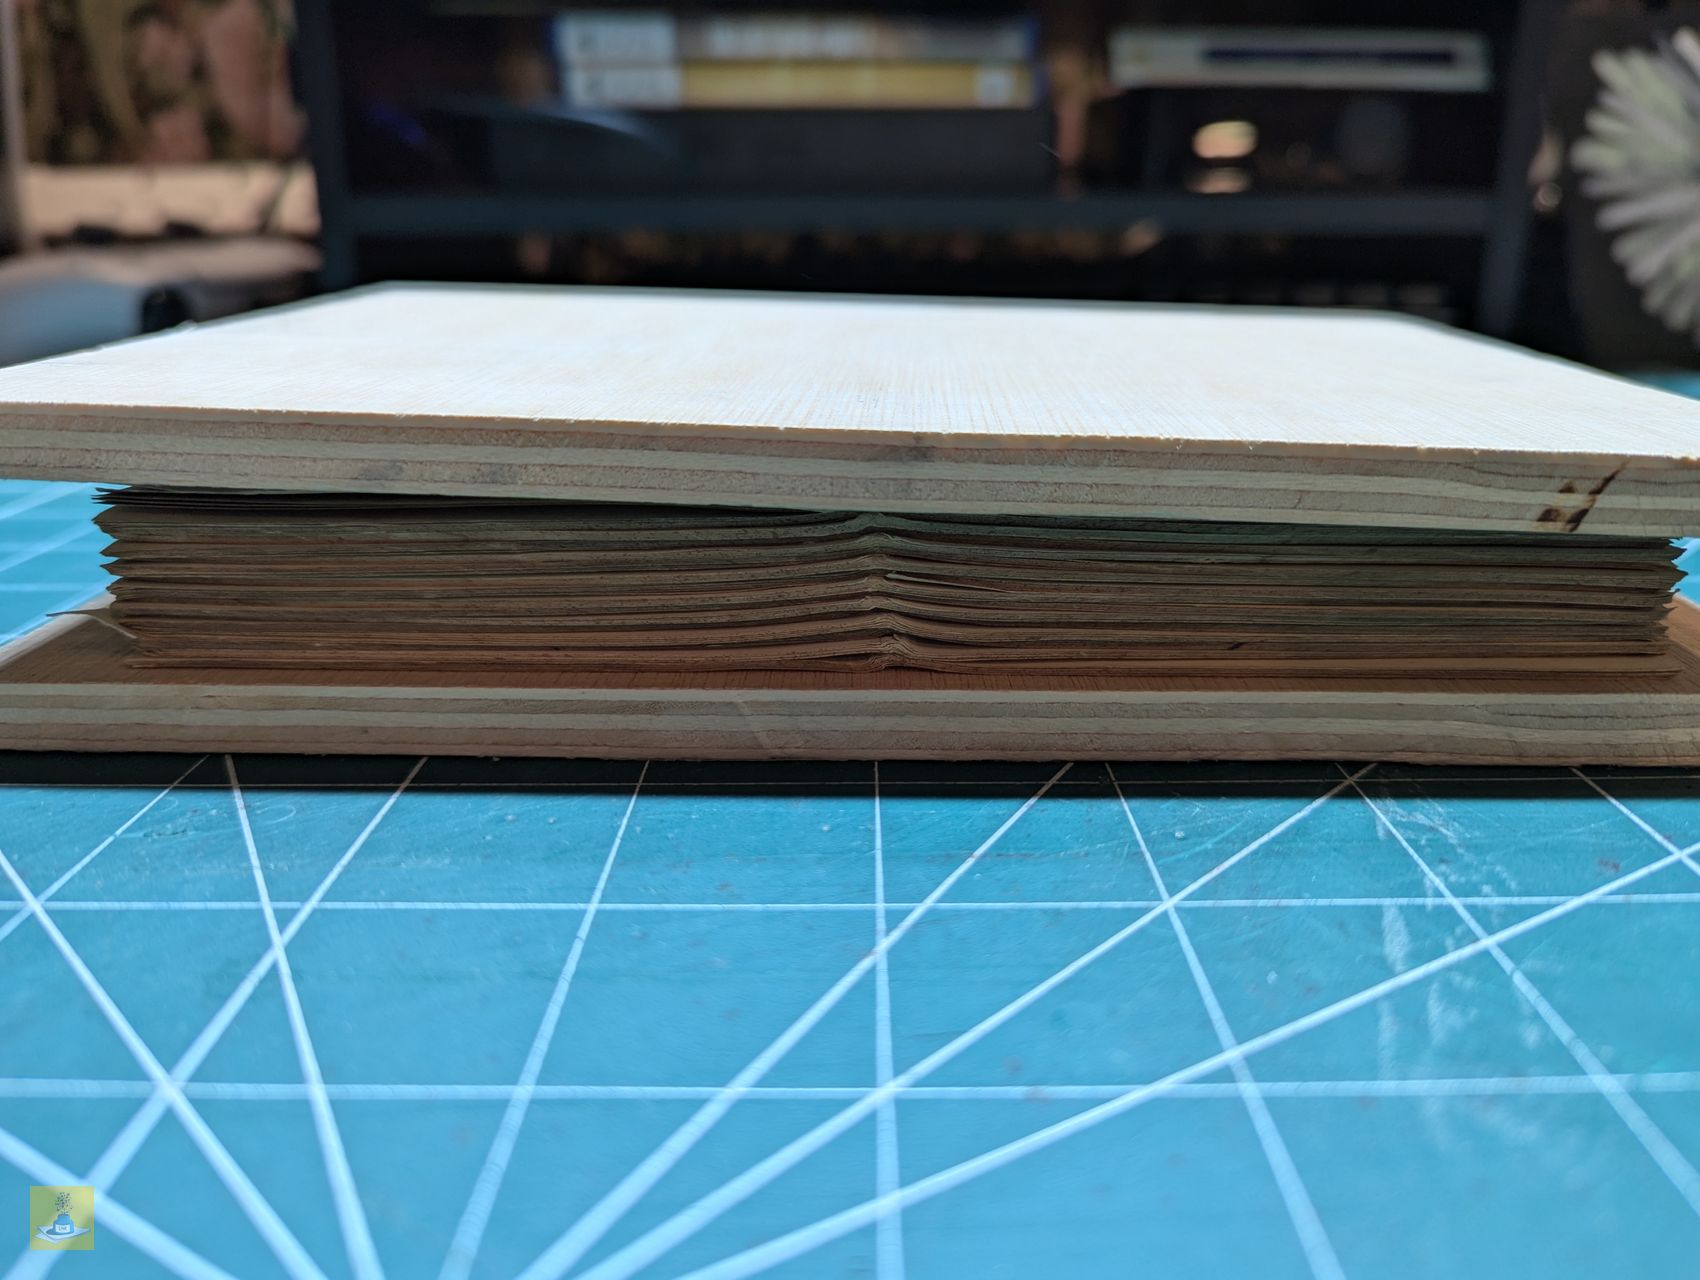
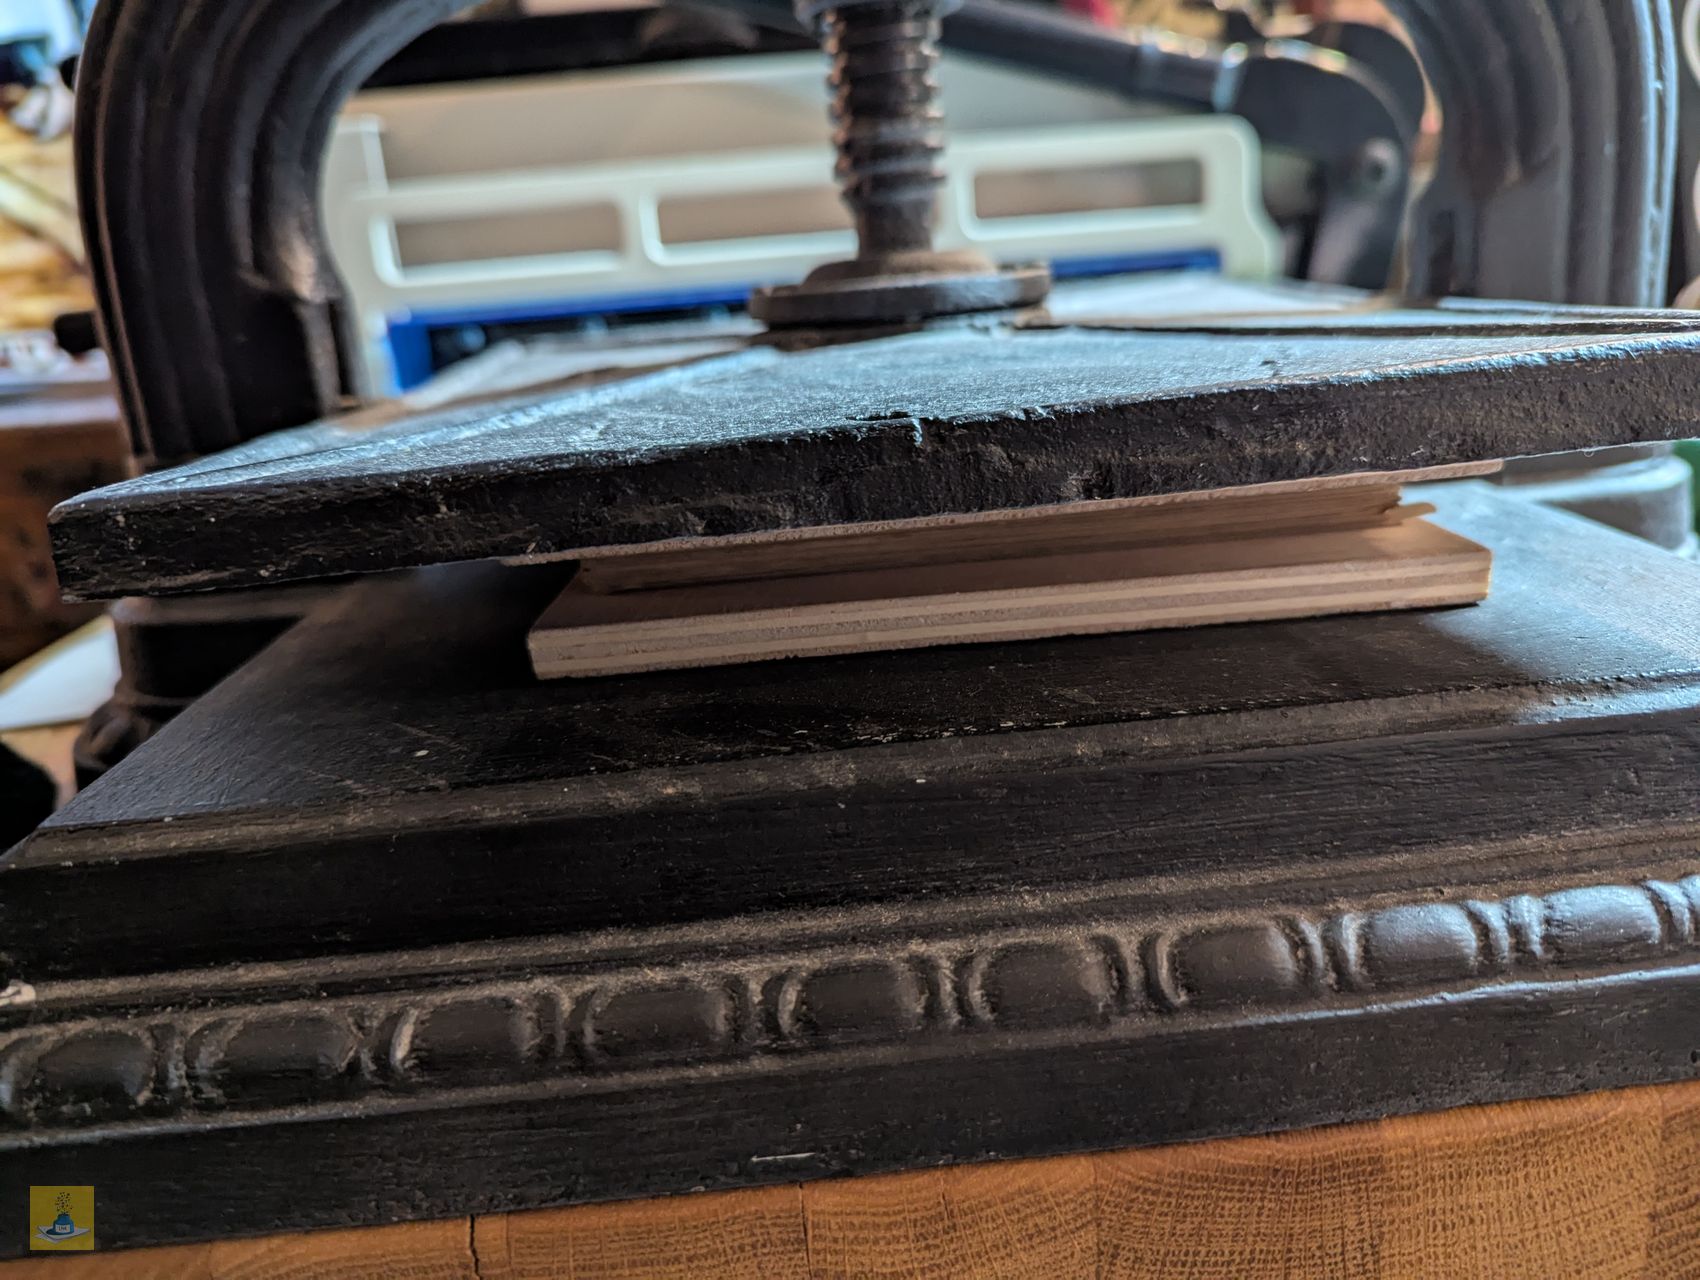
Once separated, I flattened each signature and stacked them. To simplify the reassembly process later, I alternated the orientation of every other signature. I then placed the stack between two boards in my press and applied significant pressure to flatten them for approximately 24 hours.


Kozo paper
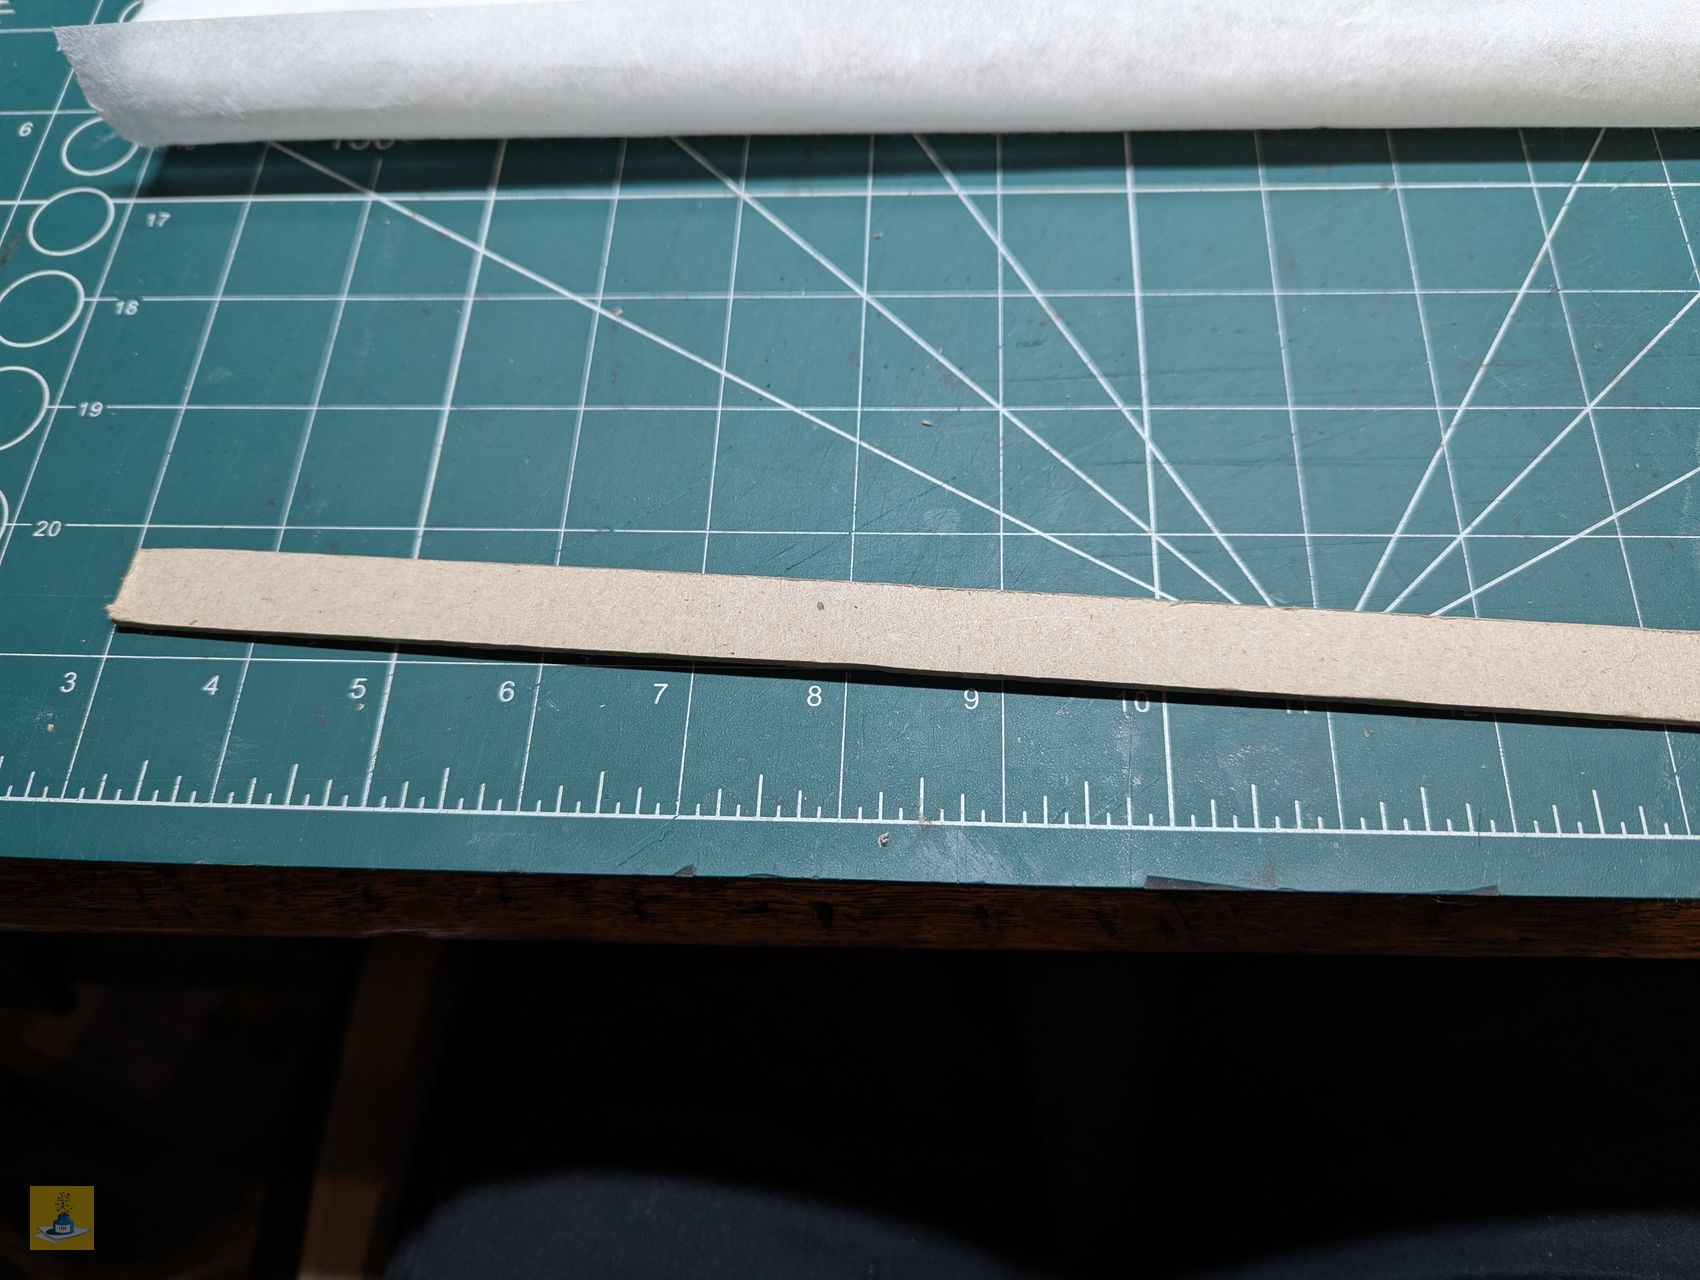
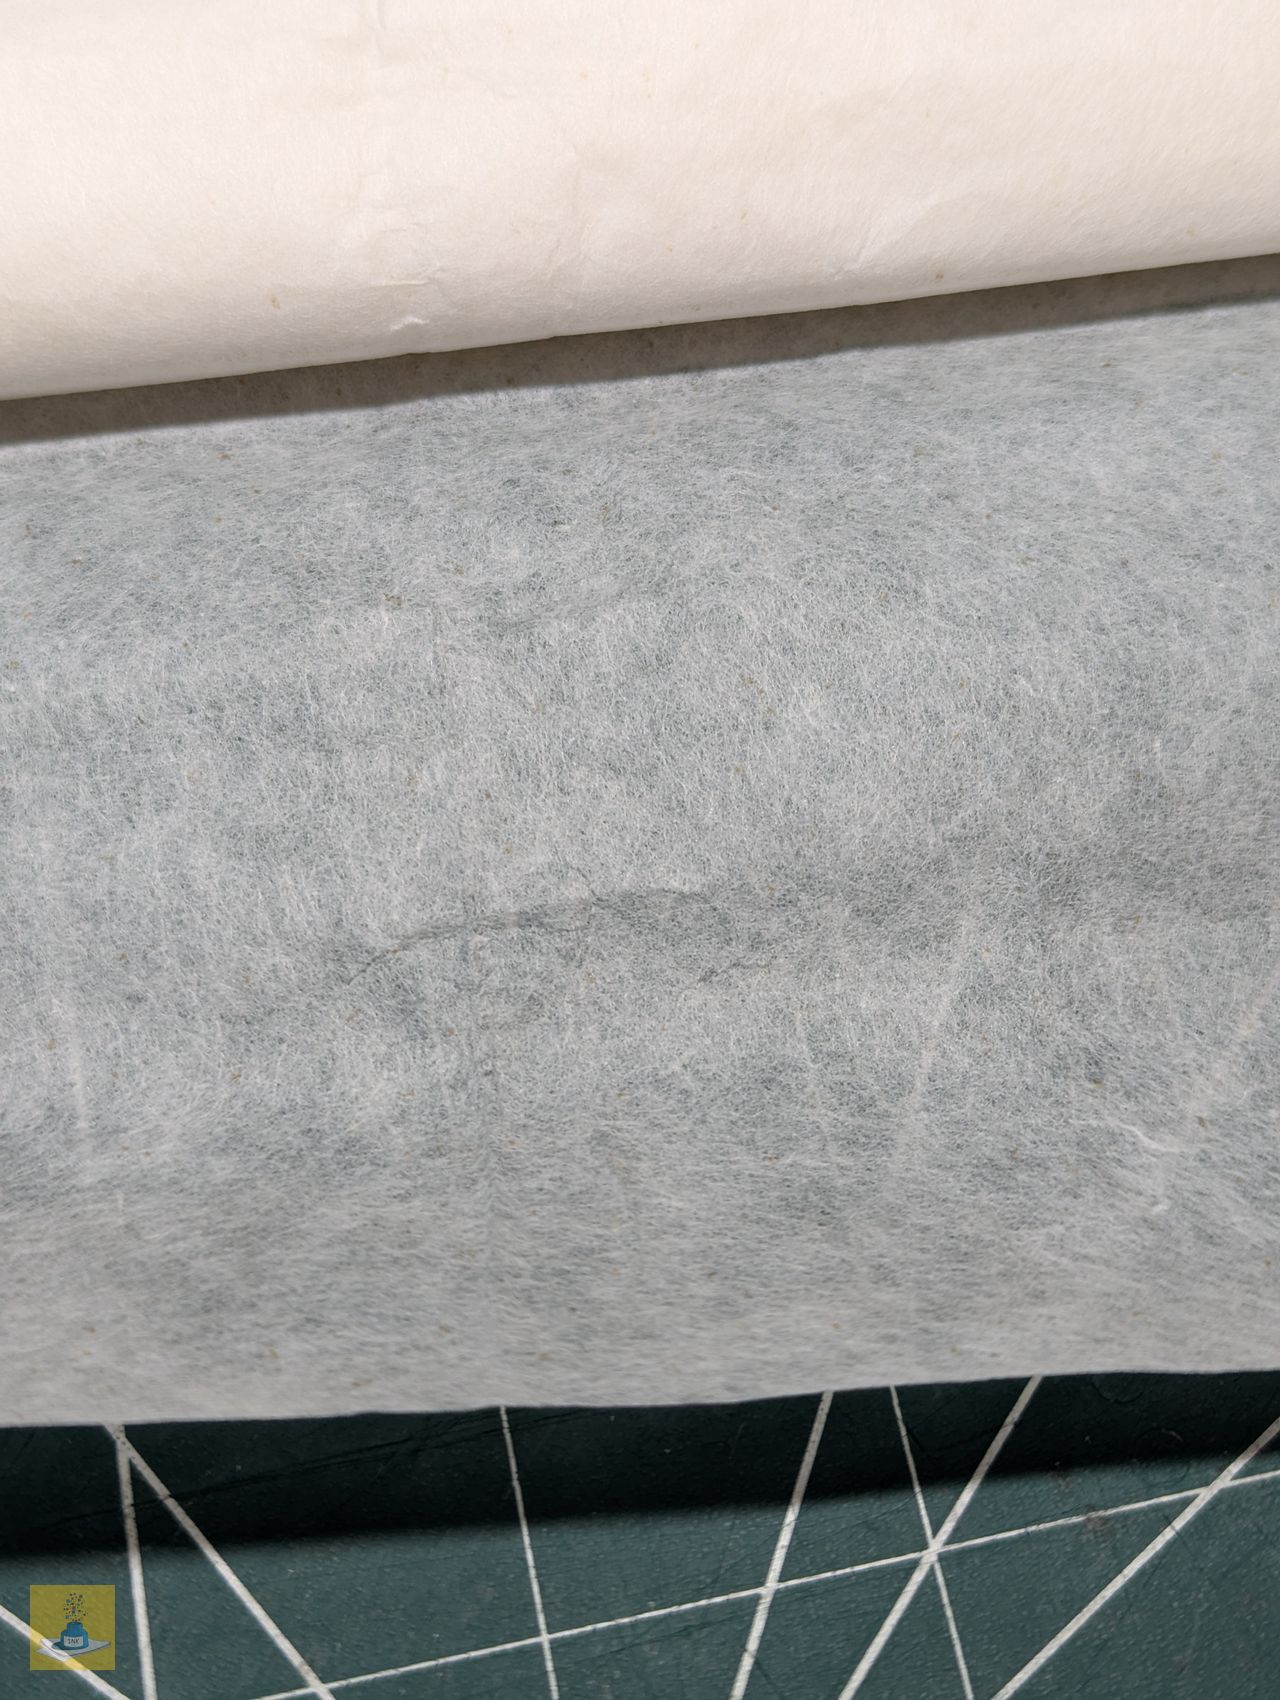
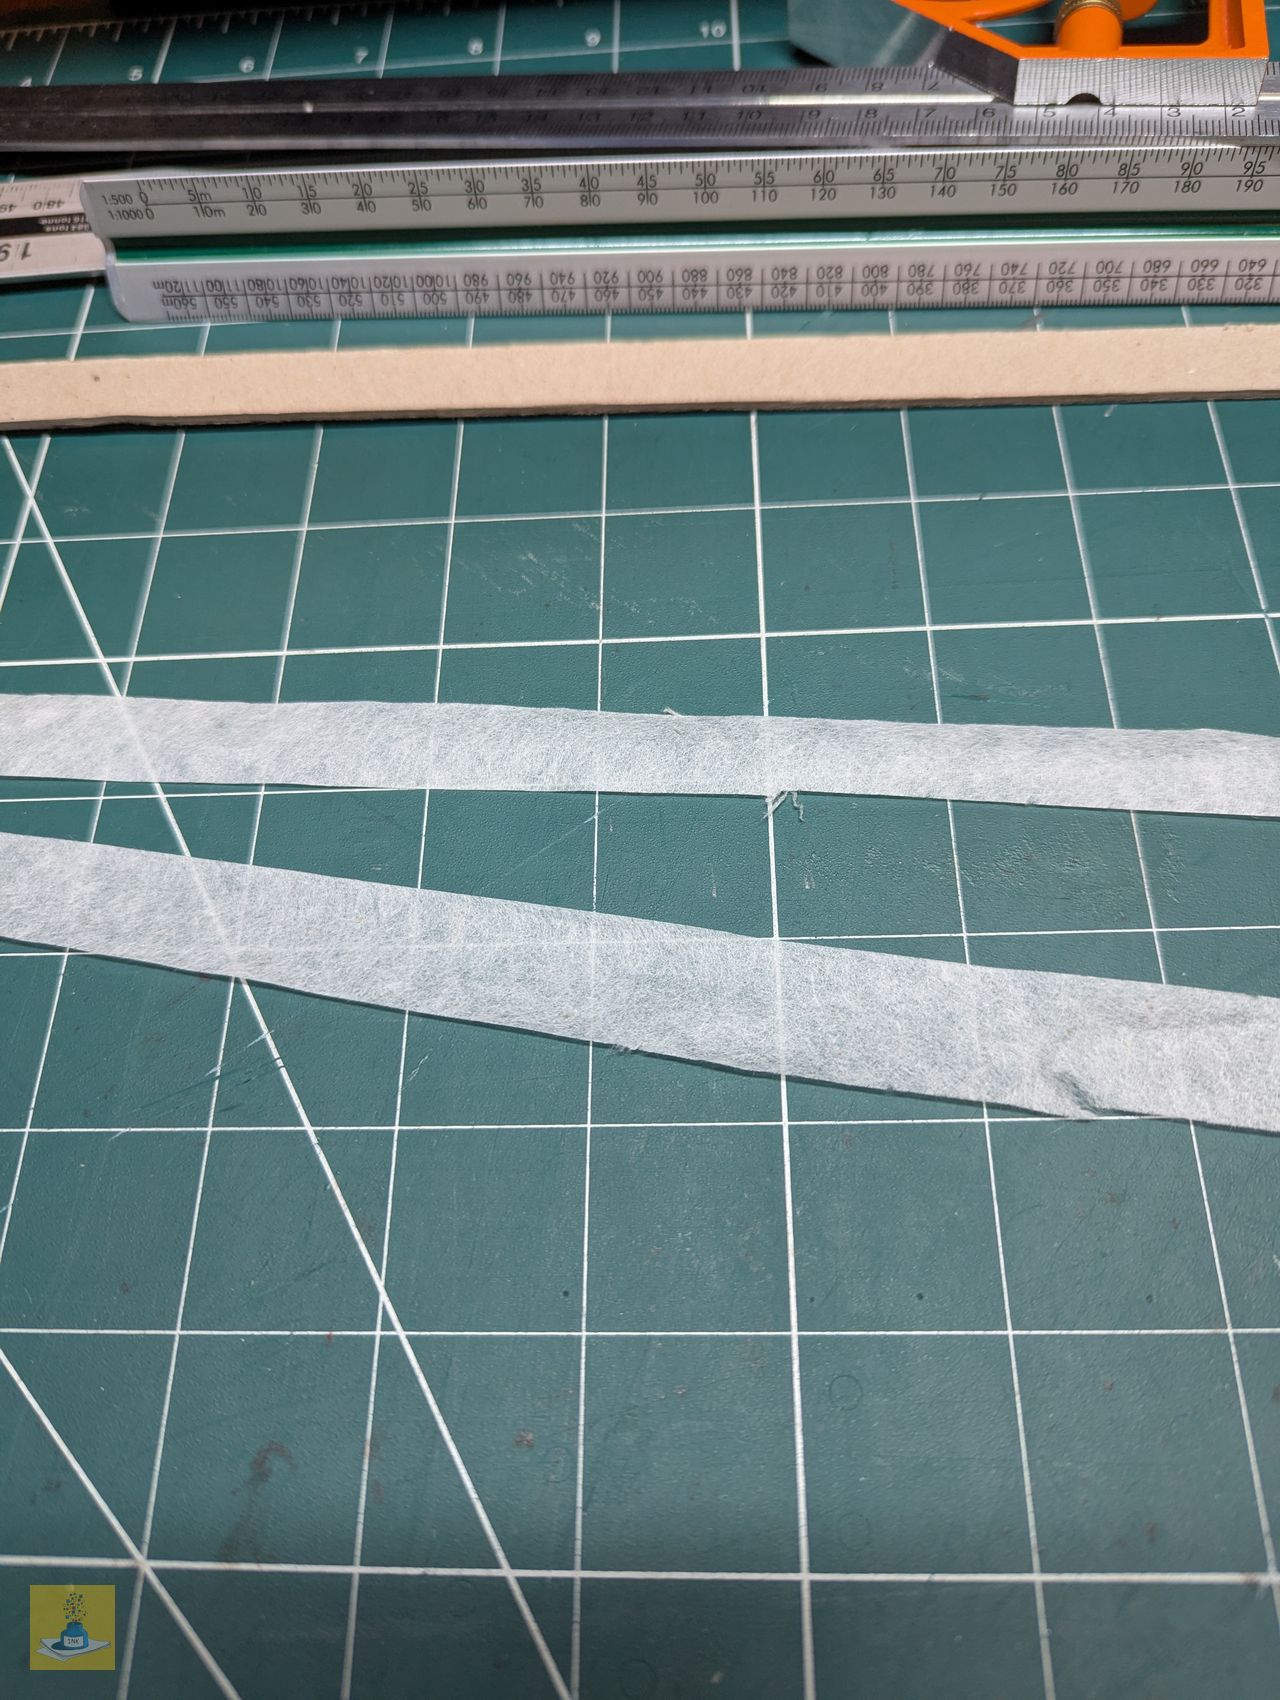
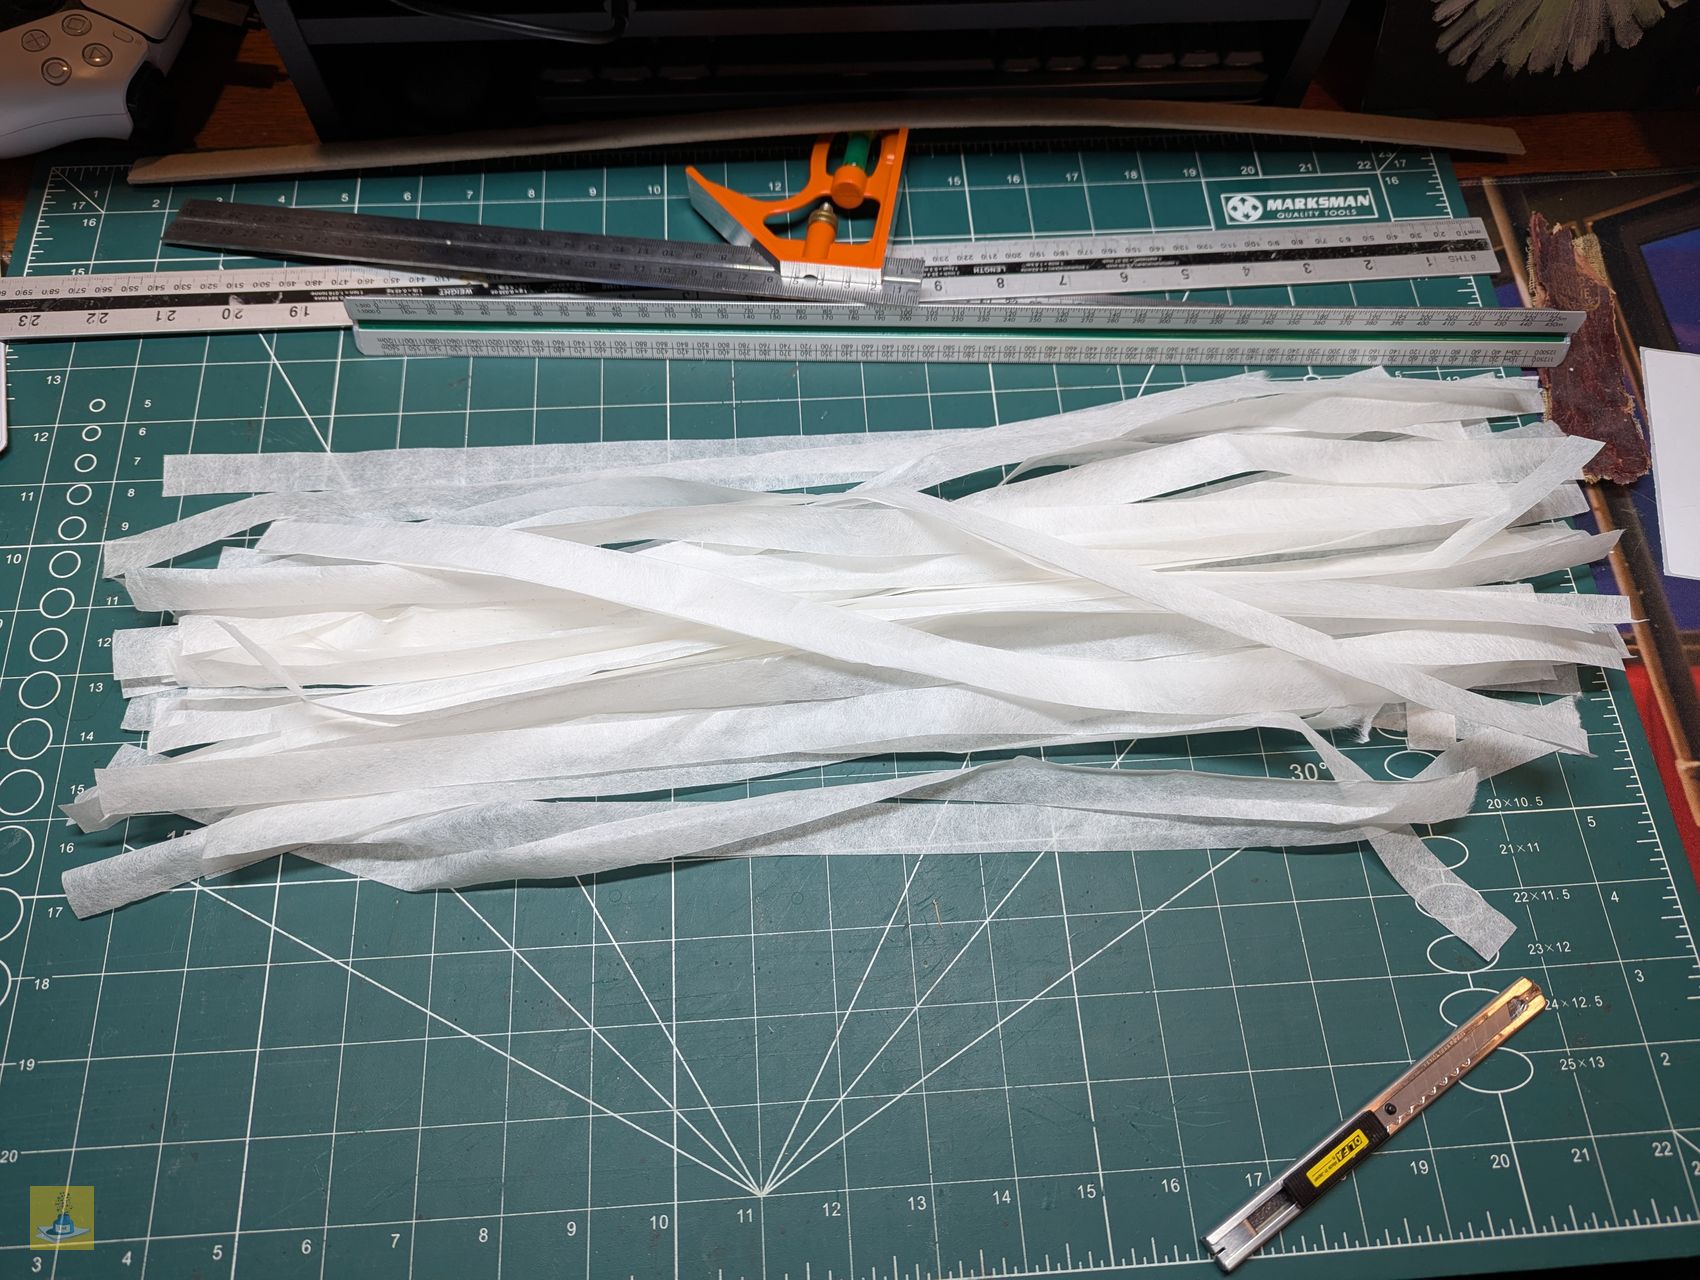
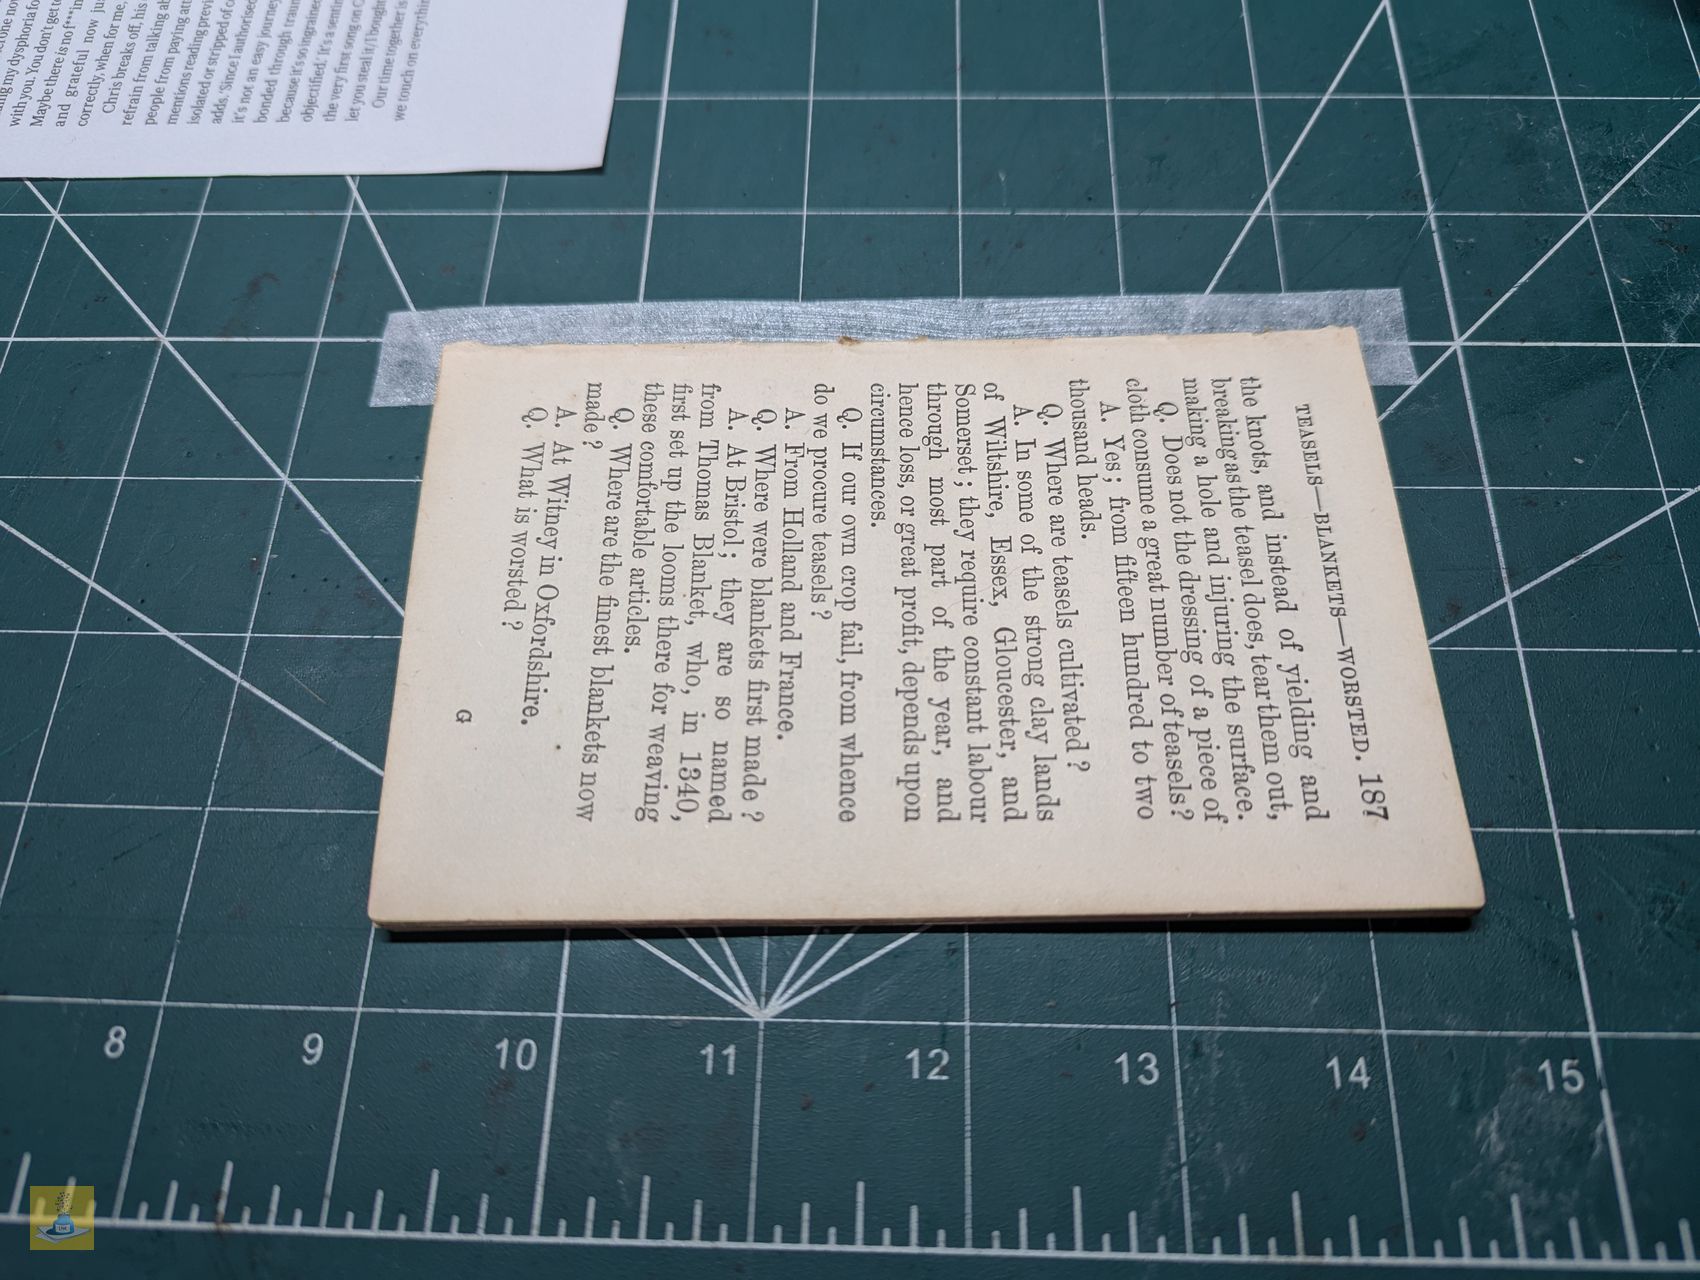
While the signatures were pressing, I prepared strips of Kozo paper, a thin yet strong Japanese paper traditionally used in book restoration. To ensure consistent width without repeated measuring, I cut a piece of card to 1.5cm and used it as a guide to cut the Kozo paper into strips of approximately 1.5cm thickness.


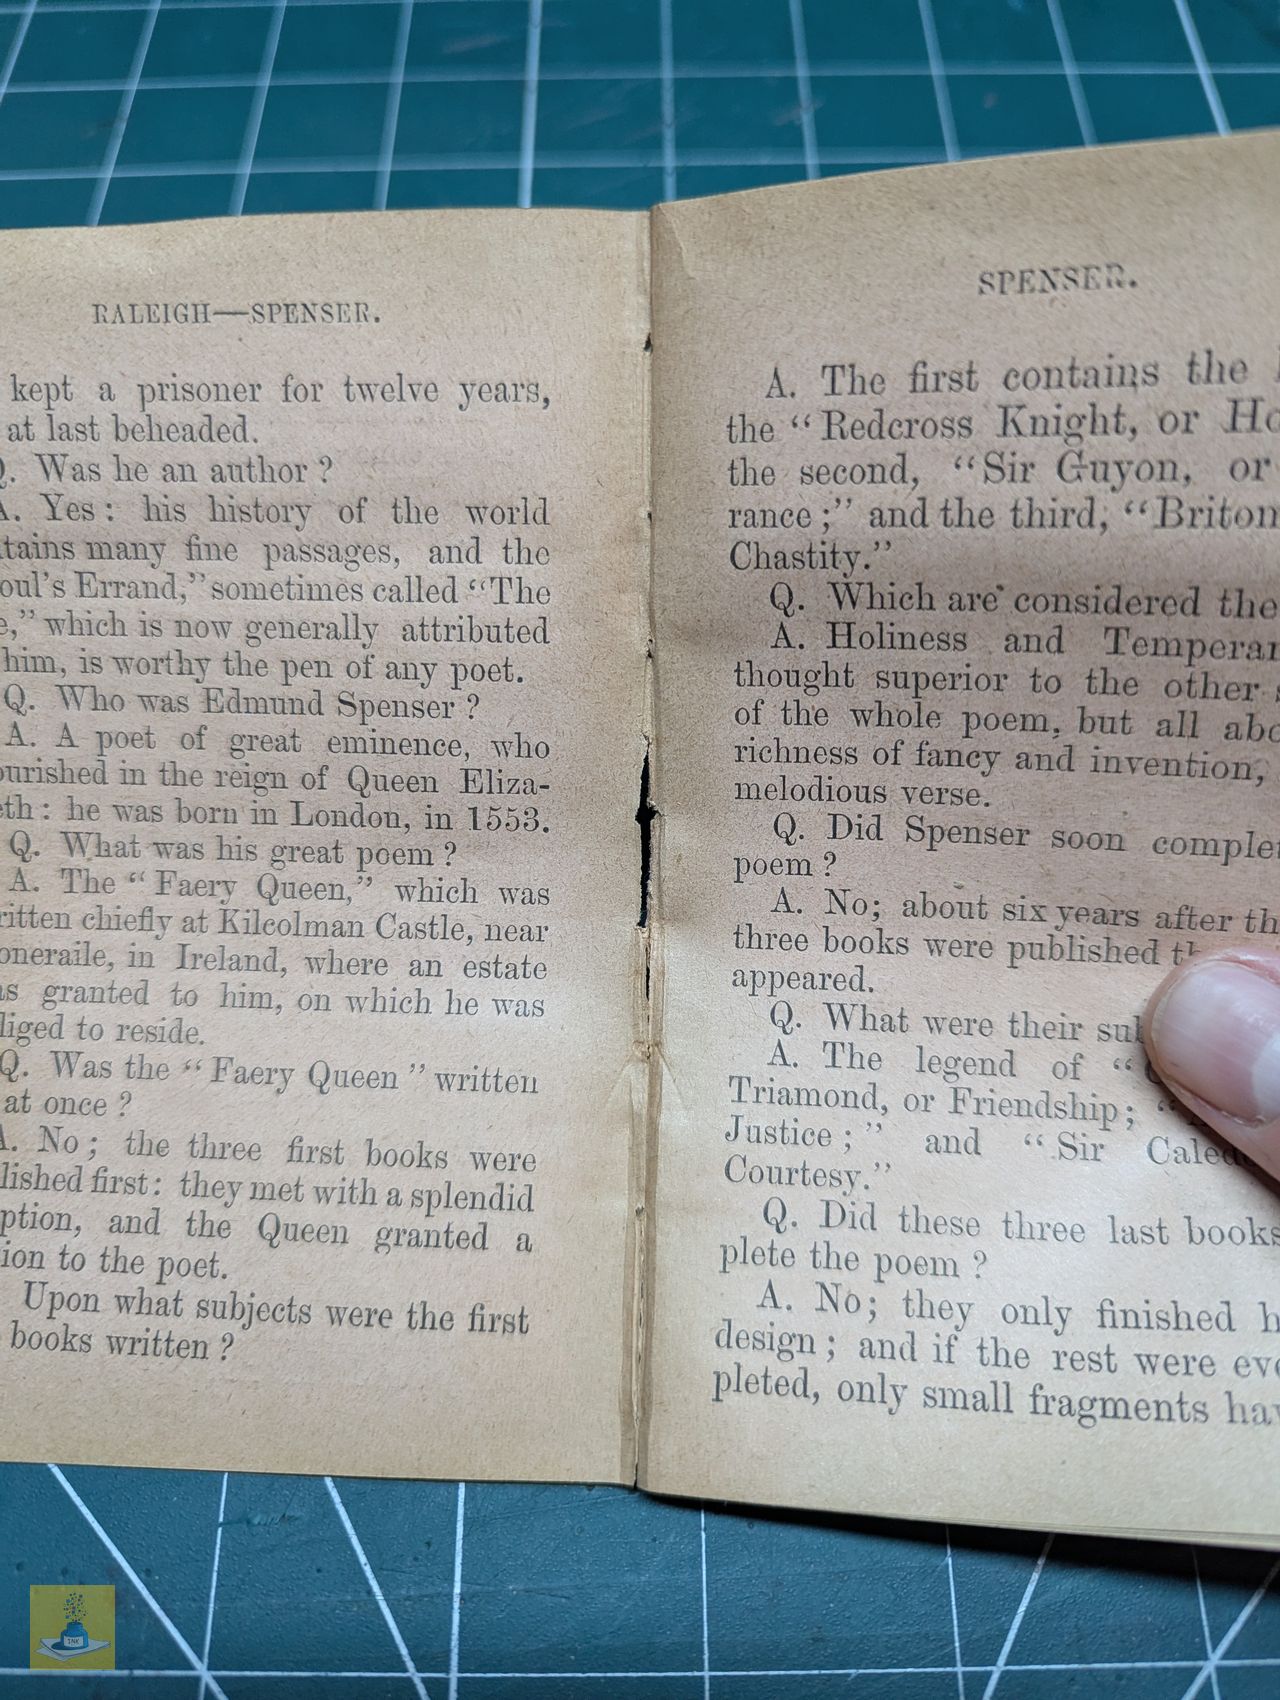
I then cut these strips to the height of the pages, yielding roughly three strips per page. I’ve saved any leftover pieces to address any tears in the pages later, if needed.
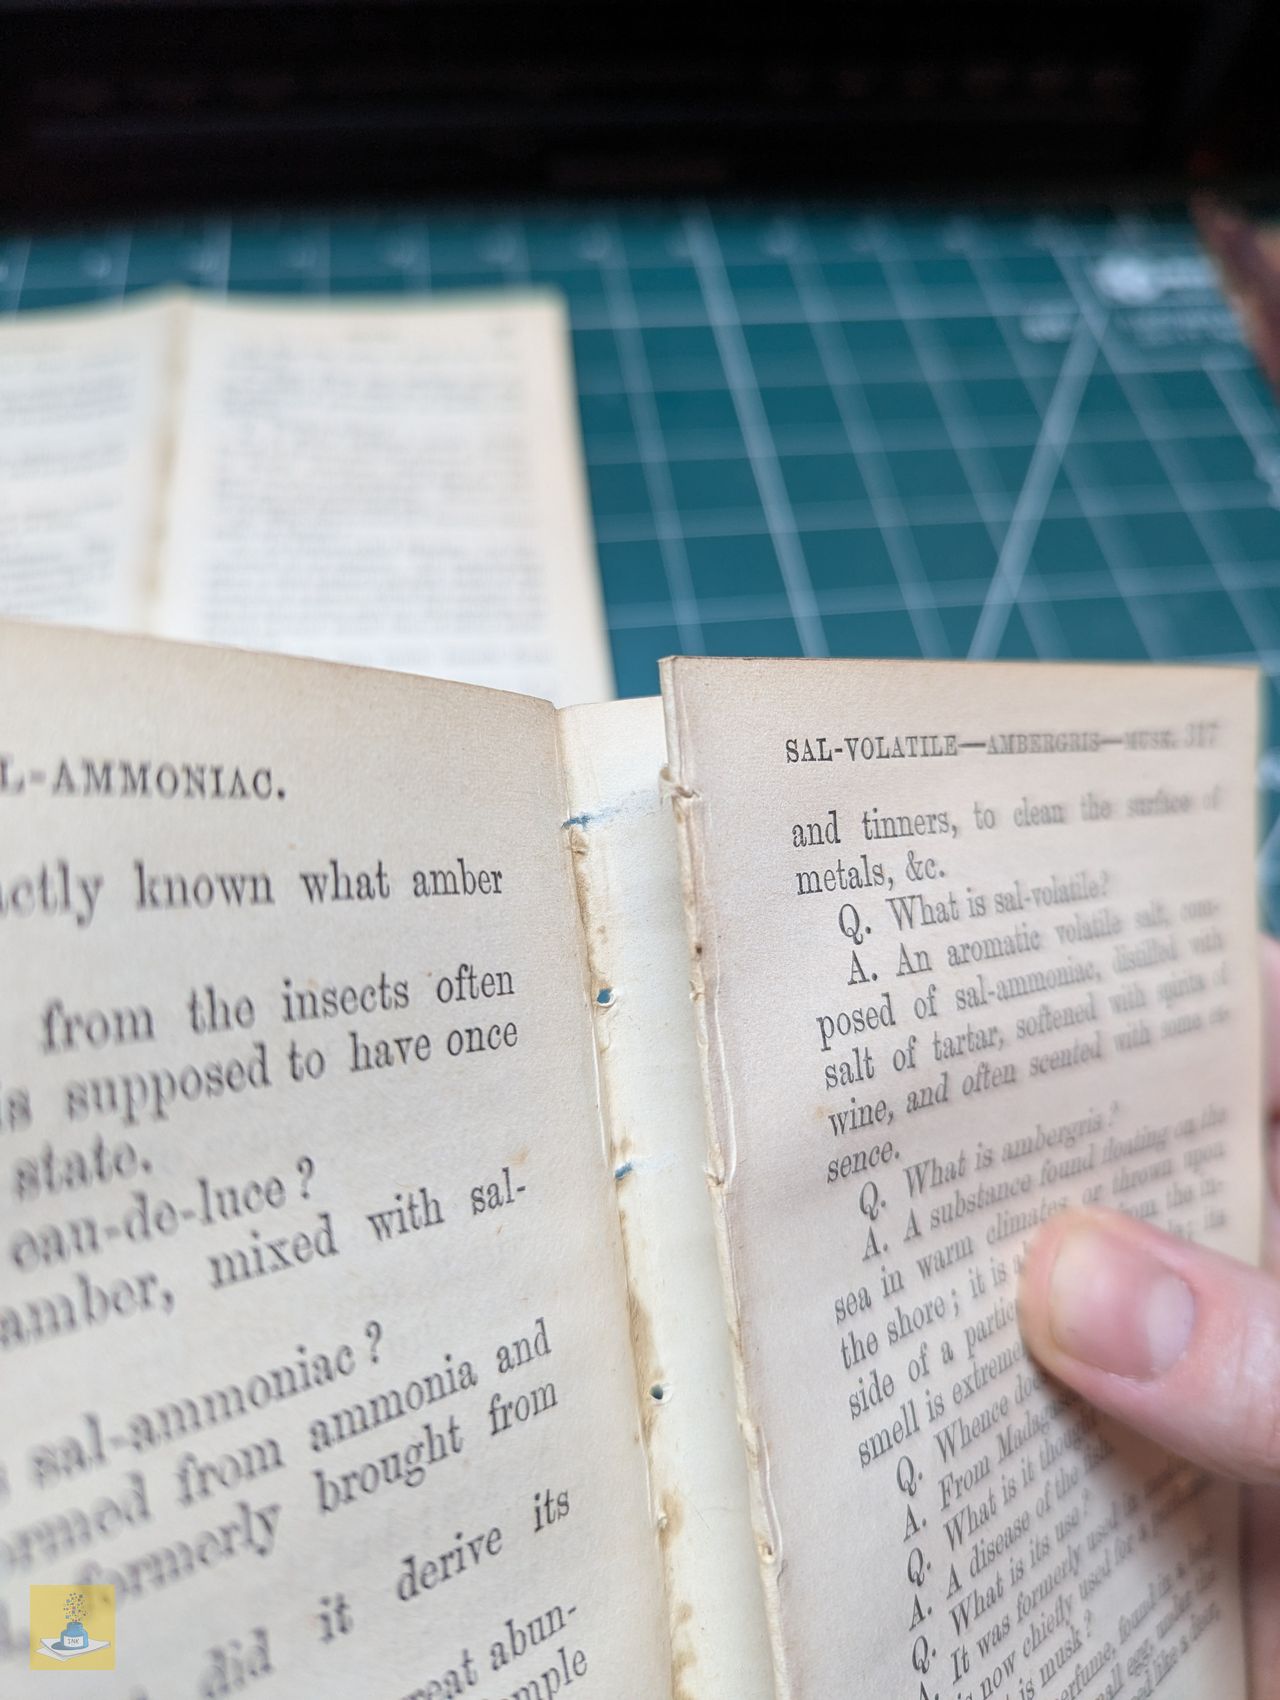
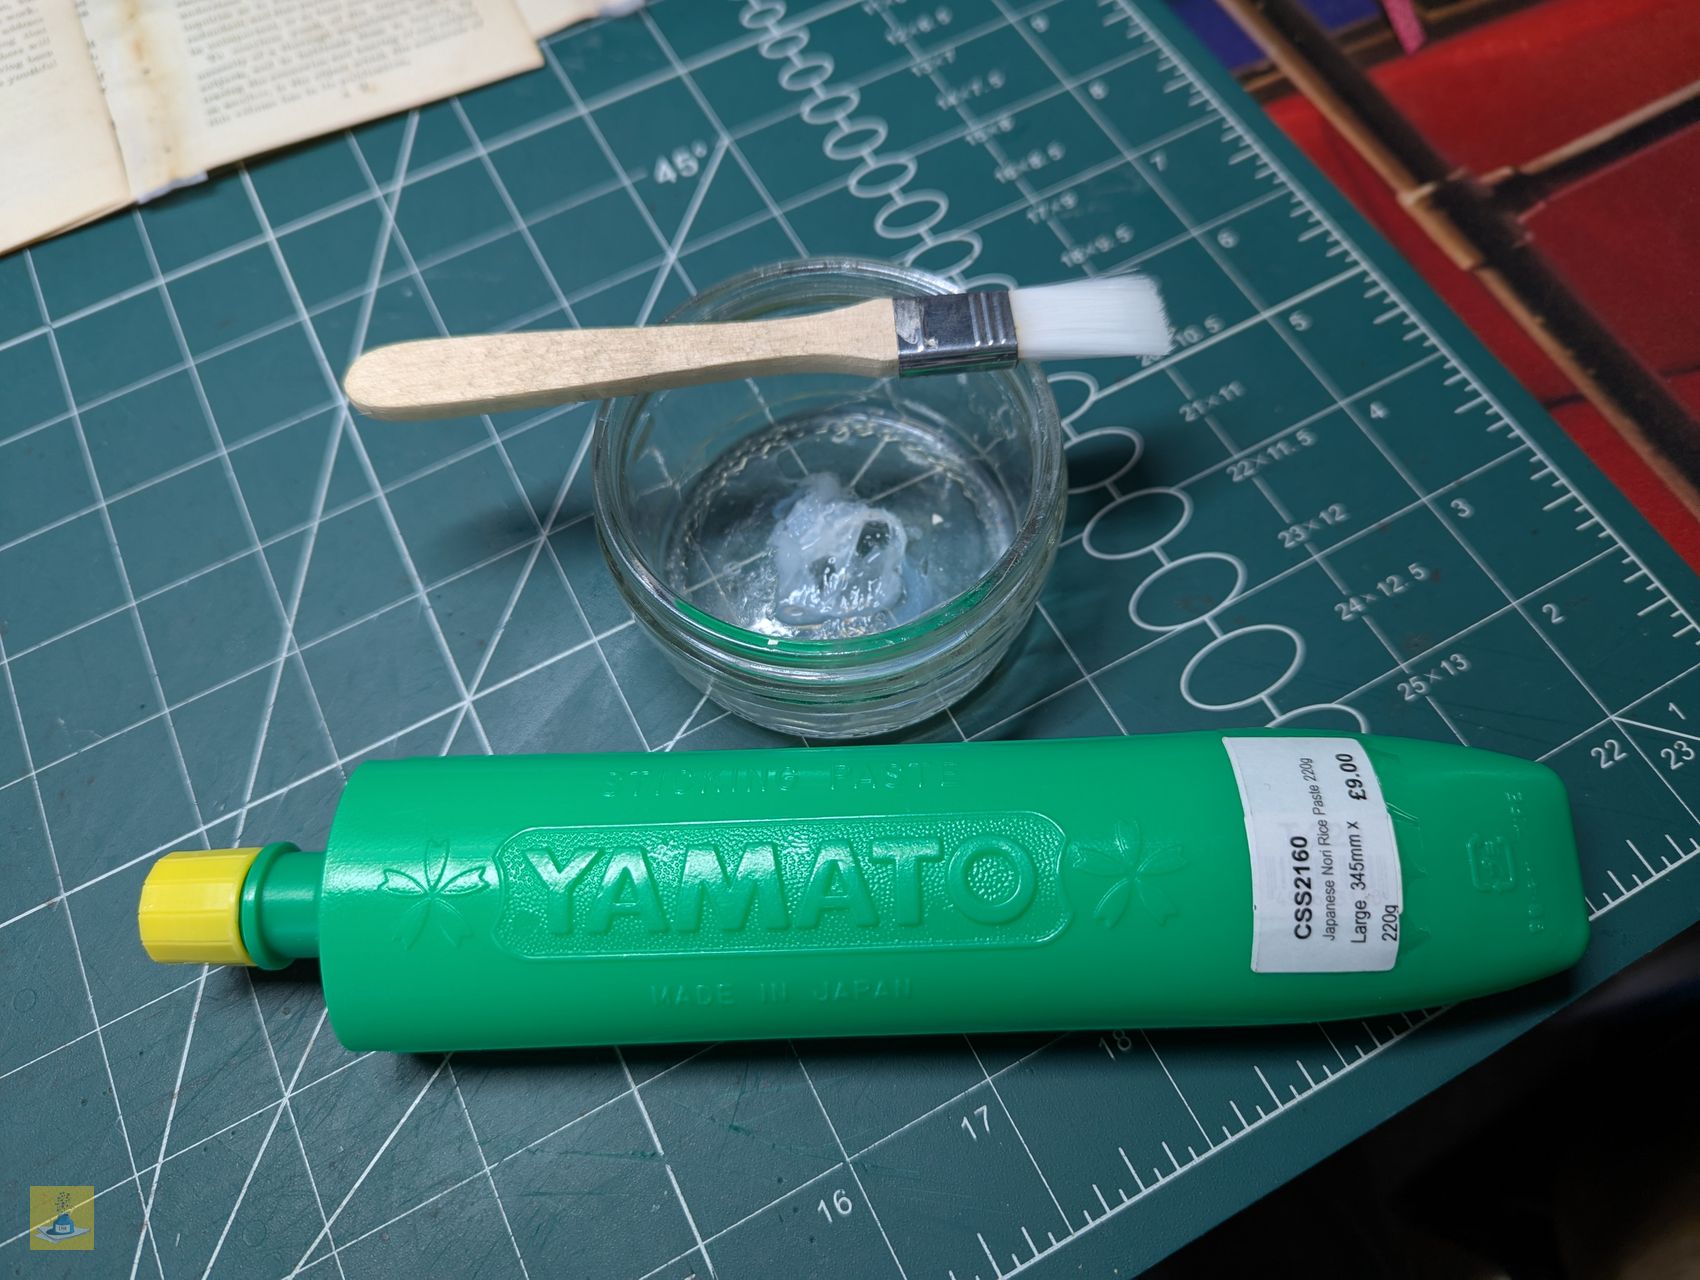
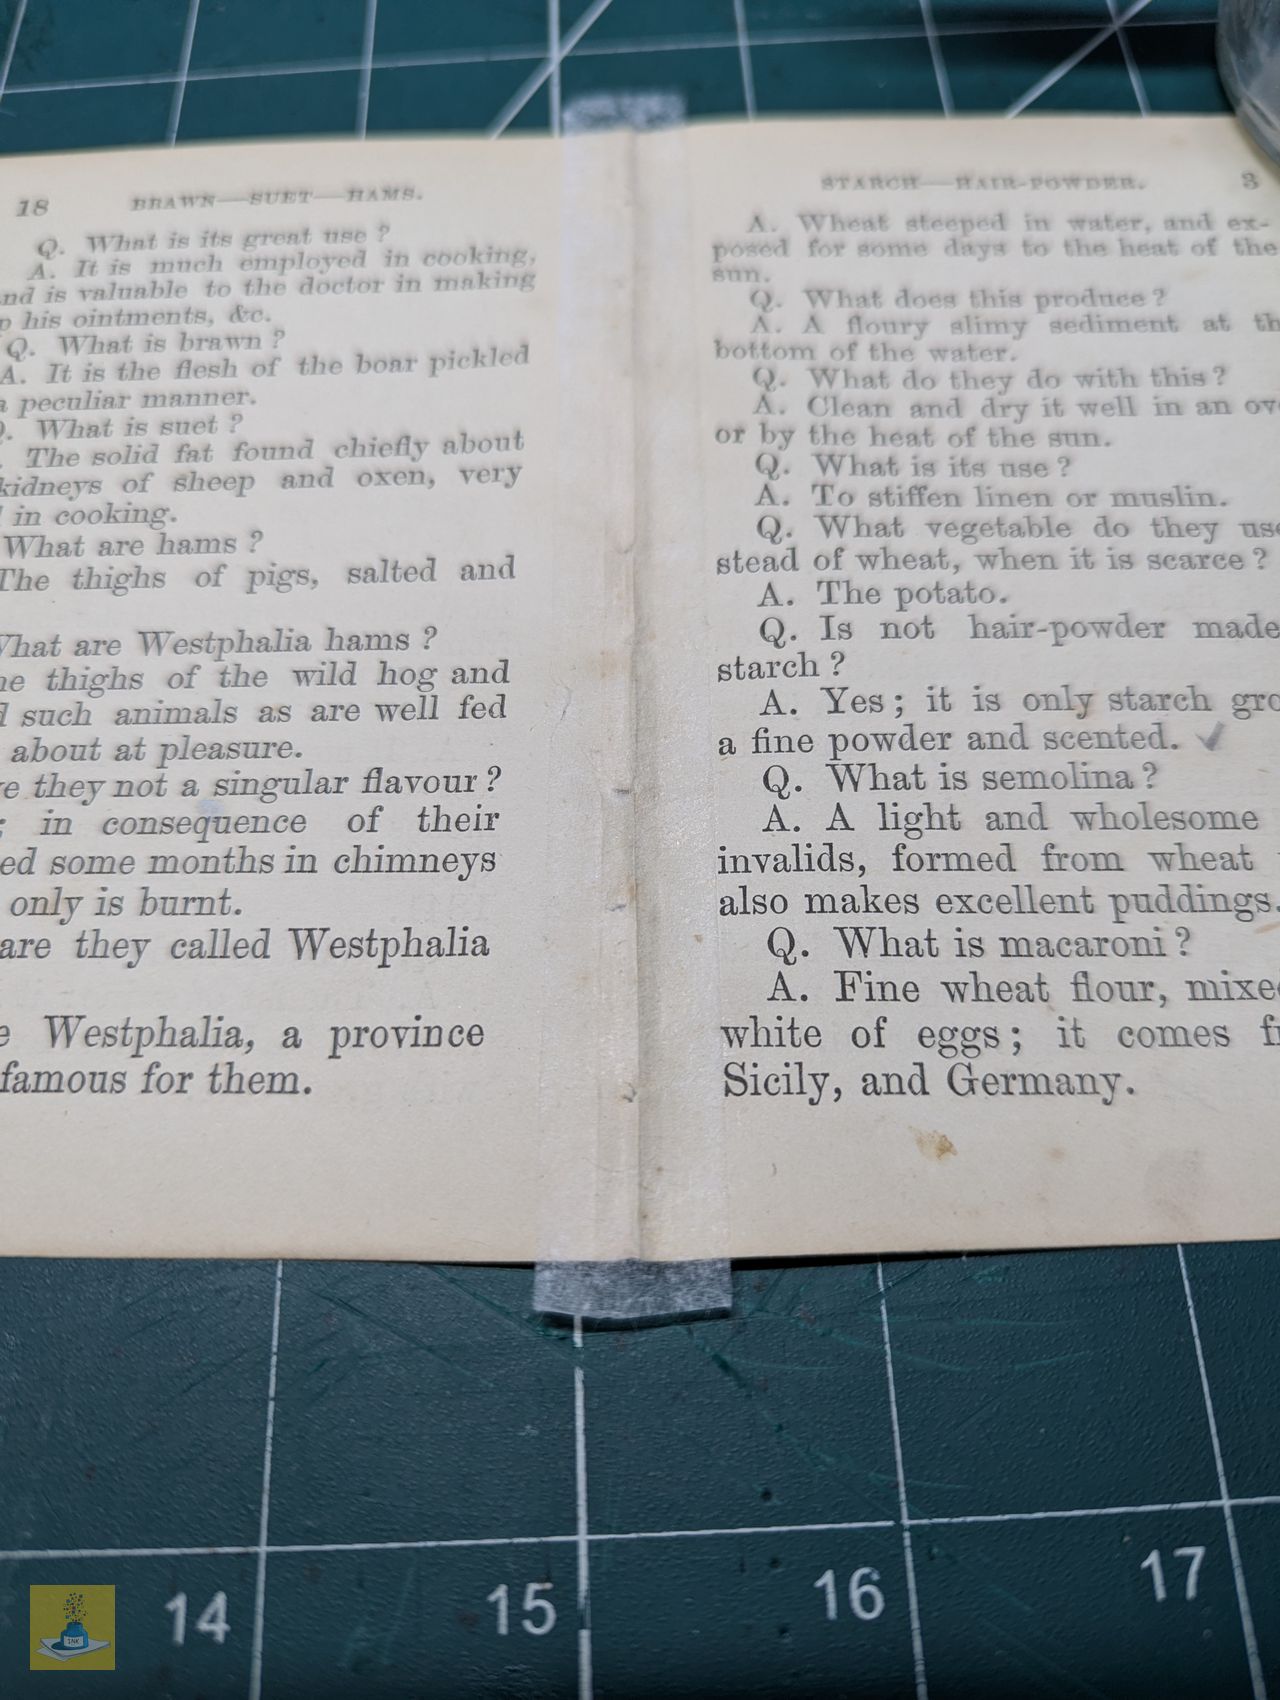
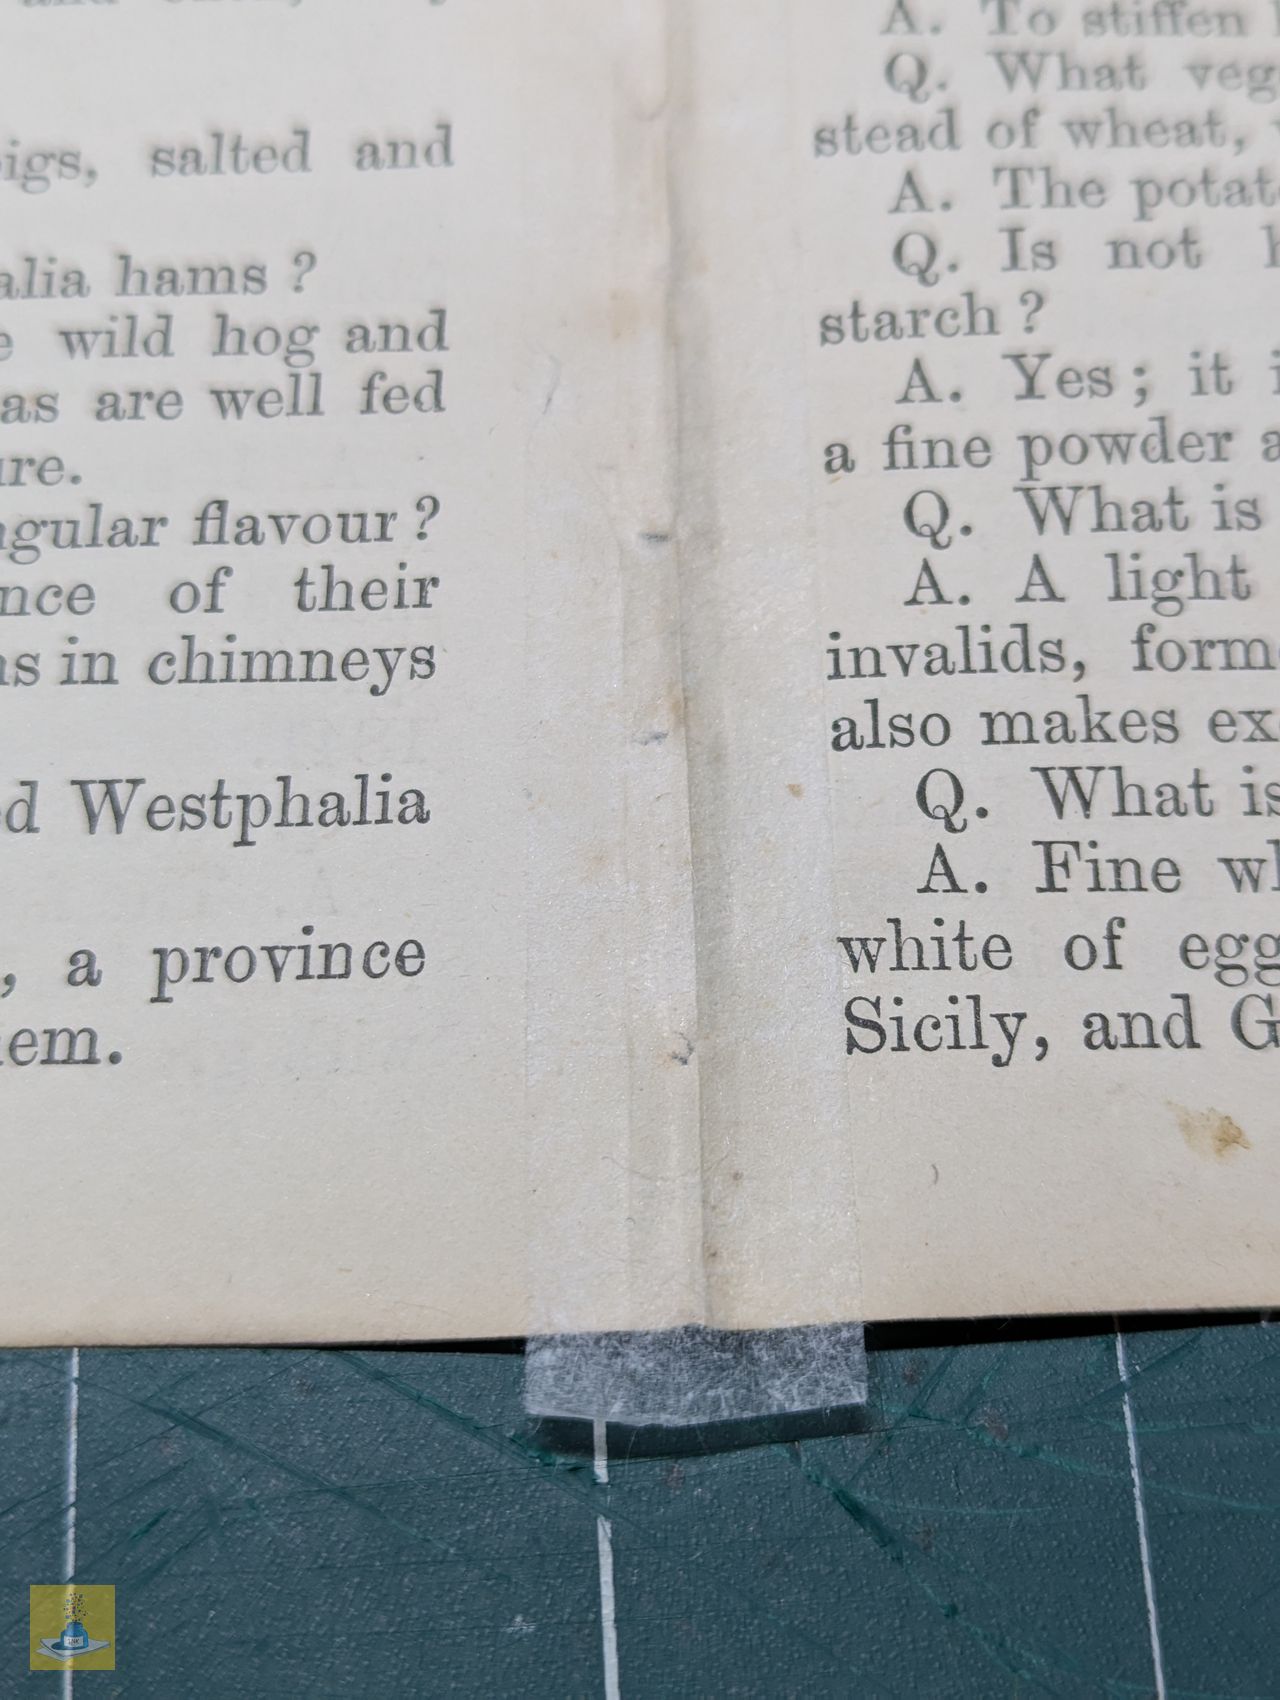
For adhering the Kozo paper strips to the spines of the pages, I’m using Japanese Nori rice glue. I applied a strip to both the front and back of each page’s spine.


Making changes
Initially, I thought it would be best to apply a strip to both sides of each page for the first four signatures. However, I soon realised this significantly increased the paper’s spine thickness, making it difficult to fold the pages back into their signatures and causing them to protrude.

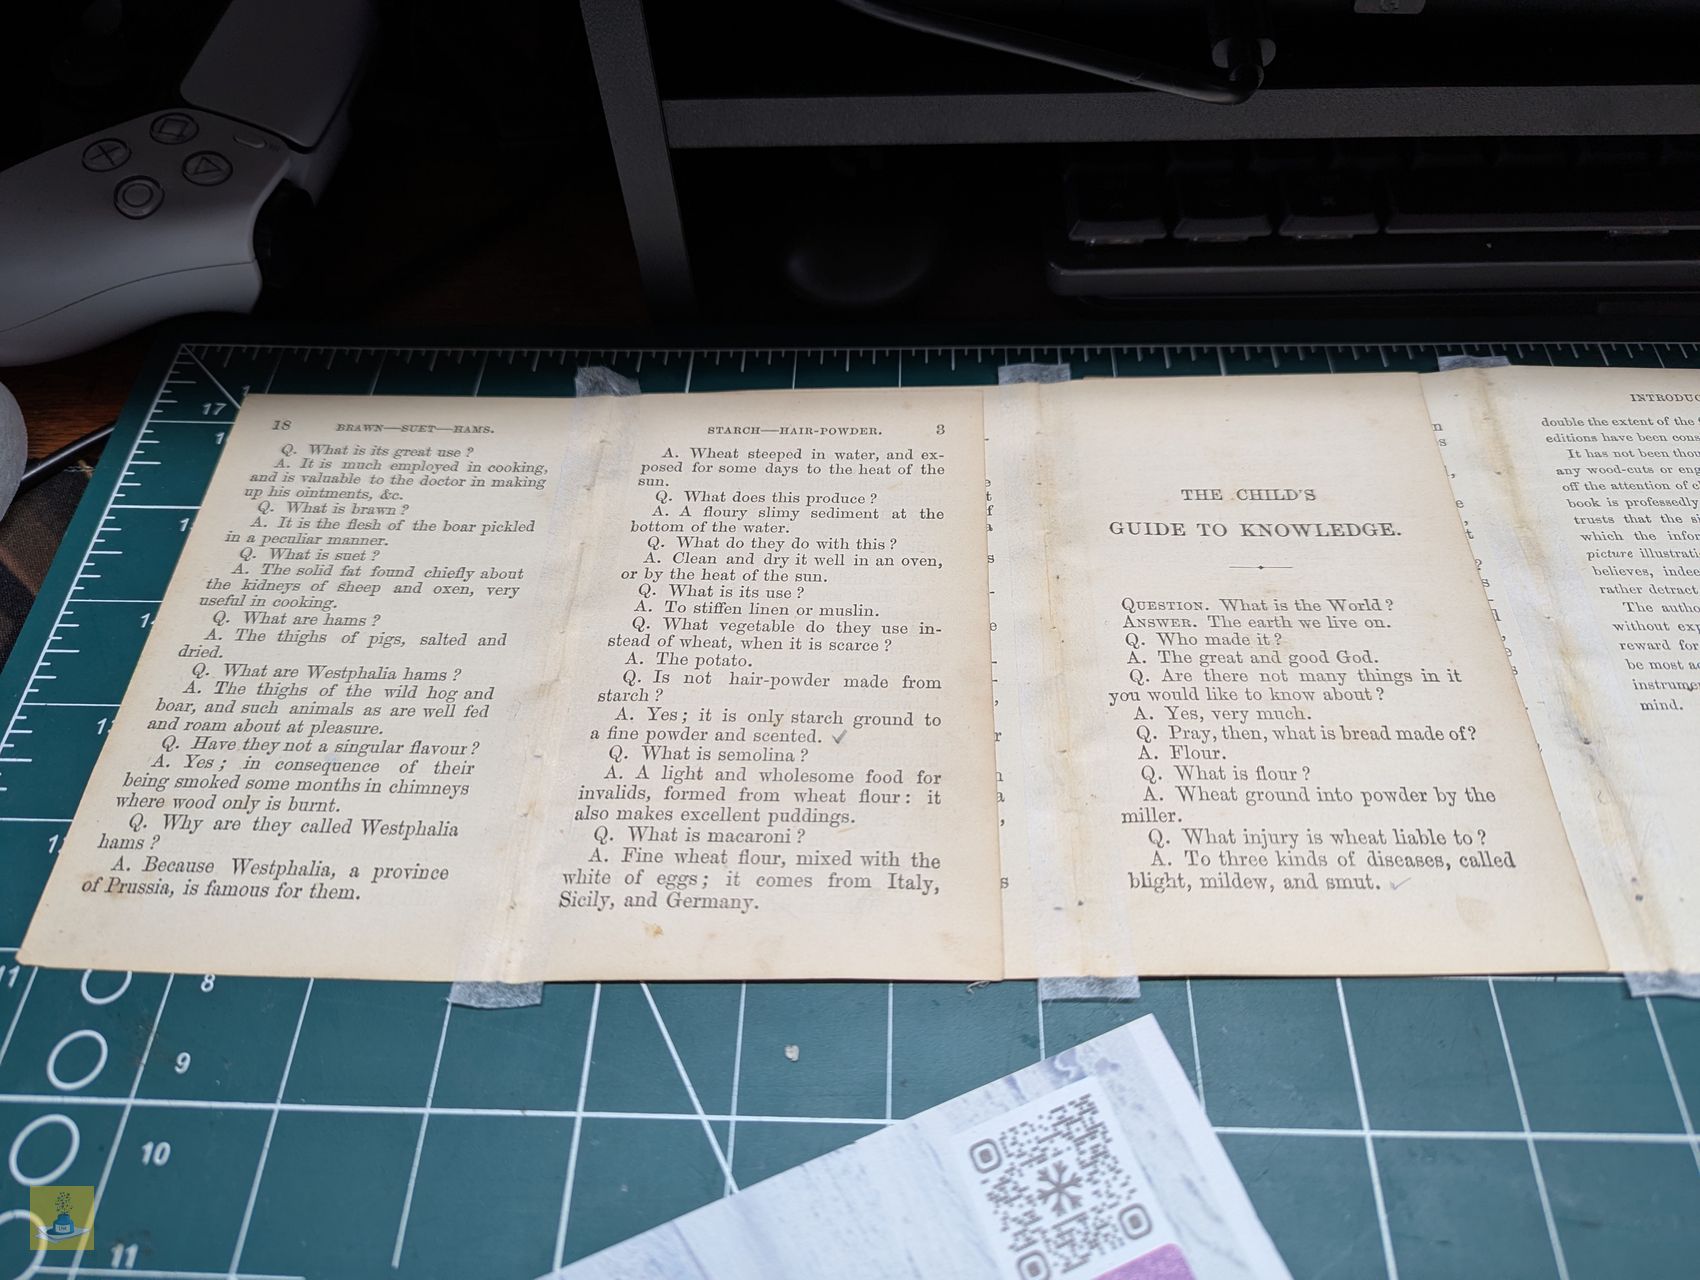
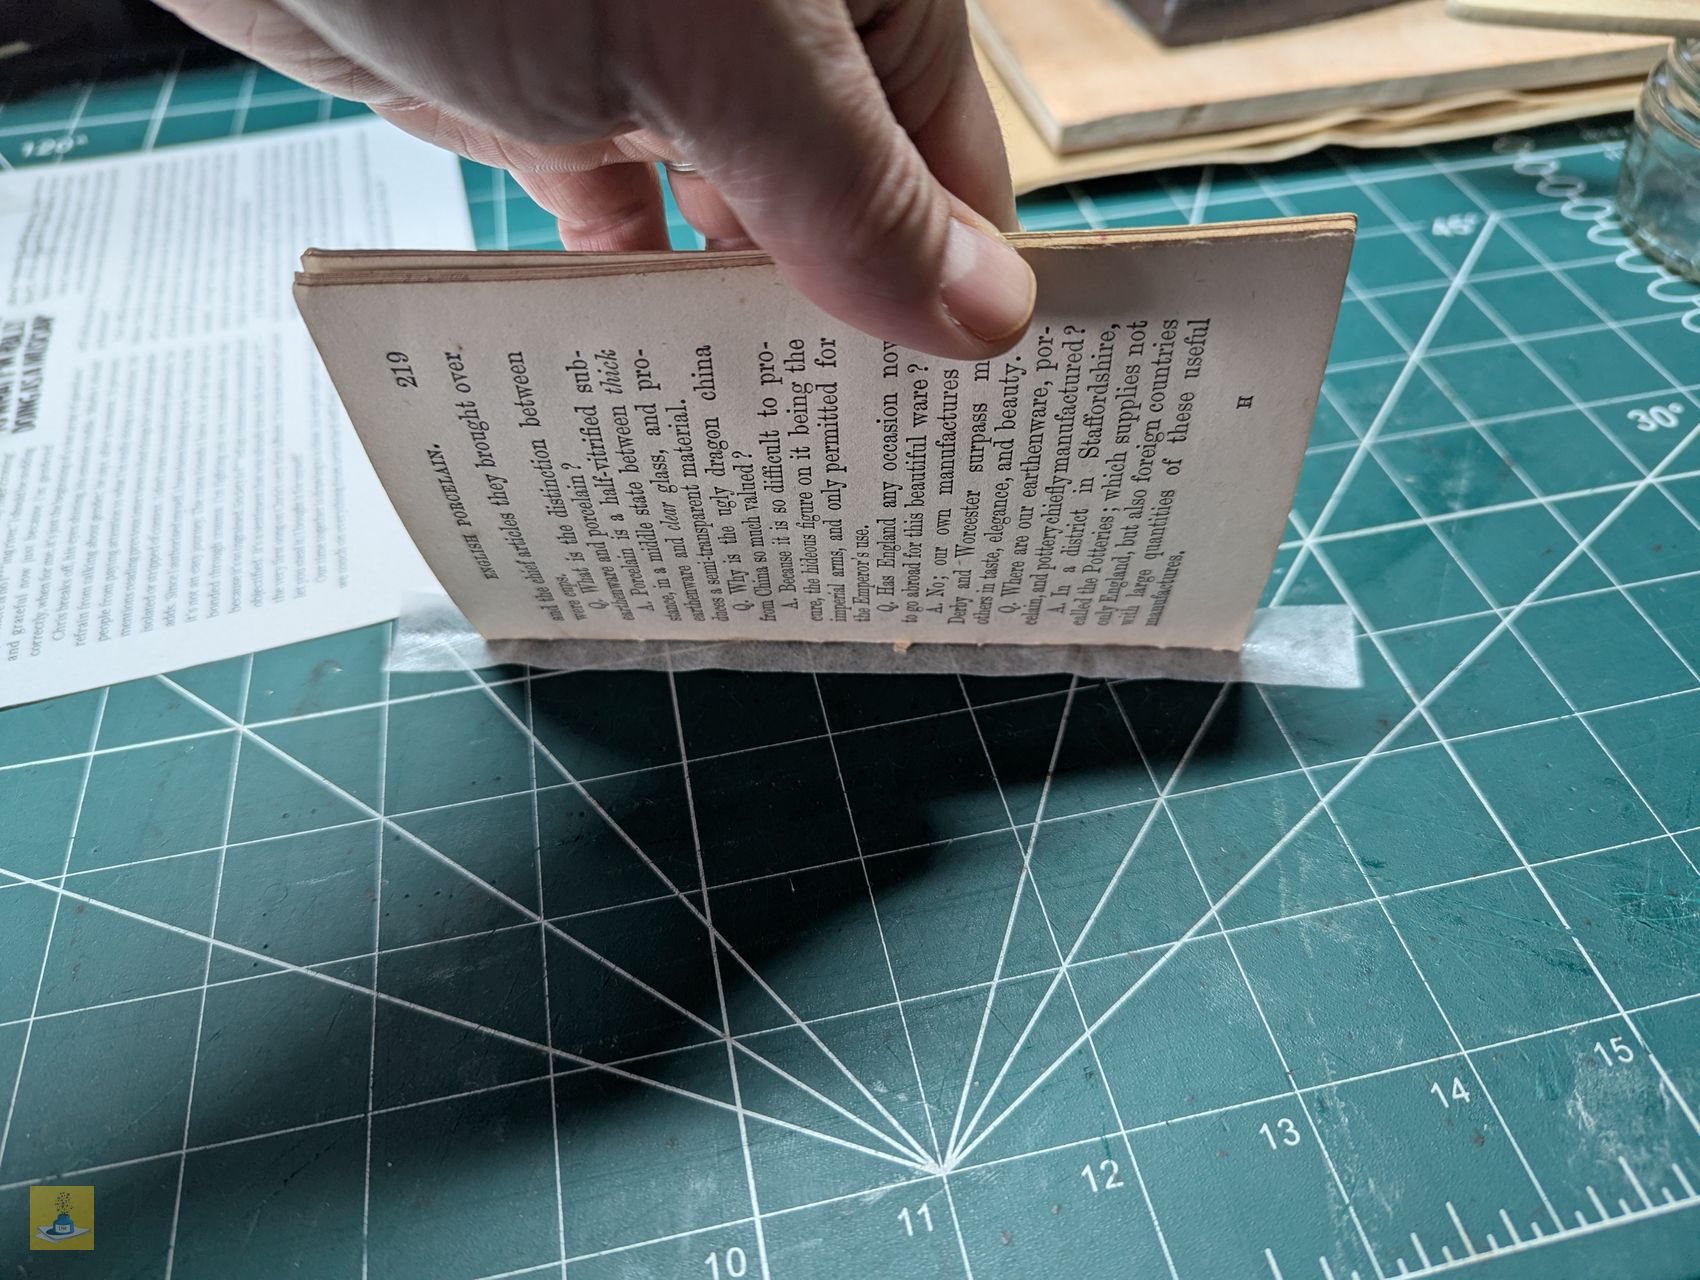
Consequently, I decided to apply the Kozo paper only to the outermost page of each signature, using just one strip on the outside to minimise bulk. My method for applying the Kozo paper involved gluing the strip, laying it flat on my work surface, and then carefully placing the signature flat onto it. Once the strip adhered, I gently rolled the signature over to lay the other side of the page flat, ensuring I didn’t stretch the delicate Kozo paper.


After completing each signature, I placed it between boards, with greaseproof paper on either side and blotting paper outside the greaseproof paper to absorb excess moisture. Once all the signatures were done, I placed a heavy weight on top of the stack to allow them to dry thoroughly.

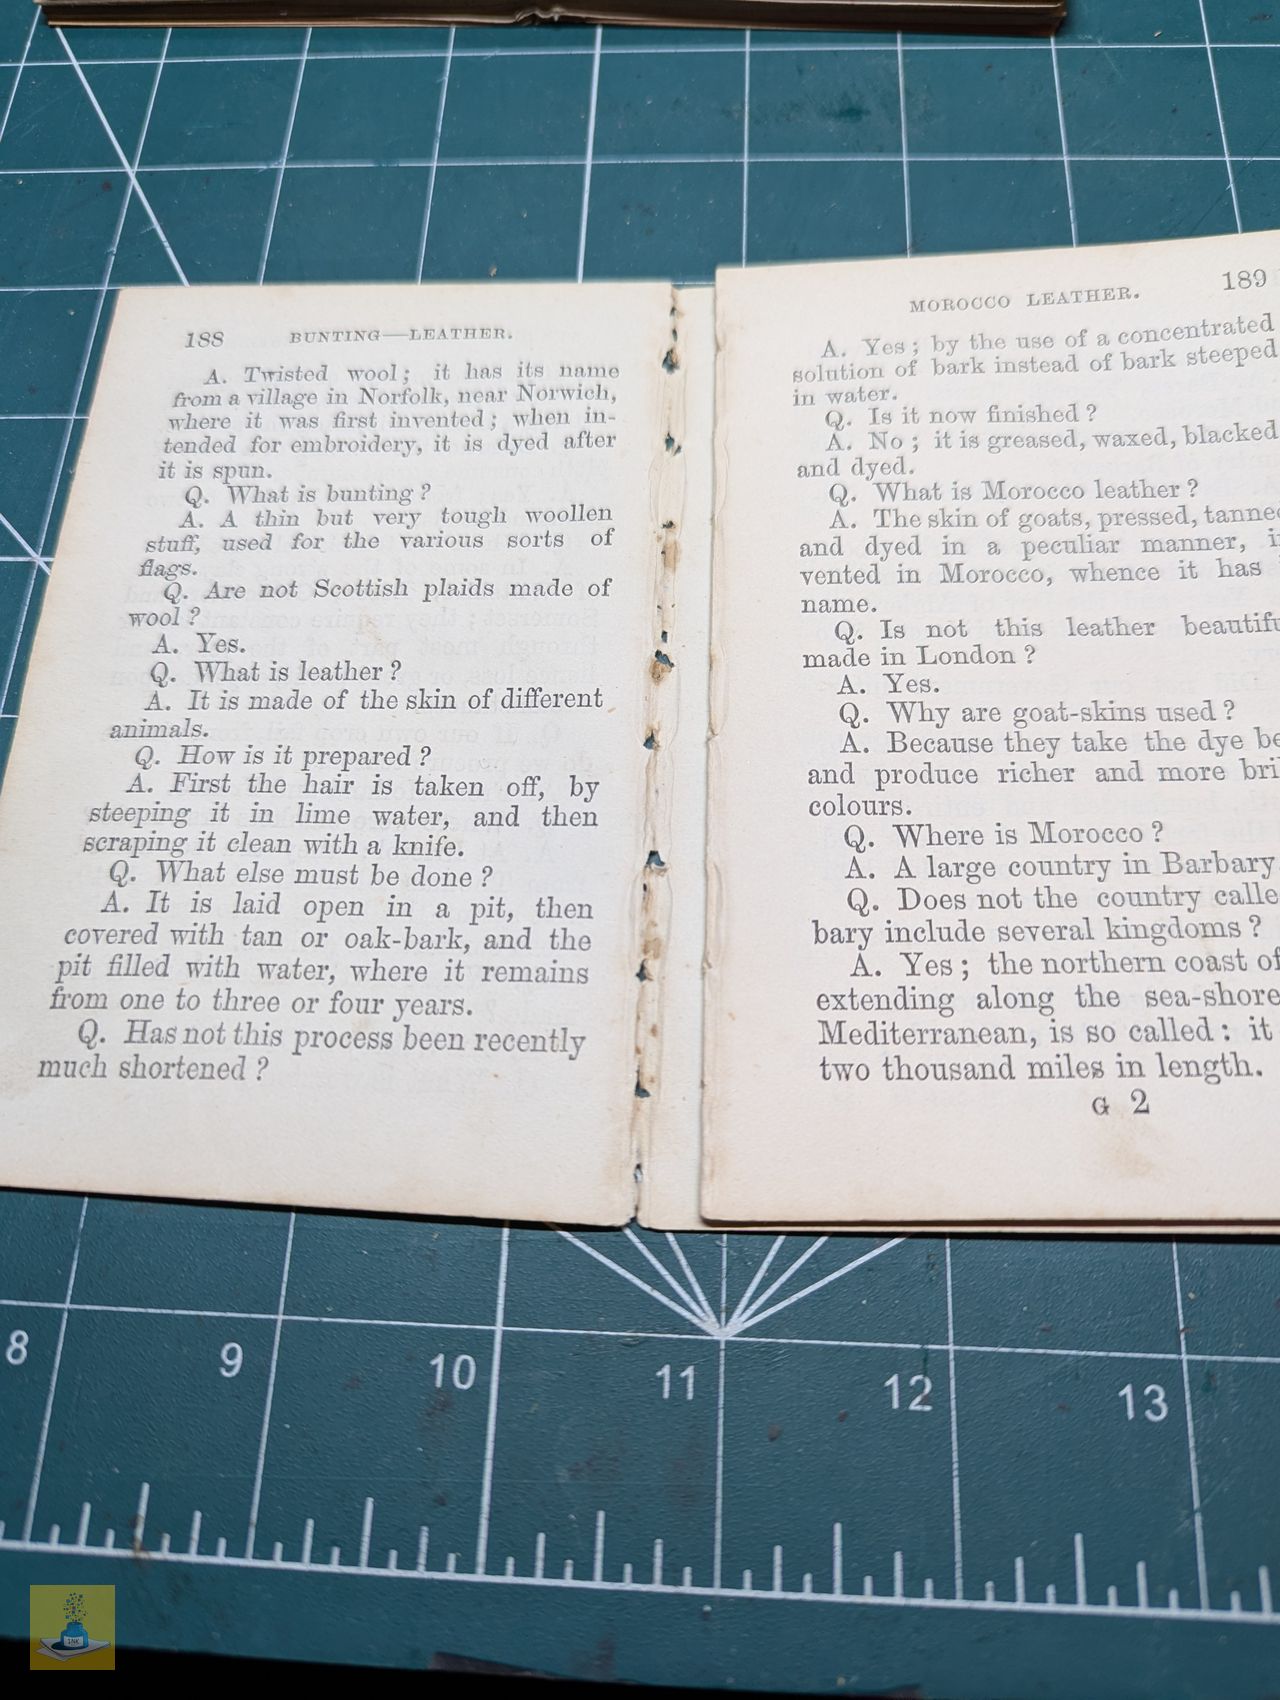
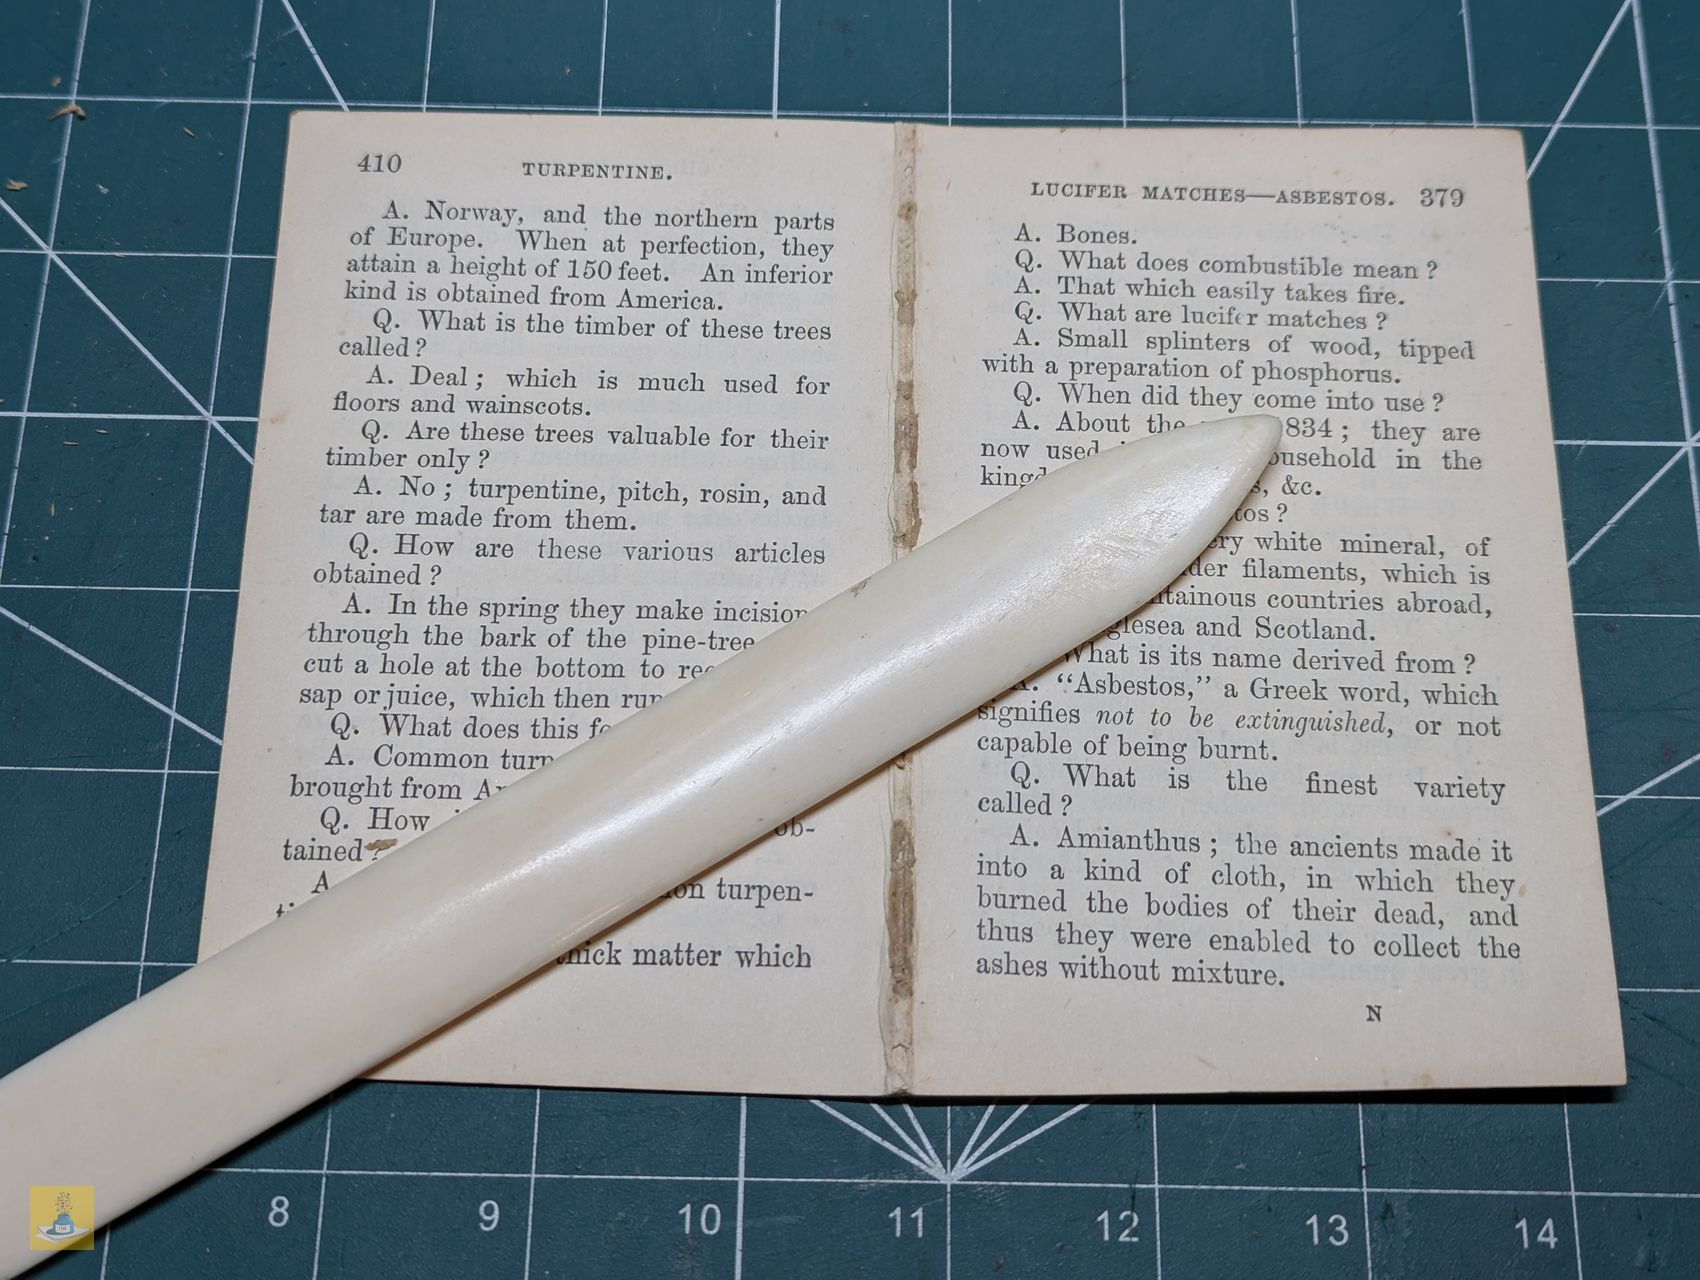
Intriguingly, the final signature of the text block appears to be a specimen section for another book to be published a few weeks later, showcasing some of the pages from the book. The paper used for this signature was much thinner, and the spine of all its pages was severely torn, leaving me no choice but to reinforce each page with Kozo paper.

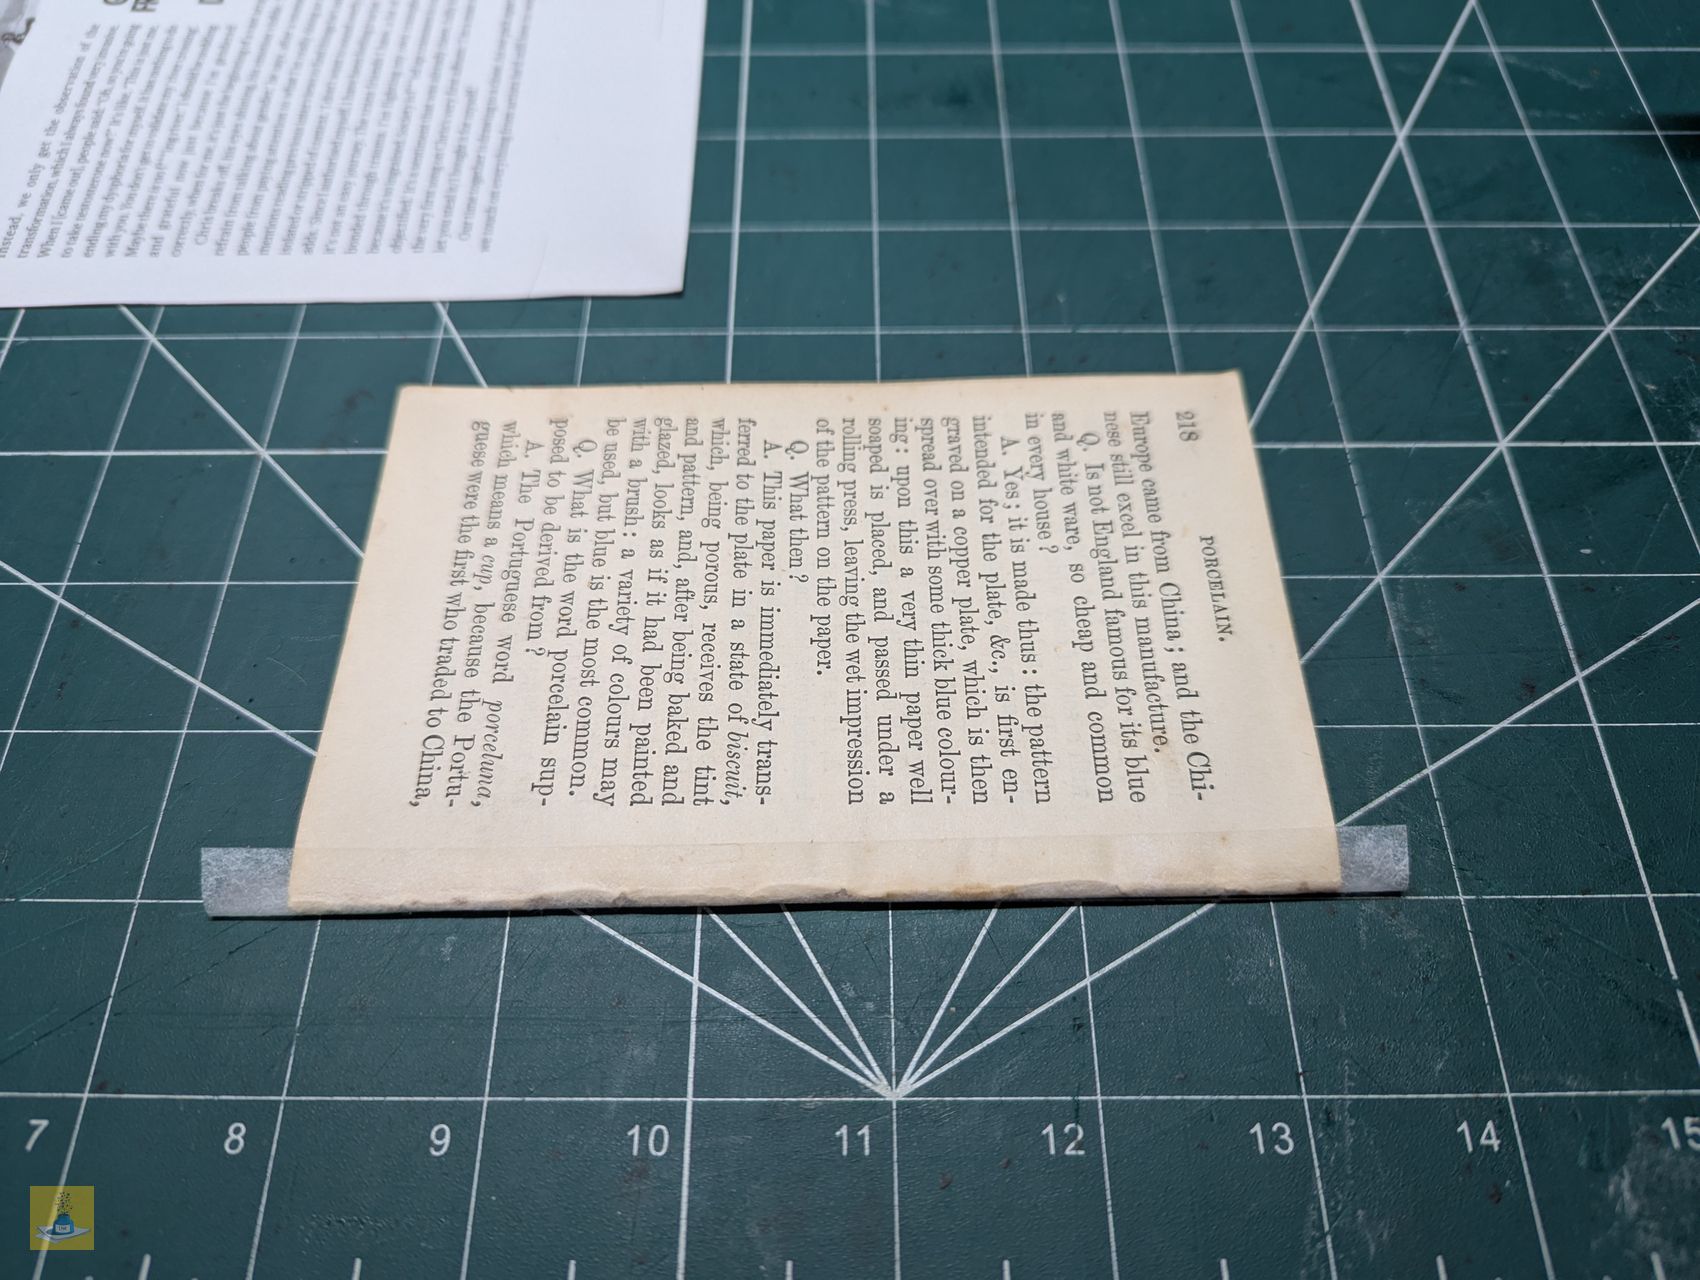
Once everything was fully dry, I trimmed any excess Kozo paper extending beyond the page edges to create a neat finish.

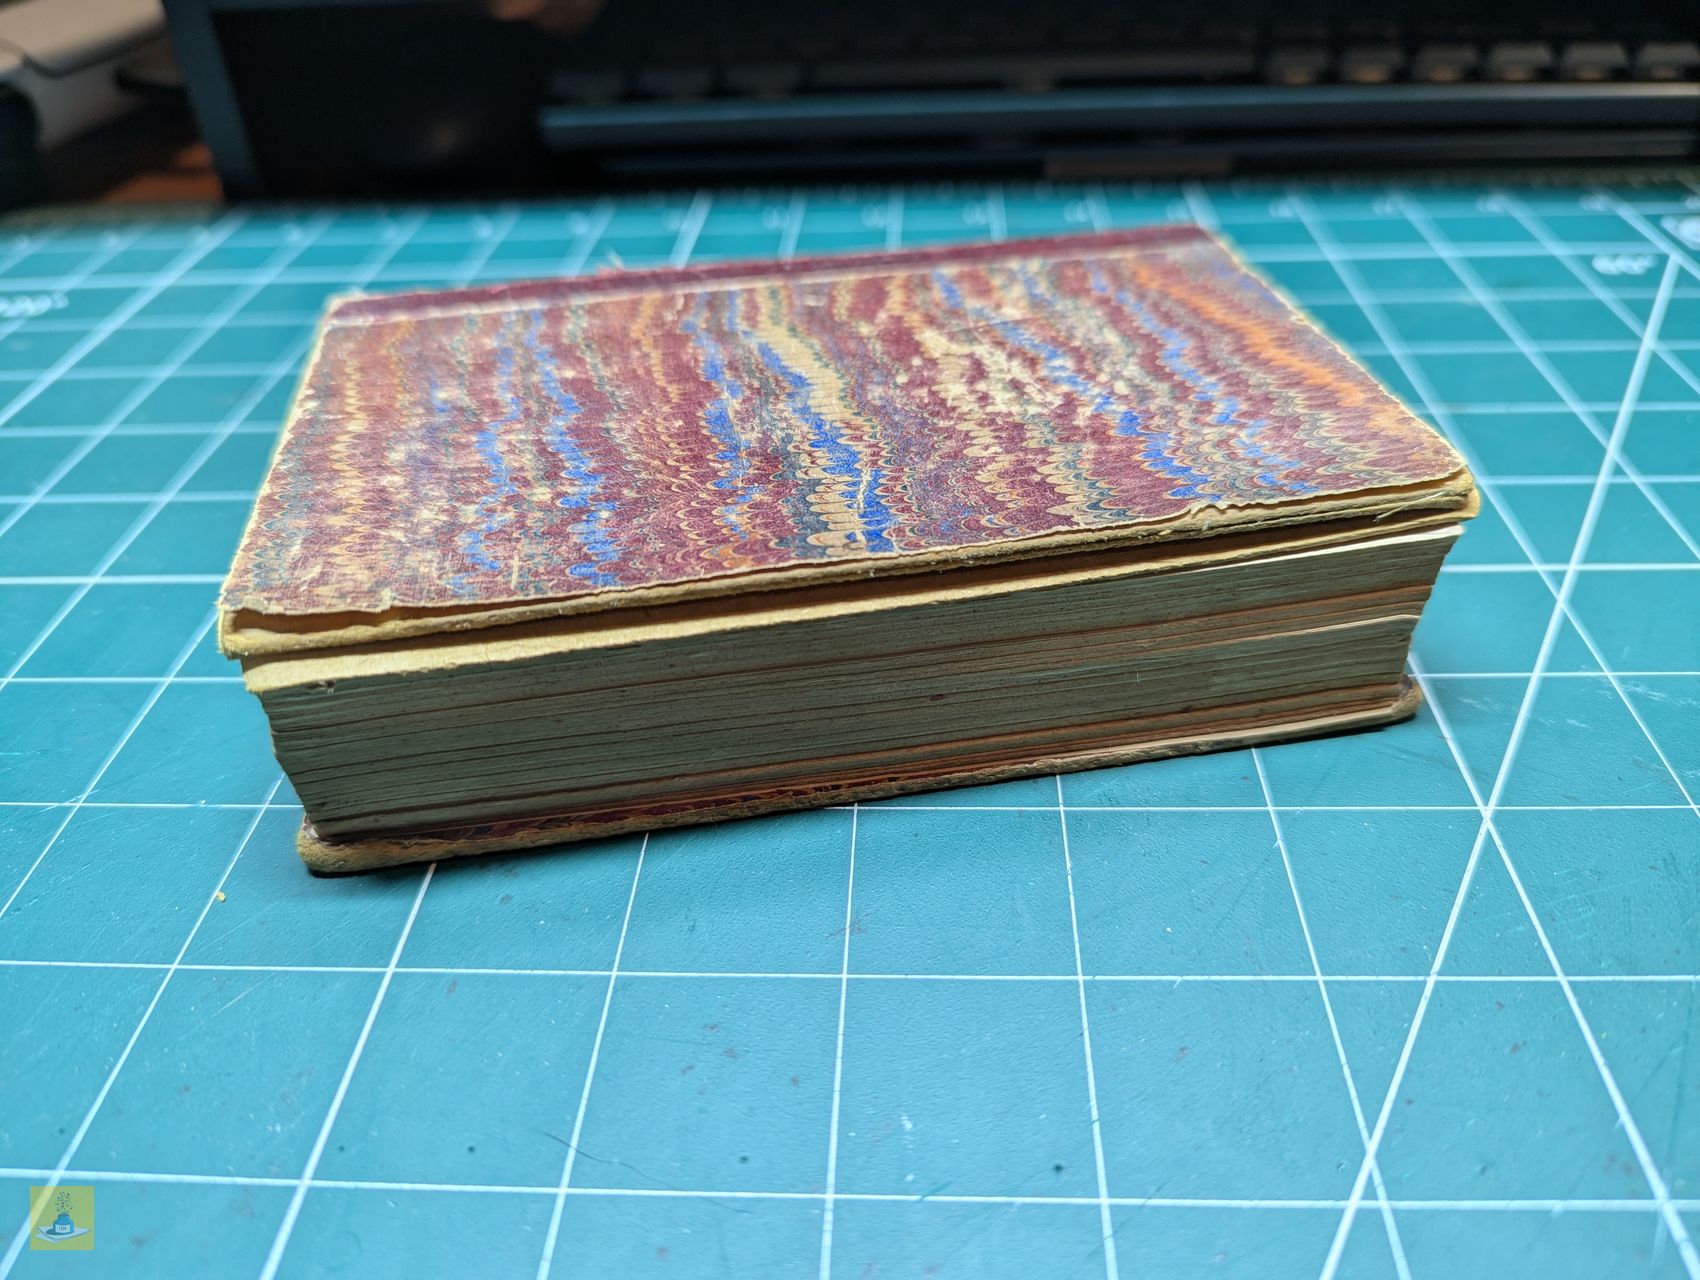
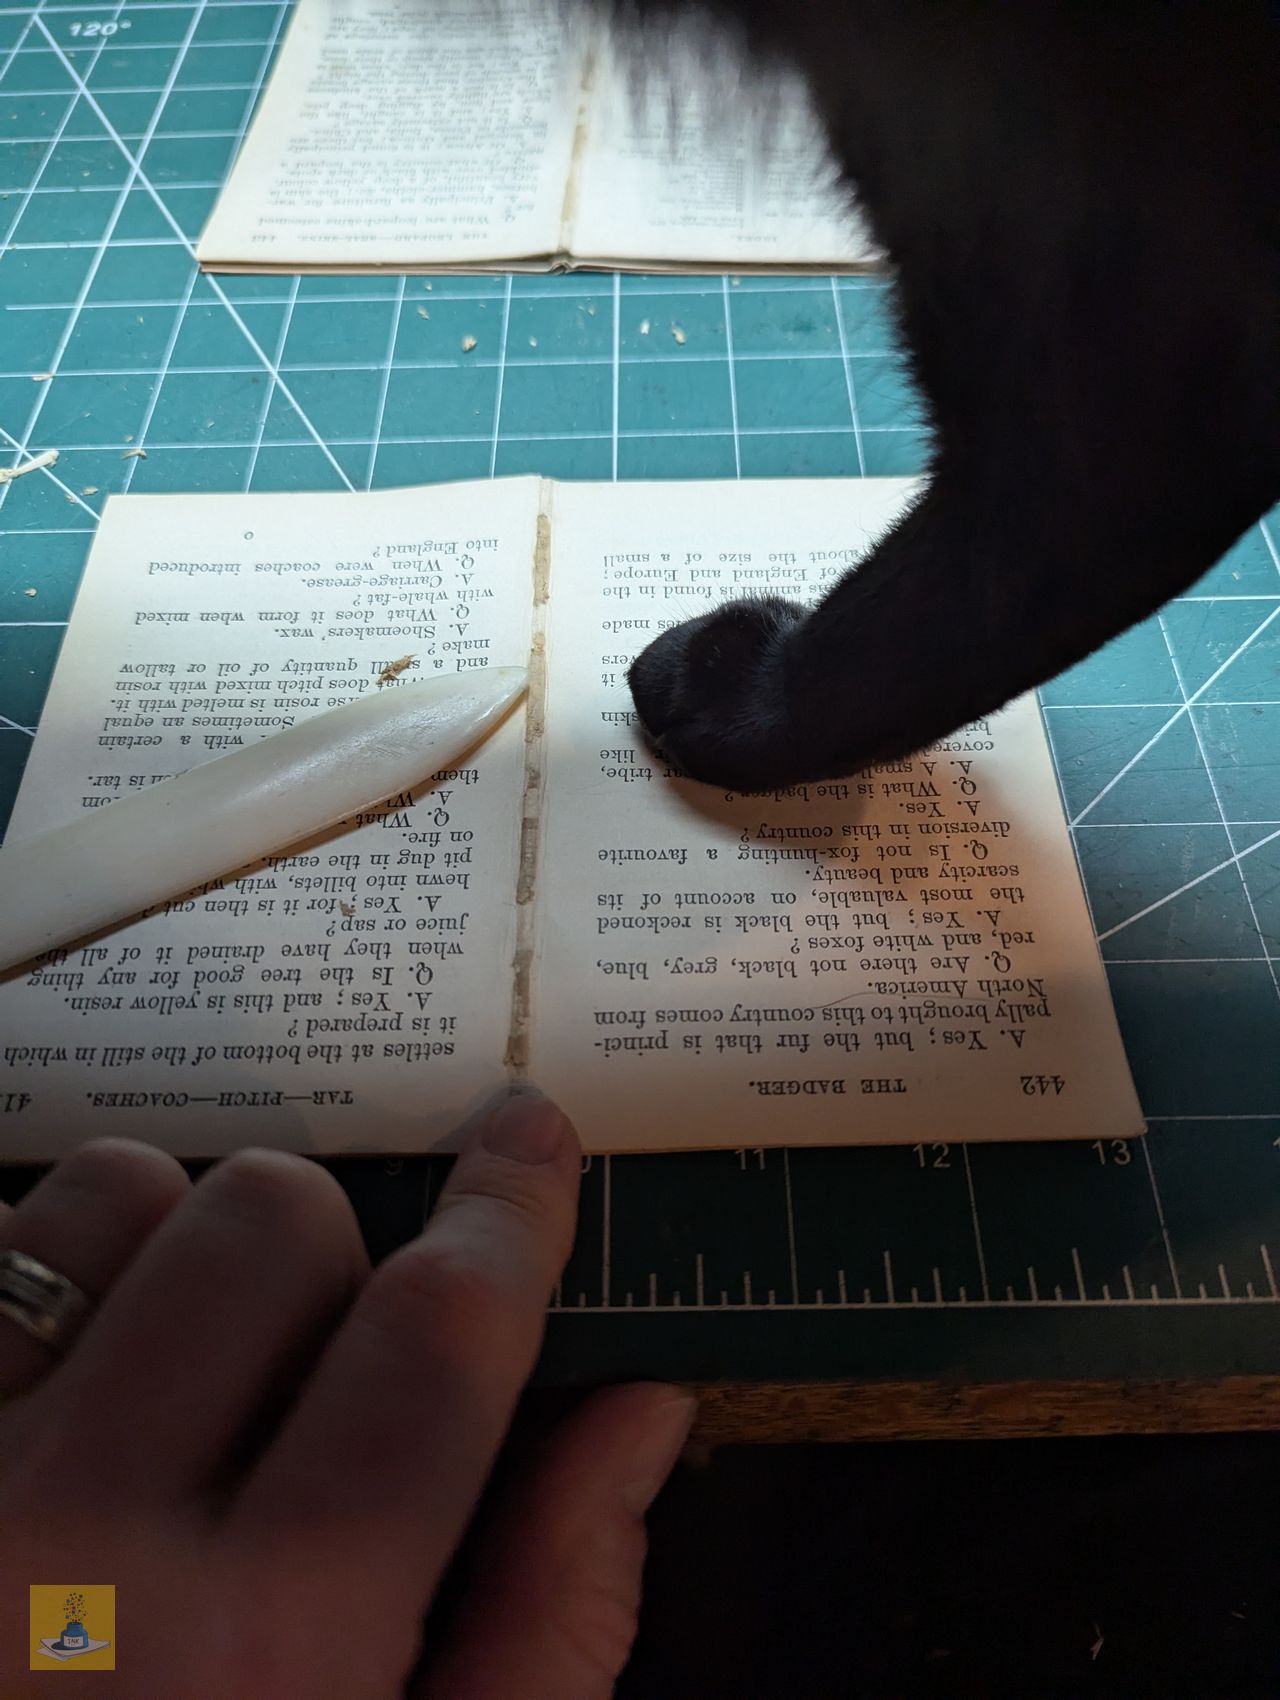
One interesting observation I made while working on the signatures in this chapter is that none of the pages were cut straight. The bottom edge of each page has a noticeable angle. I plan to address this issue in a future chapter.

You can read part 2 now!


